
Subscribe to CraftBe9!
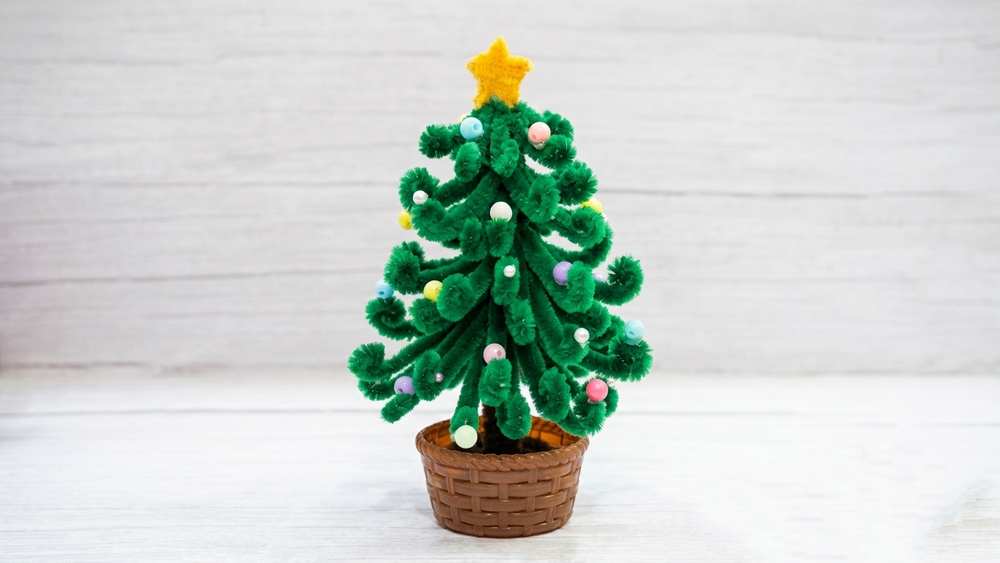
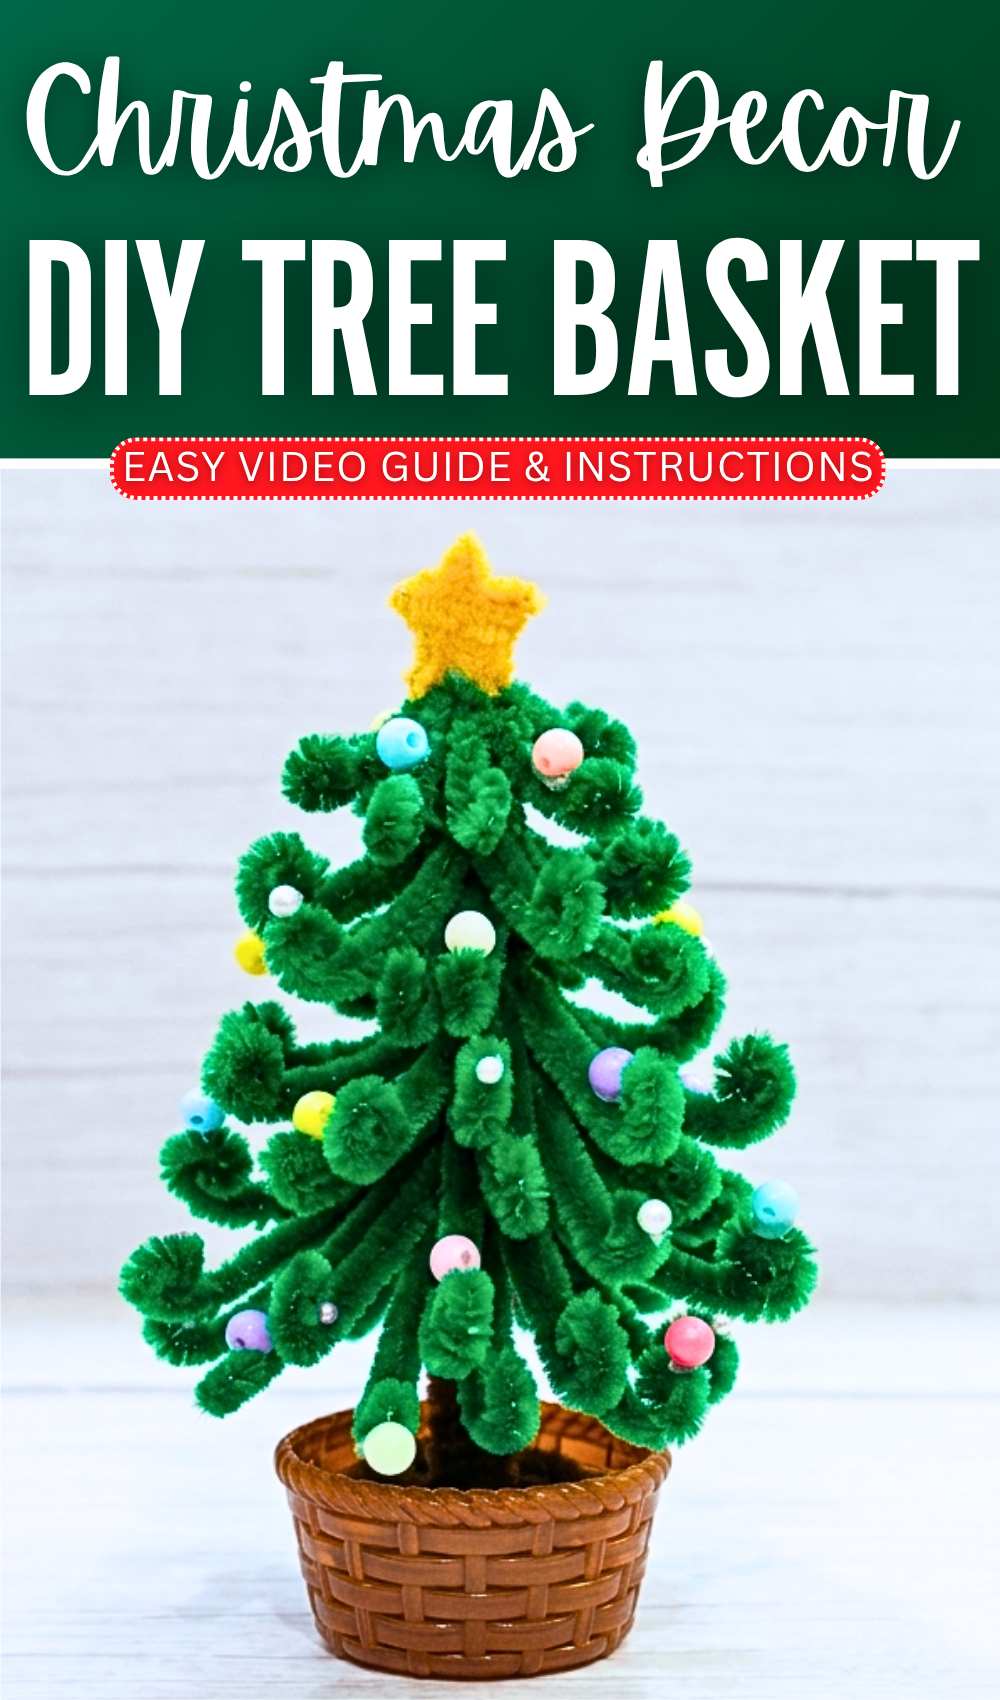
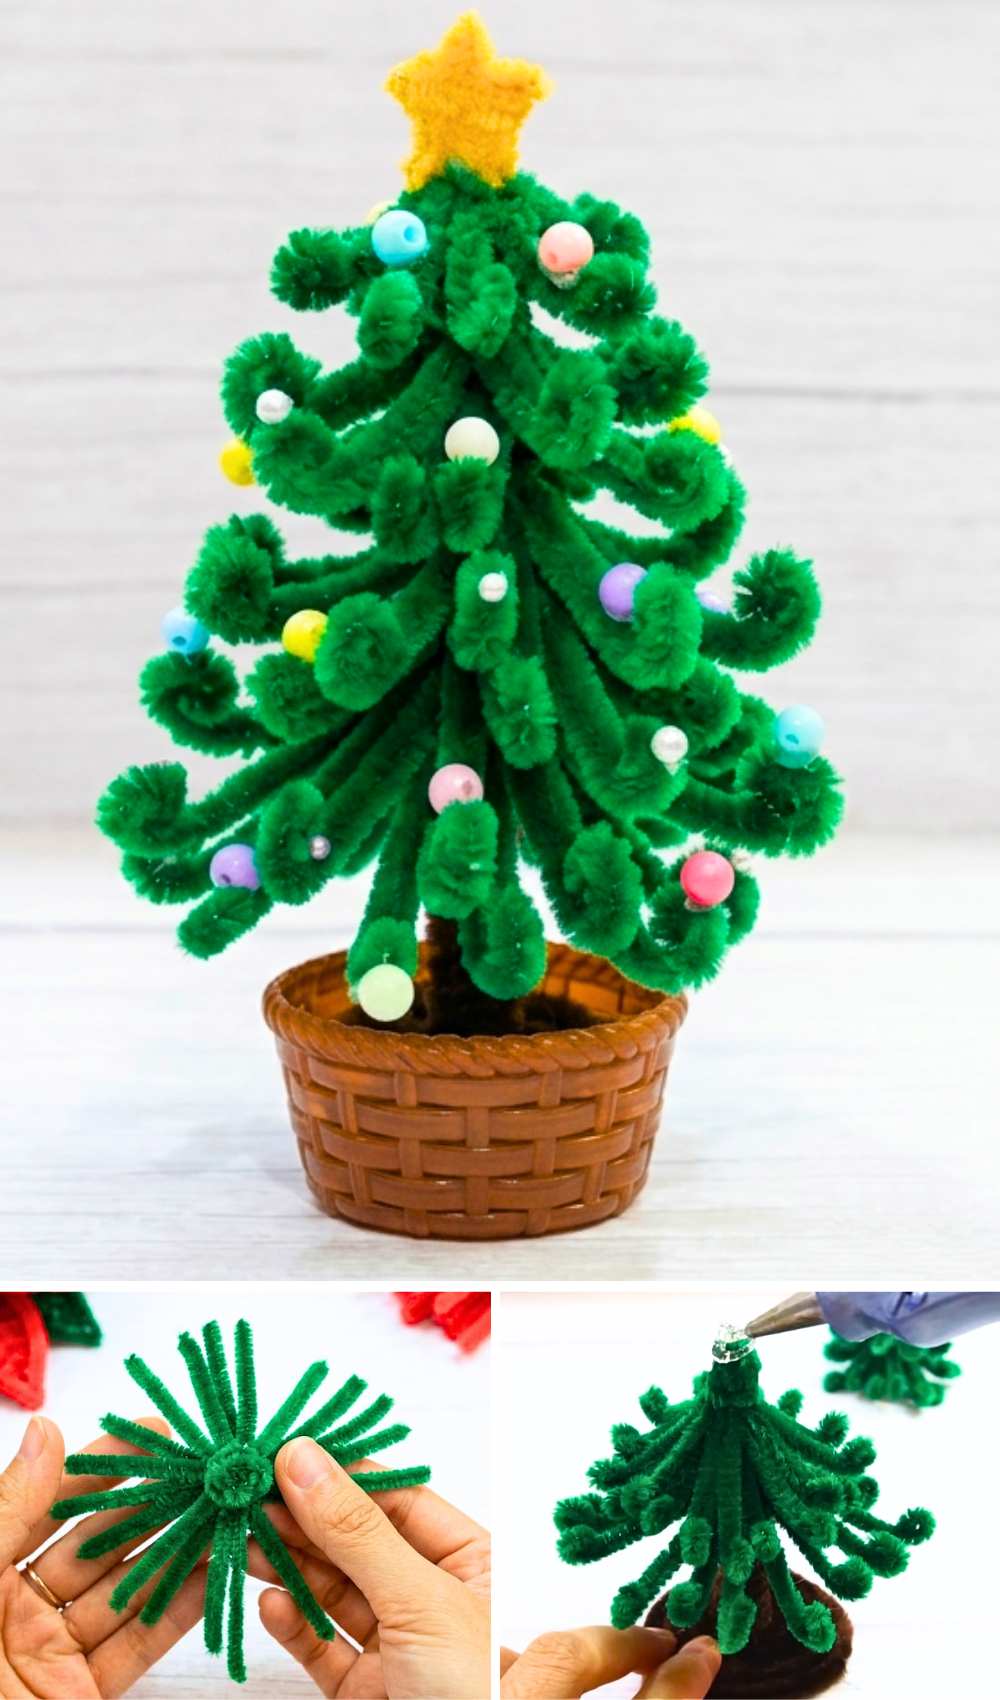
Looking for a super elegant pipe cleaner Christmas tree design but with a minimal number of chenille stems? Learn DIY this pipe cleaner Christmas tree basket table decoration that you can make in less than 20 minutes. It is decorated with colorful beads and a yellow pipe cleaner star, too. Will make an irresistible present and a decoration for kids’ room, too (a small Christmas for little ones).
This time we shall try to make a life-like pinecone tree by making coils at the ends of curled pipe cleaners. This Christmas tree pipe cleaner version also has a DIY brown stem, unlike other Christmas tree plushie patterns you have learned so far.
You can also use faux soil or grass and a styrofoam base to insert the Christmas tree stem. But this design can stand without support thanks to the base below the stem. Anyway, customization is up to you; you can learn to make this quick Christmas tree gift below in this guide! Be sure to prepare one in different shades and numbers of tiers both for you and for gifting.
Tutorial to Crochet A Christmas Tree with Colorful Charms
This project is a small Christmas tree. It is made from pipe cleaners. You use green ones for the tree and brown ones for the wood. First, you cut the green wires into different sizes. You group them and glue them to a straw. The straw is on a round piece of card. Then you wrap brown wire at the bottom.
You make a star from yellow wire and put it on top. Last, you glue small beads on the tree for decorations. It is a fun and easy thing to make. It looks very pretty when it is done.
How to Make a Pipe Cleaner Christmas Tree
What you will need:
-
Green pipe cleaners (about 13–15 pieces)
-
One brown pipe cleaner
-
One yellow pipe cleaner
-
A small piece of cardboard
-
One plastic straw
-
Small colorful beads
-
Scissors
-
Hot glue gun
-
Pliers or tweezers
Video Tutorial?
Step-by-Step Instructions
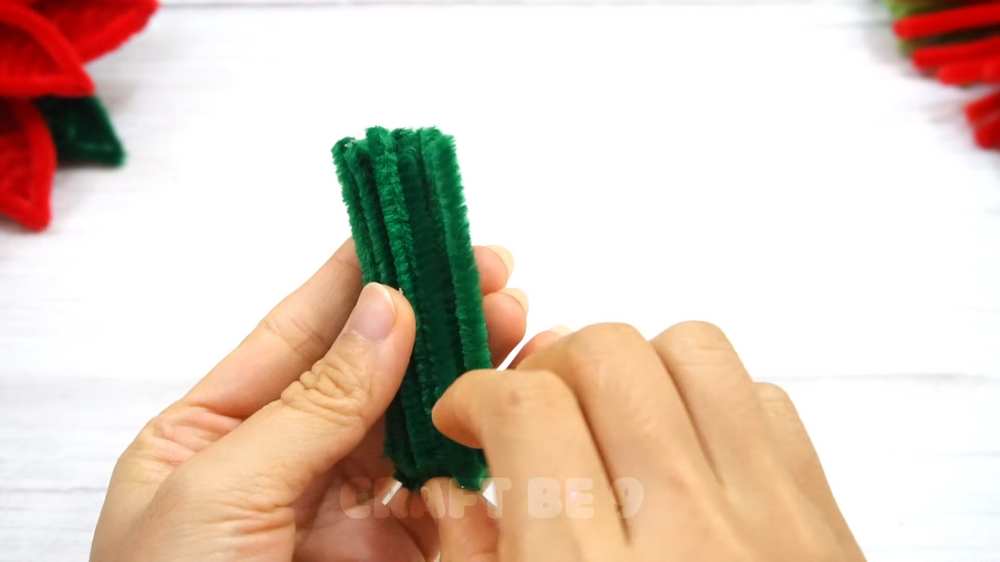
1. Cut the Green Pipe Cleaners
You need to cut your green pipe cleaners into four different sizes to make the layers of the tree:
-
Size A (Bottom): Cut 20 pieces that are 7.5cm long.
-
Size B (Middle-Bottom): Cut 20 pieces that are 6cm long.
-
Size C (Middle-Top): Cut 15 pieces that are 5cm long.
-
Size D (Top): Cut 8 small pieces (about 3.5cm long).
2. Prepare the Tree Base
-
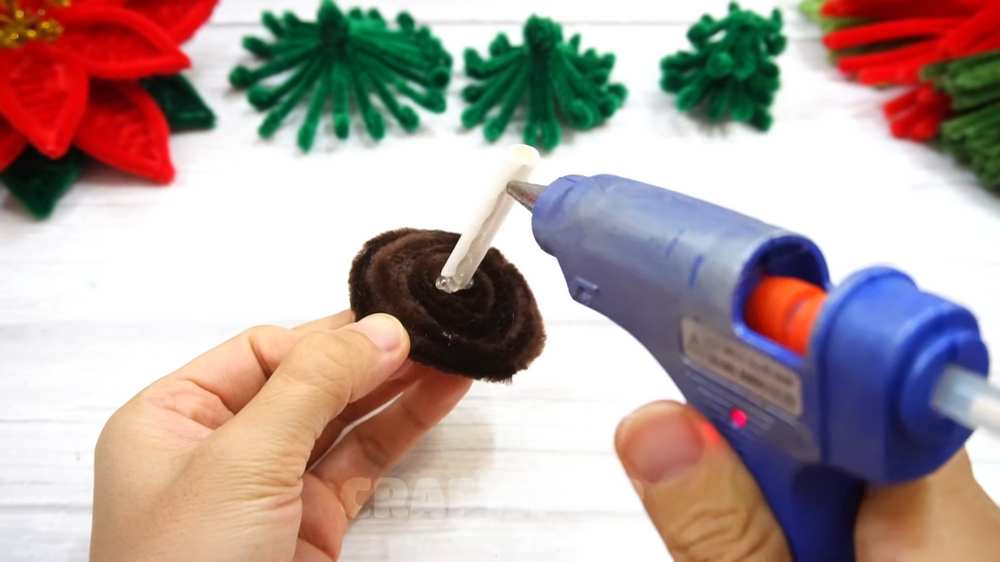
Cut a small circle out of cardboard (about 5cm wide).
-
Cut a piece of straw that is 5cm long.
-
Use hot glue to stick the straw upright in the center of the cardboard circle. This is your tree trunk.
3. Make the “Soil” and Trunk
-
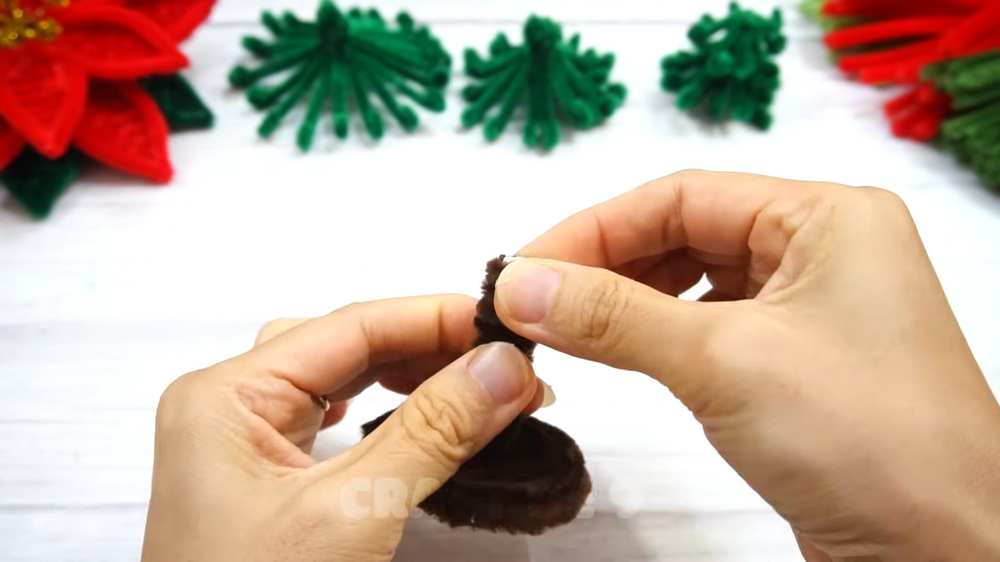
Take the brown pipe cleaner. Glue one end to the base of the straw.
-
Wrap the brown pipe cleaner flat around the cardboard circle in a spiral until the cardboard is covered.
-
Continue wrapping the brown pipe cleaner up the straw until the whole straw is covered. Glue the end at the top.
4. Create the Tree Layers
-
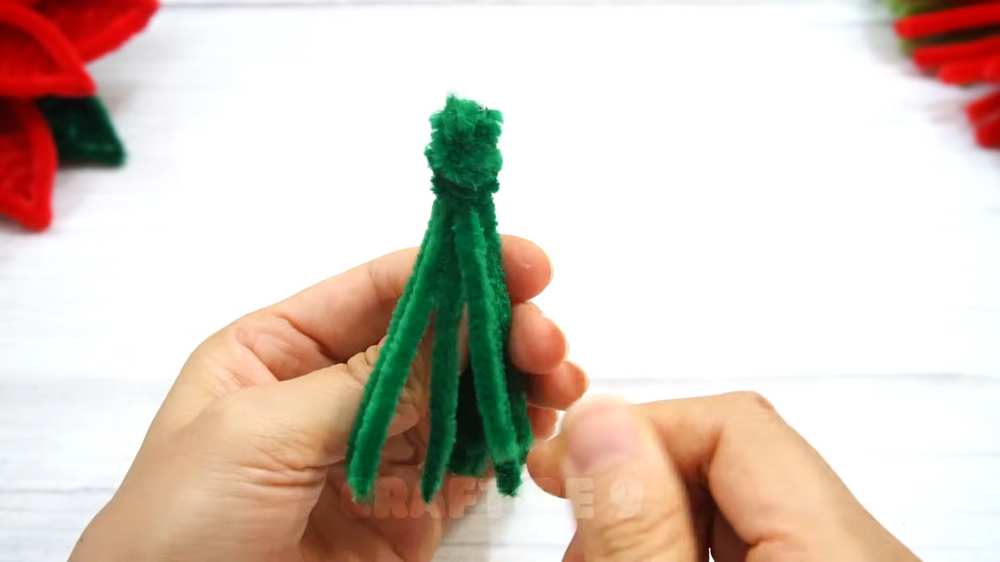
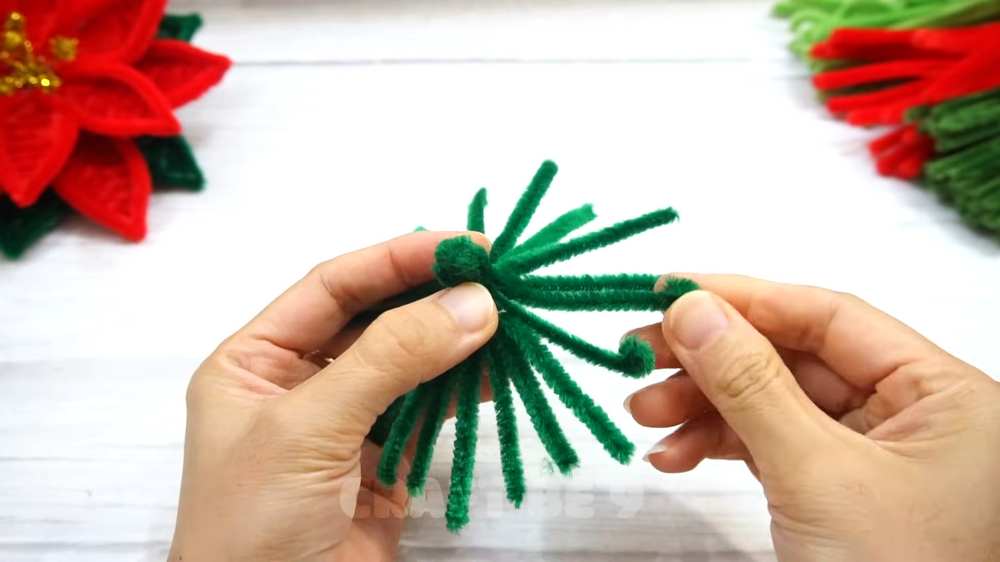
Take all 20 pieces of the 7.5cm green pipe cleaners. Bundle them together.
-
Use a small scrap of green wire (or one of the pieces) to wrap tightly around the top of the bundle. Use pliers to twist it tight so the “branches” stay together.
-
Fan out the bottom of the bundle so it looks like a skirt.
-
Repeat this for the 6cm bundle, the 5cm bundle, and the smallest 8-piece bundle.
5. Assemble the Tree
-
Slide the largest bundle (7.5cm) over the straw trunk and glue it near the bottom.
-
Slide the 6cm bundle over and glue it above the first one.
-
Glue the 5cm bundle above that.
-
Glue the smallest bundle at the very top.
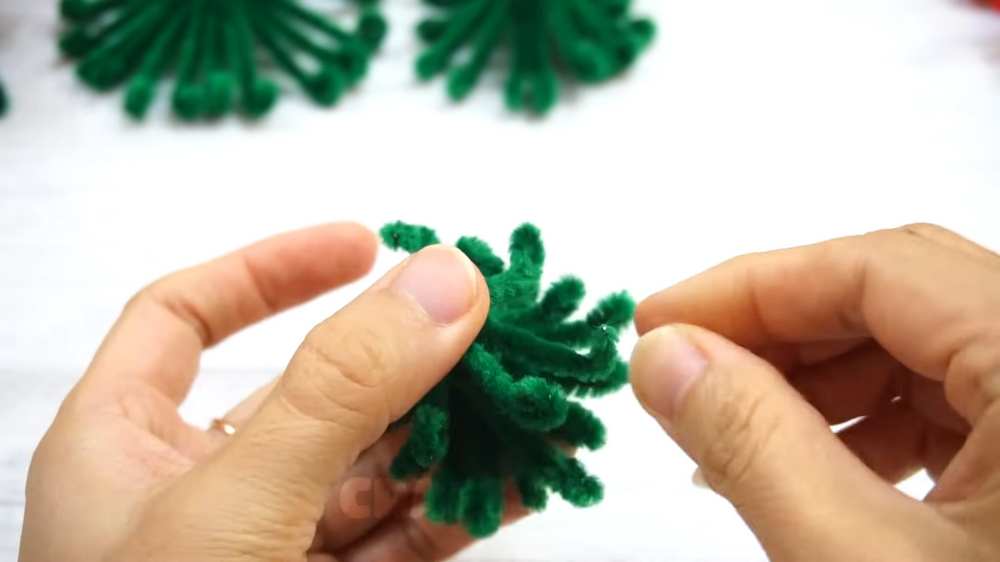
6. Shape the Branches
Use your fingers to curl the ends of every green branch upward. This makes the tree look full and realistic.
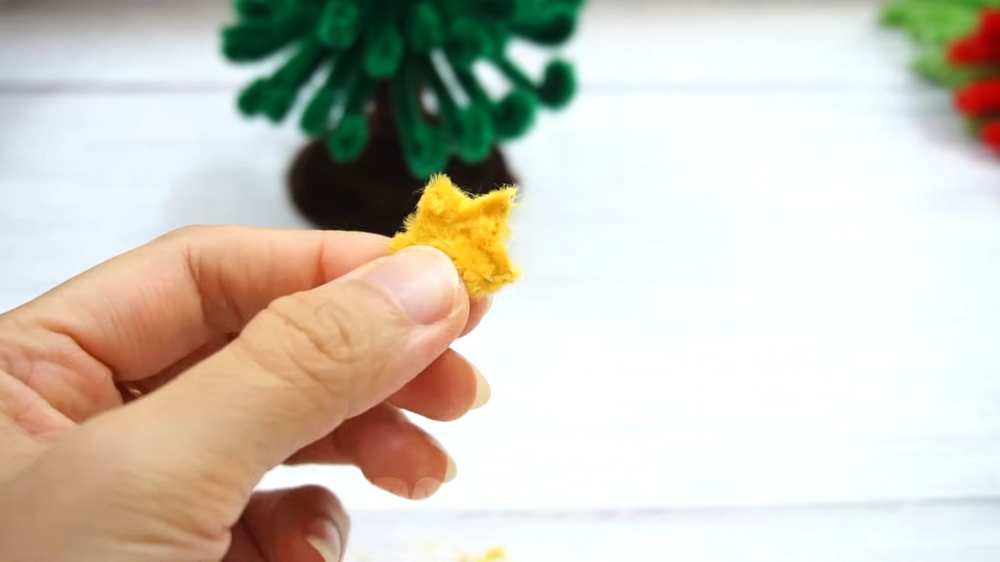
7. Add the Star
Take the yellow pipe cleaner. Bend it into a 5-pointed star shape. Trim the extra wire and glue the star to the very top of your tree.
8. Decorate
Use your hot glue gun to add small colorful beads all over the branches. These look like tiny Christmas ornaments.
Your pipe cleaner Christmas tree is finished! You can even wrap tiny fairy lights around it if you have them.
Share on Social Media!
About "Craftbee 9"
She makes incredible fabric, recycle and pipe cleaner crafts.