
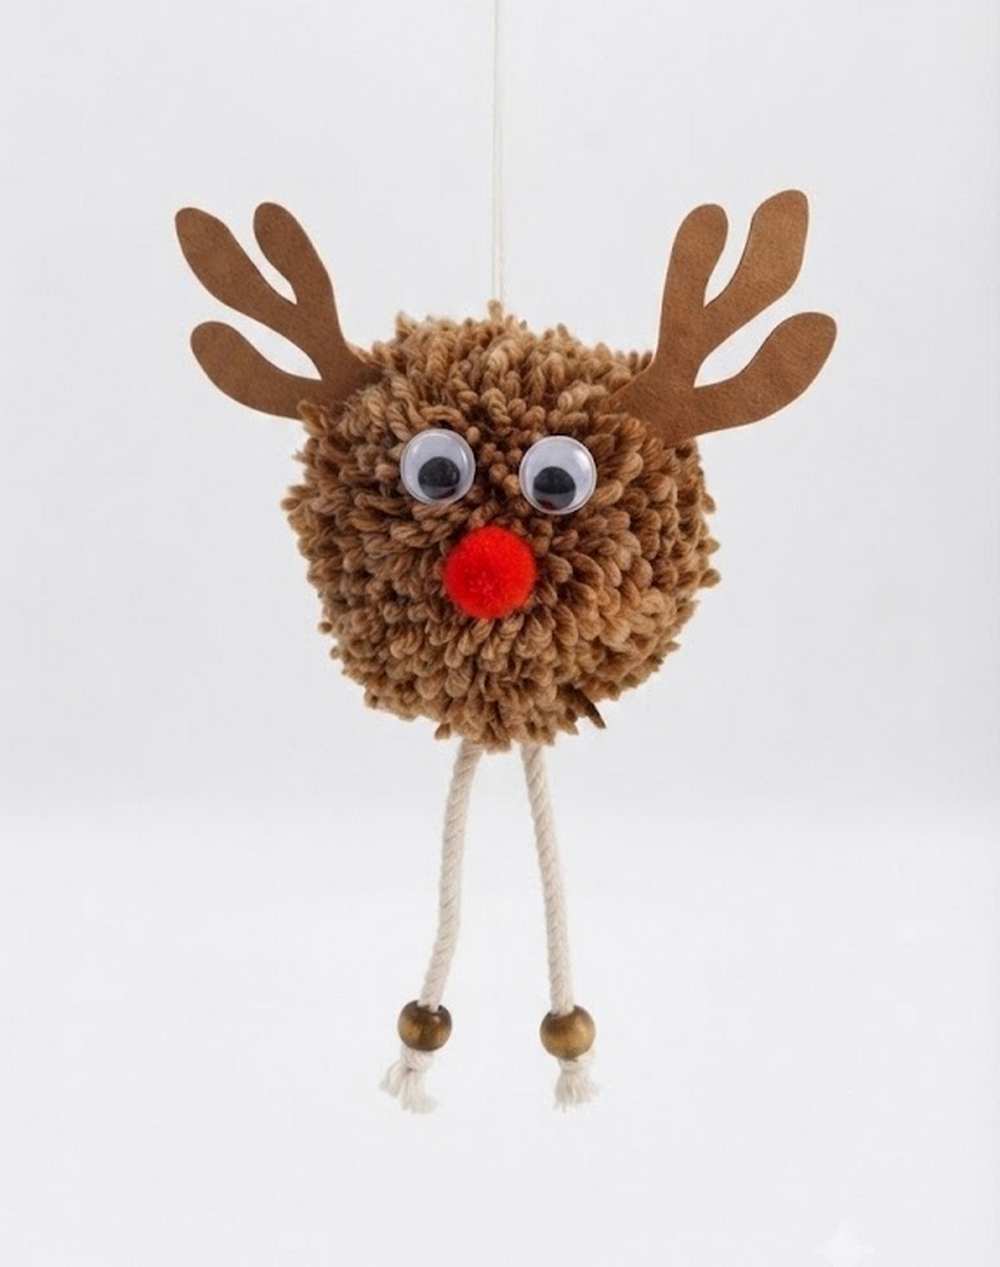
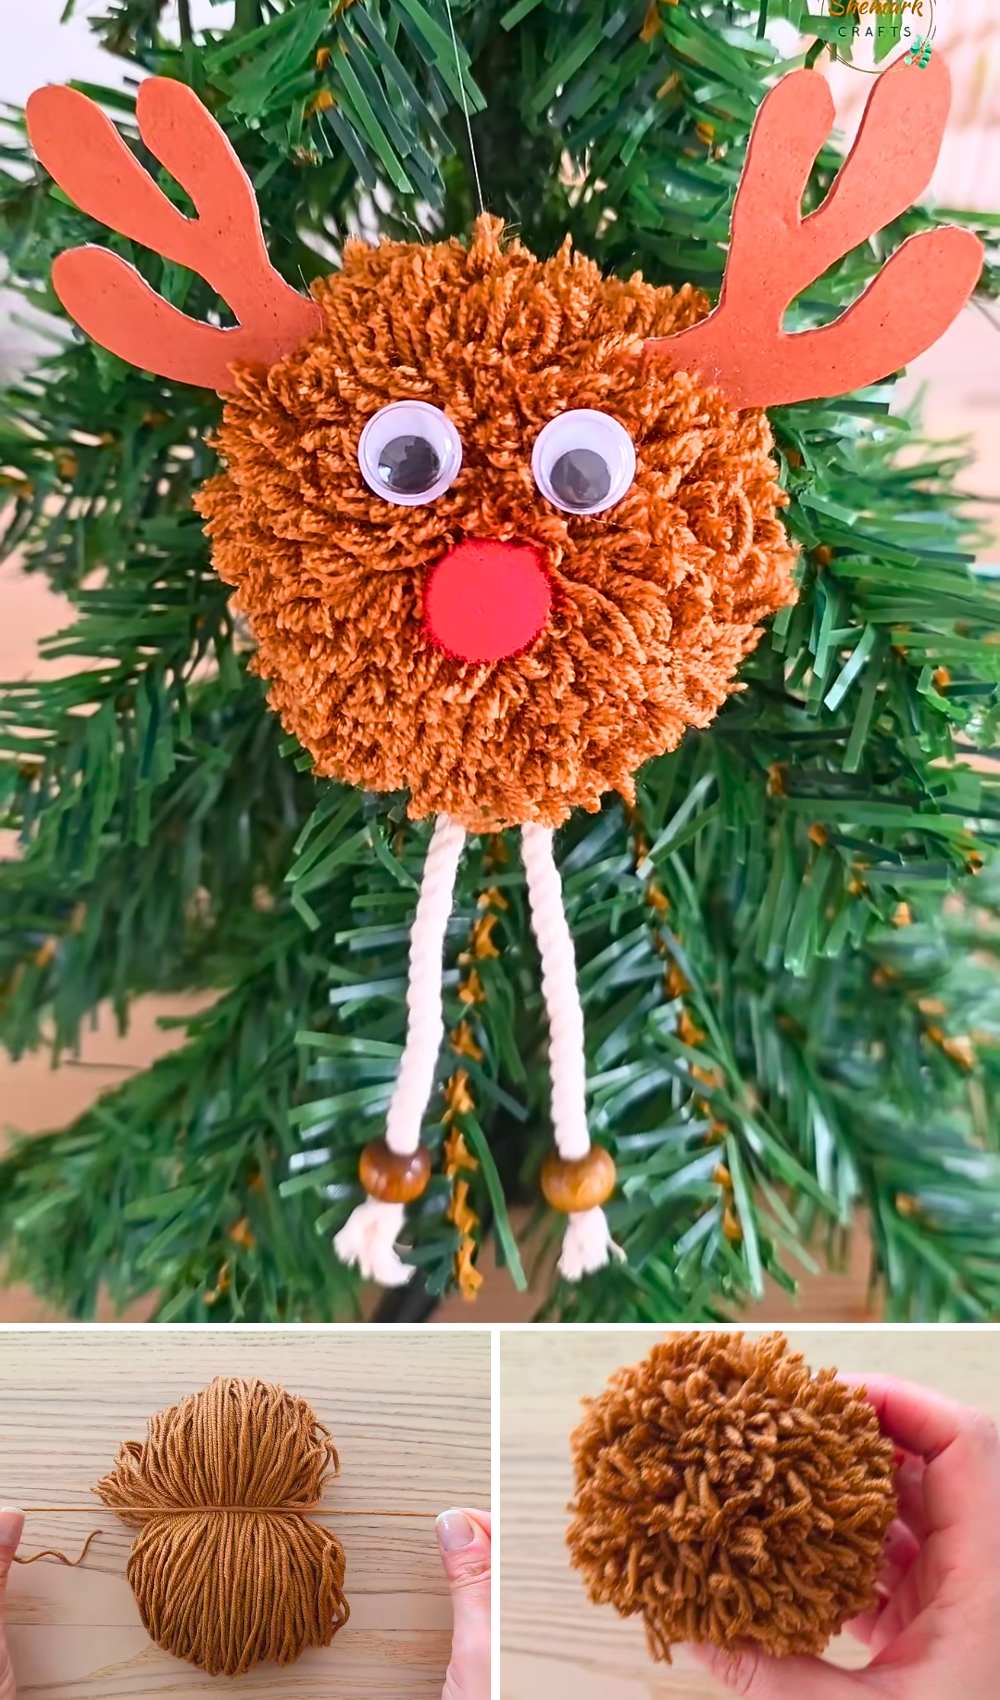
In today’s “DIY easiest Christmas ornament plushies” tutorial, you will learn how to DIY this oh-so-cute reindeer using some yarn, a small pom pom in red, craft googly eyes, and spacer beads. This is a leggy sphere reindeer plushie ornament that needs no experience in no-knit yarn crafting. Below, you will find a FREE printable template to cut the reindeer antlers from the foam sheet. Since this reindeer plush ornament is designed to be simple, we will obtain a funny final reindeer plushie look.
Googly-Eyed Reindeer Ornament Plushie
This looks like a reindeer plushie won’t take more than 10 minutes, and you will end up with a last-minute Christmas animal present for kids, too. You can also top it with a reindeer toy, your Christmas gift boxes, making small arms for them, and letting it hold the card.
Or prepare it as a Christmas bag charm. Just start by making a pom-pom ball using brown yarn, add the rope legs with the spacer beads, and add the face features afterwards. Now, continue reading to learn more about this no-knit Christmas reindeer plush!

Tutorial to DIY A Sphere Reindeer Ornament
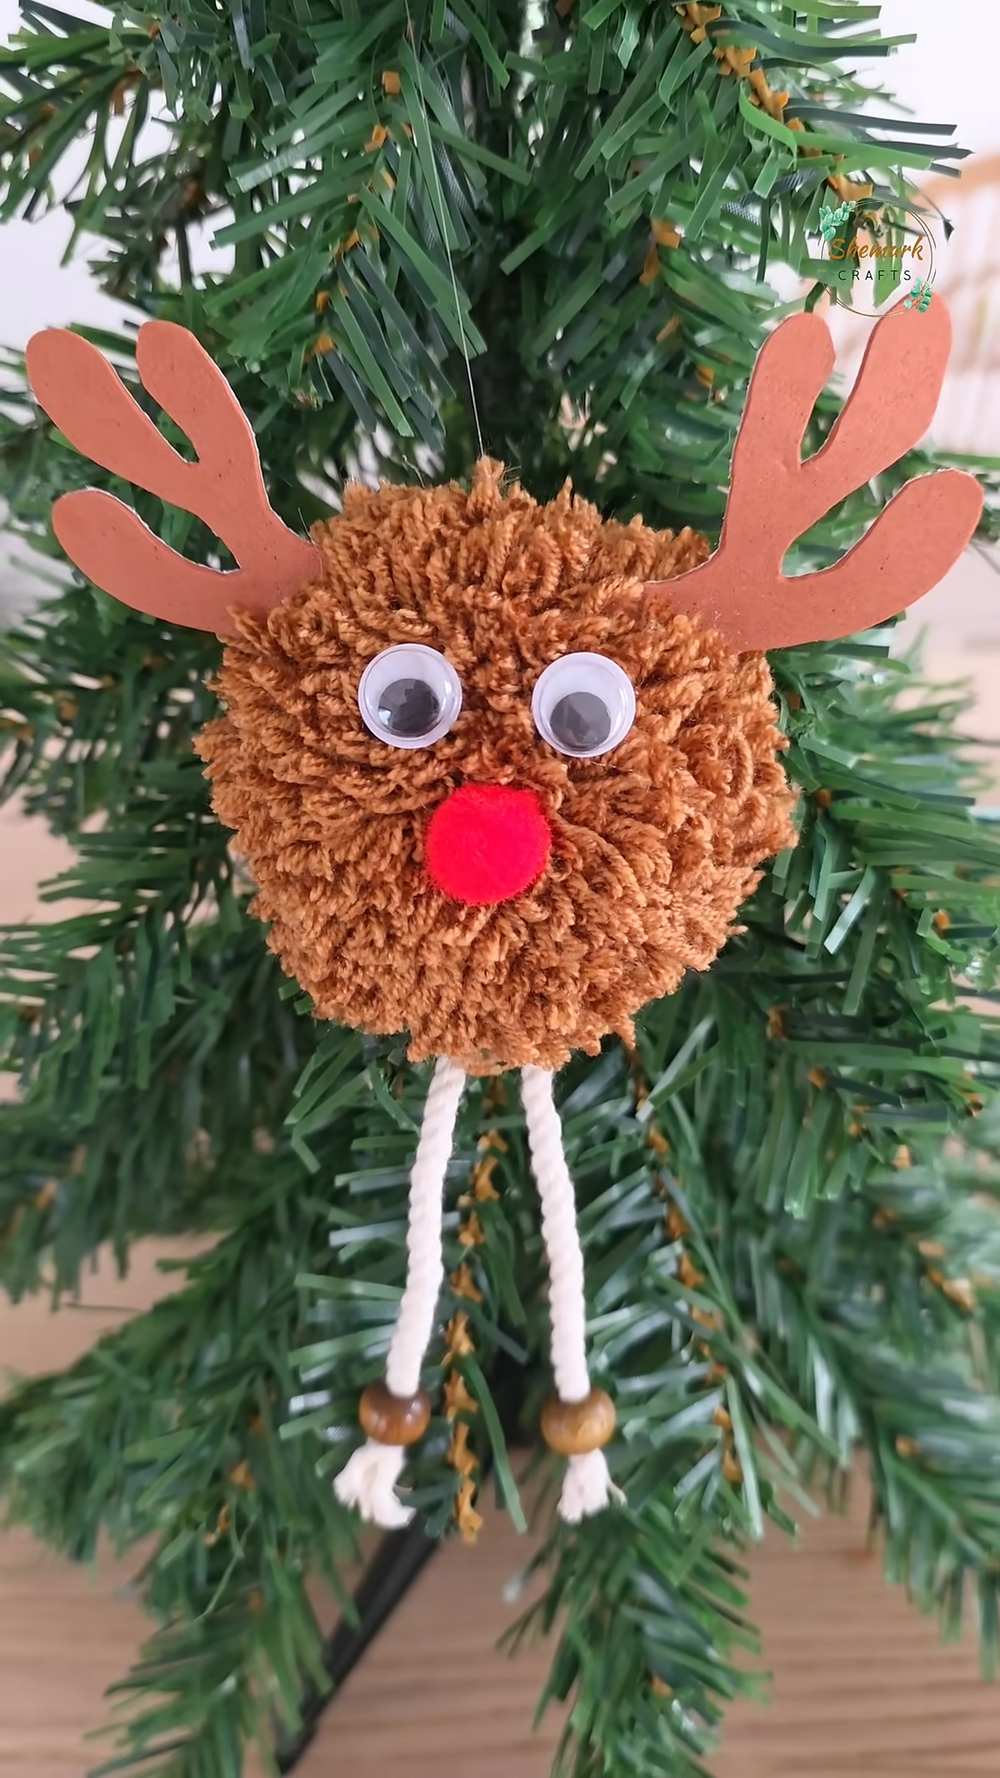
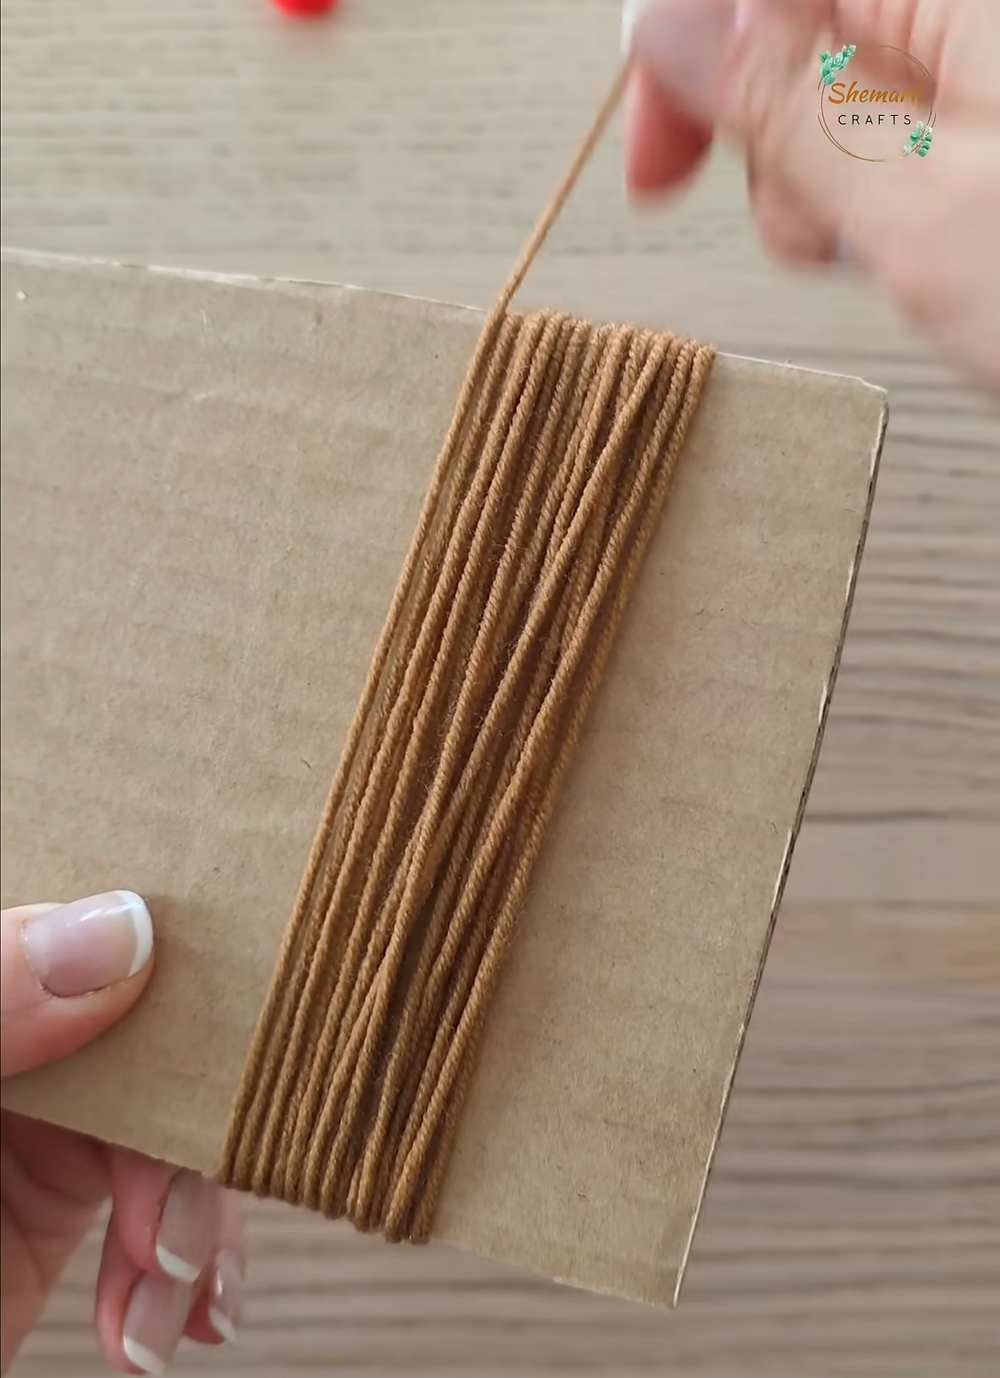
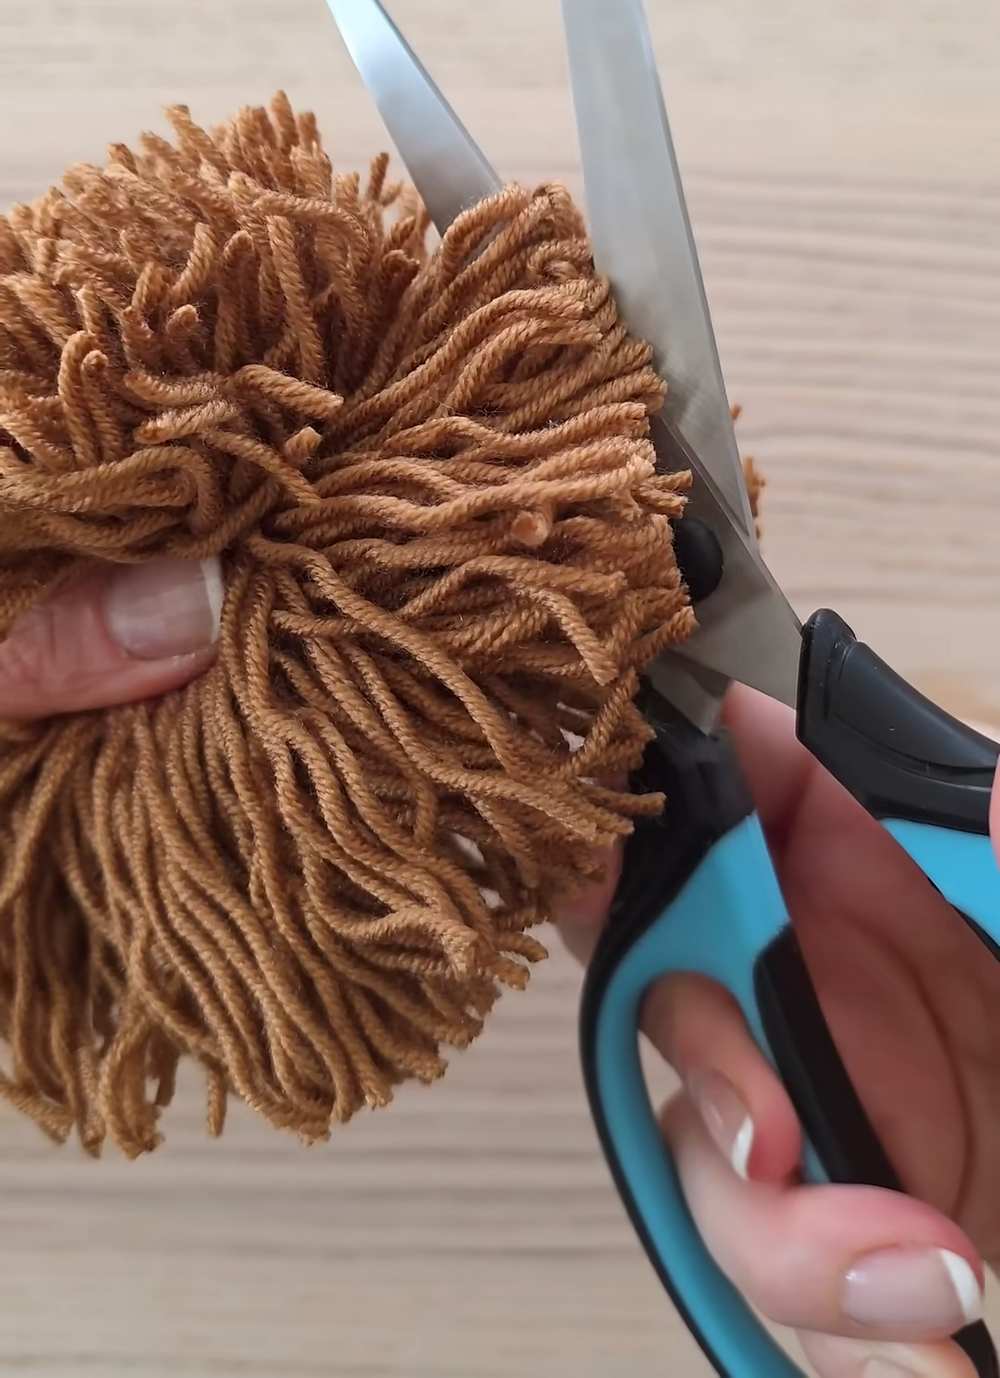
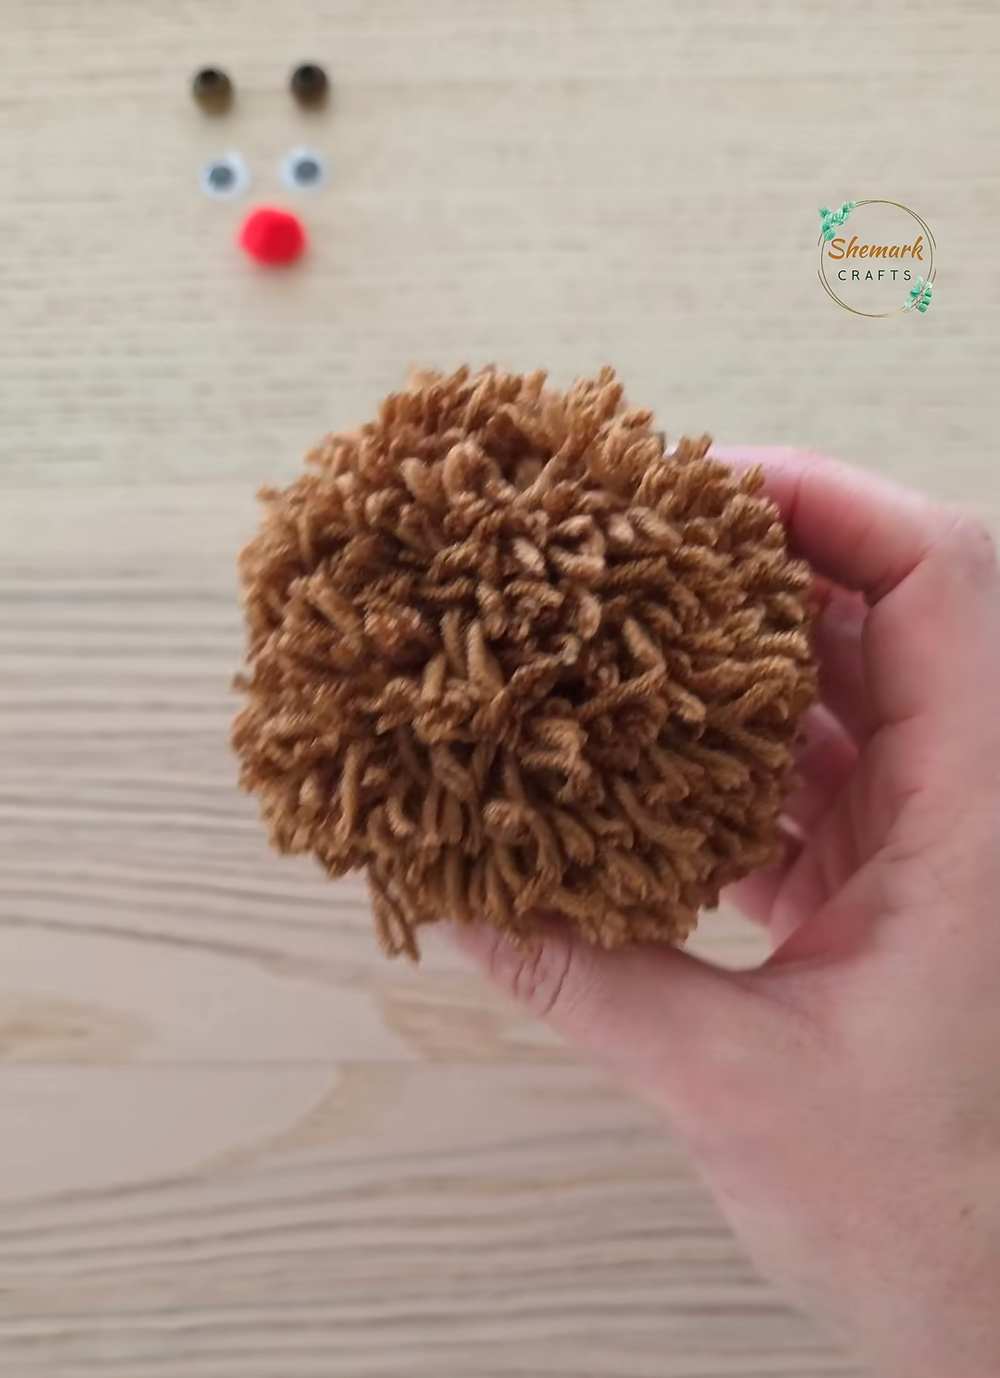
This project is a way to make a reindeer from yarn. You use brown yarn to make a round ball. First, wrap the yarn around a piece of thick paper. Then, tie a string in the middle. Cut the loops with scissors to make it fluffy. Trim the yarn into a circle.
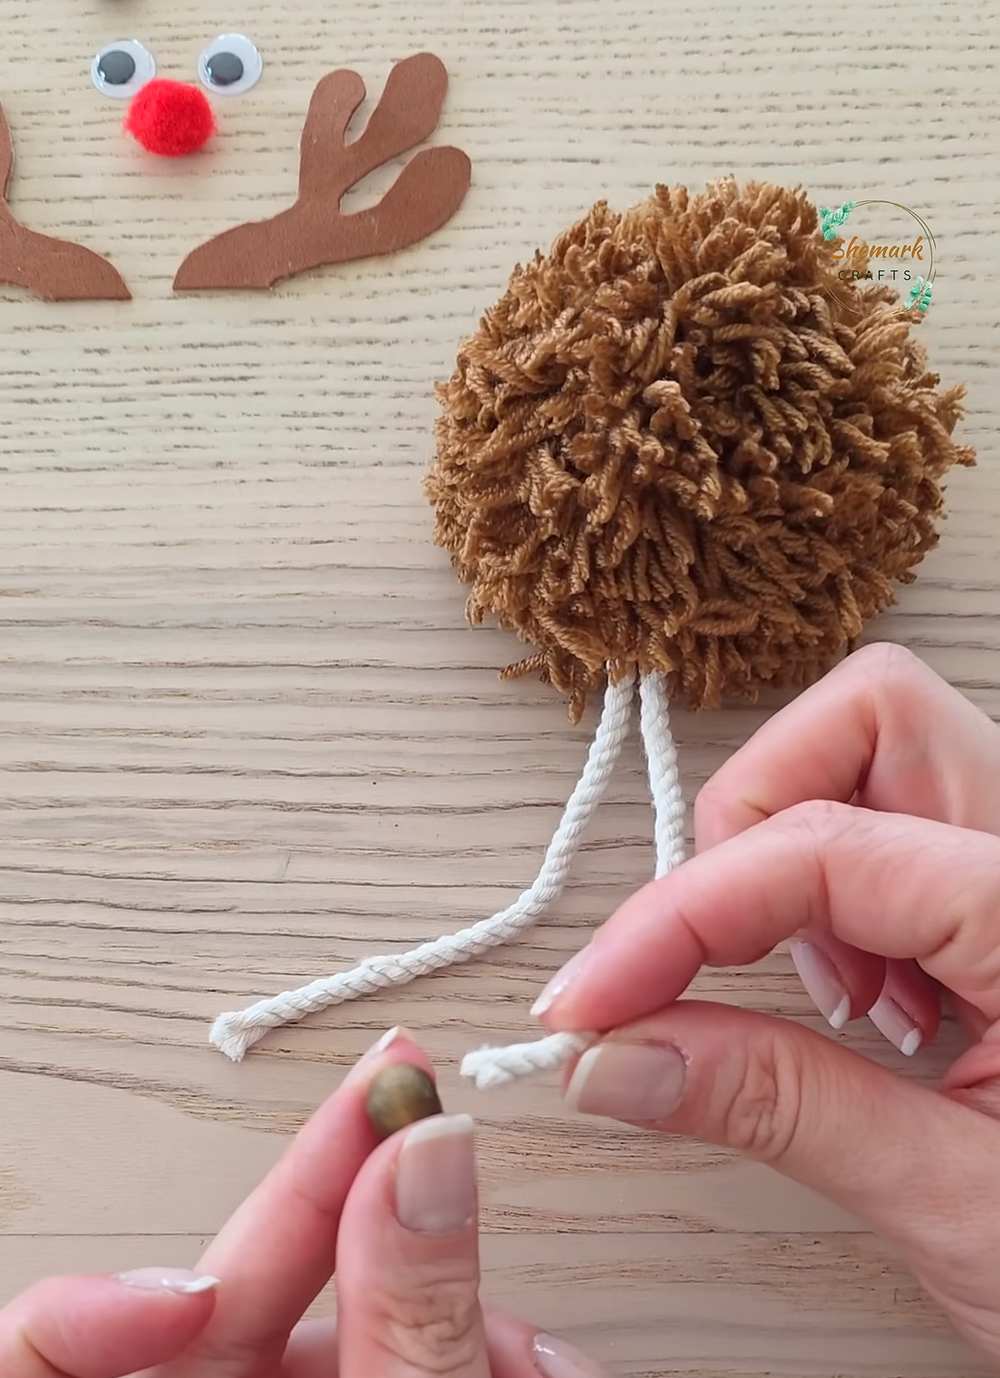
Glue white rope at the bottom to make legs. Put small wood balls on the rope for feet. Cut antler shapes from brown foam and glue them on top. Glue a red ball for the nose and two eyes on the face. It is a nice decoration for a tree.
DIY Yarn Reindeer Ornament Guide
Materials Needed:
-
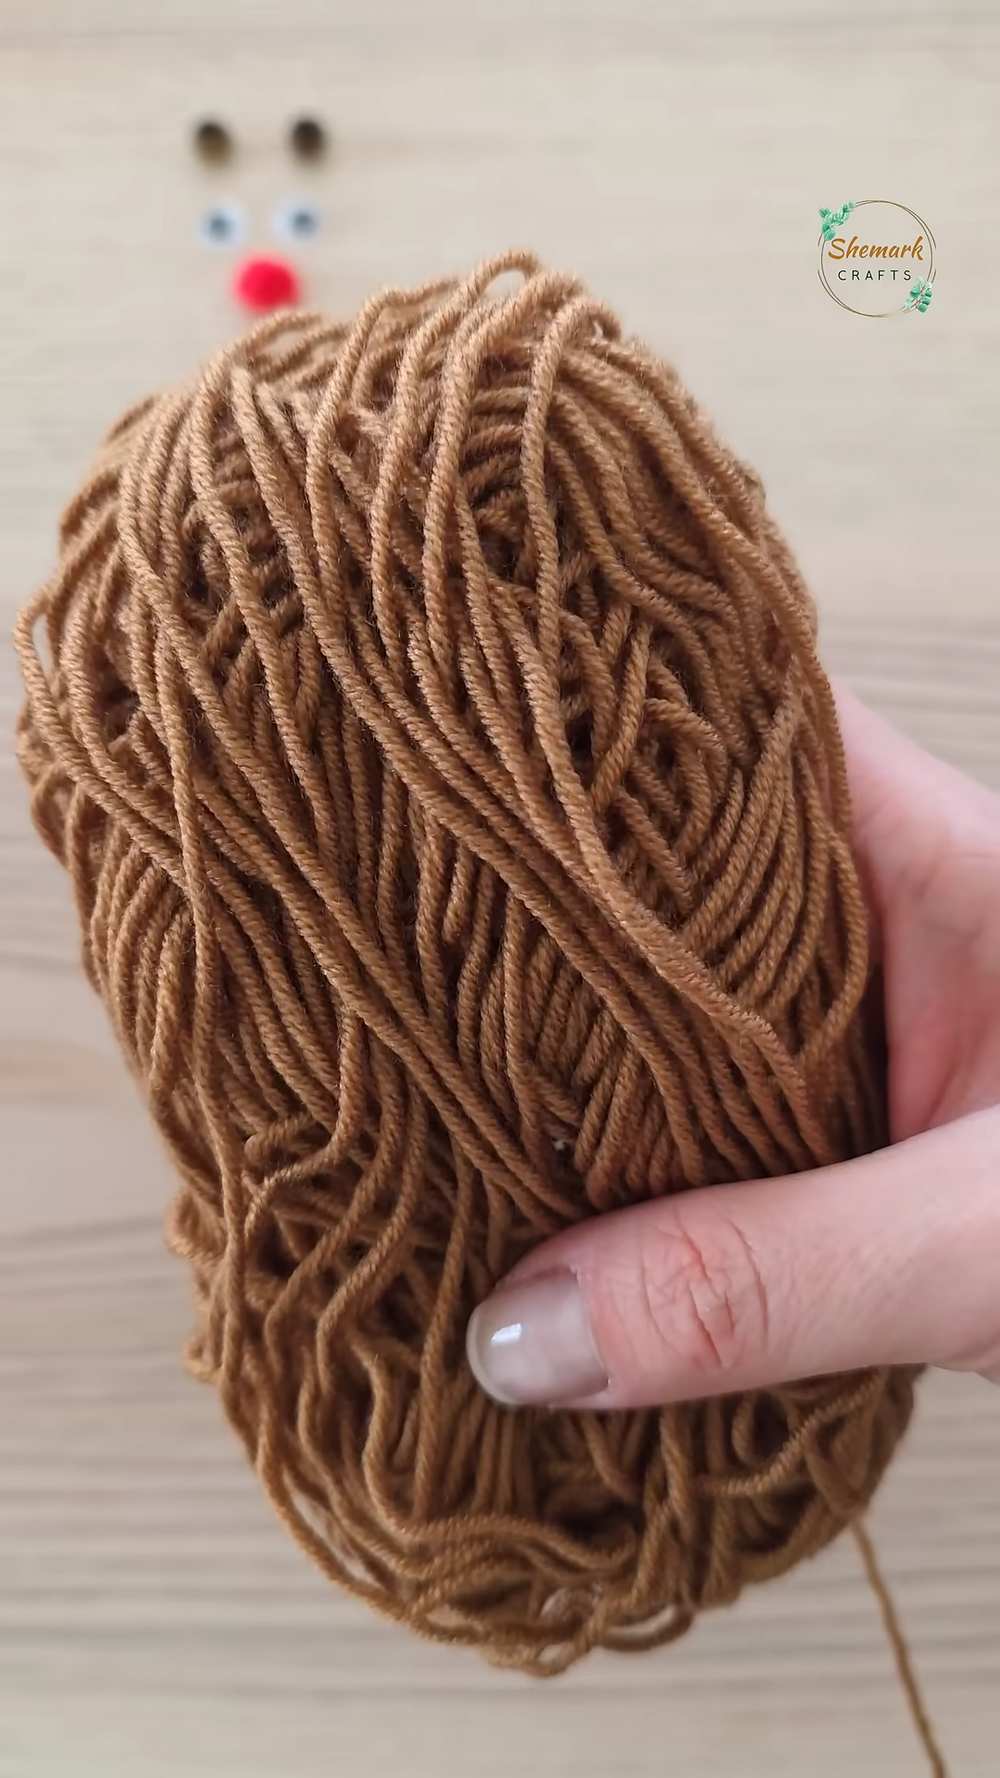
Brown yarn
-
A piece of cardboard (about 4–5 inches wide)
-
Scissors
-
White rope or thick string
-
Two small wooden beads
-
Brown craft foam or stiff felt
-
Small red pom-pom (for the nose)
-
Googly eyes
-
Hot glue gun
Video Tutorial?
Detailed Instructions:
Step 1: Make the Reindeer Body (Pom-Pom)
-
Take your brown yarn and wrap it around the piece of cardboard many times (about 50-70 times) until it is thick.
-
Carefully slide the bundle of yarn off the cardboard.
-
Take a separate piece of yarn and tie it very tightly around the center of the bundle.
-
Use scissors to cut all the loops on both sides of the tie.
-
Trim the yarn with your scissors to make it a neat, round ball. This is the reindeer’s head and body.
Step 2: Attach the Legs
-
Cut a piece of white rope (about 6–8 inches long) and fold it in half.
-
Find the center of the bottom of your yarn ball. Use your fingers to move the yarn aside.
-
Apply a small amount of hot glue to the center and press the folded “loop” of the white rope into the glue. Let it dry.
Step 3: Add the Feet
-
Slide one wooden bead onto each end of the white rope.
-
Tie a knot at the very end of the rope to keep the bead from falling off.
-
Trim any extra rope below the knot.
Step 4: Add the Antlers
-
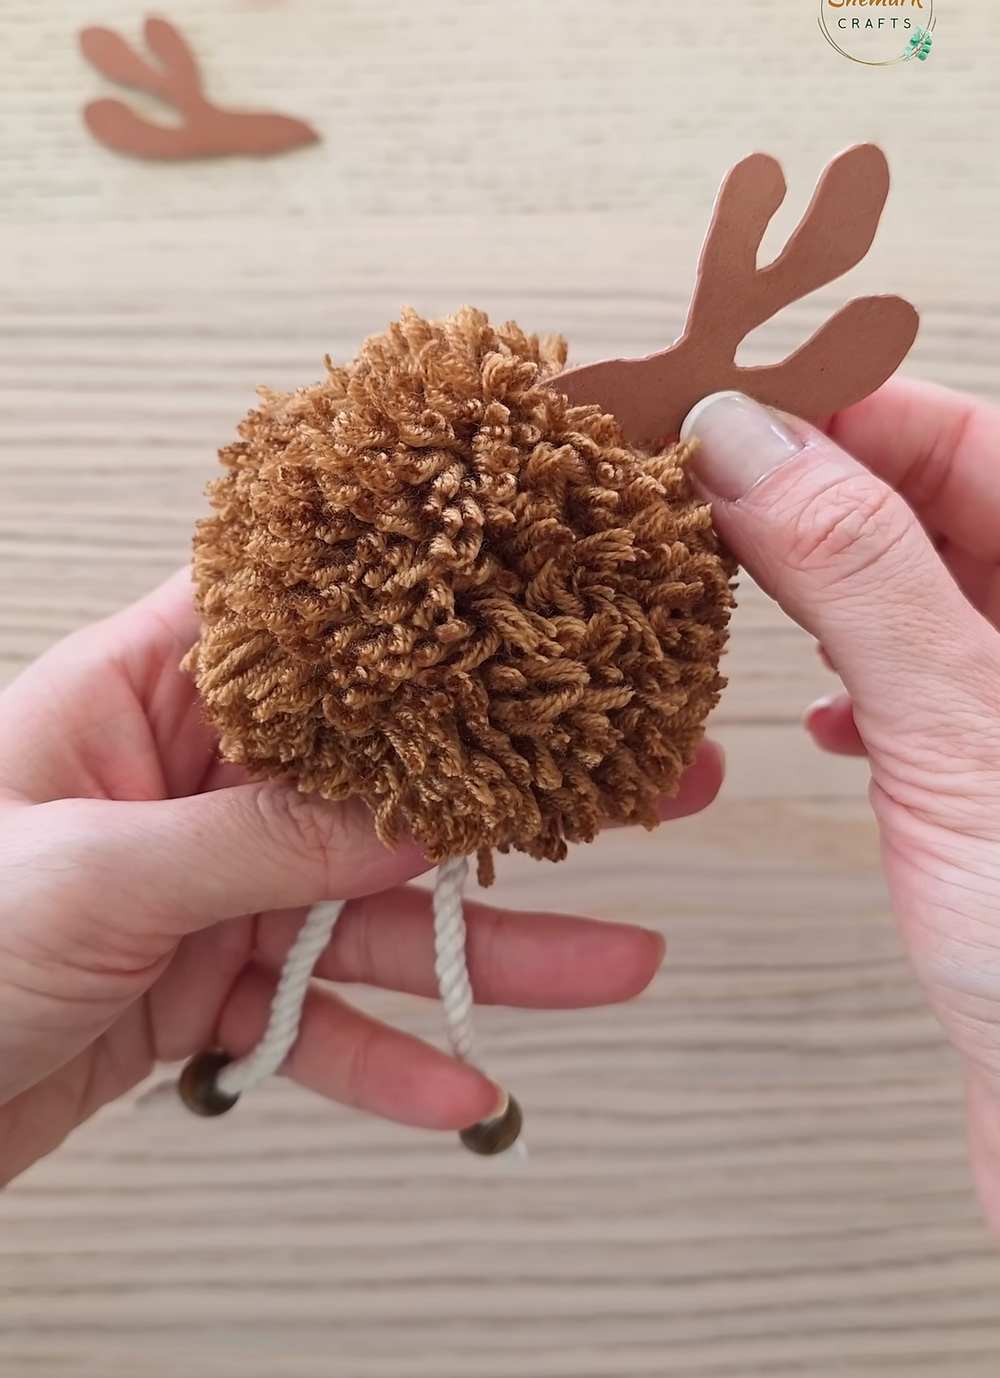
Draw and cut two antler shapes from the brown craft foam.
-
Apply glue to the bottom of the antlers and press them into the top of the yarn ball.
Step 5: Create the Face
-
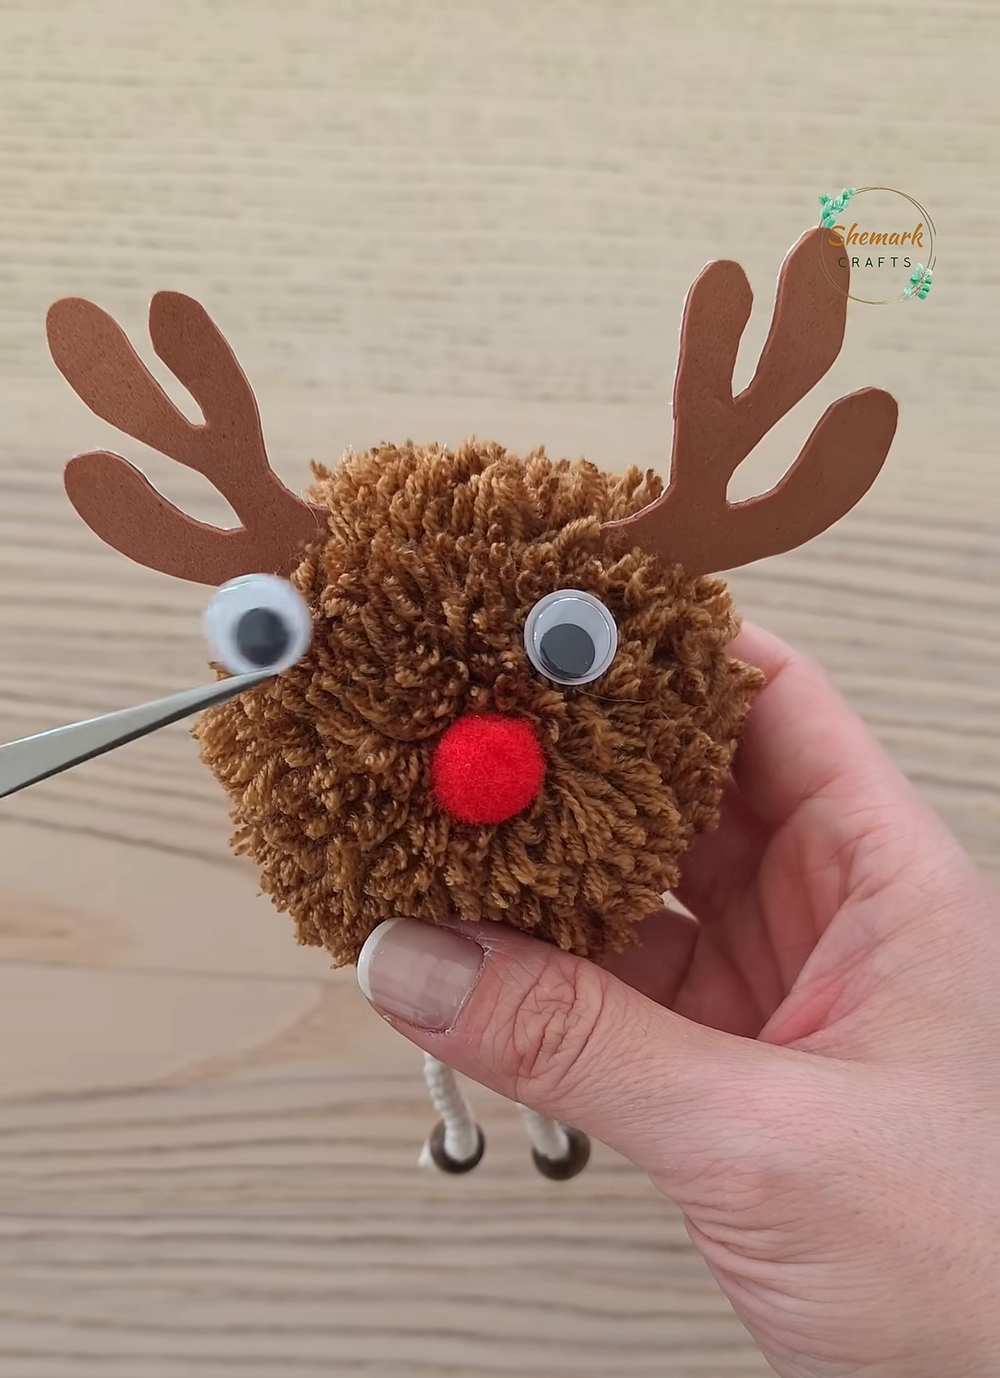
Use tweezers or your fingers to apply glue to the small red pom-pom and stick it to the center of the yarn ball for the nose.
-
Glue the two googly eyes just above the nose.
Step 6: Finish
-
Your reindeer is now ready! You can tie a small loop of string to the top (behind the antlers) to hang it on your Christmas tree.
About "Shemcrafts"
She is an incredible pom, pipe cleaner and yarn craft!