


The kite base is probably the simplest of all origami bases. It is also a preliminary fold for a fish and diamond base.
Several traditional origami models start with this base. The kite fold is also one of the most common folds in traditional origami.
For example, the popular Japanese Crane. In this tutorial, I will teach you how to make an origami kite base in just 4 steps.
With the corner labeling, you can learn to make it easily, even with pictures.
I will also mention some origami projects you can later make with a kite base and kite fold. Now, let’s dive into this.
What is Origami Kite Base?
The origami kite base is one of the 12 traditional origami bases. It is obtained from a square sheet by making one diagonal crease and aligning the edges of both sides at exactly this crease.
This base is bilaterally symmetric and great for making birds like ducks and swans. The defining folding operation of this base is the kite fold.
Traditional Origami That Use Kite Base
These origami models will start by completely making a kite base:
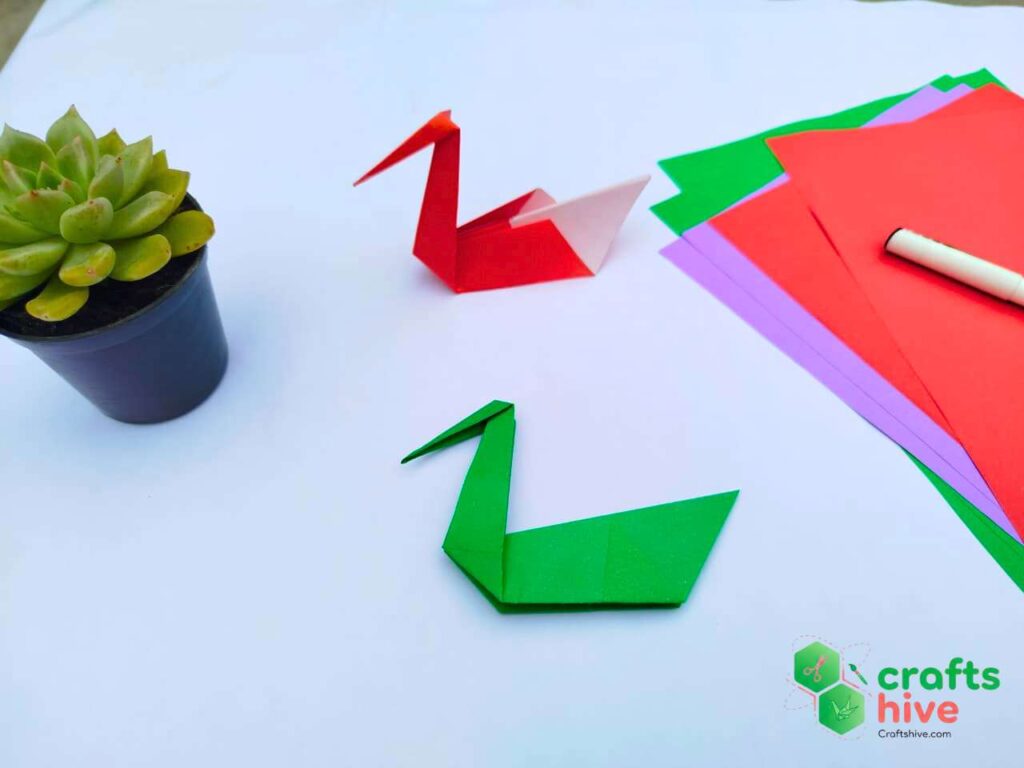
Swan (traditional)
Duck (traditional)
Penguin (traditional) – The edges are not aligned exactly at the crease
Fish (traditional)
Traditional Origami That Use Kite Fold
These origami models may start with a different base, like a square base, but use the kite fold while working:
- Bird base
Crane / Traditional Bird
Frog
Tulip (most versions)
Butterfly
- Iris
Origami Kite Base Tutorial
Preparation: Paper Sheet and Corner Labeling
On a clutter-free, solid surface like a table, I will place a square sheet of paper. Mine is a 14cm by 14cm paper sheet. You can also a lined paper from your notebook for practice.
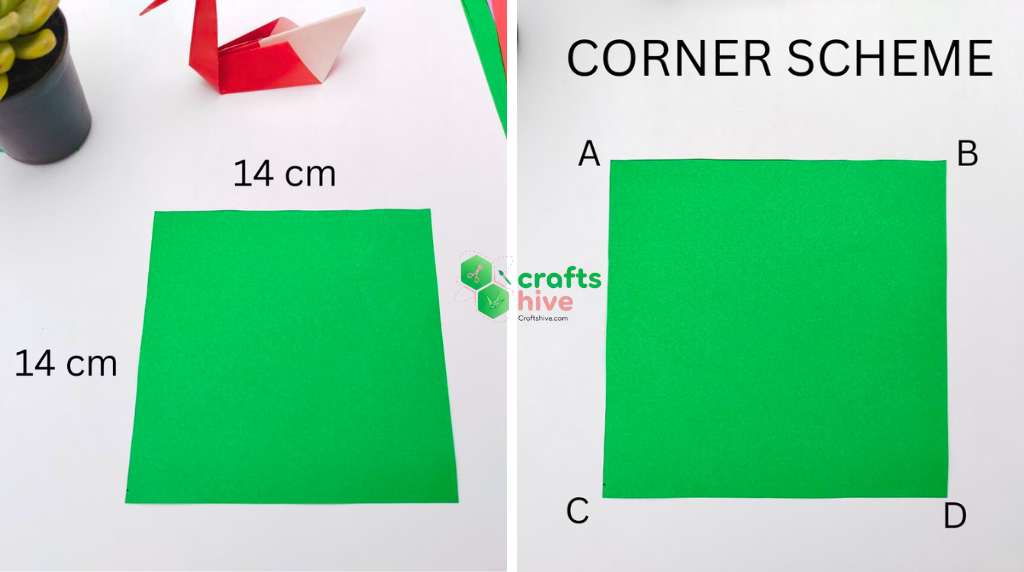
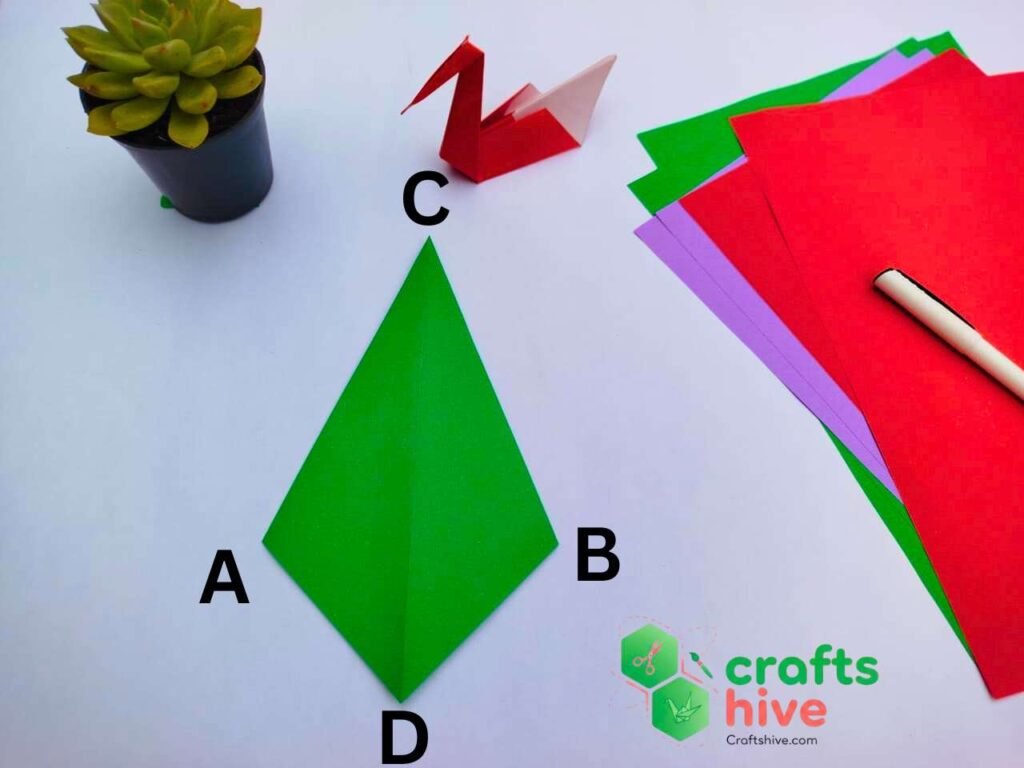
To make instructions easy to understand, I will label the corners of our square sheet as A, B, C, and D.
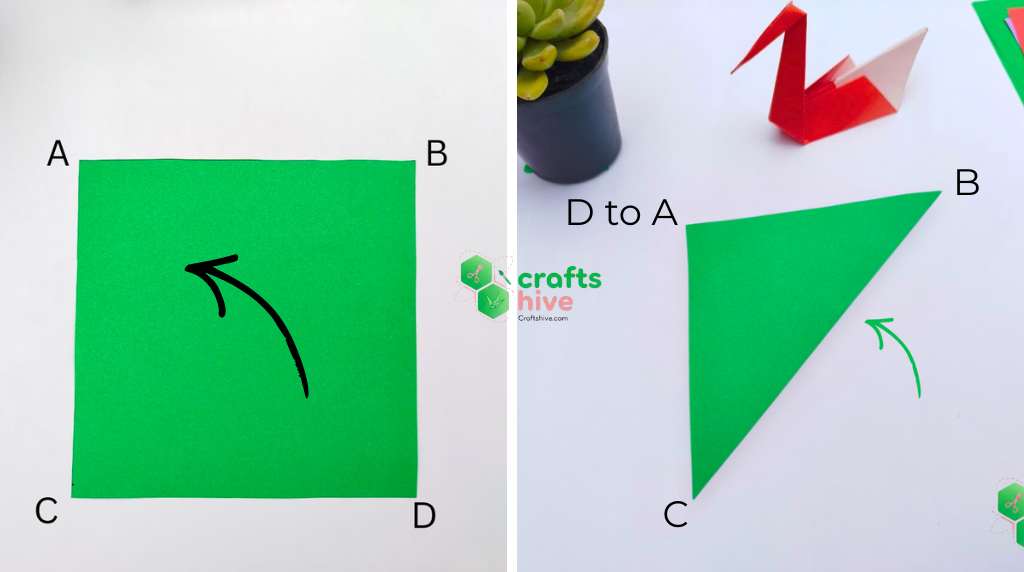
Step #1: Make The Diagonal Crease
Fold your square sheet of paper diagonally in half, press the fold across with a ruler or finger, and unfold it. Make sure your crease is visible enough by pressing hard. You should be left with a right triangle before unfolding the sheet.
Labeled Instruction: Hold the corner D and fold it meets with corner A. Crease BC will appear after pressing.
Step #2: Rotate the Creased Square
Rotate your square sheet sideways bout 45 degrees afterwards. From your perspective, the paper will look like a diamond. You can also do this before step #1.
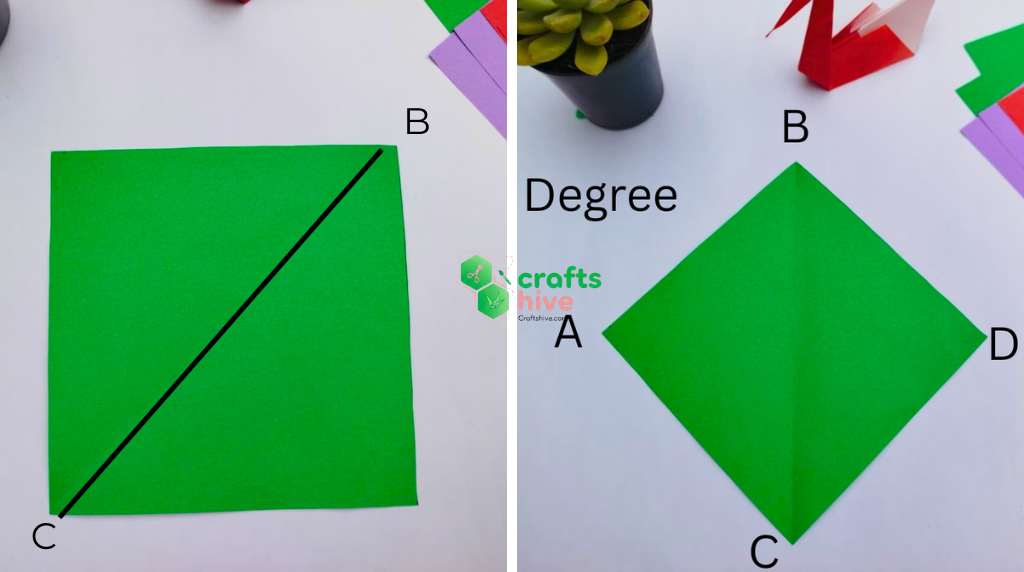
The corners are still labeled A, B, C, and D.
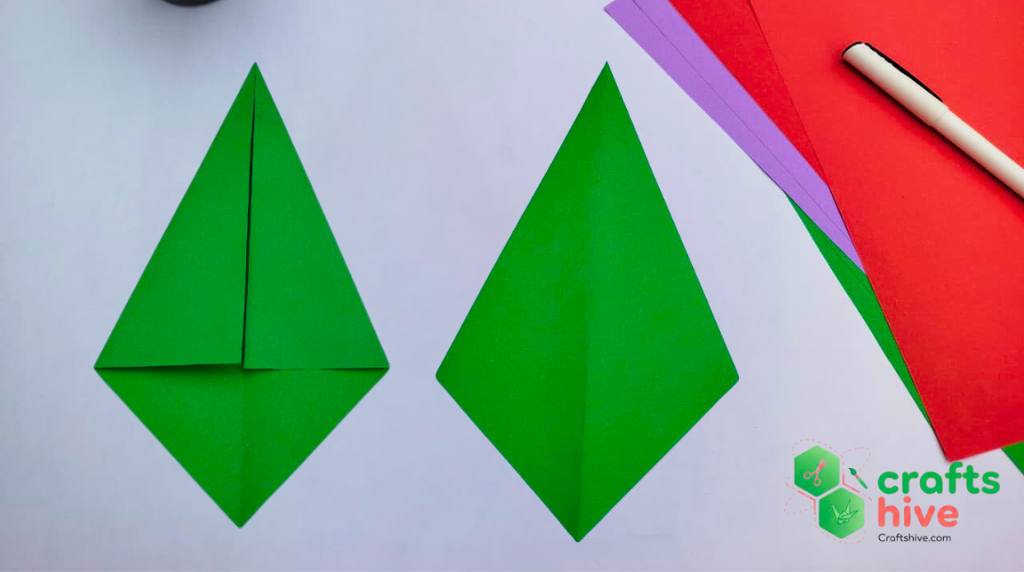
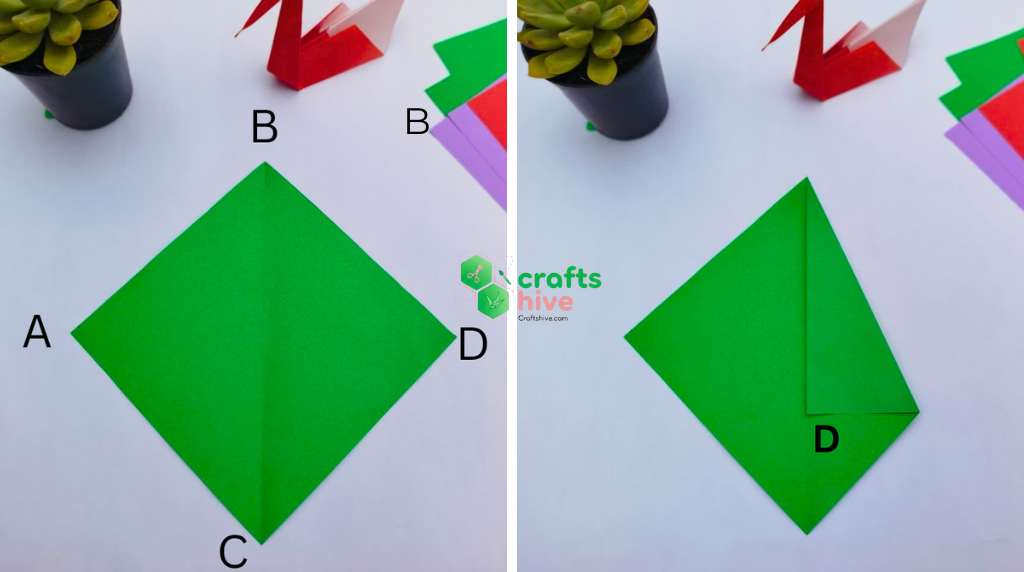
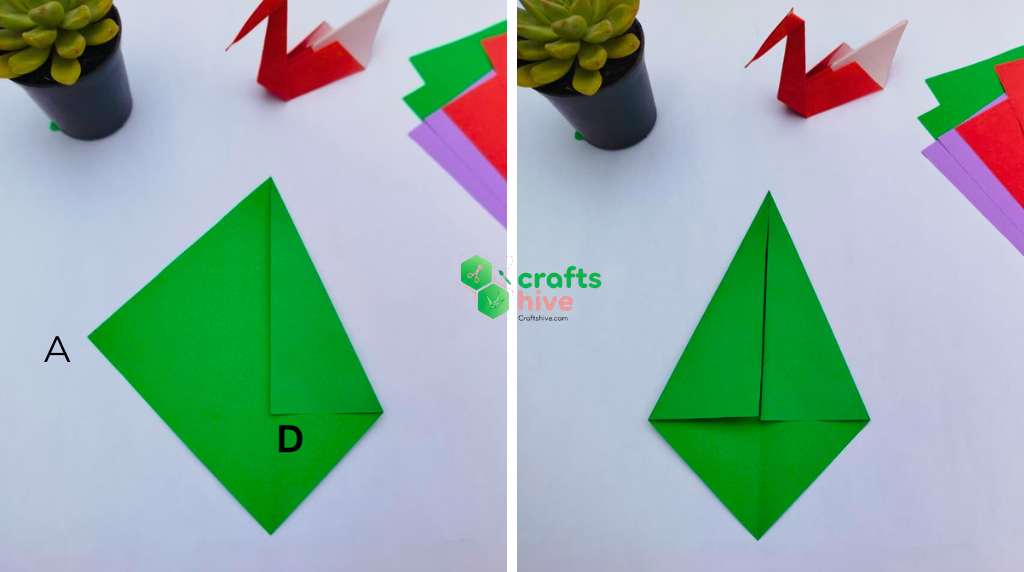
Step #3: Make the Half Kite Fold
Hold the right corner (corner labeled D) of the diamond and fold it such that the side BD aligns with the crease BC. We shall call it “half diagonal fold.” This will complete half of our kite sheet.
For the penguin kite variation, you simply fold your sheet such that BD does not axactly aligns with BC.
Step #4: Second Kite Fold
Make another half diagonal fold, this time using the left corner (corner labeled A). This completes our kite base. You can see why it is called a kite by turning your origami work upside down.
See The Finished: Upside Down
When you rotate your kite 180 degrees, you can see a visible folding mark. That is how our finished kite base will look like.
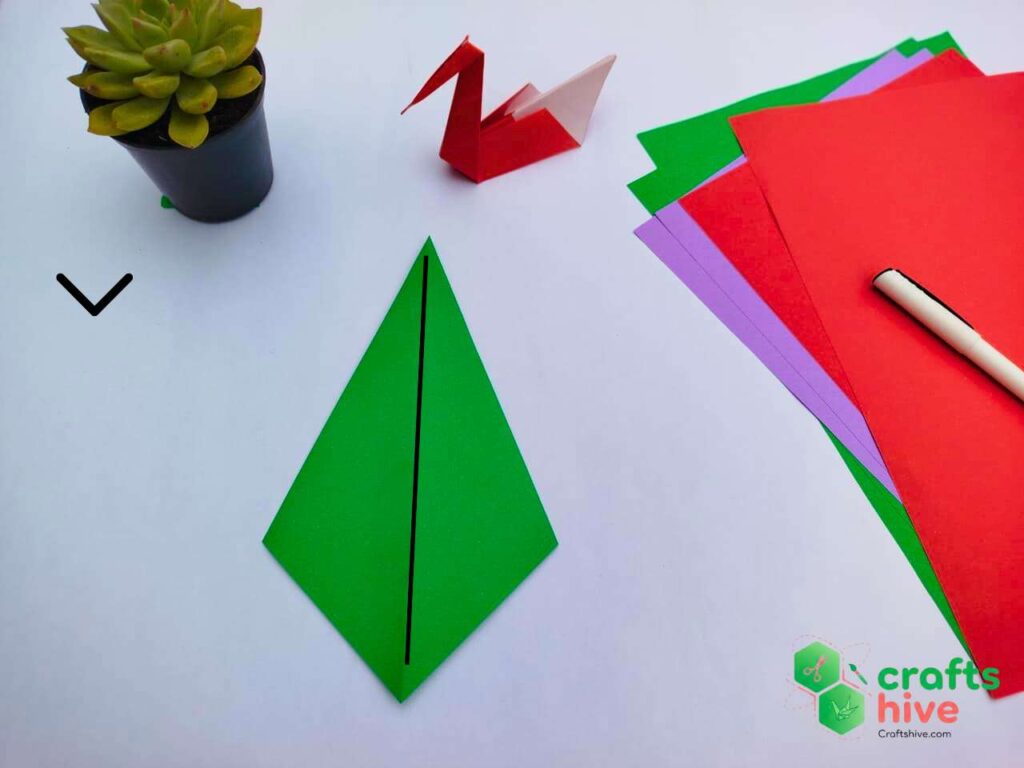
Learned the Kite Base? Before You Go, share with us our work and also make the origami swan.
How to Make a Kite Fold
To make a kite fold, make sure the folded model you have is a square and rotated 45 degrees. First, make a half fold so that the guiding crease becomes visible.
Now you can make the kite fold in two ways: considering the top left or right side as a side to align with the crease, or the bottom left or right side.
This will depend on your origami model’s needs. For example, to make a crane that is in the neighbourhood of the corner that can be opened will always be the side. So, make sure to check for the needs of your model.
Just grab one corner, choose the side, and align with the crease. Do the same for the other side.
About "Origamist@Craftshive"
Our origamist is expert in both the traditional origami and designing some REALLY creative crafts.
 How to Fold Origami Jumping Frog in 10 Steps
By Origamist@Craftshive
How to Fold Origami Jumping Frog in 10 Steps
By Origamist@Craftshive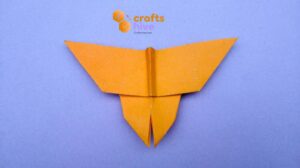 How to Fold Easy Origami Butterfly in 12 Steps
By Origamist@Craftshive
How to Fold Easy Origami Butterfly in 12 Steps
By Origamist@Craftshive How to Fold Origami Ninja Star in 7 Steps
By Origamist@Craftshive
How to Fold Origami Ninja Star in 7 Steps
By Origamist@Craftshive How to Craft Cute Paper Bow with Origami and Cutting
By Origamist@Craftshive
How to Craft Cute Paper Bow with Origami and Cutting
By Origamist@Craftshive How to Fold Easy Origami Penguin for Winter
By Origamist@Craftshive
How to Fold Easy Origami Penguin for Winter
By Origamist@Craftshive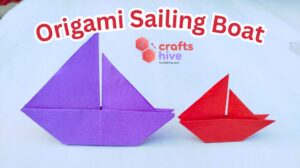 How to Fold Origami Sailing Boat in 8 Steps
By Origamist@Craftshive
How to Fold Origami Sailing Boat in 8 Steps
By Origamist@Craftshive How to Fold Origami Traditional Heart for Valentine’s Day
By Origamist@Craftshive
How to Fold Origami Traditional Heart for Valentine’s Day
By Origamist@Craftshive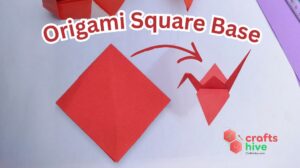 How to Make Origami Square Base in 4 Steps
By Origamist@Craftshive
How to Make Origami Square Base in 4 Steps
By Origamist@Craftshive How to Make An Easy Origami Swan in 13 Steps
By Origamist@Craftshive
How to Make An Easy Origami Swan in 13 Steps
By Origamist@Craftshive