


Let’s make a 1-minute origami penguin from traditional models in 10 simple steps. Using the Kami paper or glued black and white sheets, it will look so accurate and cute. You can add this easy paper pengin to your winter crafts and drawings.
If you are a beginner, you should start with this model and then tackle other penguins like 3D origami penguin. I will explain folding it with corner and section labeling. So, you are good to go.

Origami Penguin: Step-by-Step Instructions
Model Difficulty: Beginner level 2
Fold Difficulty: A little (especially if you join two crafting sheets)
Model Type: Traditional
Folding time: 1 minute
Supplies:
- Glue
- Scissors
- White and black origami sheet or Kami paper
Before you fold the Origami Penguin
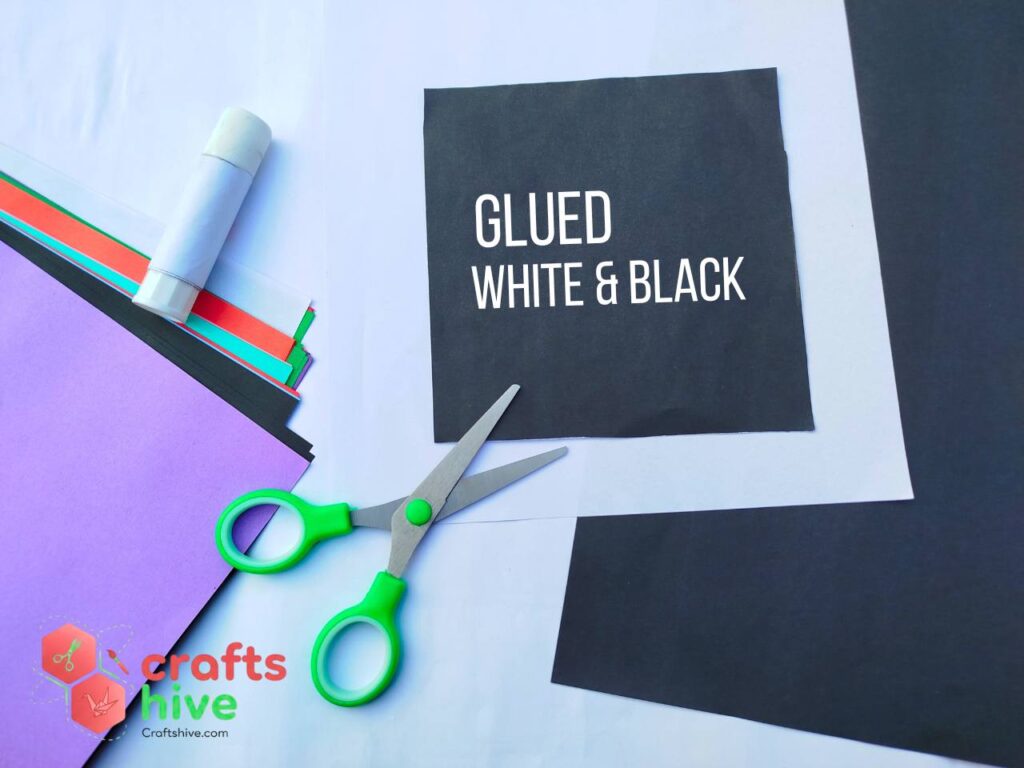
It is always recommended to use a Kami Paper (the one with white on one side and a color or pattern on the other) for folding the traditional origami penguin.
It is because we fold such a penguin using a single sheet of paper, but the finished model must have distinguishing parts.
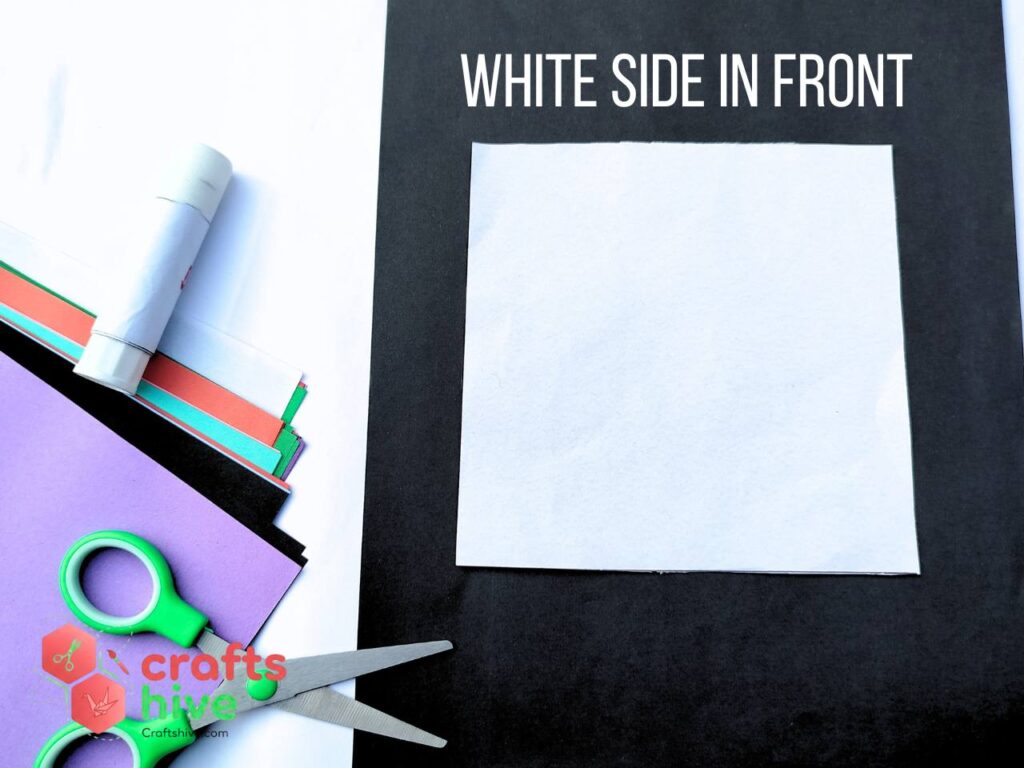
However, I always carry and love to work with the Tant Paper (solid colored). So, I first glued a black and a white tant sheet and cut a single 14cm by 14cm square sheet.
To begin with, place the paper sheet on the table with the white side facing you (in front).
Step #1: Rotate the Sheet 45 Degrees
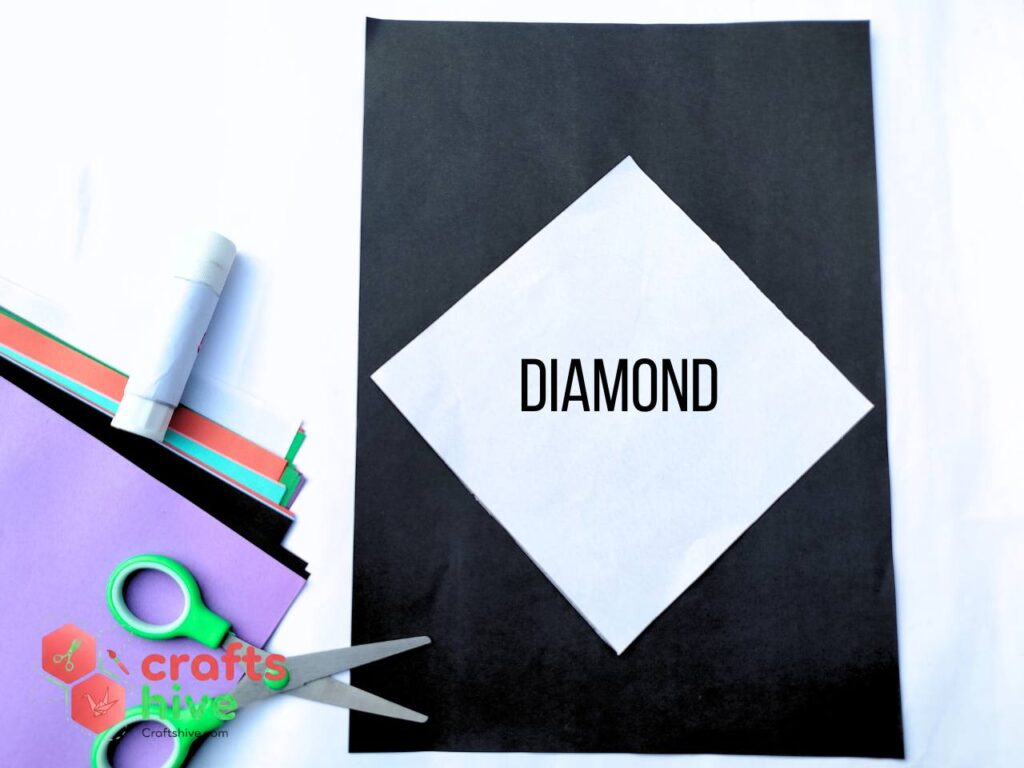
Turn your square sheet into a diamond by rotating it at an angle of 45 degrees. The diagonal line will be the axis of symmetry for the finished penguin.
It will have one top, one bottom, one left, and one right corner. Plus, two top sides and two bottom sides.
Step #2: Diagonal Fold
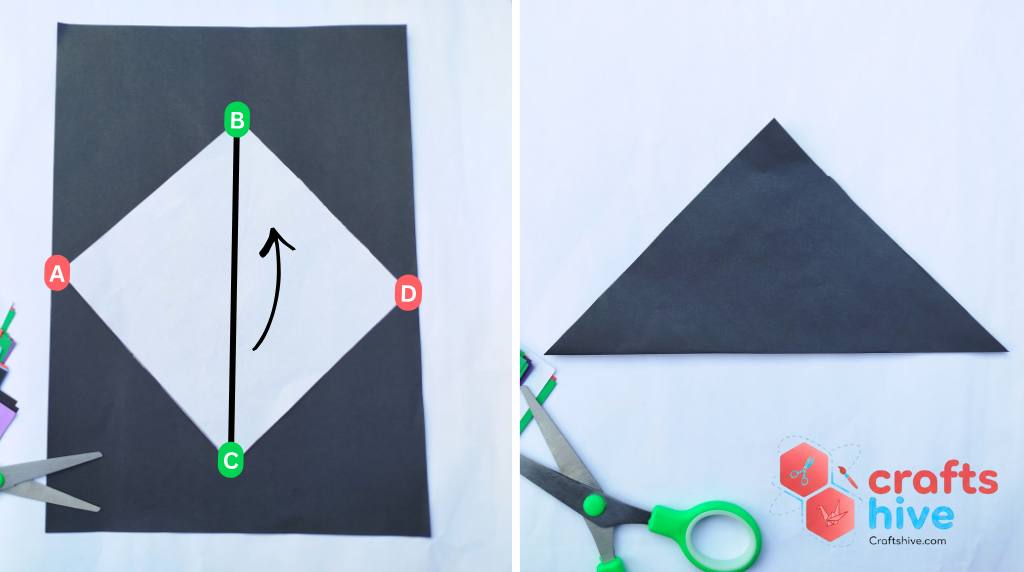
Fold the bottom corner of the diamond onto the top corner, and align the bottom sides with both the top sides. Then press the paper very well.
We shall have a triangle with two top sides and one bottom side.
Label Instruction: Fold the corner C onto the corner B and align the side CD with the side BD. Similarly, align the side AC with the side AB.
Step #3: First Valley Fold
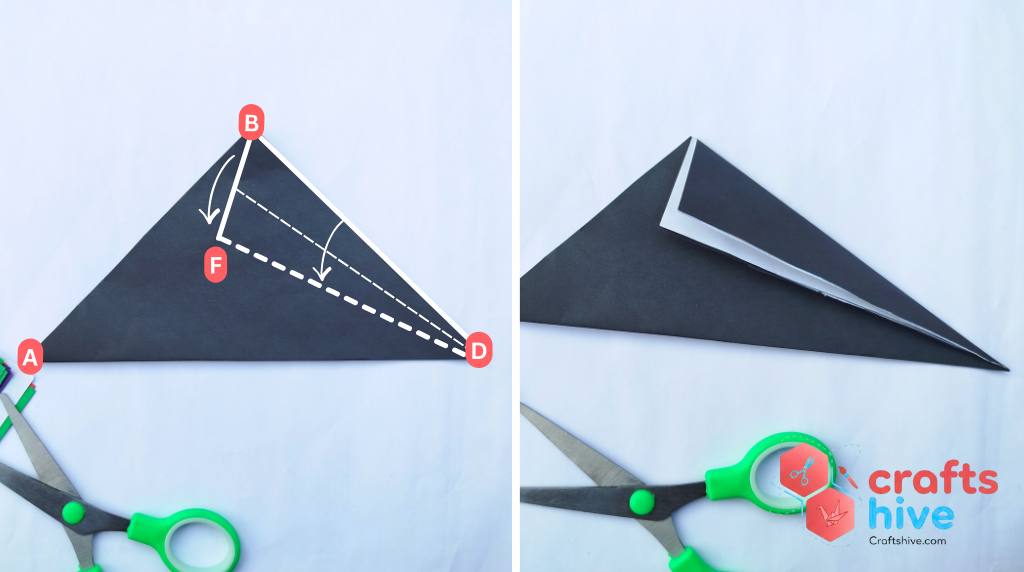
Now, we have to fold for the guiding creases of equal dimensions for the arms of the penguin. For this, valley fold the top right side of the folded triangle straight down to the bottom.
You can settle the corner at about some angle to the centre line and about 1/3 of the height.
Label Instruction: Valley fold the side BD from back to front and align with the marked line FD.
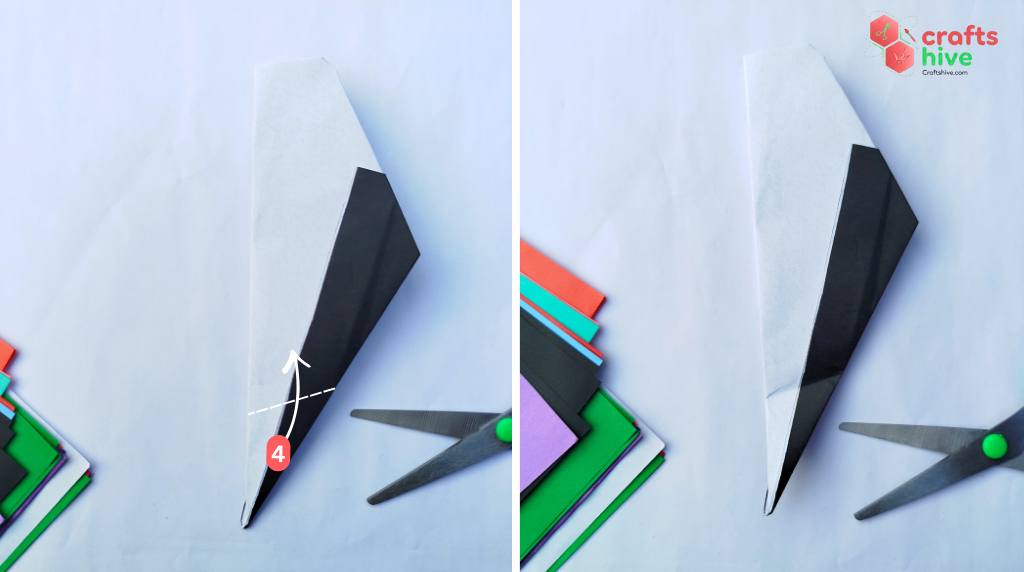
Step #4: 2nd Valley Fold
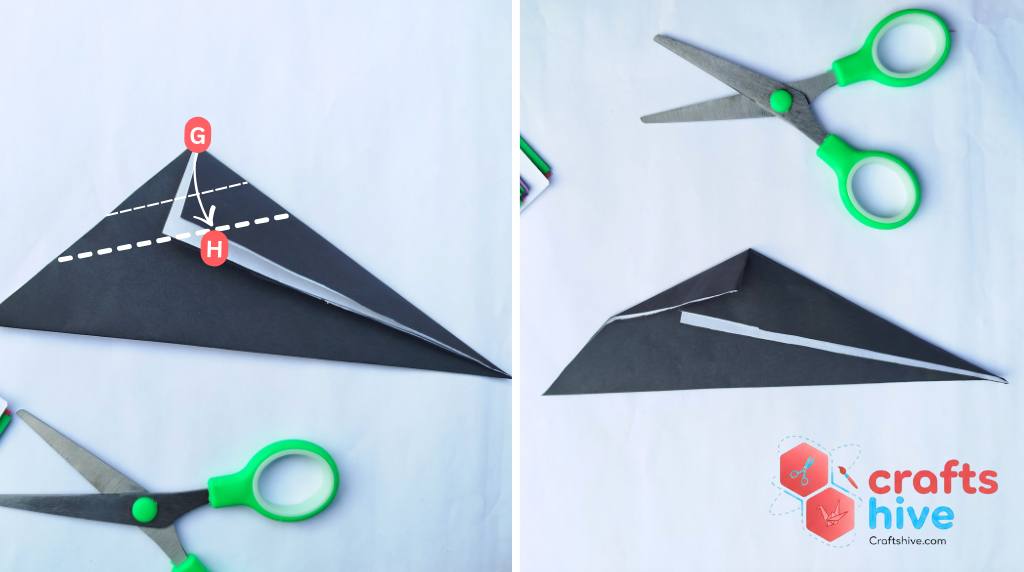
To make guiding creases for the arms of the penguin, we shall valley fold the top corner of the newly created triangle from the previous fold. Fold that corner down to the bottom like above in the picture.
Label Instruction: Valley fold the corner G onto the marked point H.
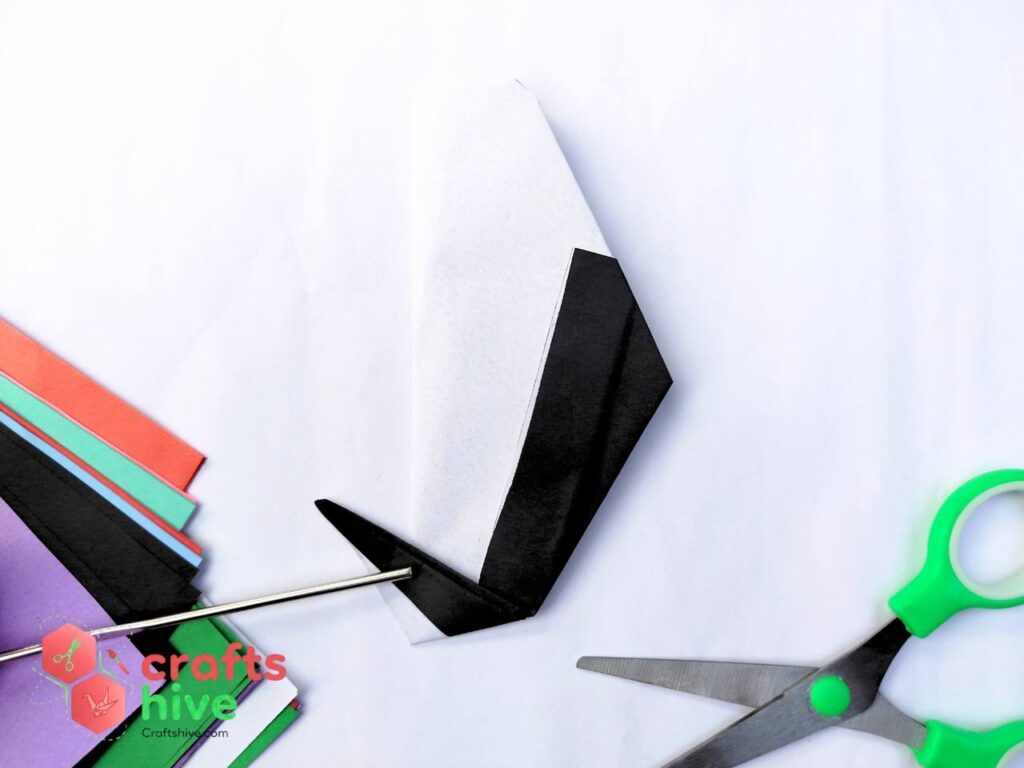
Step #5: Unfold
Now, unfold everything and place the sheet in diamond form, and bring the white part in front.
Step #6: First Mountain Fold
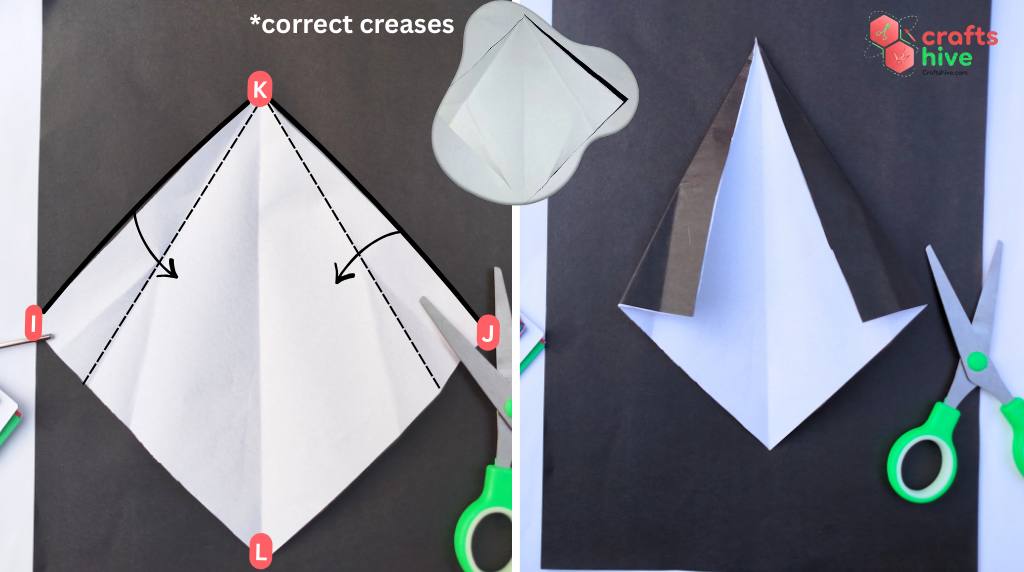
Mountain fold for the left and right sides of the diamond, considering the creases as the axis of rotation.
Label Instruction: Mountain fold the side KI and KJ around the top creases on both sides.
Step #7: 2nd Mountain Fold
Turn the paper upside down. Now we shall have a kite shape in black.
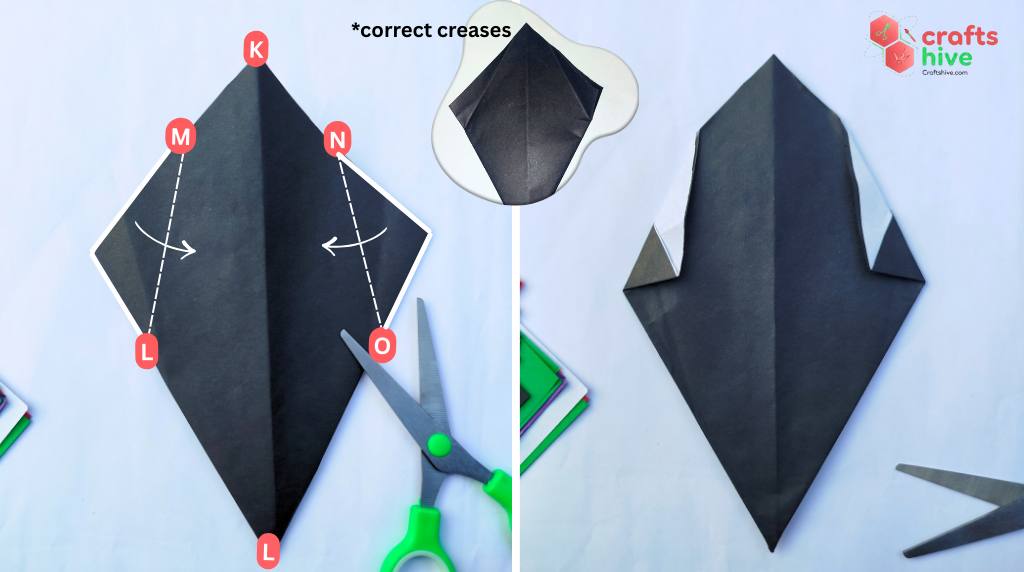
Mountain fold the left and right corners of the kite around the creases on the both sides.
Label Instruction: Mountain fold around NO and ML.
Step #8: Base Fold
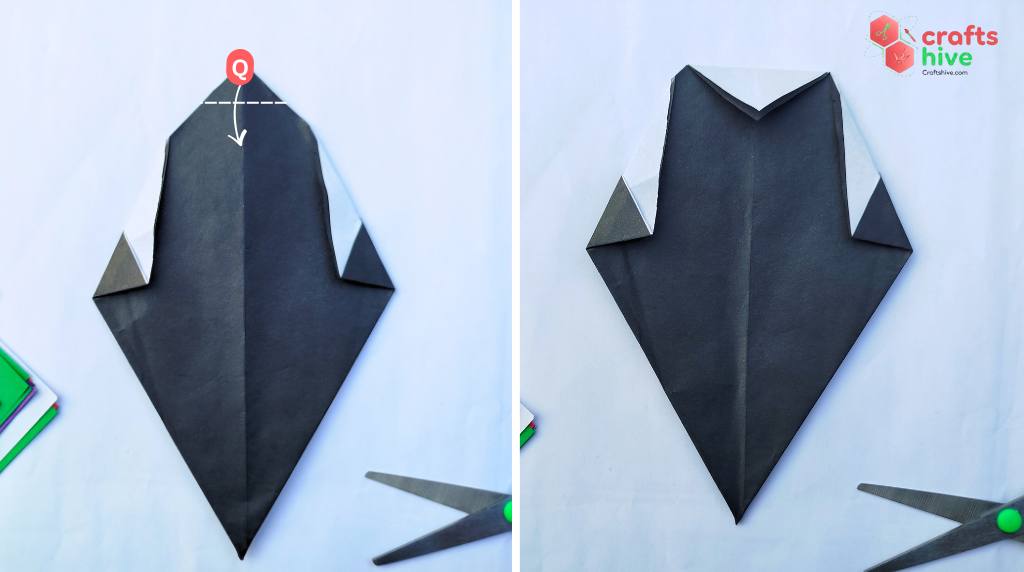
Valley Fold the top corner of the folded kite as above in the picture.
Label Instruction: Valley Fold the corner Q.
Step #9: Collapse

Now let’s collapse our origami model in half. To do so, simply Mountain Fold the right side onto the left side around the centre line.
Label Instruction: Let the section labeled as 3 meet with the section labeled as 2.
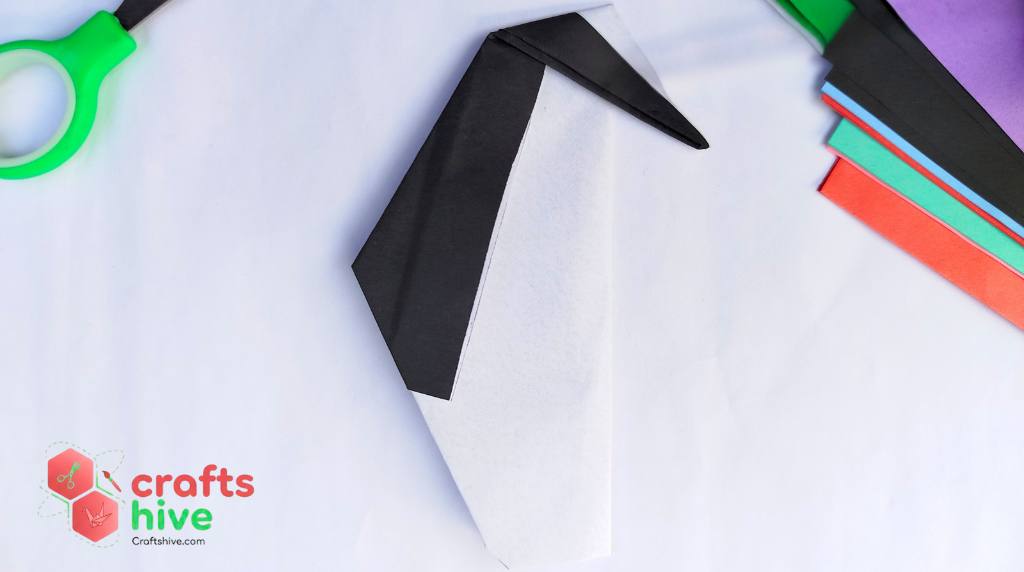
Step #10: Make the Head
Now, we have a shape with two top corners, one corner on the centre left, and one bottom corner. Mountain Fold the bottom corner around an angled axis of rotation.
Uncollapse the model and pinch downward from the middle to make the head of the penguin.
Finished
Did you like the Tutorial? Tell Us in the Comments.
You can also share your finished origami penguin to us.

Check origami penguins.
About "Origamist@Craftshive"
Our origamist is expert in both the traditional origami and designing some REALLY creative crafts.
 How to Fold Origami Jumping Frog in 10 Steps
By Origamist@Craftshive
How to Fold Origami Jumping Frog in 10 Steps
By Origamist@Craftshive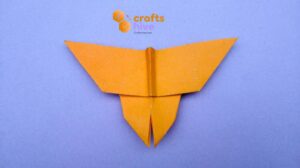 How to Fold Easy Origami Butterfly in 12 Steps
By Origamist@Craftshive
How to Fold Easy Origami Butterfly in 12 Steps
By Origamist@Craftshive How to Fold Origami Ninja Star in 7 Steps
By Origamist@Craftshive
How to Fold Origami Ninja Star in 7 Steps
By Origamist@Craftshive How to Craft Cute Paper Bow with Origami and Cutting
By Origamist@Craftshive
How to Craft Cute Paper Bow with Origami and Cutting
By Origamist@Craftshive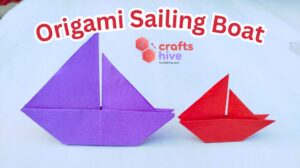 How to Fold Origami Sailing Boat in 8 Steps
By Origamist@Craftshive
How to Fold Origami Sailing Boat in 8 Steps
By Origamist@Craftshive How to Fold Origami Traditional Heart for Valentine’s Day
By Origamist@Craftshive
How to Fold Origami Traditional Heart for Valentine’s Day
By Origamist@Craftshive How to Make Origami Square Base in 4 Steps
By Origamist@Craftshive
How to Make Origami Square Base in 4 Steps
By Origamist@Craftshive How to Make Origami Kite Base in 4 Steps
By Origamist@Craftshive
How to Make Origami Kite Base in 4 Steps
By Origamist@Craftshive How to Make An Easy Origami Swan in 13 Steps
By Origamist@Craftshive
How to Make An Easy Origami Swan in 13 Steps
By Origamist@Craftshive