Pattern Type: Video pattern only by Yarnmaide
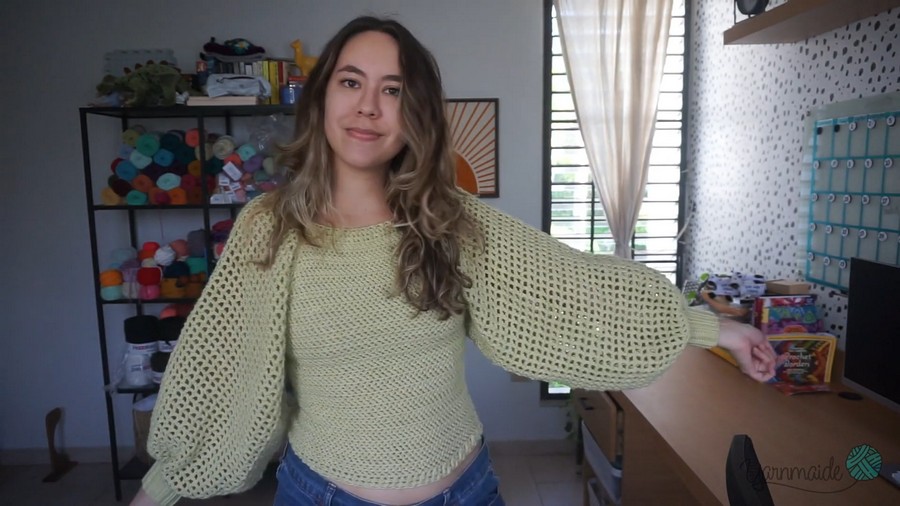
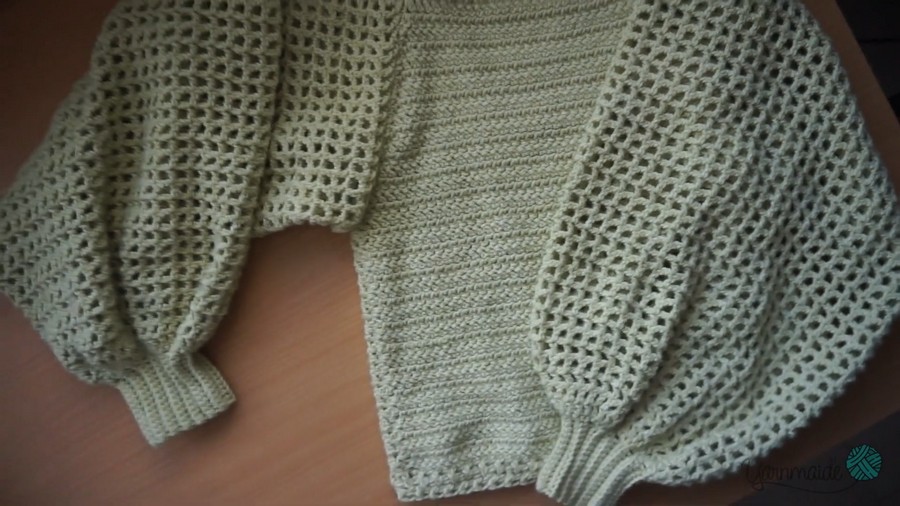
Want a soft green top with big, dreamy sleeves that looks so pretty? Meet this cute crochet puff sleeve top! The body feels super plush, warm, and cozy, while the wide sleeves have a light, airy mesh look. In this clear video guide, you will learn every step to make it fit your own size. Grab your soft yarn and crochet a stylish new shirt you will wear all year!
Stylish Crochet Shirt You Will Wear All Year
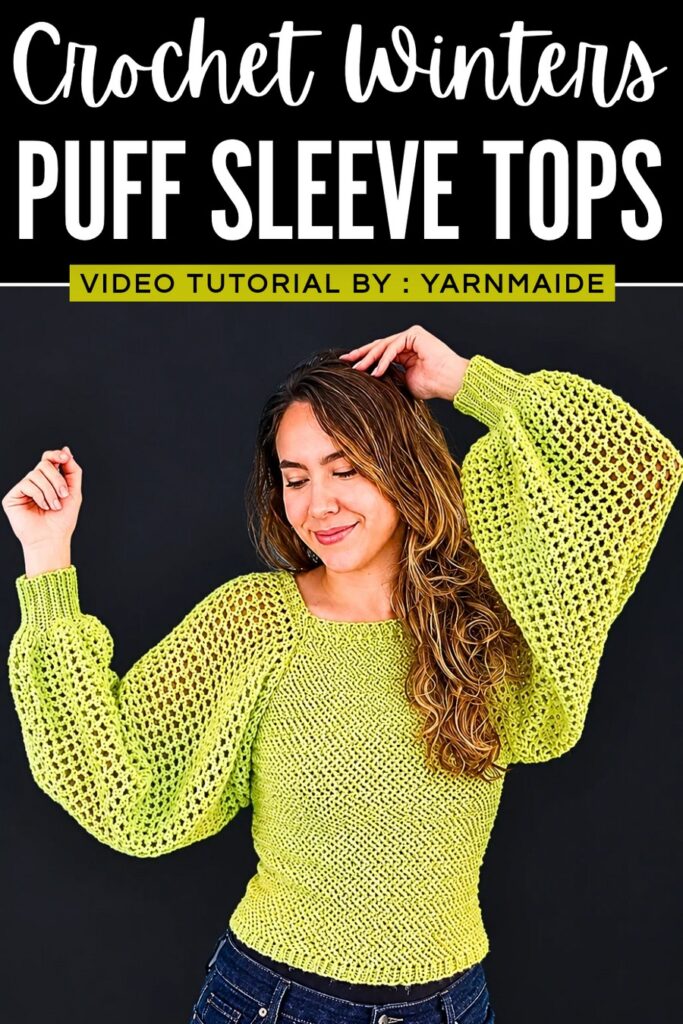
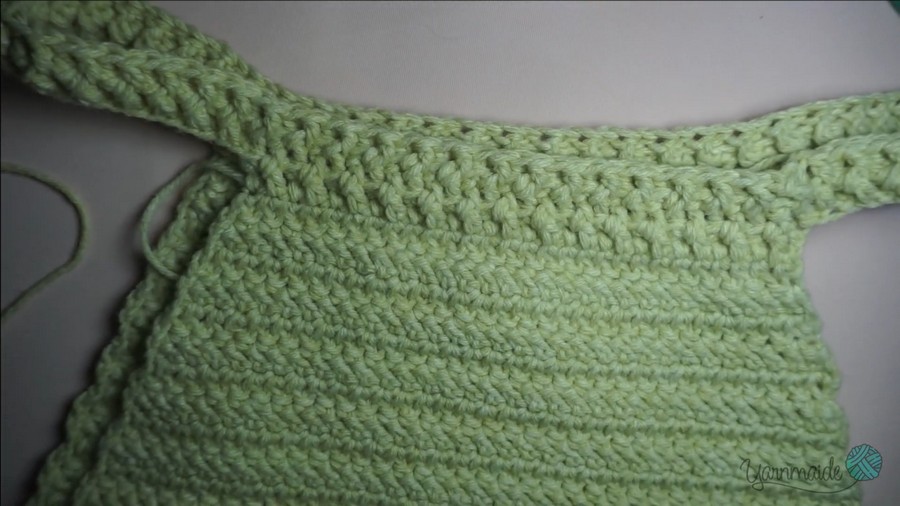
You will crochet four flat pieces and join them cleanly together. First, you make two body panels from the top down using pretty slanted stitches, growing the sides down to your arms. Next, you join the sides and add ribbed straps around the neck. Then, you work two airy sleeves up from the wrist cuffs. Last, you attach the sleeves and add matching ribbed trim along the whole bottom hem!
Difficulty Level
Intermediate (or Confident Beginner)
While the rows repeat nicely once you get going, this top uses a few special stitches and steps that take extra focus. You will need to learn the slanted herringbone stitch for the body, shape the top edges with increases, work front and back post stitches for the ribbed neckline and hem, and line up and join the wide sleeves cleanly.
Pattern Abbreviations
-
ch – chain
-
sc – single crochet
-
sc blo – single crochet in the back loop only
-
dc – double crochet
-
sl st – slip stitch
-
hbdc – herringbone double crochet (main body stitch)
-
FPdc – front post double crochet
-
BPdc – back post double crochet
-
inc – increase (2 stitches in one stitch)
Materials
-
Yarn: Knit Picks / WeCrochet Heatherly Worsted Weight yarn (acrylic blend) in light green
-
Crochet Hook: 4.5 mm hook
-
Scissors
-
Stitch Markers (to mark the armholes, straps, and sleeve centers)
-
Yarn Needle (to weave in and hide loose ends)
How to Make the Trickier Stitches
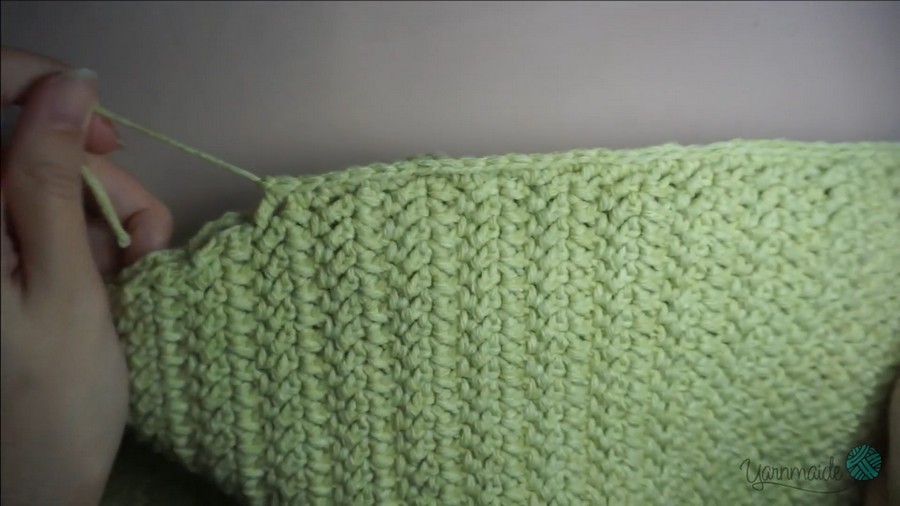
This top gets its pretty texture from the Herringbone Stitch on the body and Post Stitches on the ribbed edges. Here is how to make them:
-
Herringbone Double Crochet (hbdc) – Body Stitch:
-
Wrap the yarn over your hook and push your hook into the next stitch.
-
Wrap the yarn and pull up a loop, then right away pull that same loop through the first loop on your hook (leaving 2 loops on your hook).
-
Wrap the yarn over and pull through only 1 loop (you will still have 2 loops).
-
Wrap the yarn over again and pull through both loops to finish.
-
-
Front Post & Back Post Double Crochet (FPdc & BPdc) – Neck & Hem Ribbing:
-
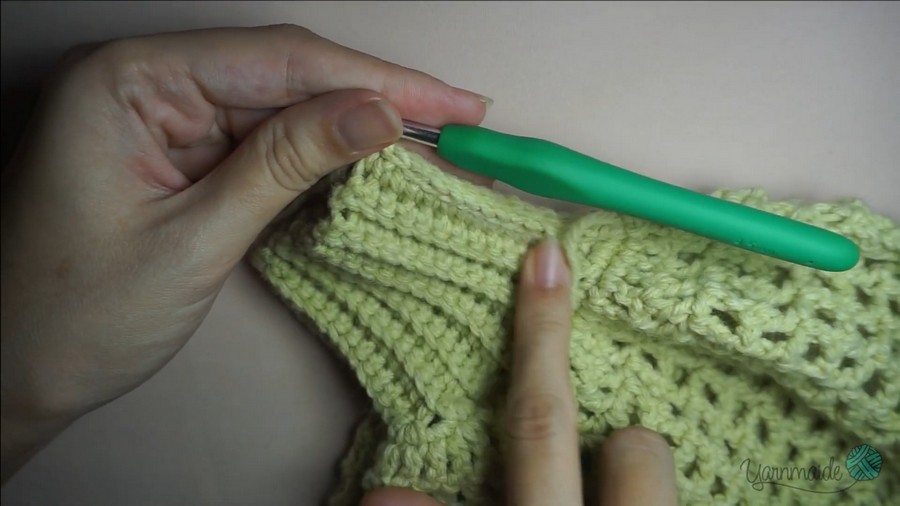
Front Post (FPdc): Wrap the yarn over your hook. Push your hook from the front to the back around the tall post of the next stitch, coming back out to the front on the other side (so the post sits in front of your hook). Wrap yarn and finish like a normal double crochet.
-
Back Post (BPdc): Wrap the yarn over your hook. Push your hook from the back to the front around the post of the next stitch, going back behind it (so the post sits behind your hook). Wrap yarn and finish like a normal double crochet. Switch between front and back post stitches to build the stretchy ribbing.
-
Video Guide:
