


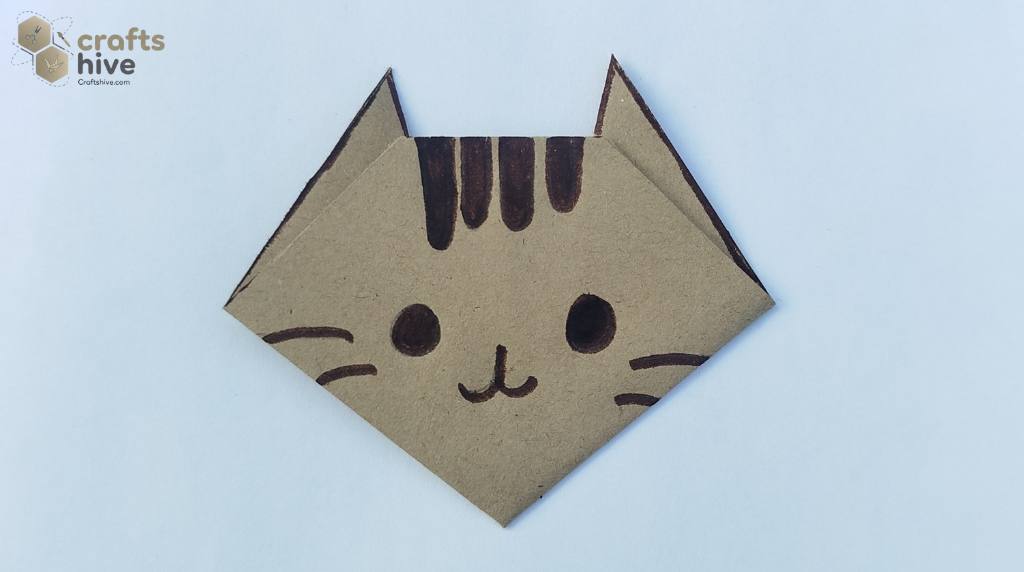
Whether it’s Pusheen, Hello Kitty, Jiji, or any cat’s face, the traditional origami face is REALLY adaptable for all. In this tutorial, I will teach you how to fold this easy origami cat in 6 simple steps.
Along with the base folding, as an inspiration, I have also drawn the Pusheen cat face on it. So, I am hoping other cat characters will look equally cute.
My drawing was a little off from the original, but it was enough to see the versatility of this origami cat face. You can fold it in less than a minute.

Easy Origami Cat Face: Step-by-Step Instructions
To craft this origami cat face, only five folds are needed with basic drawing. This is the easiest origami face other than the origami fox face I have ever taught.
Now, let me provide you with the fold-by-fold and step-by-step instructions to craft this paper cat:
Difficulty: Beginner (level 1)
Preferred Name: Origami Pusheen Cat Face
Model: Traditional
What you need
Grab a square sheet of Tant paper (recommended) in any size. Mine will be 21cm by 21cm for the tutorial, but I have also folded it with a sheet as small as 3cm by 3cm. Because the folds are few, it turned out to be neater.
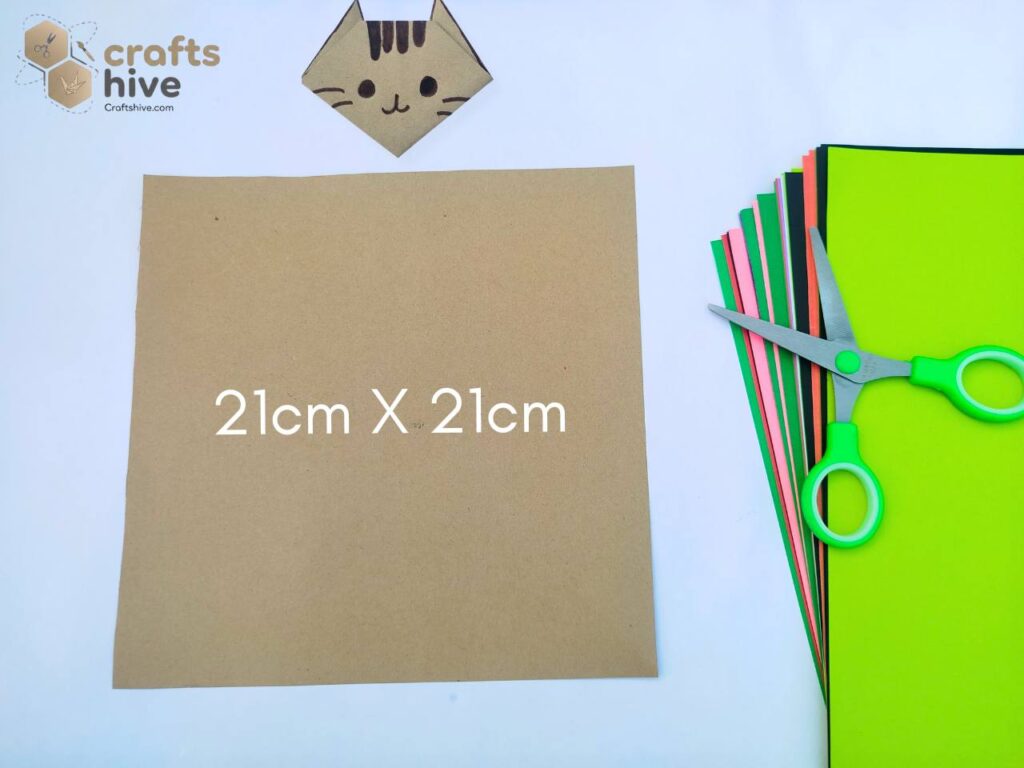
Because I wanted kind of a Pusheen look to my cat face, I used a soily grey sheet. Other colors you can try are grey and brown (Kami) for Saimese, and orange for ginger.
Other Supplies You Can Use
- Brown Colored Marker
- Paper glue
Step #1: Position the Sheet
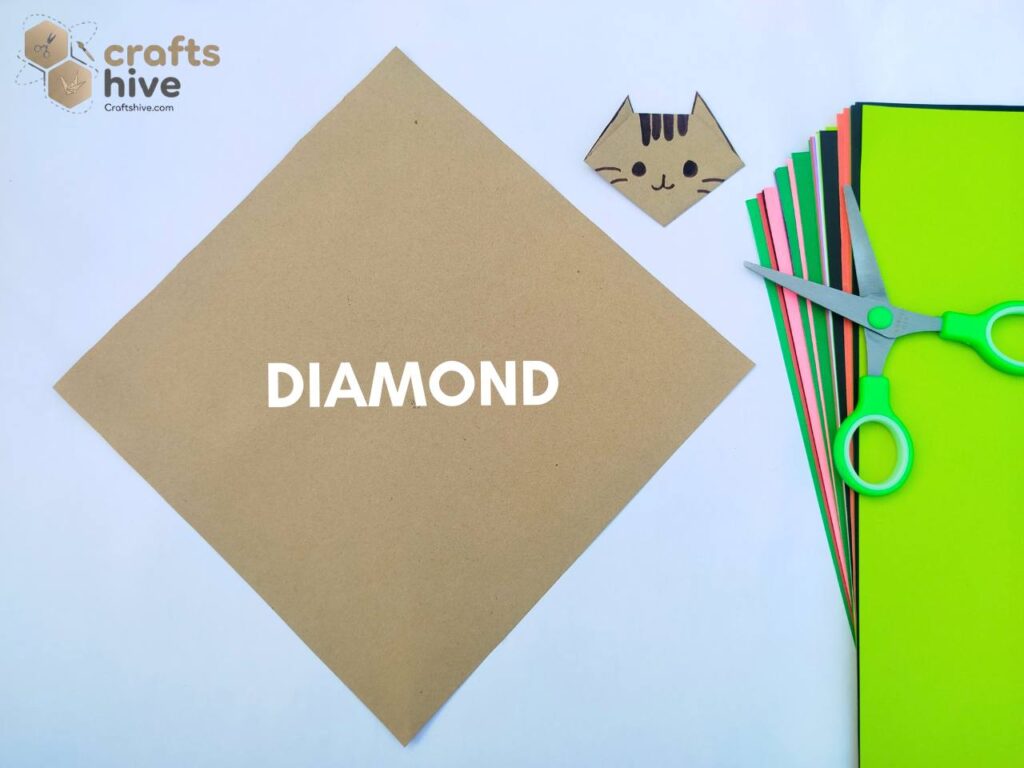
- Place the sheet of paper on the table in a diamond position.
If your sheet is simply in normal position (the square position), give it a 45-degree rotation on either side.
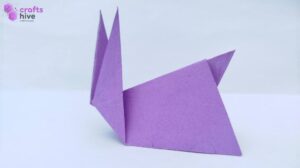
Step #2: Diagonal Fold

- Valley Fold the top corner of the diamond onto the bottom corner and settle it there.
- Align the respective sides (top left with bottom left and vice versa).
- Press the paper flat.
Tip: Usually, layers flip when we try to fold and align the sides in a diagonally folded square sheet. Since we won’t unfold, glue the inside so layers remain stuck.
Step #3: Half-Fold of Triangle
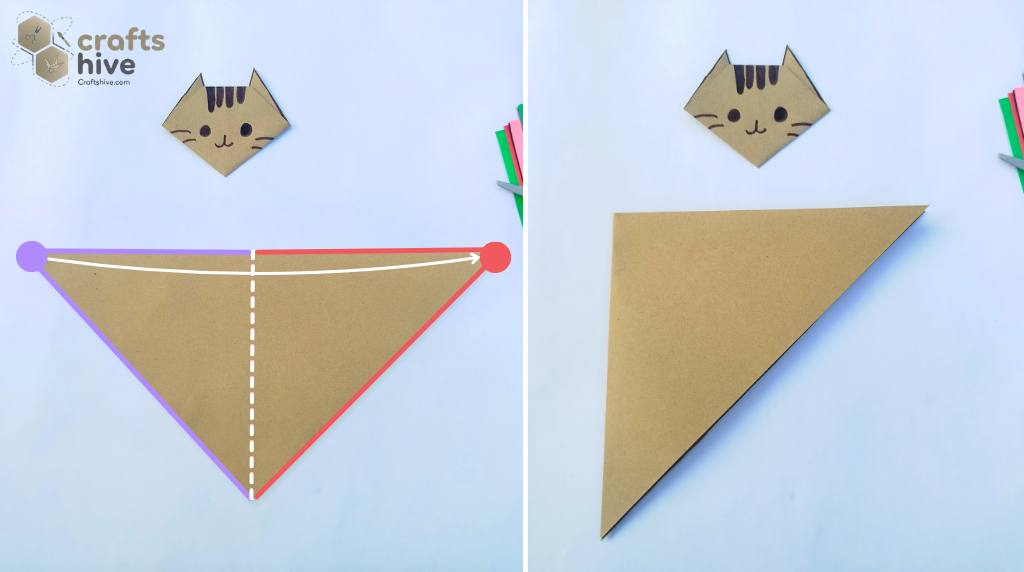
- Half-fold the triangle about the marked vertical axis.
To do so, fold the left corner of the triangle onto the right corner and settle it there. Also, align the respective sides.
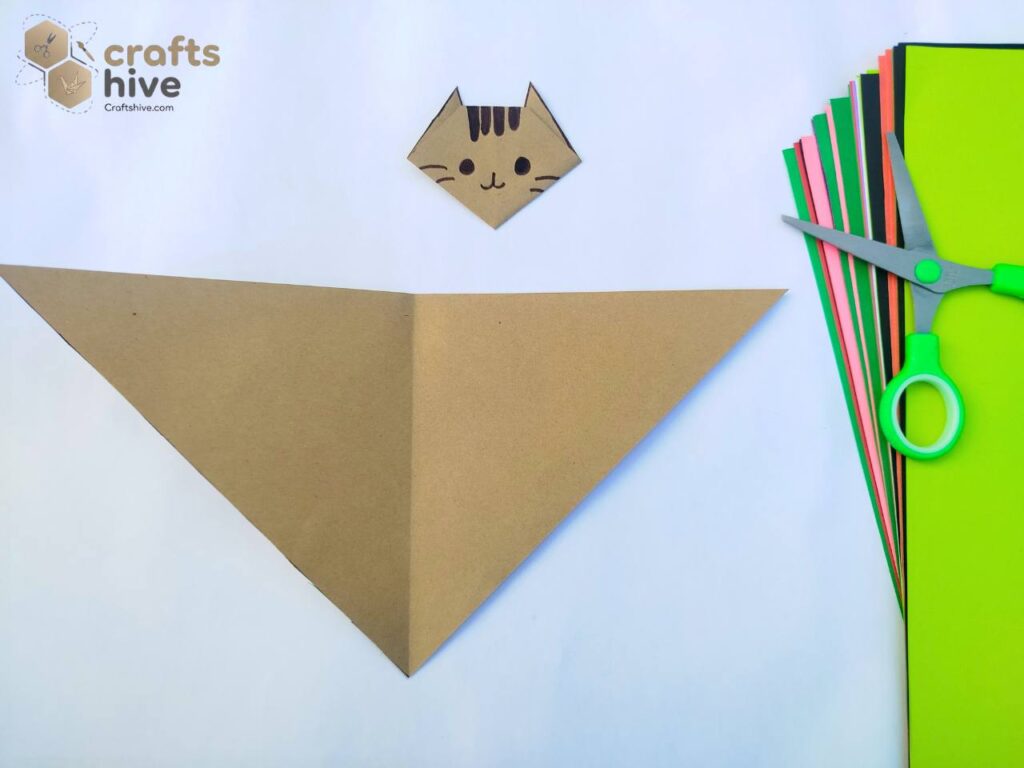
- Unfold, and you will notice a vertical crease in through the bottom corner.
Step #4: Fold the Forehead
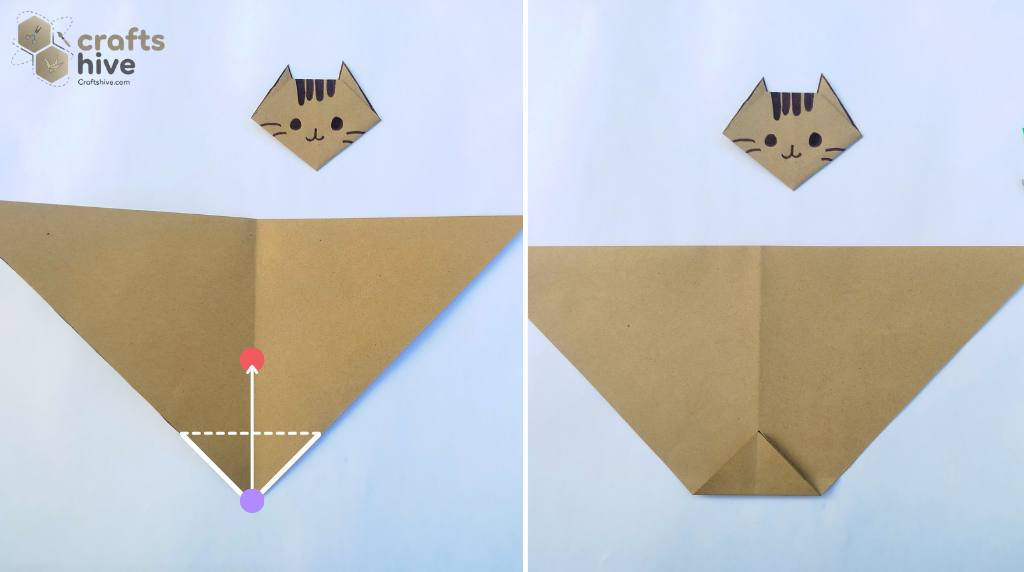
- Mountain Fold the bottom corner of the creased triangle and settle it at some height on the crease. Mine’s fold was 3cm high.
Note: The Hinge or the bottom side of your fold must be exactly perpendicular to the crease.
Step #5: Fold the First Ears
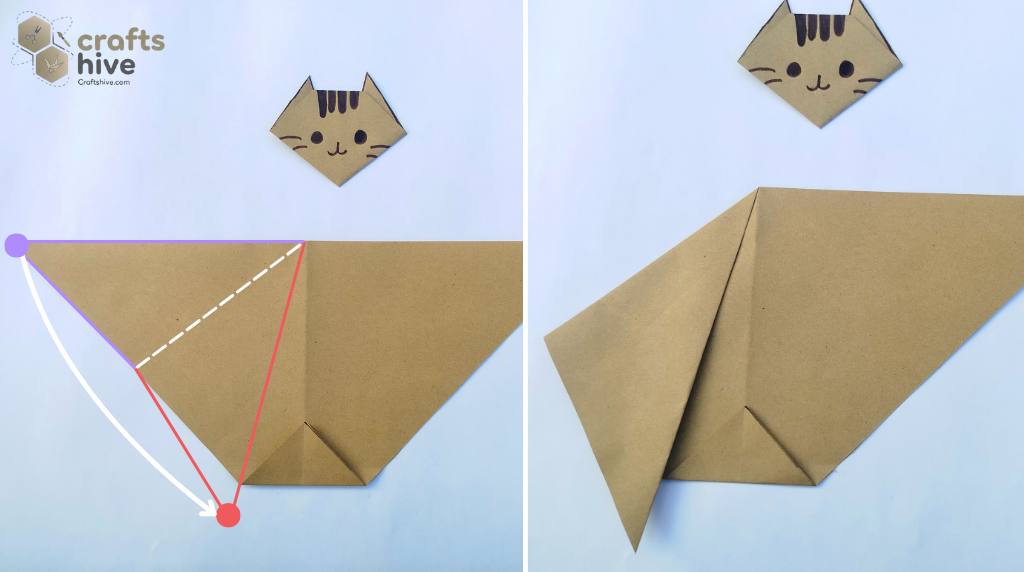
- Assume a line is passing through the left side of the forehead fold and the centre of the top side (marked in red). This will be our guiding line for the left ear.
- Fold the left corner towards the bottom right, and let the top left half of the sheet fall onto that imaginary line.
- Basically, we want the edge to start from the middle top, touch the left corner of the forehead fold and go down to straight down.
- Crease the paper.
Step #5: Fold the 2nd Ears
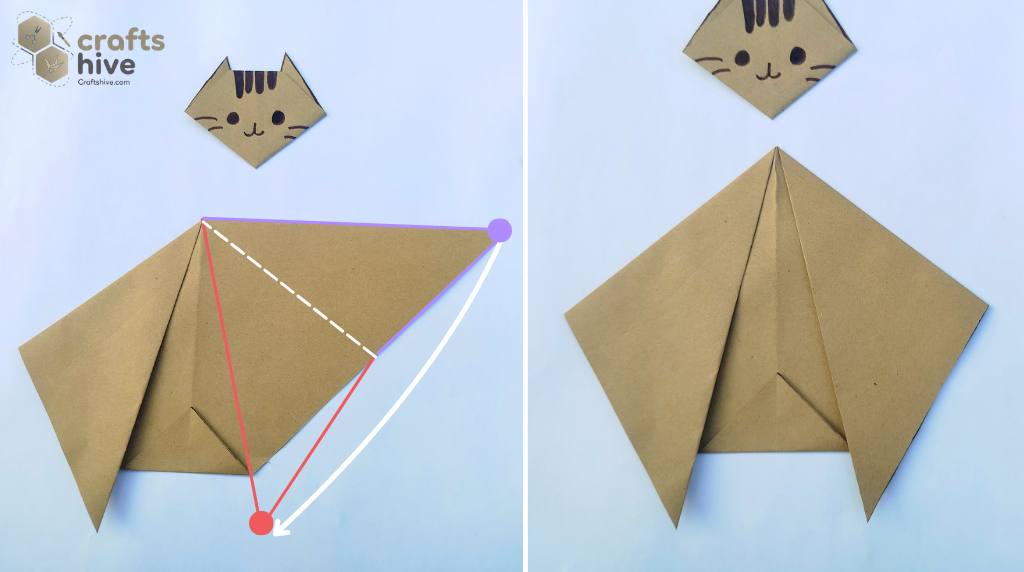
Assume a similar line for the right side and repeat the same fold as done for the left side.
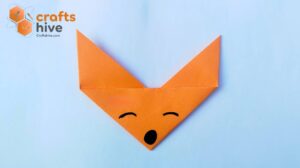
Step #7: Turn
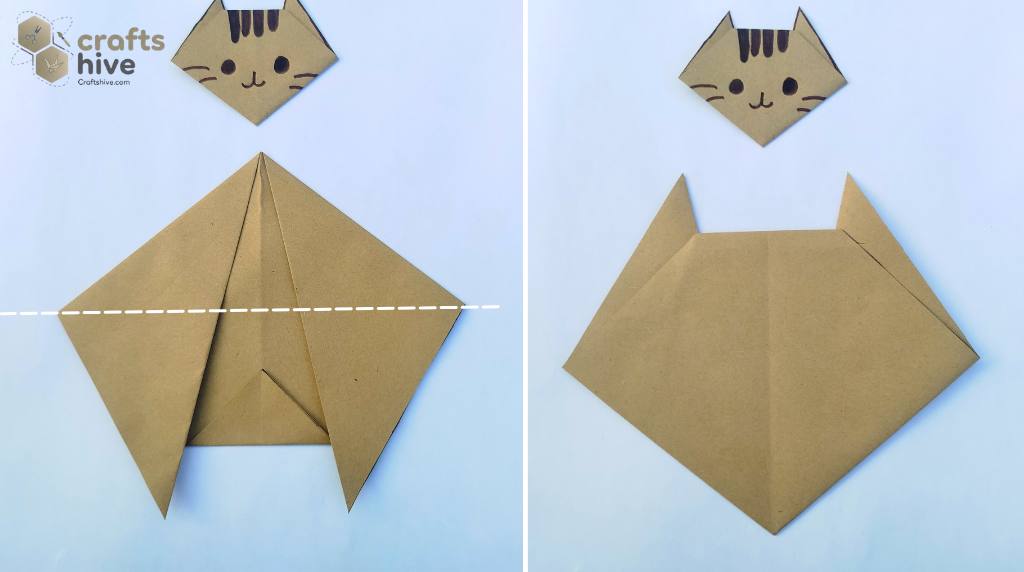
Just turn the side of your model. You will be facing the front of the origami cat face.
I have drawn the Pusheen face on it with the brown and highlighted the edges.
You can also similar face or try some other face like Hello Kitty. I also glued the ears.
Found this Origami Tutorial Helpful? Leave A Feedback.
You can help us improve the weak points of our instructions and diagrams by providing feedback and sharing photos of your work as well. See what is next:
About "Origamist@Craftshive"
Our origamist is expert in both the traditional origami and designing some REALLY creative crafts.