


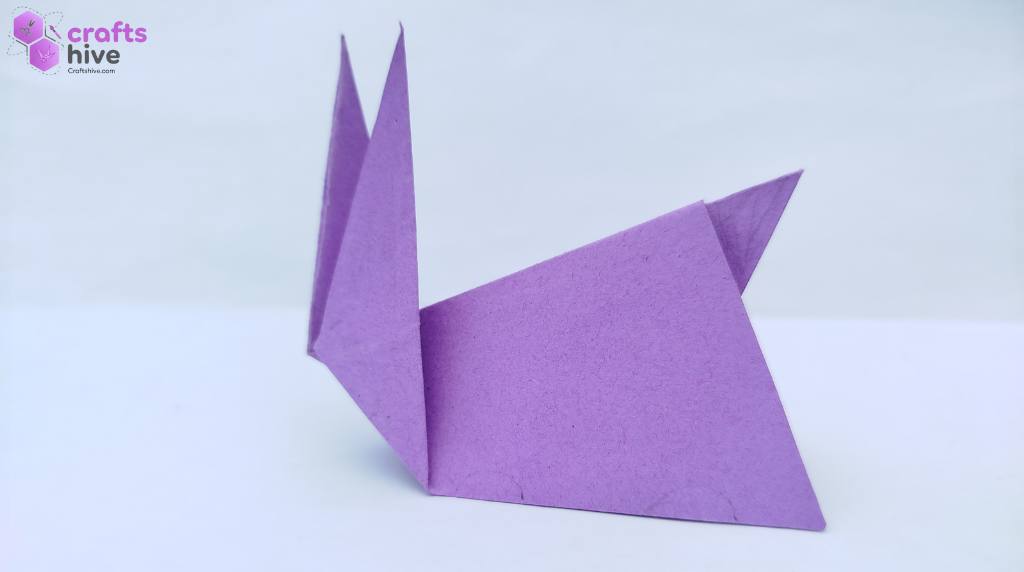
Welcome to another “Cut and Fold” origami tutorial. In this tutorial, I will teach you how to fold a traditional origami bunny that needs no support to stand on a table. Follow my 8 steps with label instructions, and you will be able to craft this bunny.
This bunny sits like a real animal as it has the tail, ear, and head in the same positions. And I also think it’s the cutest origami bunny in traditional origami (after bunny face), since most are less accurate. Let’s fold it together.
Origami Bunny: Fold-by-Fold Instructions
We shall use the kite base as a starting fold for this origami bunny. There is a single cut involved, which means it’s not a pure origami.
But I recommend folding it at least once because it looks way cuter than the pure origami rabbit. Now, let me describe you step-by-step instructions how to fold it:
Model Type: Traditional Origami with Scissors
Difficulty: Beginner (level 1)
Preferred Name: Origami Rabbit (inspired by a real rabbit)
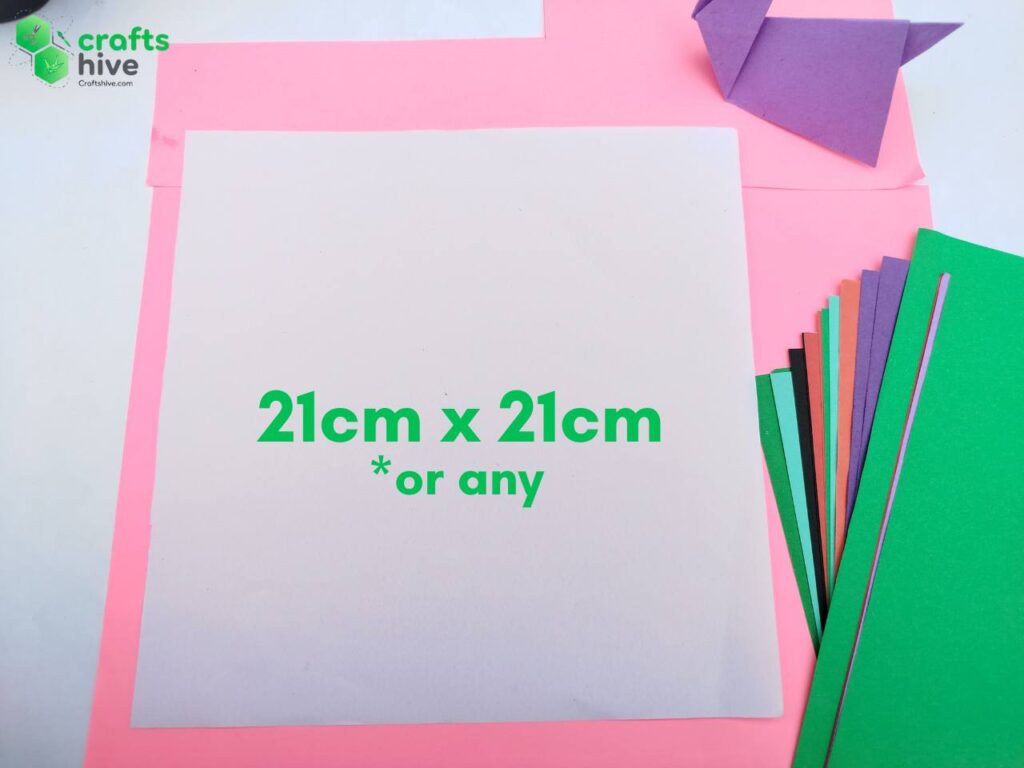
I will be using a white paper sheet for this tutorial. You can also use brown or purple.
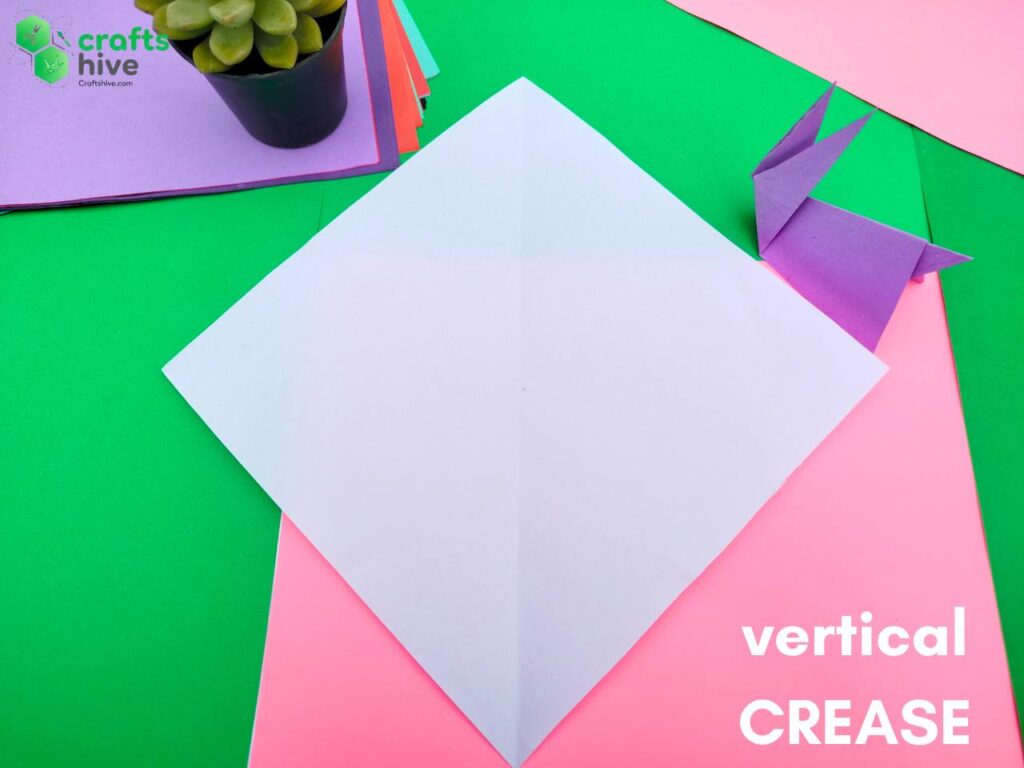
Step #1: To Position the Paper Sheet
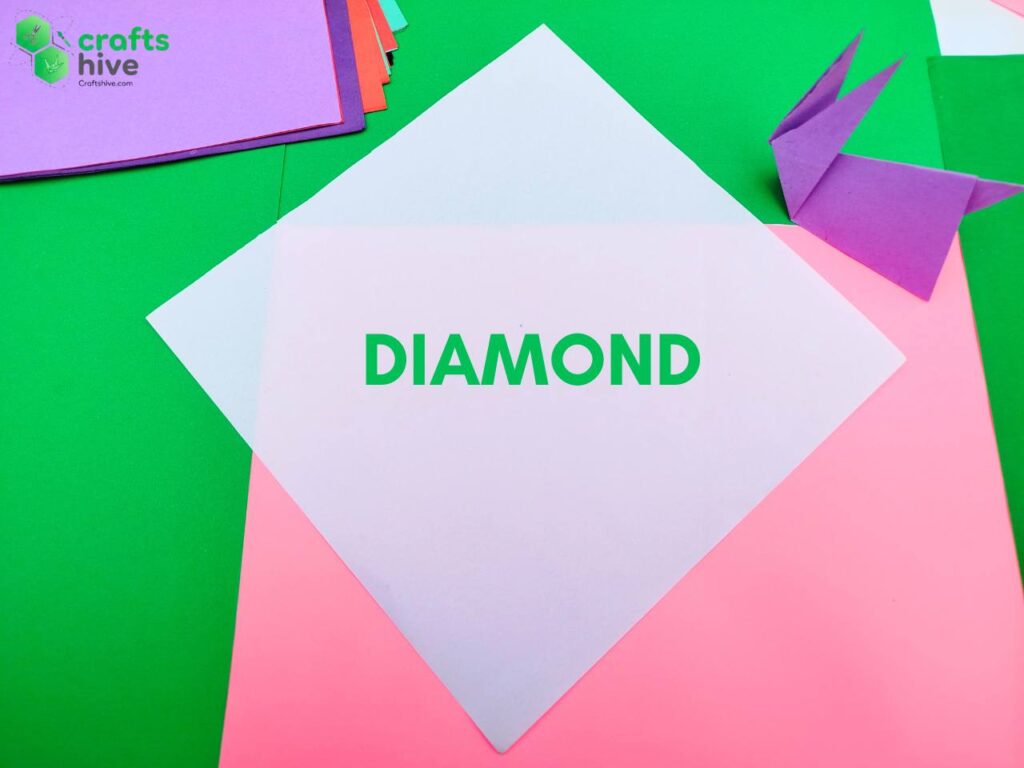
- Place the sheet of paper on the table in the diamond position.
To do so, rotate the sheet lying in the square position at an angle of 45 degrees to left or right.
Step #2: To Make a Vertical Crease
Now, we need a vertical guiding crease between two opposite corners, called a diagonal crease:
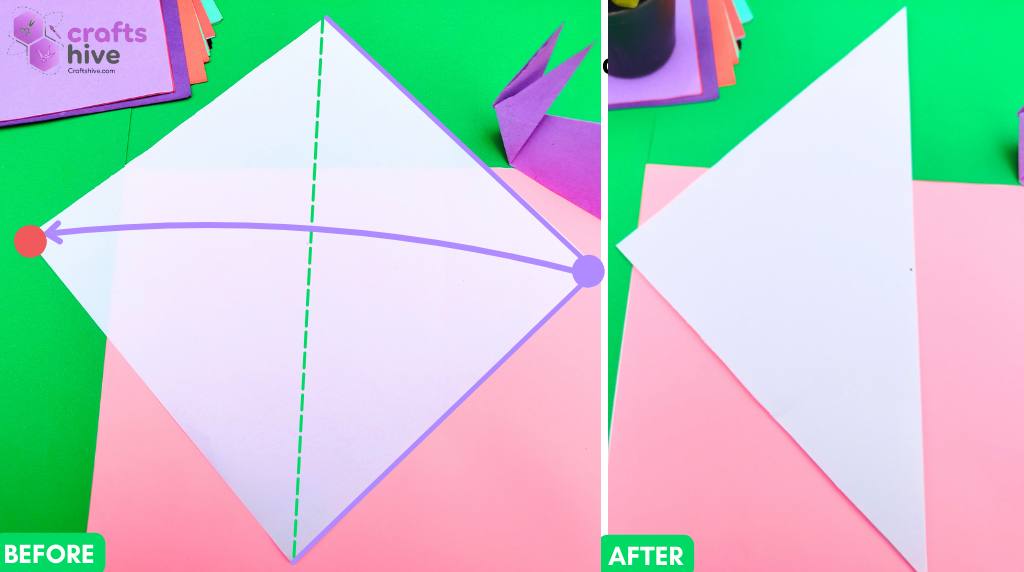
- Fold the diamond vertically from right to left or vice versa, and unfold to make the vertical crease.
Tip: Before unfolding, be sure to press the paper flat by pressing over the hinge. It will make the guiding crease look more prominent.
Step #3: To Fold Kite Base
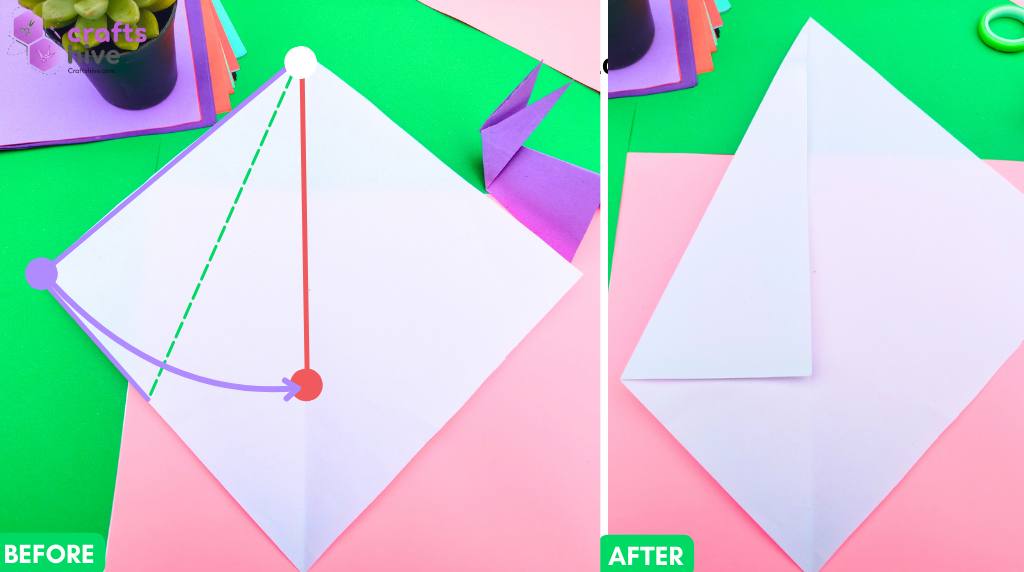
- Kite fold the left corner of the diamond.
To do so, just fold the top left side of the diamond to the vertical centerline and settle it over this line. This will also fold a little the bottom side of the diamond.
- Kite fold the right corner of the diamond. This was the last step of folding the kite base.
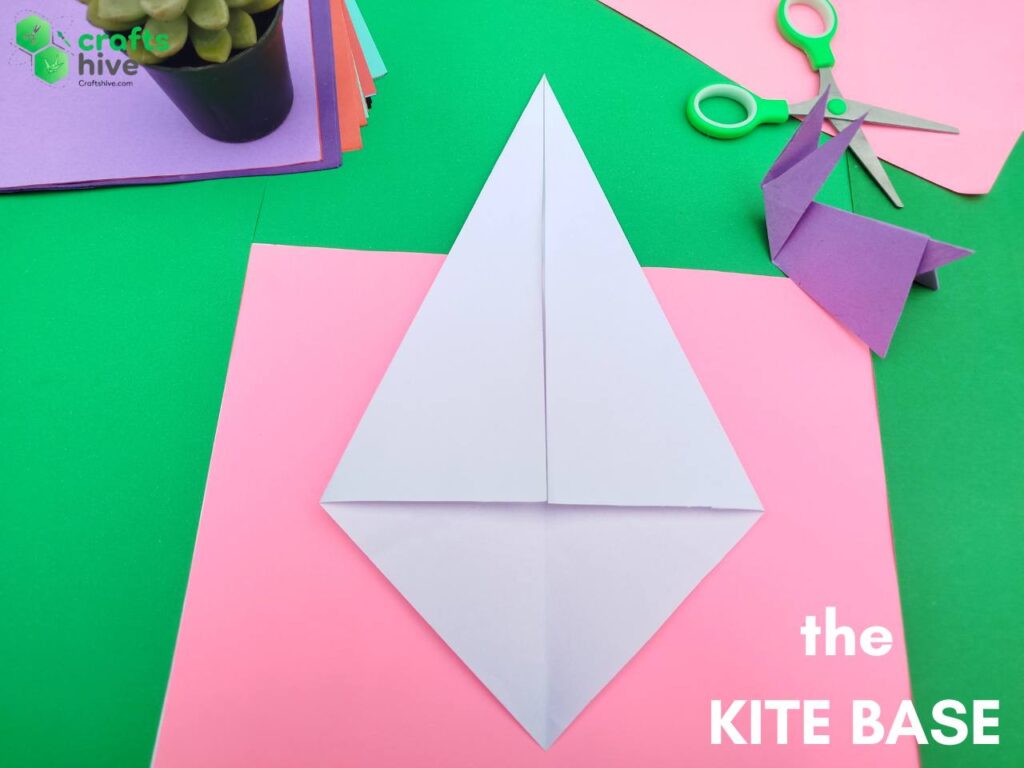
Observation: Our folded paper looks much like the back of a kite. That’s why it’s called a kite base, but will be used even to fold a swan.
Step #4: Intermediate Fold for Tail
Note: Bottom triangle of our kite base is of a single layer, while the top has two flaps.
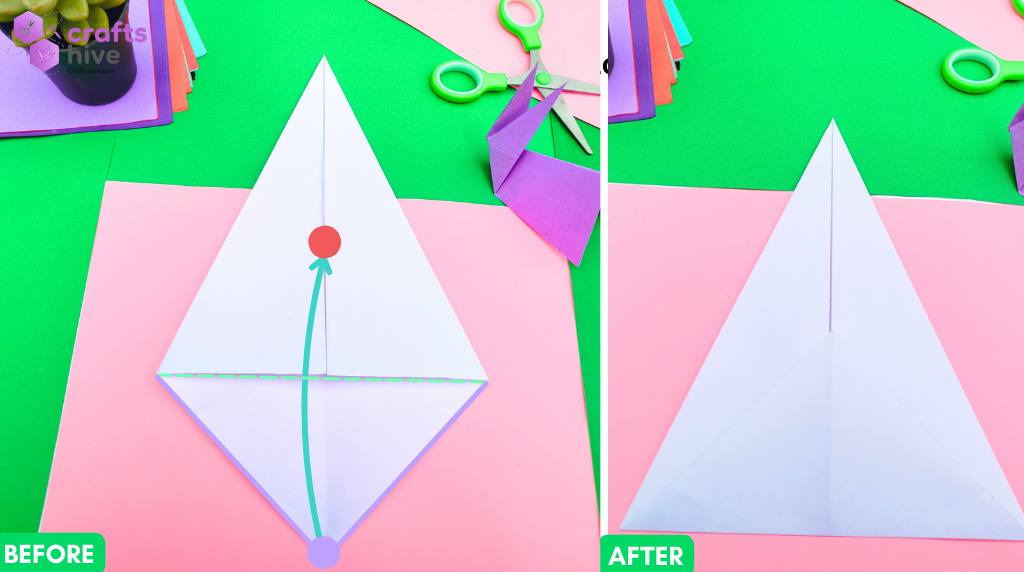
- Valley Fold the bottom triangle about the horizontal (starting line of separation) onto the top triangle.
- Crease very well.
Step #5: To Fold the Tail
Now, we have a triangle.
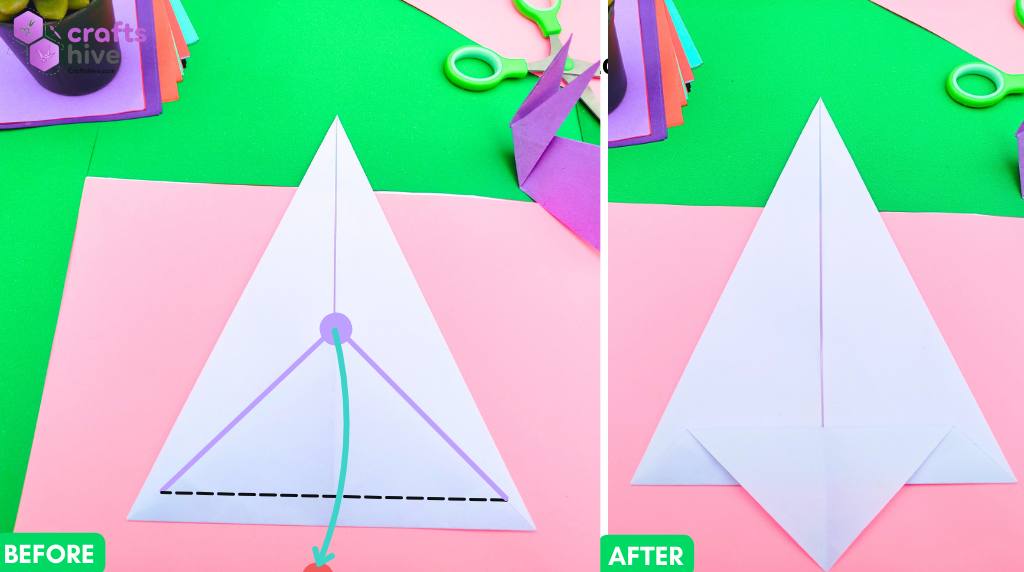
- Leave a little height above the base of the triangle, and Mountain Fold the previously folded kite triangle.
Note: The height you leave for the axis of the old will decide how short the tail of the bunny will be. I recommend leaving 1-6th of the height of the Valley Fold.
Step #6: Cut The Ears
This step will eventually decide the length of the ears of the bunny.
- Turn the folded shape upside down.

- Cut through the middle crease of this shape about 1/2 of the total length or little less as much as you wish.

Note: There was a hinge in the centreline, so cutting might go wrong a bit. Do it slowly.
Step #7: Collapse in Half
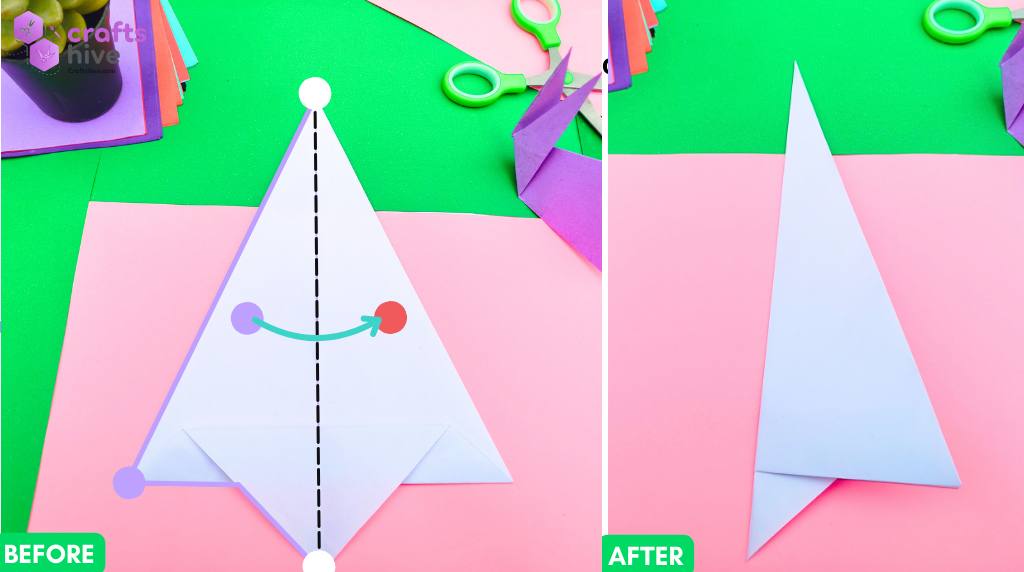
- Turn the side again.
- Fold the left section about the centreline onto the right section.
The hinge side will be the top side of the bunny, so the direction of ear folds will be towards the hinge.
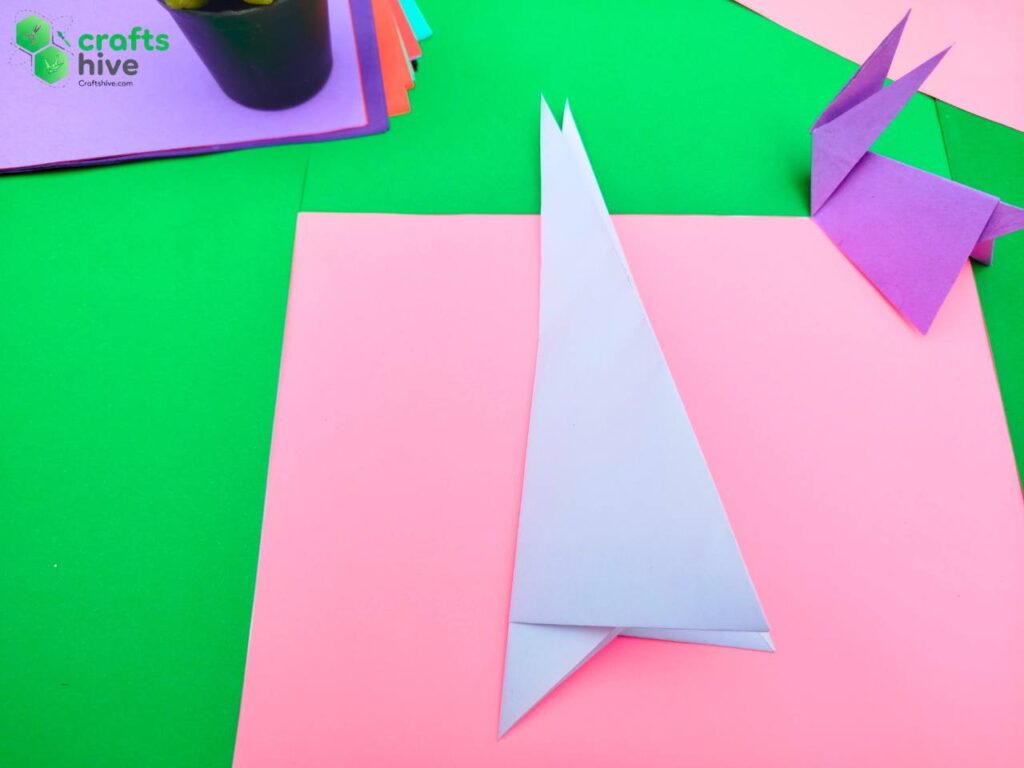
Step #8: Fold The Ears

- Imagine a line passing through the bottom end of the cut at a small angle.
- Hold the front layer of the cut and fold it down about that line.
- Turn the side.
- Make another similar fold, but about a line with a greater angle. This will show the ears separated.
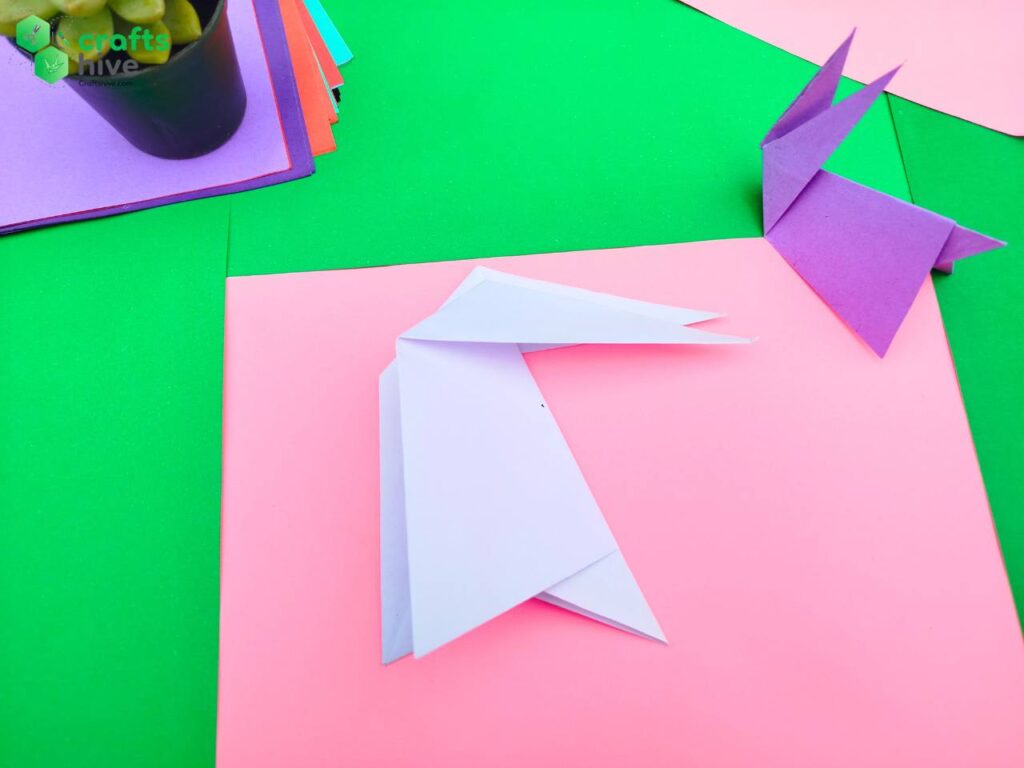
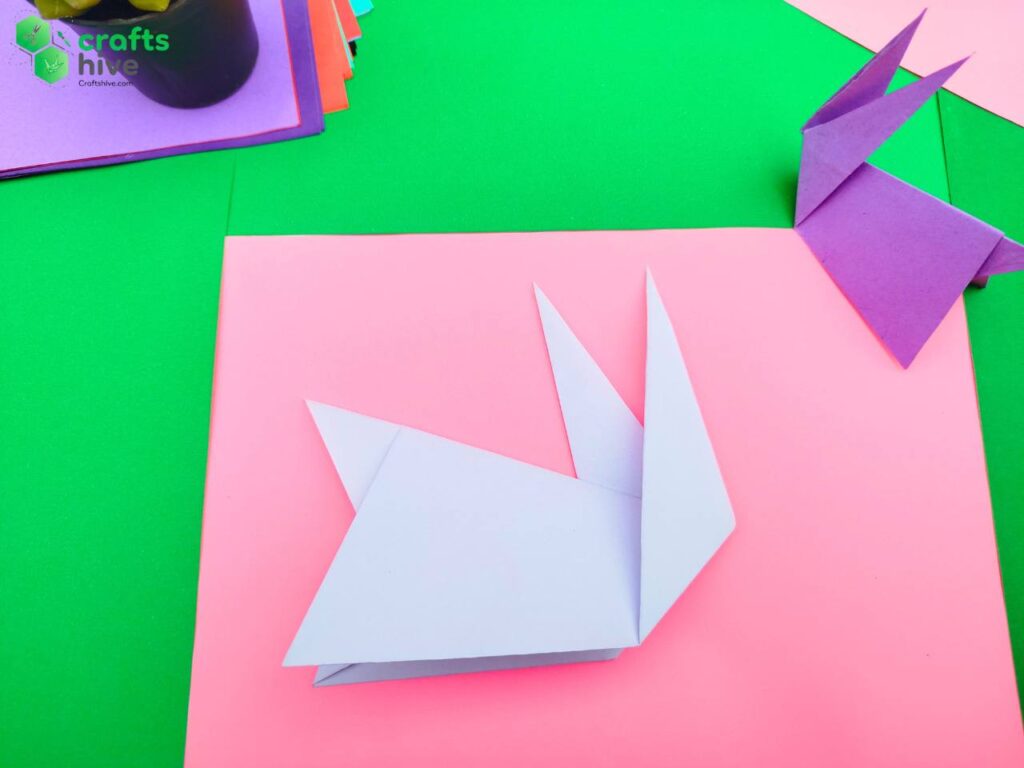
Finish
Now, turn the side and see how this origami bunny looks (cute, of course). You can let it sit on your table over the opeing sides.
Found this Origami Tutorial Helpful? Leave A Feedback.
Your feedback lets us know how well we were able to teach you this origami and what you want next (if we don’t have a tutorial on already. See what’s next:
About "Origamist@Craftshive"
Our origamist is expert in both the traditional origami and designing some REALLY creative crafts.