
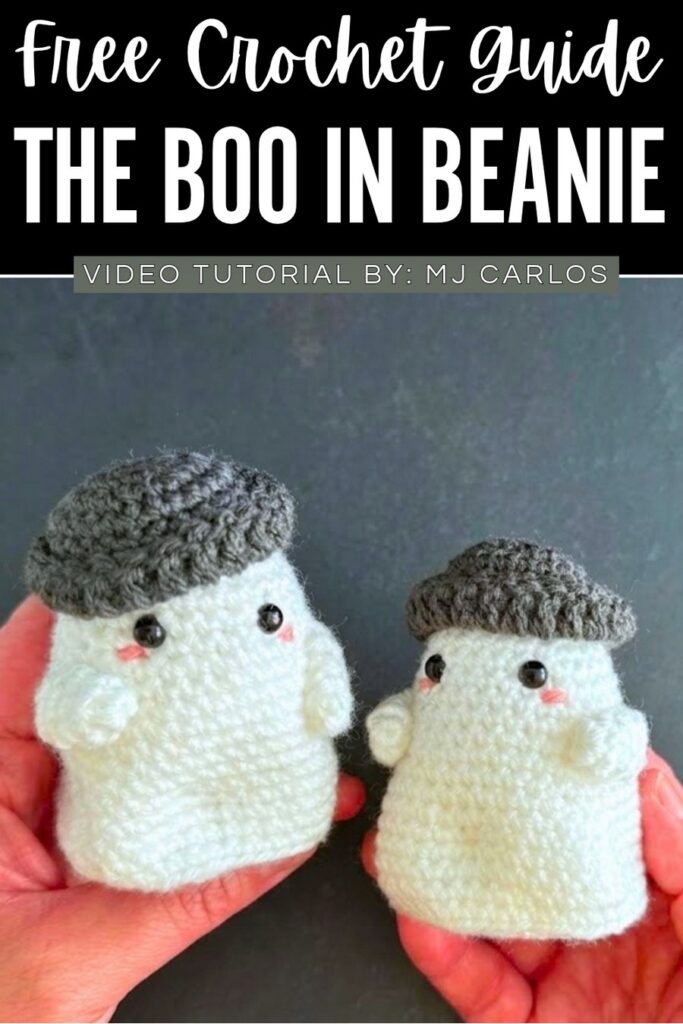
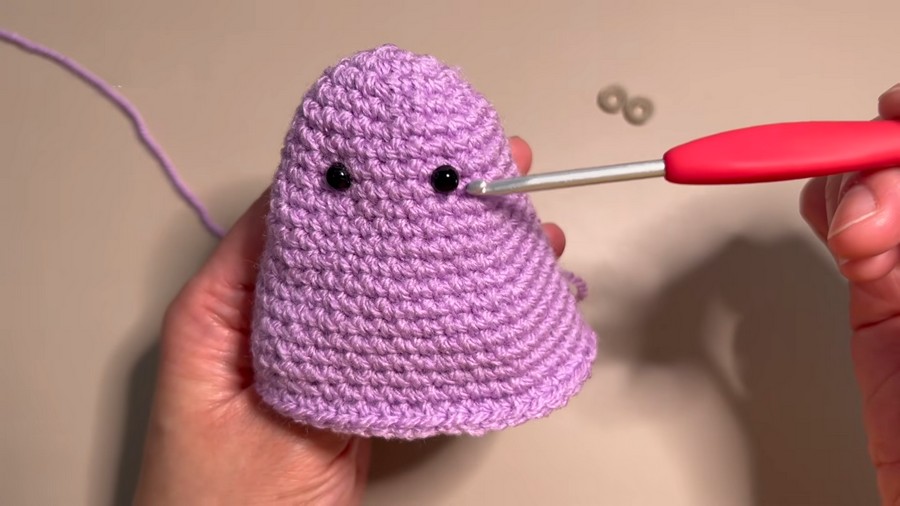
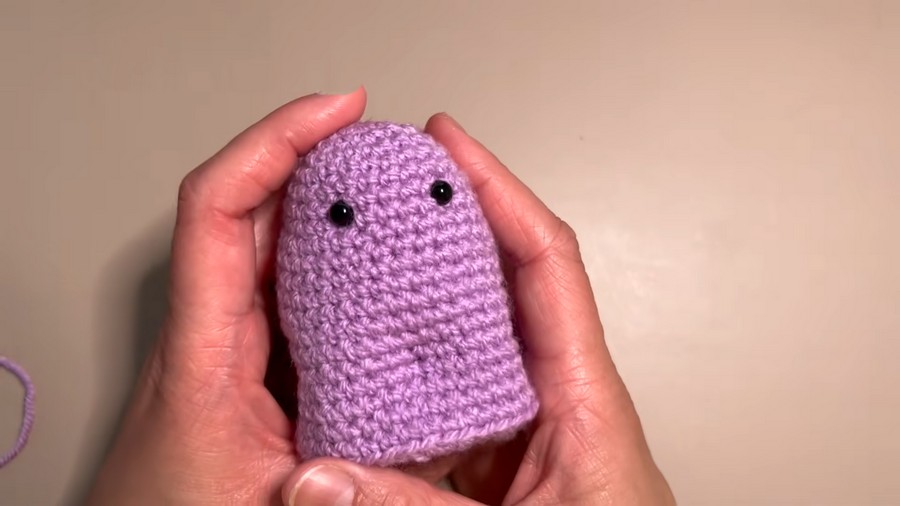
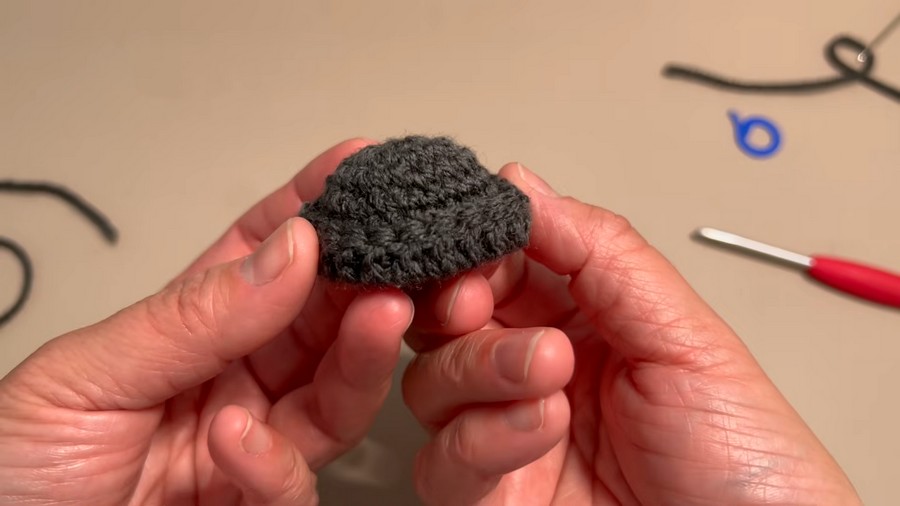
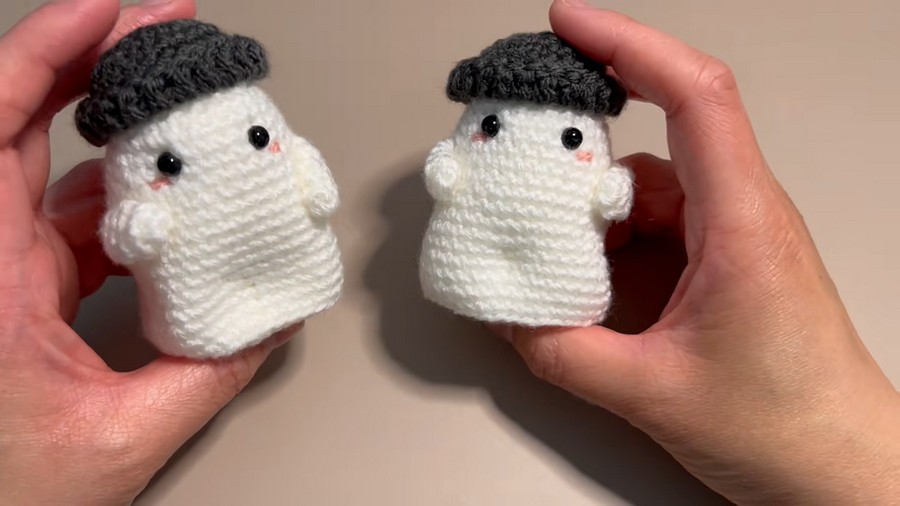
This tutorial features a small crochet ghost amigurumi, ideal as a cute Halloween craft or standing decoration. Designed to be worked from the top down, the ghost features a rounded head, side indents for shaping, and a flat base so it can stand on its own. It includes customizable tiny sleeves, embroidered pink cheeks, safety eyes, and a removable bucket hat. With its small size, friendly look, and straightforward construction, this handmade item makes an excellent gift, festive ornament, or key ring charm.
Crochet Tiny Boo Amigurumi In Beanie
Difficulty Level: Beginner
Reason: The pattern uses simple stitch increases and decreases worked in basic continuous rounds. The techniques are easy to follow, call for standard materials, and involve straightforward assembly without complex shaping.
Pattern Abbreviations
-
MR: Magic ring
-
sc: Single crochet
-
inc: Single crochet increase
-
dec: Single crochet decrease
-
BLO: Back loops only
-
FLO: Front loops only
-
dc: Double crochet
-
sl st: Slip stitch
-
ch: Chain
Materials
-
Light weight / DK yarn (8-ply) in main body color, pink (for cheeks), and hat color
-
3.5 mm crochet hook
-
Safety eyes
-
Fiberfill stuffing
-
Yarn needle, scissors, and stitch markers
Making Difficult Stitches
-
Double Crochet (dc):
-
Wrap the yarn over the hook.
-
Put the hook into the stitch.
-
Wrap the yarn over again and pull it through the stitch (3 loops on hook).
-
Wrap the yarn over and pull through the first 2 loops on the hook.
-
Wrap the yarn over once more and pull through the remaining 2 loops.
-
-
Single Crochet Decrease (dec) / Invisible Decrease:
-
Put the hook under the front loop of the next stitch.
-
Put the hook under the front loop of the following stitch directly next to it (2 loops on hook).
-
Wrap the yarn over and pull through those first 2 loops.
-
Wrap the yarn over again and pull through the remaining 2 loops to complete the single stitch.
-