
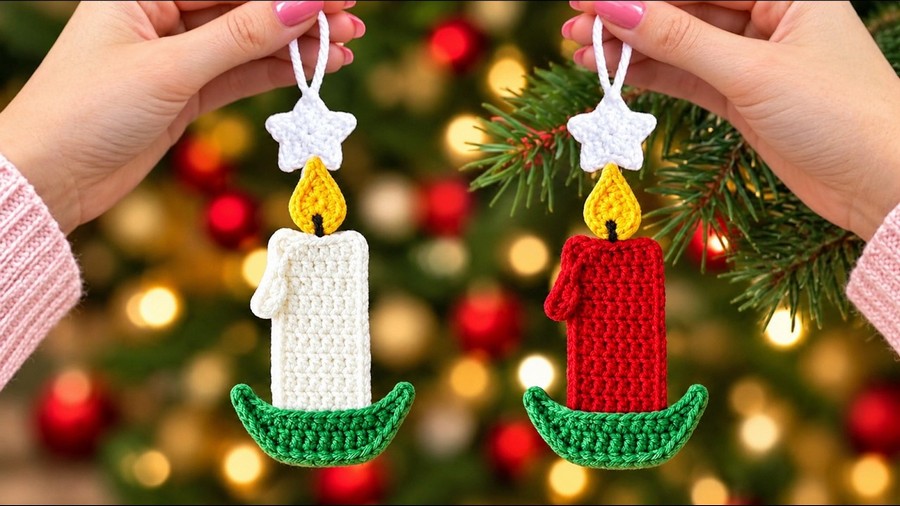
Want to stitch a cute little candle with melting wax that never burns out? This easy crochet tutorial shows you how to make a flat holiday hanging ornament step by step. It has a soft cream body, a tiny wax drip, a green base, a yellow flame with a brown wick, and a top string loop. Hang this sweet charm on your tree, wall, or bag for warm winter cheer.
Christmas Crochet Candle Flat Holiday Hanging For Tree

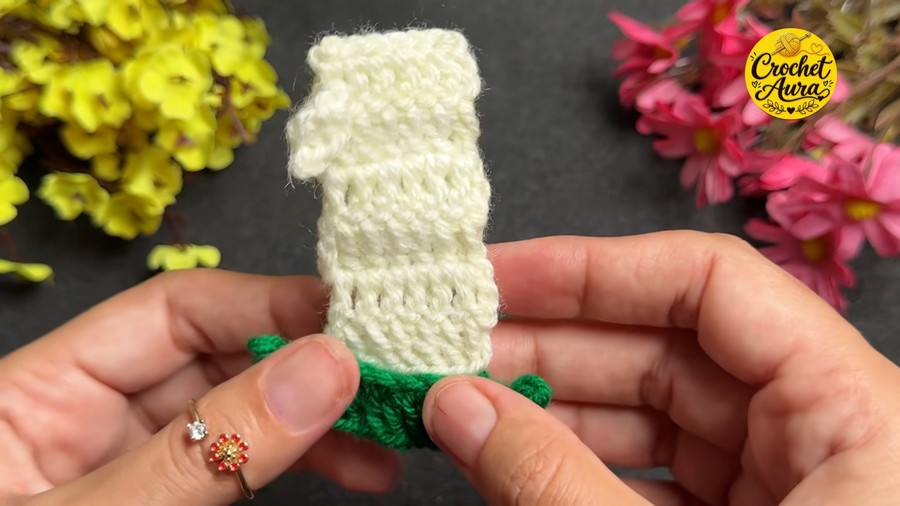
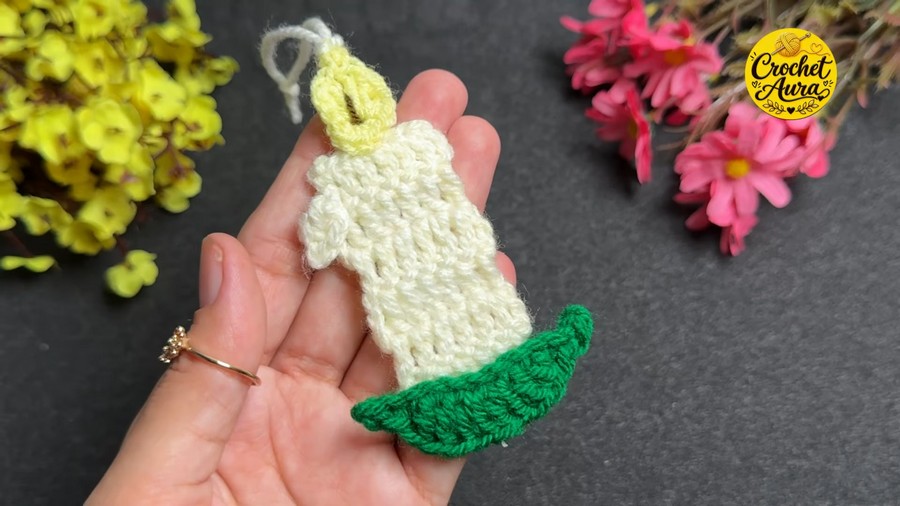
Making this flat candle is quick and simple from start to end. First, you crochet ten neat rows of cream stitches for the candle body. Next, you make a tiny white wax drip, a curved green holder, and a soft yellow flame. Then, you glue each piece in place and pull brown yarn through the flame for a wick. Last, you add a white string on top to hang it.
Difficulty Level: Beginner (or Confident Beginner)
Why this is the difficulty:
This flat ornament is great for beginners because it uses a comfortable 3.0 mm hook, needs no stuffing or sewing, and builds the main candle body from simple straight rows of double crochet (dc). The only slightly tricky parts are crocheting tiny shapes inside a magic ring (the wax drip and flame), widening the green holder with increases, and gluing the small pieces cleanly.

Materials & Tools
-
Yarn: Acrylic yarn in cream (candle body and wax drip), green (candle holder), pale yellow (flame), dark brown (wick), and white (hanging loop)
-
Crochet Hook: 3.0 mm crochet hook
-
Tools & Supplies: Scissors and craft or hot glue (to attach the wax drip, base, and flame)
Pattern Abbreviations
-
ch: chain
-
sc: single crochet
-
dc (Dc): double crochet
-
2 dc in same stitch: double crochet increase
-
slip (sl st): slip stitch
-
Magic ring: adjustable starting yarn loop
How to Make the 3 Difficult Stitches Used
-
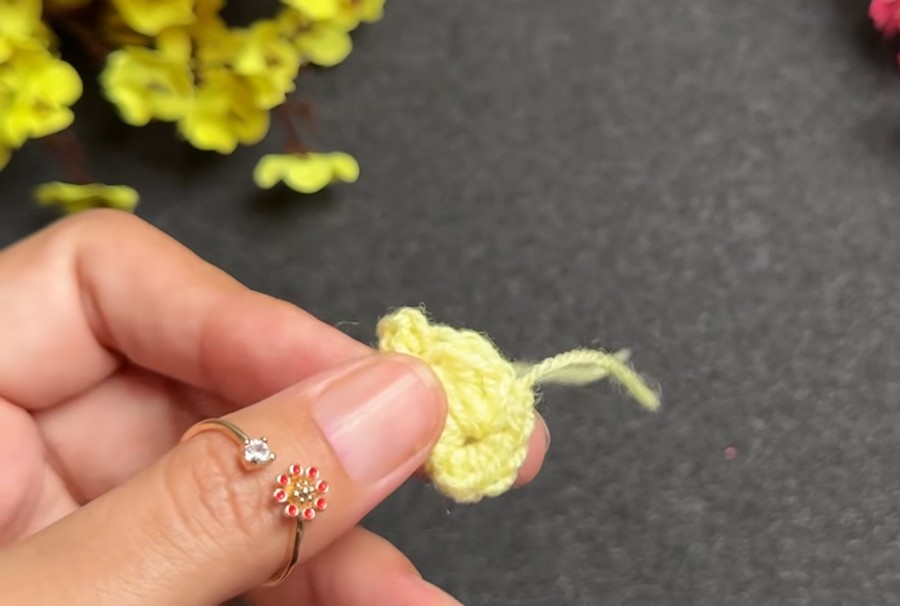
Magic Ring (used for the tiny wax drip and the yellow flame)
-
Wrap the yarn around your fingers to make a crossed loop (“X”).
-
Slide your hook under the first strand, grab the working yarn, and pull up a loop.
-
Chain 1 (1 ch) or Chain 2 (2 ch) and work your stitches inside that loop, then pull the short yarn tail tight to close the center hole.
-
-
Double Crochet (dc) (used for the candle body rows, wax drip, holder, and flame)
-
Wrap the yarn over your hook once.
-
Insert your hook into the stitch, chain, or magic ring, wrap yarn over, and pull up a loop (3 loops on your hook).
-
Wrap yarn over and pull through the first 2 loops.
-
Wrap yarn over again and pull through the last 2 loops.
-
-
Double Crochet Increase (2 dc in same stitch) (used to shape the curved green holder)
-
Work 1 full double crochet into the next chain stitch.
-
Yarn over and insert your hook back into that exact same chain stitch to make a second double crochet, helping the green base curve smoothly outward.
-
Video Guide:
