
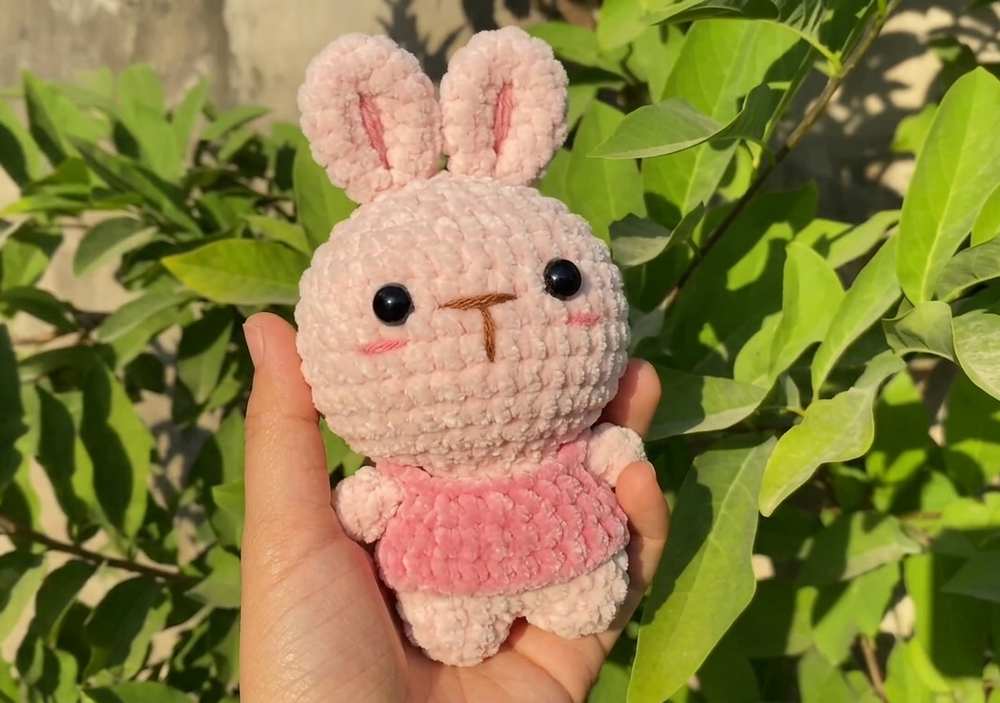
This is part 2 of the 4 crochet miniature animal doll plushie series. And today, I will share a free pattern to crochet this little dressed bunny plushie with oh-so cute blush. This is easily one of the cutest bunny plushie patterns I have provided you with so far. You can crochet it as a baby shower, Valentine’s Day, or anniversary present, and the receiver will be more than happy.
Now, the dog and the chicken versions are the only ones left. As mentioned already, you can crochet it with the same base body as the pig version to crochet this oh-so cute plush. We shall crochet the ears with beautiful inner embroidery as another piece. Now, continue reading for the full pattern to crochet this animal plush.
Crochet Bunny Keychain Plush: Row-by-Row Pattern
Below is the pattern to crochet this miniature bunny keychain with the assembly in the end:
Materials Needed
- Main Color (MC) Yarn: White (for the head, body, arms, and ears). A plush chenille or velvet yarn works beautifully for this design to create a soft, velvety finish.
- Contrast Color (CC) Yarn: Teal, Pink, Red, or Blue (for the camisole)
- Crochet Hook: (e.g., 2.5mm for sport/DK weight, or 4.0mm to 5.0mm for plush chenille)
- Safety Eyes: 6mm or 8mm (size up if using plush yarn)
- Other Supplies: Fiberfill stuffing, tapestry needle, stitch markers, and scissors
Abbreviations
- MR: Magic Ring
- CH: Chain
- SC: Single Crochet
- DC: Double Crochet
- INC: Increase – 2 sc in one stitch
- DEC: Decrease – 2 sc together
- SK: Skip (Bỏ qua)
- ST(S): Stitch(es) (Mũi)
- ( … ) * x: Repeat instructions inside parentheses the specified number of times
- [ … ]: Total number of stitches at the end of the round
1. Head (Đầu)
- Use White yarn. Stuff firmly as you go, especially before closing.
- R1: MR, 6 sc [6]
- R2: 6 inc [12]
- R3: (1 sc, 1 inc) * 6 [18]
- R4: (2 sc, 1 inc) * 6 [24]
- R5: (3 sc, 1 inc) * 6 [30]
- R6: (2 sc, 1 inc, 2 sc) * 6 [36]
- R7: (5 sc, 1 inc) * 6 [42]
- R8: (3 sc, 1 inc, 3 sc) * 6 [48]
- R9 – R16: 48 sc [48 for 8 rounds]
- Tip: Insert safety eyes between Rounds 13 and 14, spaced about 7-8 stitches apart.
- R17: (3 sc, 1 dec, 3 sc) * 6 [42]
- R18: (5 sc, 1 dec) * 6 [36]
- R19: (2 sc, 1 dec, 2 sc) * 6 [30]
- R20: (3 sc, 1 dec) * 6 [24]
- R21: (2 sc, 1 dec) * 6 [18]
- Fasten off, leaving a long tail for sewing. Finish stuffing the head completely so the cheeks are nice and round.
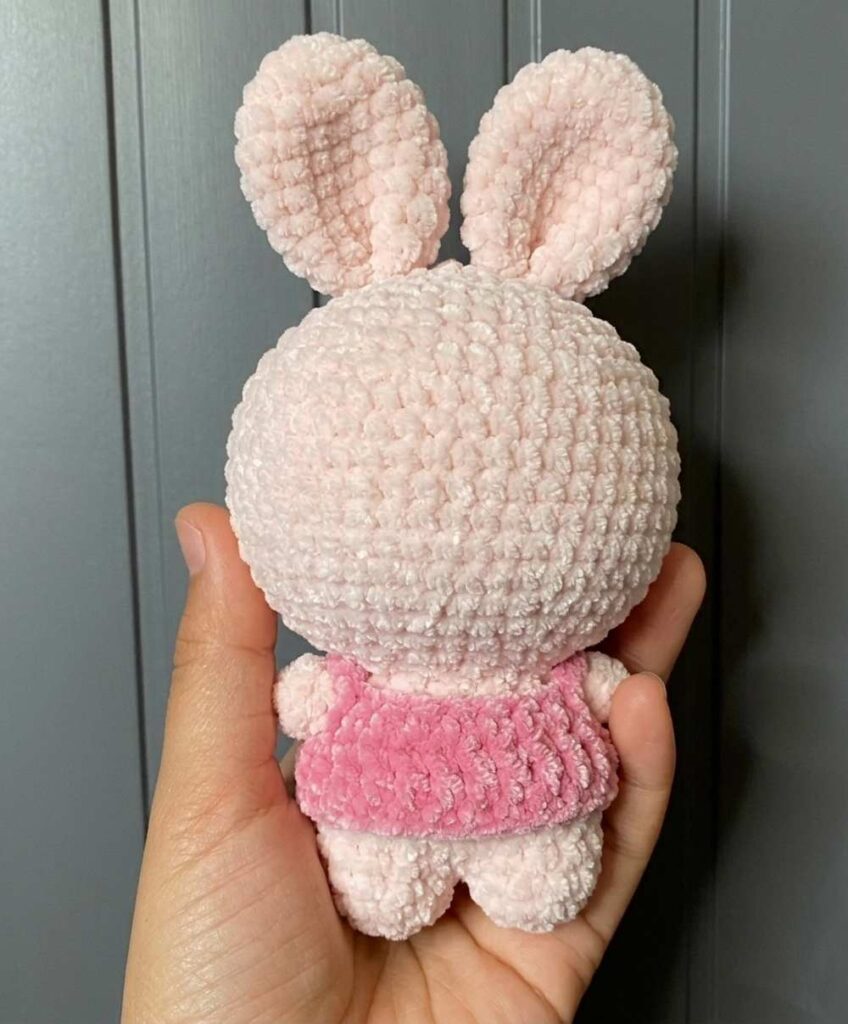
2. Bunny Ears (Tai thỏ) – Make 2
- Use White yarn. These do not require stuffing so they lay flat and drape nicely.
- R1: MR, 6 sc [6]
- R2: 6 inc [12]
- R3 – R7: 12 sc [12 for 5 rounds]
- Fasten off, leaving a long tail for sewing. Flatten the ears.
3. Legs and Body (Chân và cơ thể)
- Use White yarn. The body is built seamlessly by crocheting the two legs together, making it a great low-sew base.
- Leg 1:
- R1: MR, 9 sc [9]
- R2 – R3: 9 sc [9 for 2 rounds]
- Fasten off Leg 1.
- Leg 2 & Body Join:
- R1 – R3: Repeat instructions for Leg 1. Do NOT fasten off Leg 2.
- R4 (The Join): Continue from Leg 2, insert your hook directly into any stitch on Leg 1. Crochet 9 sc around Leg 1. Then, crochet 9 sc around Leg 2. [18 total stitches]
- R5 – R9: 18 sc [18 for 5 rounds]
- Fasten off, leaving a long tail. Stuff the body and legs firmly.
4. Arms (Tay) – Make 2
- Use White yarn. These do not require stuffing.
- R1: MR, 6 sc [6]
- R2 – R3: 6 sc [6 for 2 rounds]
- Fasten off, leaving a long tail for sewing.
5. Clothing
Camisole Vest
- Use your chosen Contrast Color. This piece is worked flat in rows, turning at the end of each row.
- Row 1: ch 25. Skip the first 3 chains (this skipped section counts as your first dc). Work 1 dc in each of the remaining 22 chains. [23 total stitches including the turning chain]
- Row 2: ch 1, turn. Work 4 sc, ch 5, skip 3 stitches (this creates the first armhole), 8 sc, ch 5, skip 3 stitches (this creates the second armhole), 4 sc.
- Fasten off and weave in the ends.
6. Detailed Assembly Guide
- Step 1: Attaching Head to Body
- Position the head squarely on top of the open neck of the body.
- Whipstitch the opening of the body (18 sts) to the opening of the head (18 sts). Add a little extra stuffing to the neck right before closing the seam to prevent the large head from wobbling.
- Step 2: Attaching the Ears
- Pin the flattened ears to the top of the head, symmetrically placing them around Rounds 4 to 6.
- Sew them securely in place. You can sew them straight up, or fold the base slightly in half before sewing for a pinched, slightly flopped look.
- Step 3: Face Embroidery
- Using a thin strand of pink yarn or embroidery thread, stitch a tiny “Y” or “V” shape for the bunny’s nose directly between the eyes (around Round 14).
- Step 4: Attaching the Arms
- Pin the arms to the sides of the body, right below the neck seam.
- Sew the flat top of the arms securely to the body.
- Step 5: Dressing the Bunny
- Wrap the camisole around the bunny’s body, slipping the arms through the chain-5 armholes you created in Row 2.
- You can use a small piece of matching yarn to tie the camisole closed at the front center, or leave it open for a relaxed vest look.