
As a beginner origamist, I always wondered why my origami model was not as neat as the designers’? And yes, for a messy crafting technique like origami, neatness is probably one of the most demanding and needed features.
That’s why I will share with you 8 useful tips on how to make your origami neater as a beginner. I have learnt these origami tips from my experience and advice from experts. These are, although not the magic tricks, but I have found these origami advices the best-work and motivating for me.
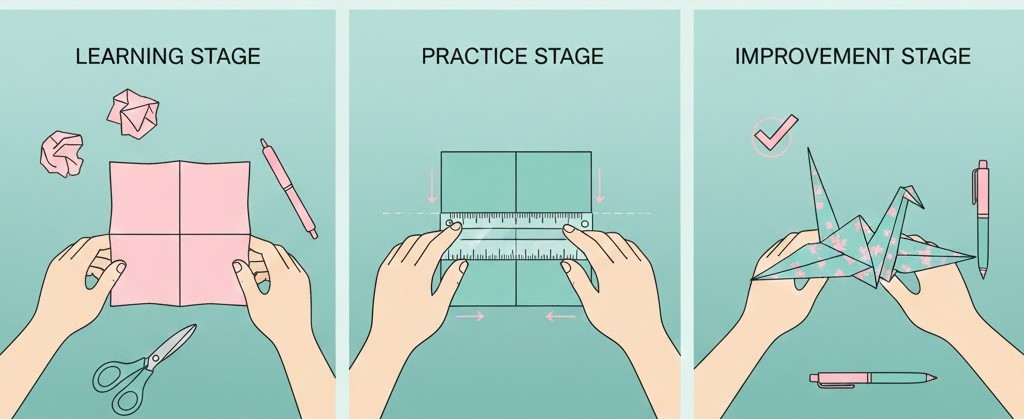
With the aftermath of implementing these origami tricks in your next model, I am pretty sure it would turn out oh-so neat. And whether you wanted it as a present or gift, the model will become irresistible.
Tip #1: Learn the Origami Fundamentals
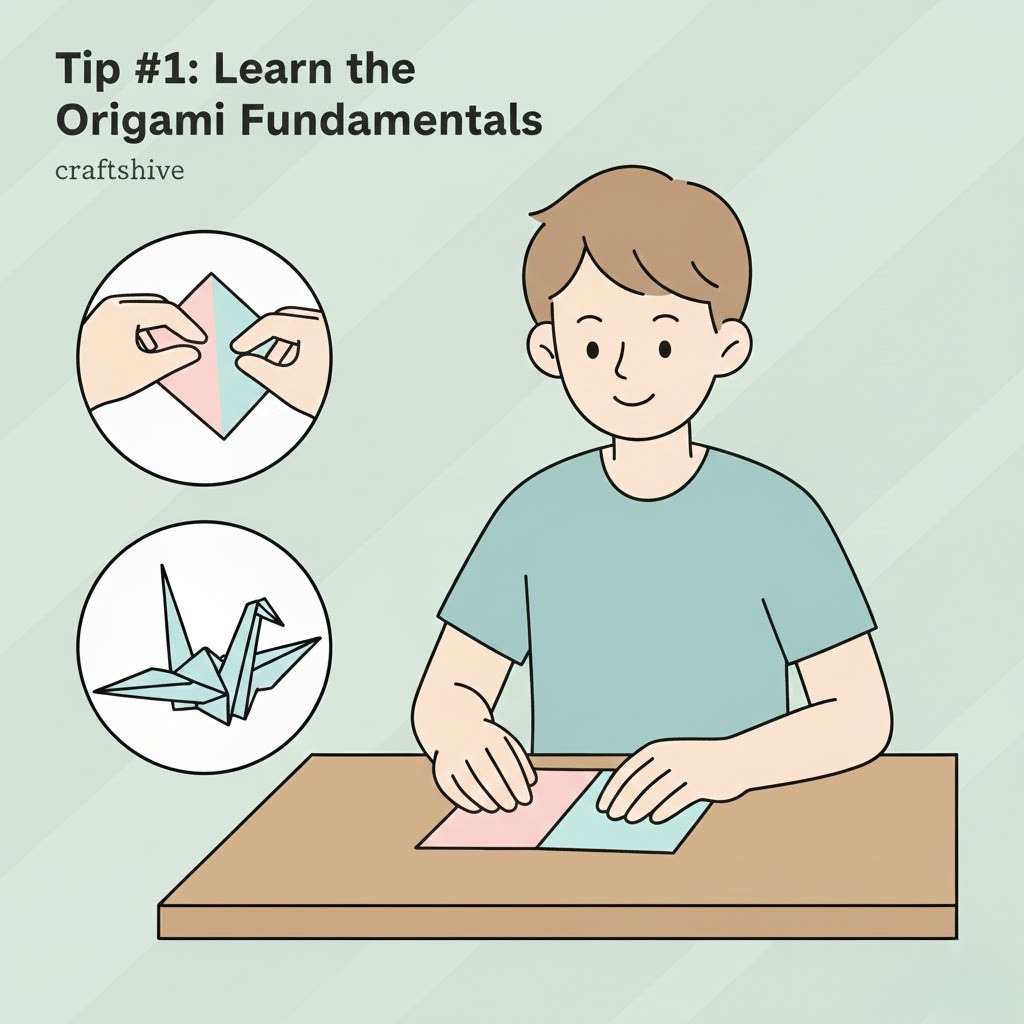
You should first learn the basic origami folds, crease patterns, and the bases.
All the usual origami models that folder design and presentation online rely on these basic techniques.
Like the crane, swan, and flapping bird, all use the same square base. (A base is chosen as a closely resembling shape to the end origami model.)
And then?
When you go grab even a basic project like a flapping bird without learning the basics, you have to learn from scratch, the swan, and so on, the crane. But if you know that the base is the same, that’s the learning time reduces alot. There are two benefits and things to do:
- Practice the basic folds again and again. So, when the tutor says this project uses “pig base”, you can test yourself.
- This way, there is very little room for mistakes.
Here are my recommendations to master basic origami before picking something complicated like an engineering project:
- 1. Valley Fold
- 2. Mountain Fold
- 3. Squash Fold
- 4. Reverse Fold
- 5. Petal Fold
- 6. Rabbit-Ear Fold
- 7. Pleat Fold
- 8. Blintz Fold
- 9. Preliminary Base (Square Base)
- 10. Waterbomb Base
Once you learn these origami techniques, go for the advanced ones for more difficult projects:
Bases
-
Waterbomb base
-
Bird base
-
Frog base
-
Fish base
-
Kite base
-
Blintz base
-
Windmill base
Folds
-
Half fold
-
Quarter fold
-
Diagonal fold
-
Square fold
-
Triangle fold
-
Blintz fold
-
Kite fold
-
Petal fold
-
Squash fold
-
Sink fold
-
Reverse fold (inside & outside)
-
Open fold
-
Book fold
- Gate fold
Crease Types
-
Valley fold
-
Mountain fold
-
Inside reverse fold
-
Outside reverse fold
-
Open sink
-
Closed sink
-
Pleat fold
-
Crimp fold
-
Rabbit-ear fold
-
Swivel fold
Tip #2: Start with A Scrap Paper & a 6 by 6 Inch At Least
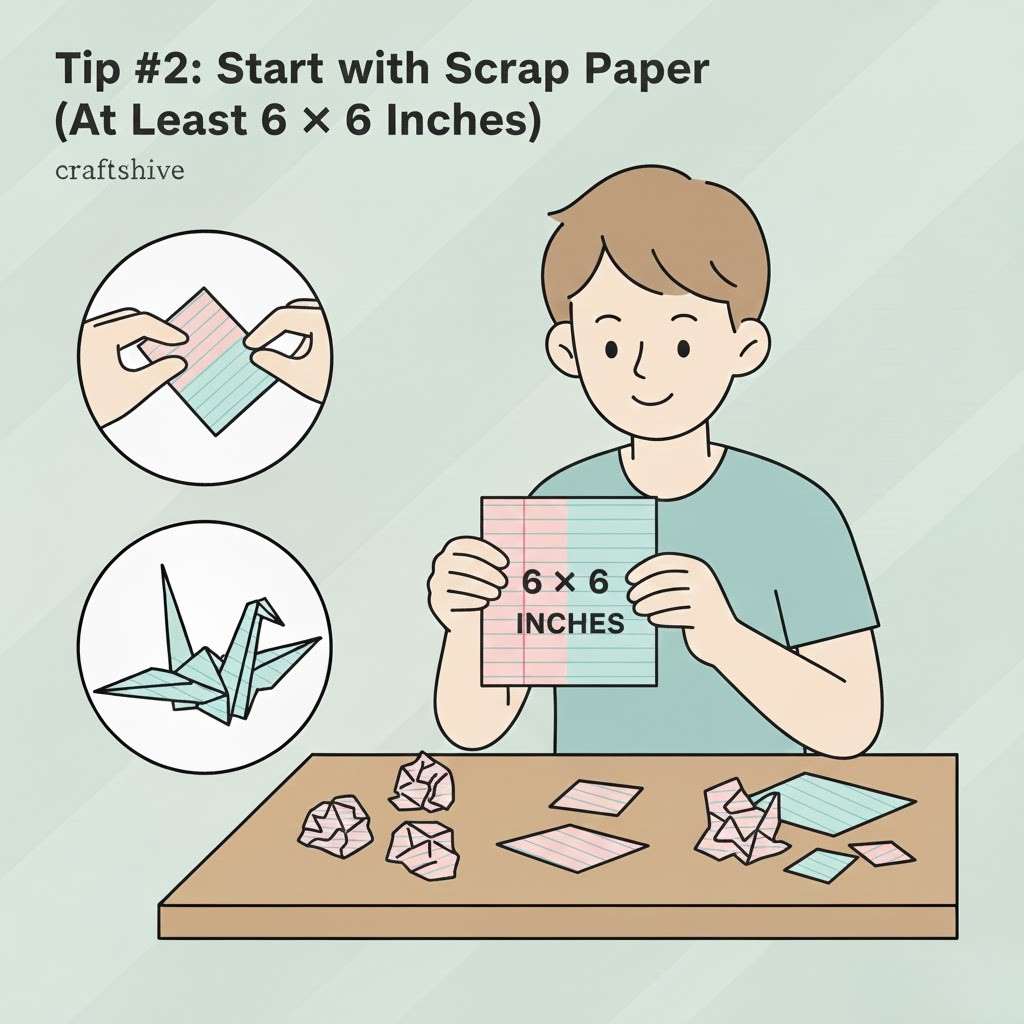
Use thin paper from old notebooks for practicing, as it is easy to fold and make creases on such paper. Moreover, you can, without worry, now worry about your weak points in a project.
Once you know the mistakes that you could make otherwise in expensive paper sheet, your origami would look neater.
In the beginning, I tried a small piece of paper for my origami. Even for a basic project like Japanese Crane, it was difficult to fold. When I tried a larger one, it was difficult to handle and tiresome.
Therefore, always choose a standard paper size.
And how to decide it?
Well, see how many layers of paper a craft needs. For example, a heart or a non-jumping frog and box origami can be made with a small piece of paper. But a crane or a swan needs at least a 15cm by 15cm square sheet of paper. So, go with the designer’s recommendations.
In origami, the muscle memory is a seedling. Working on a draft project and practicing the basics helps you refine your skills.
Tip #3: Align and Match your Work with the Designer’s & Go with Tutorials
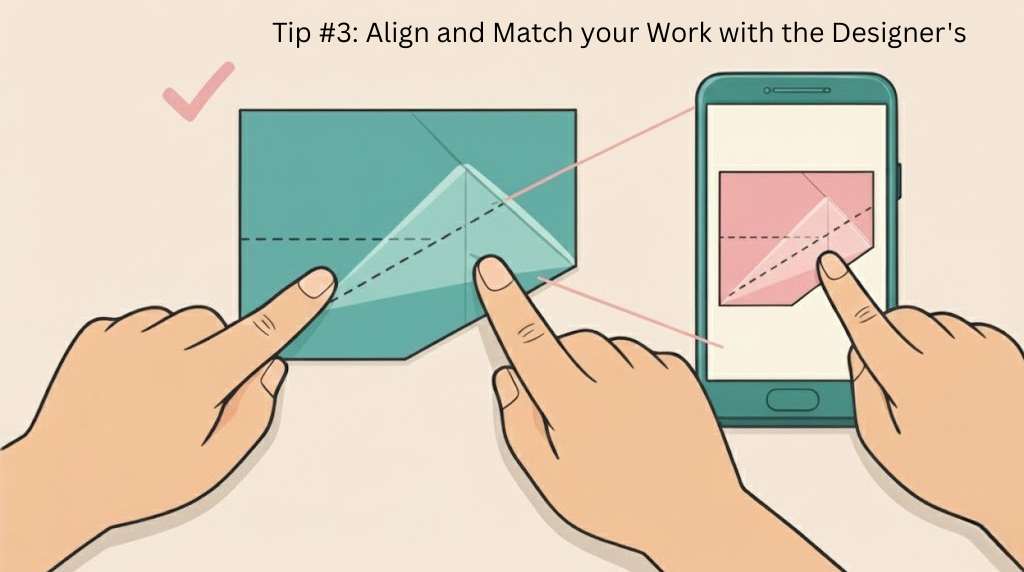
When I was quite new at origami, I always chose the random alignment of paper while folding.
It really made my head turn around when I tried to match my progress with the figures teaching me.
So, I recommend going with how the origami expert aligns the paper from the beginning. Like, say the tutor first folds the square 45 degrees and then makes a fold, go with that.
Try to go with video Tutorials for such projects and avoid pictorial or chart guides until you master the basics. Nowadays, there are quite good animations to follow.
Also, when you are a starter, keep the tutorial pacing to 0.75 or 0.5x. This was the advice I obtained from an expert. Place your mobile on the table, pick a scrap of paper, and start making, pause, and rewatching.
After you make one this way, make a better one with the help of your head.
Tip #4: Use the Ruler for Creases
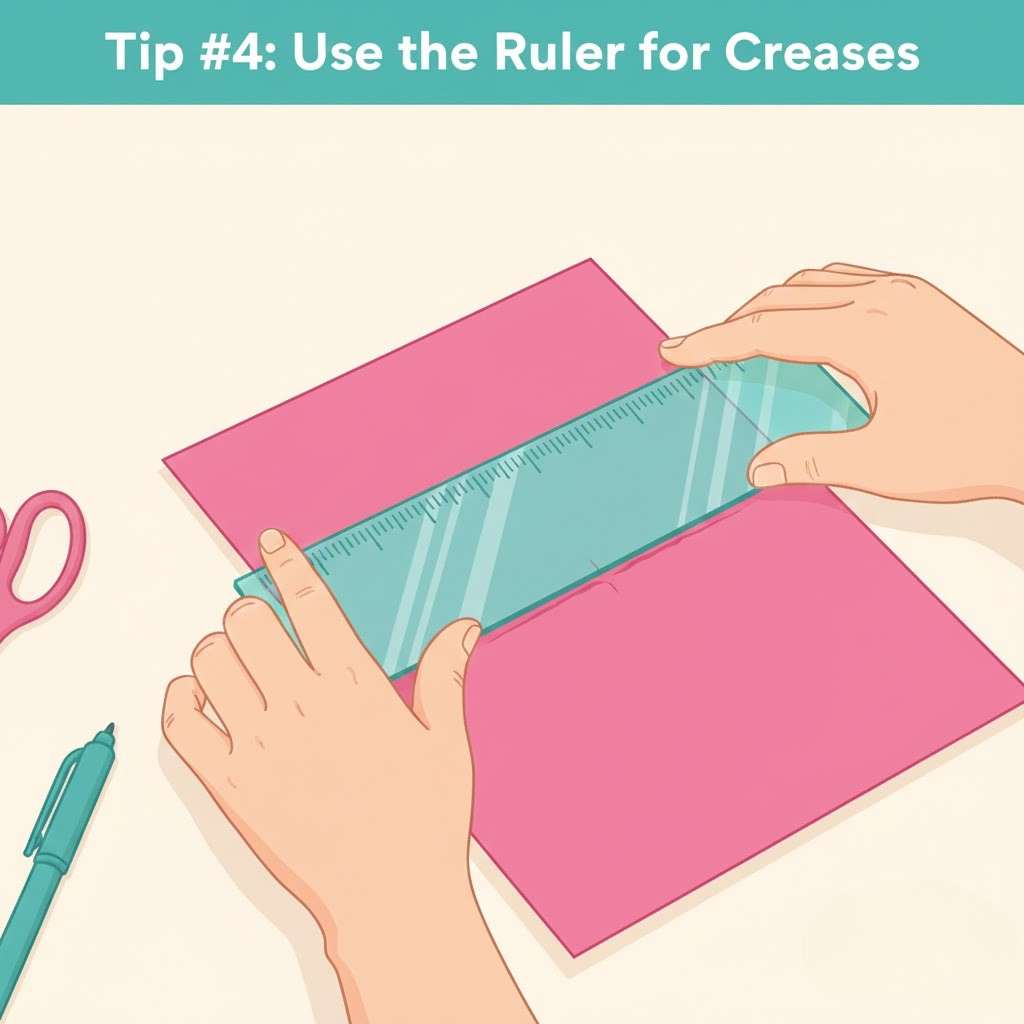
Let me say that:
“When I make the creases with my fingertips, they either start hurting or make my fingers too tired to try another origami model.”
Working with a ruler for producing the creases does two things:
Your creases are so sharp that when, for example, you try to make a square base, the paper will turn into it easily.
Fingers sometimes make the crease uneven. A ruler spreads through the whole paper very evenly. So, your origami will be neater when you press the paper with the edge of the ruler.
Tip #5: Use a Clutter-free Solid Surface
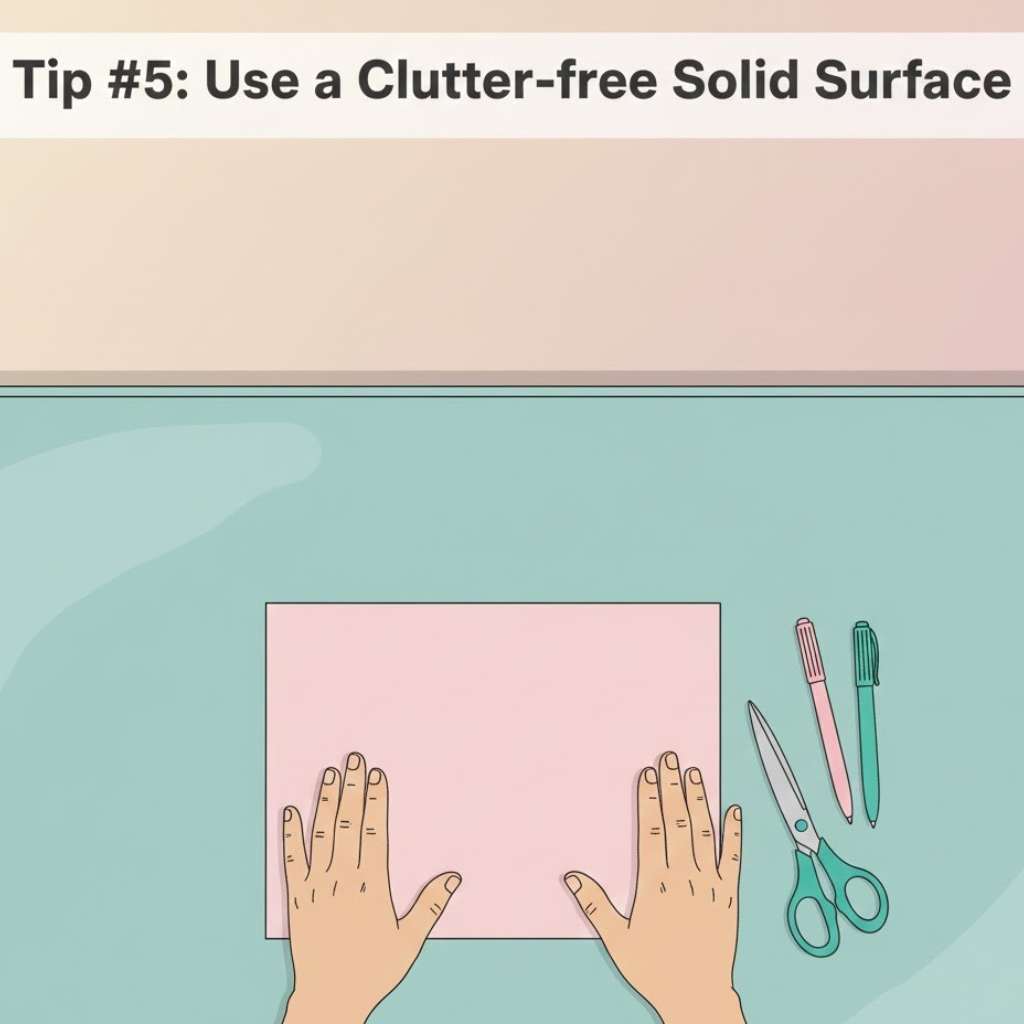
A paper sheet held by hands floating in the air results in the worst origami model. I have found one of the reason of my neatest origami that I made on my lovely working table and not on my bed. It is because it makes it hard to control creases. If you are simply practicing at some rushy area, that might be okay.
But if you are gonna make a holiday gift or want to present your origami to someone, always place the paper on a solid surface.
Always keep your ruler, scissors, and pen nearby, but not enough to touch your paper sheet. A non-slip mat is also a good addition for accuracy.
I usually keep the whole table clutter-free, play calming music, and start folding. And the results are intended and clean.
Tip #6: Fold the Paper Firm
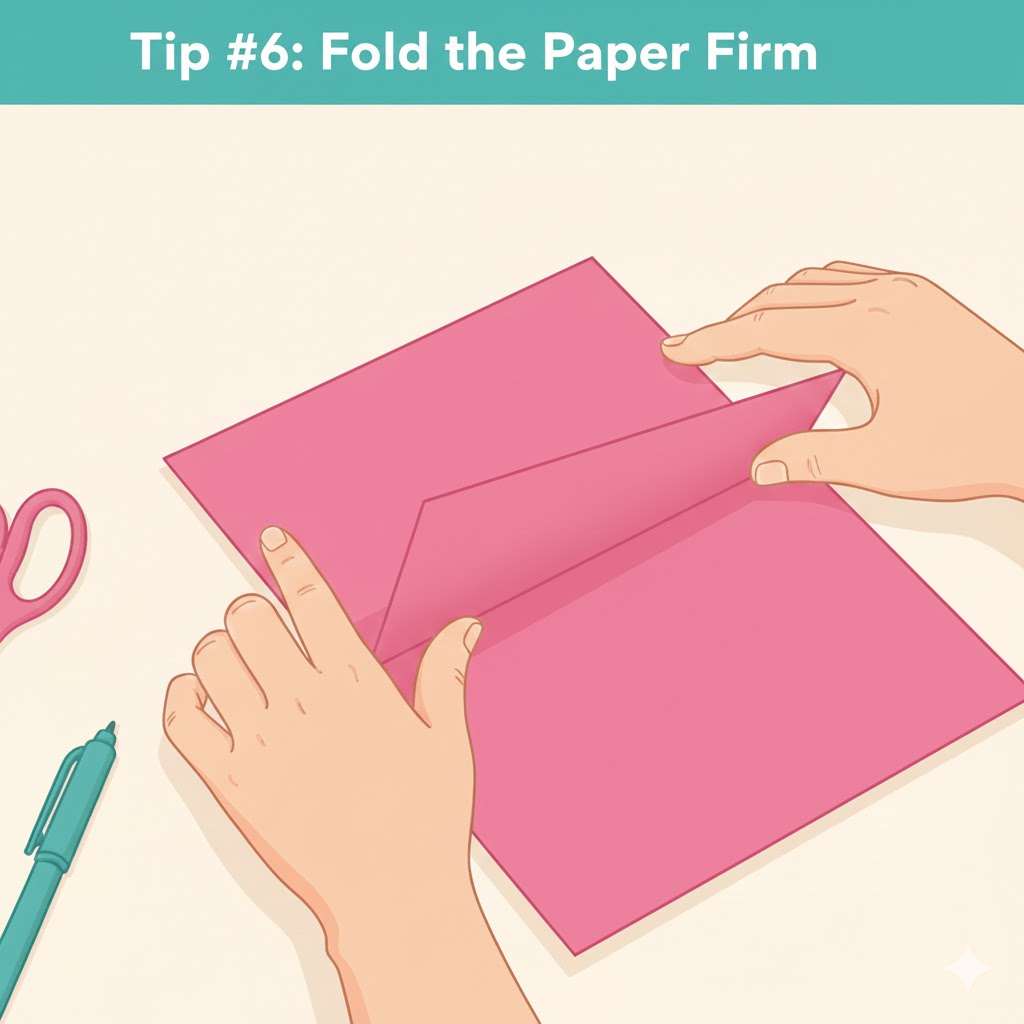
Most origami models need the layering of paper multiple times. Weak or uneven folds are for sure the reason of floopy and non-symmetrical origami.
As I mentioned, use the ruler to make the creases such that touching the sides of the paper leaves no gap in between.
The idea is to first set the position of the fold through the fingers and then apply enough pressure. That’s simple, yup. Always fold the corners especially well.
I would also recommend using a thinner paper for making good creases instead of a hard sheet.
Tip #7: Avoid Folding the Wrong Area
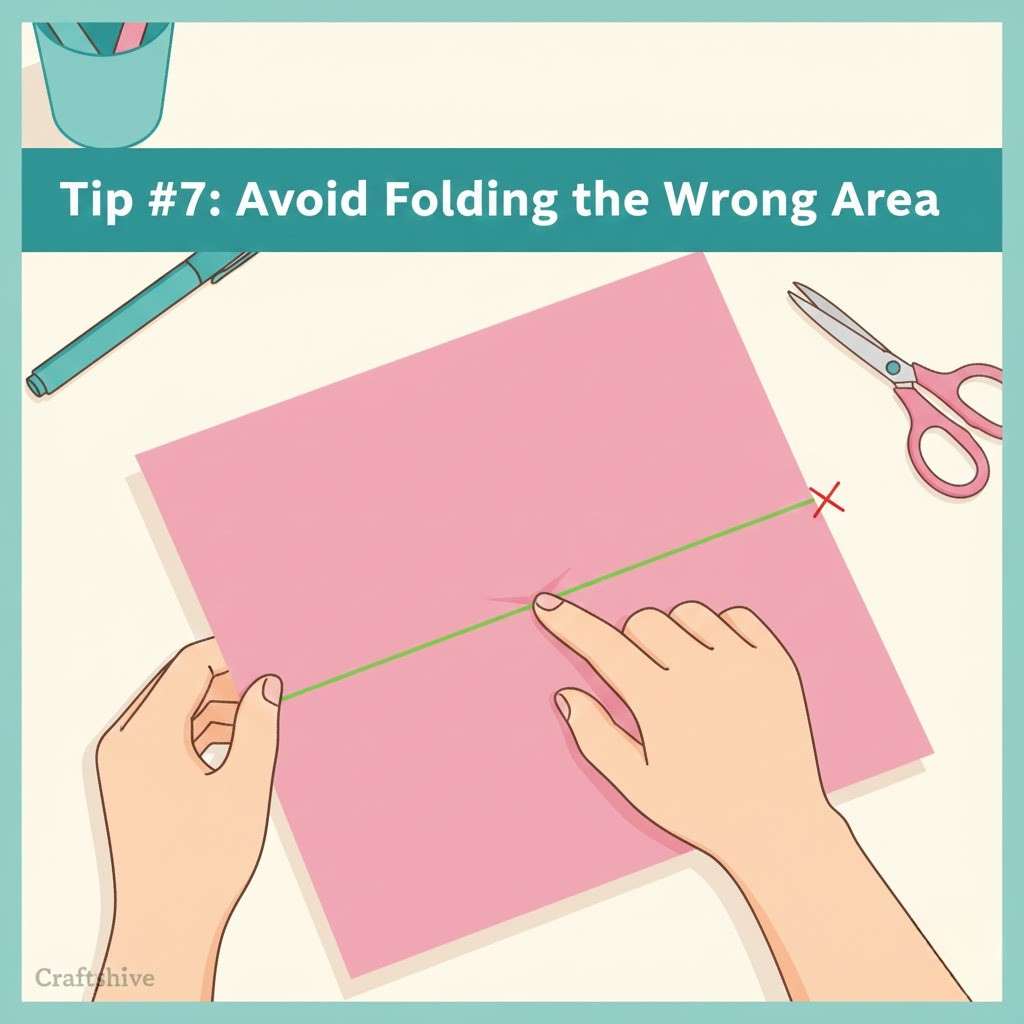
Creases are mainly used for getting symmetrical foldings. When you make any unintended creases, it confuses your brain and causes the unworked creases to appear on the finished origami model.
It once made my crane origami really sore in the wrist, many times. So, try to avoid the mistakes as much as you can.
If you follow the previous tips, that must be cured already. It is usually better to first make light creases and check if things are correct.
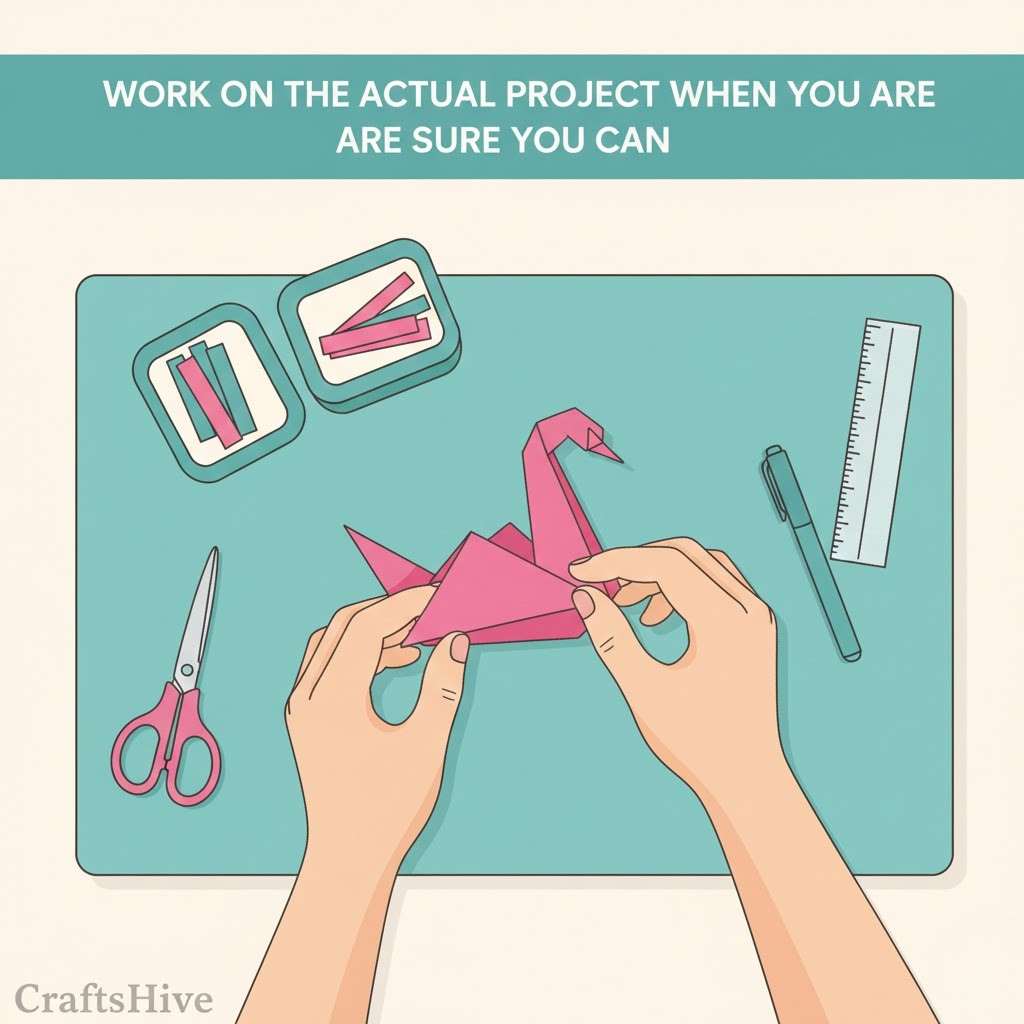
Tip #8: Work on the Actual Project when You are Sure You can
Final Words
So, yeah, getting an accurate and neat origami is not magic. It all comes from gradual practice and refining your origami as you go. But the star tip of this post is to learn the basics first. This way, you won’t lose your interest and continue moving.
Resources
- https://www.tarosorigami.com/buying-guide-for-paper-for-origami/
- https://www.youtube.com/playlist?list=PLb2EnQPKqsbLRAaum98i1_25pWeSINm_4
- https://www.youtube.com/watch?v=01tpRQafgEs

About "Talha"
Hey, I’m Talha, the Crafter on Craftstive.com. I love to share guides on folding cute origami models and paper crafts, and I am always ready to inspire your next craft project with my weekly craft discussions.