


Let’s make another simple and UNIQUE Valentine’s Day paper craft using only basic origami models. For this tutorial, I have designed a cute little heart present that you can craft in less than 10 minutes.
Youse this heart with a bow as a charm for holiday gift boxes, bookmarks, and envelopes. I will explain to you how to craft it step-by-step, so continue reading the tutorial.
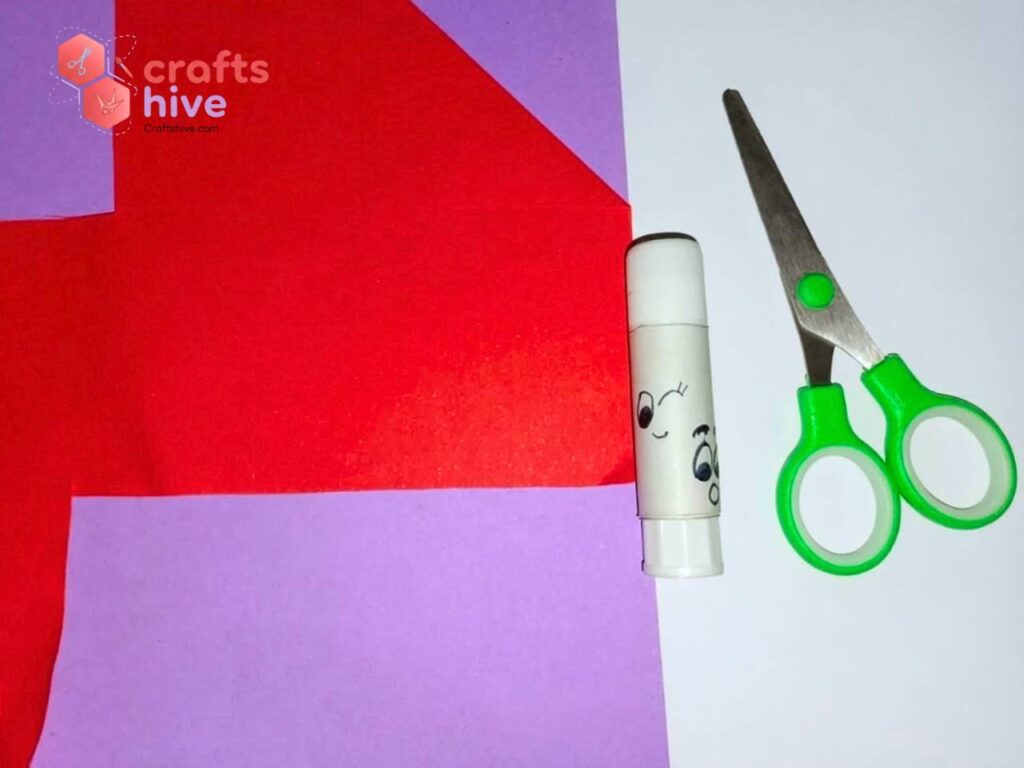
Supplies
- 14cm by 14cm Tant square sheet of paper in red
- 8.5 cm by 8.5cm square sheet in purple or pink
- Scissors
- Paper gluestick
How to Make this Heart with a Bow
I will craft this origami heart present by folding a traditional origami heart and a small couquette bow. The bow is also a traditional “origami with scissors” model. In the end, simply glue the bow onto the front of the heart.
Difficulty: Easy (beginner level 3)
Size details: The origami heart will measure 11.5cm by 9cm. The paper bow should have a width of 6.5 cm.
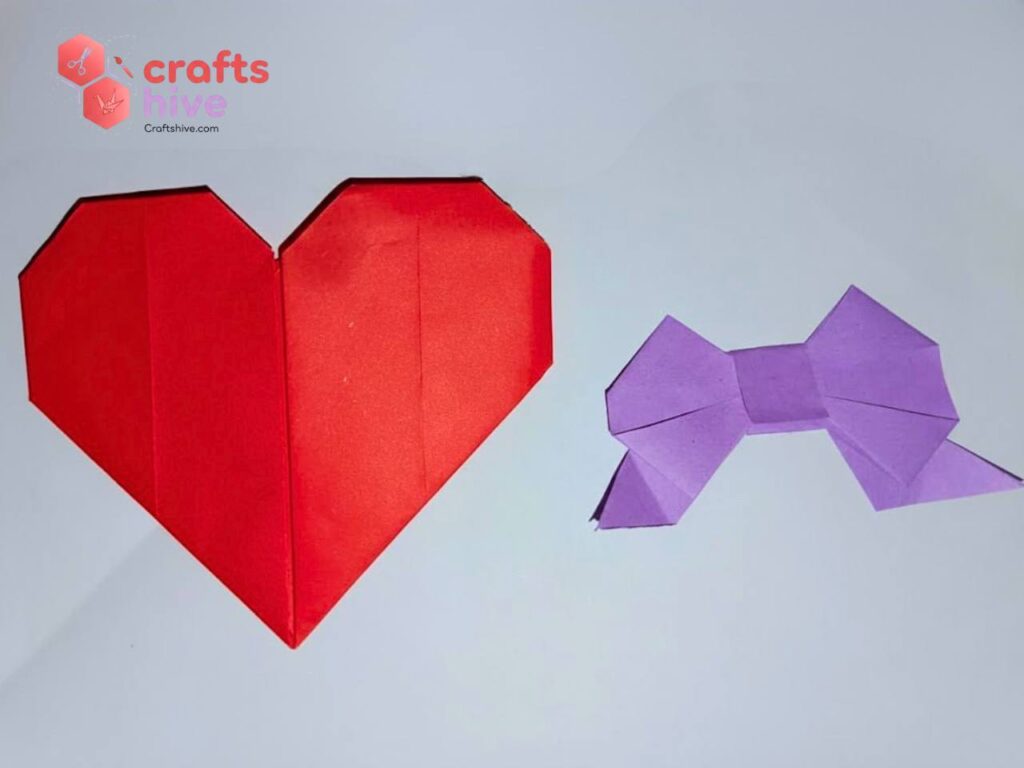
Step #1: Fold the Oriagmi Heart
Here, I will explain briefly how to fold a basic origami heart. For fold-by-fold and detailed instructions, I recommend following my “red heart origami tutorial.”

- Place your square sheet in a diamond position by rotating of 45 degrees to the normal straight square.
- Fold the top corner of the diamond onto the bottom corner, align the sides, crease, and unfold.
- Valley fold the top corner straight and align with the crease.
- Mountain Fold top corner straight onto the top side of the previous Valley Fold.
- Fold the right side, align the bottom left with the perpendicular line in the centre.
- Repeat step 5 for the left side, too. Turn work upside down.
- Fold the side corners.
- Fold the top corners.
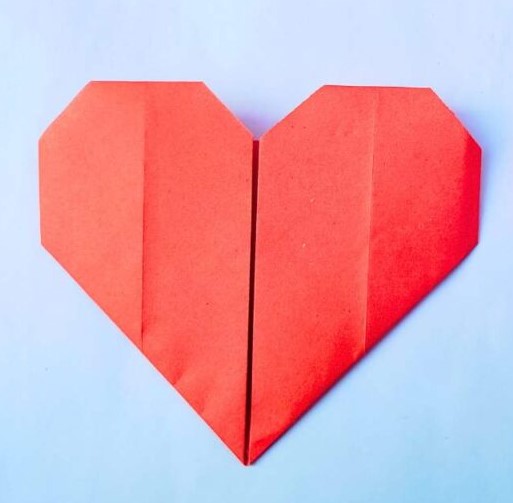
This is how your finished heart will look from the front.
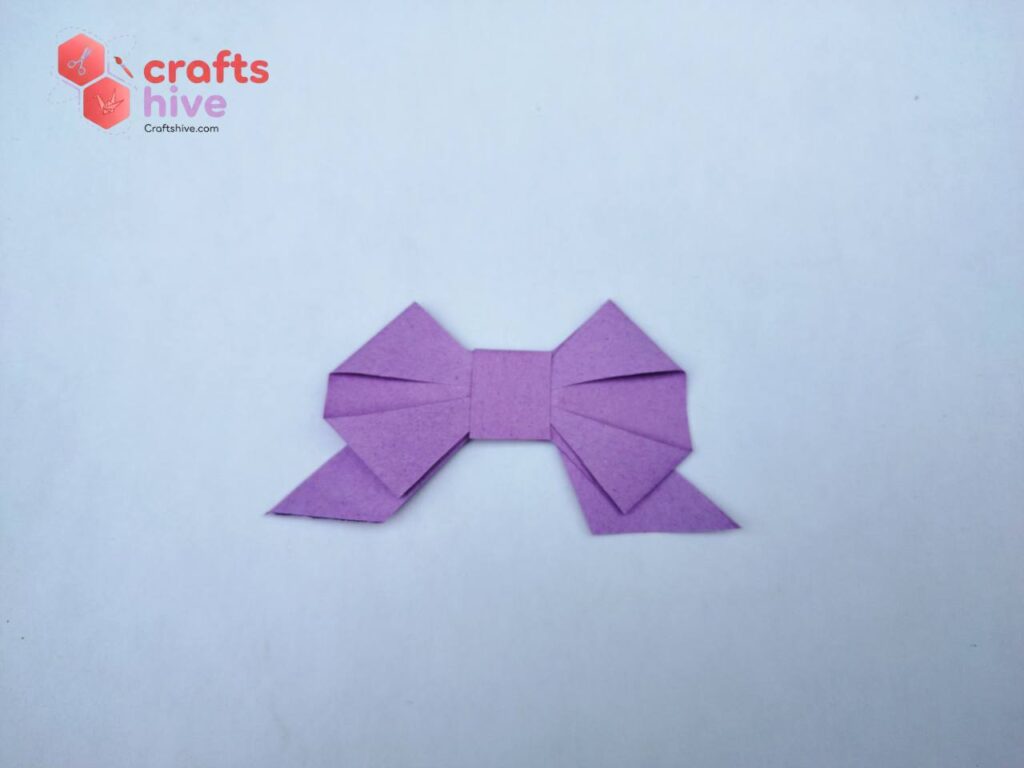
Step #2: Craft A Paper Bow
Let me explain to you how to craft a cute paper bow with quick instructions:
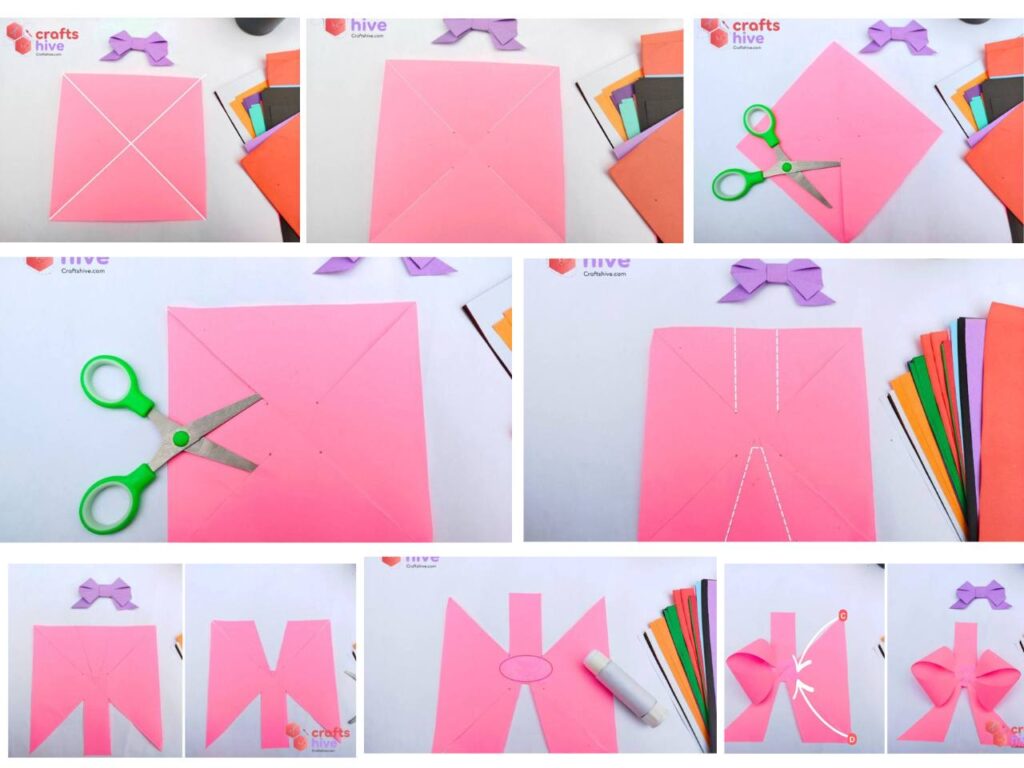
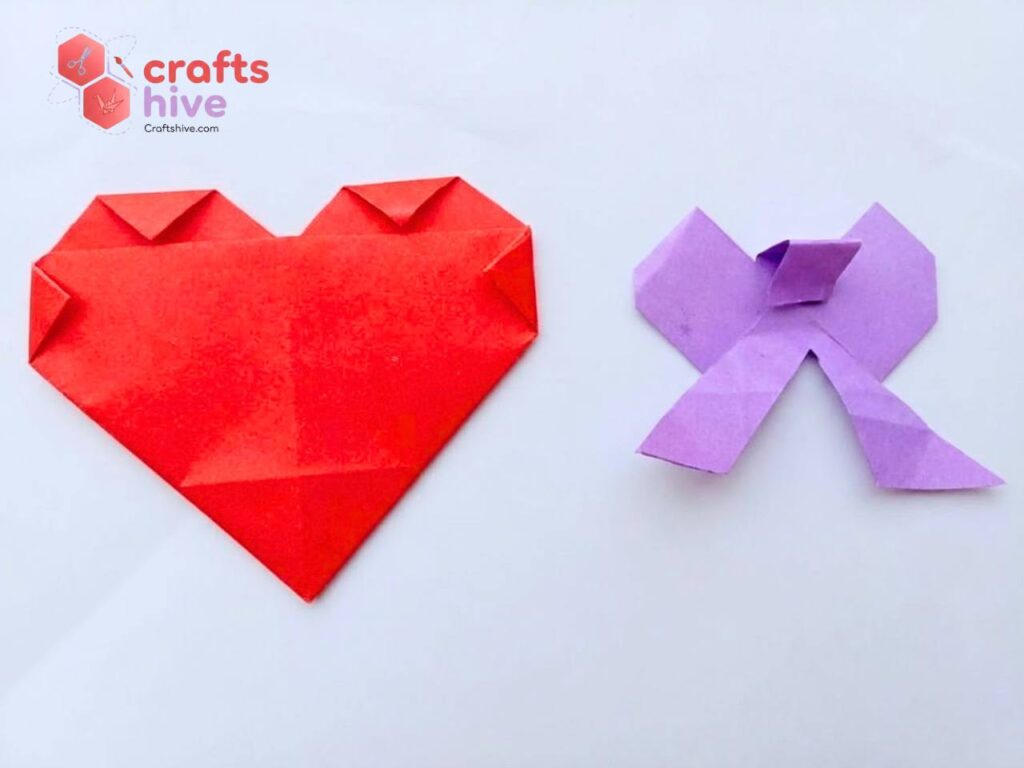
- Make diagonal folds to make crossing creases in the shape “X.”
- Mark equal lines along the diagonal creases to the centre. The line length must be 4-fifth of the half diagonal.
- Cut straight through the diagonals up to the end of the line.
- On the top side of the sheet, draw parallel lines. On the bottom side, draw an inverted V.
- Take the cutouts as in the picture.
- Apply some paper glue in the middle.
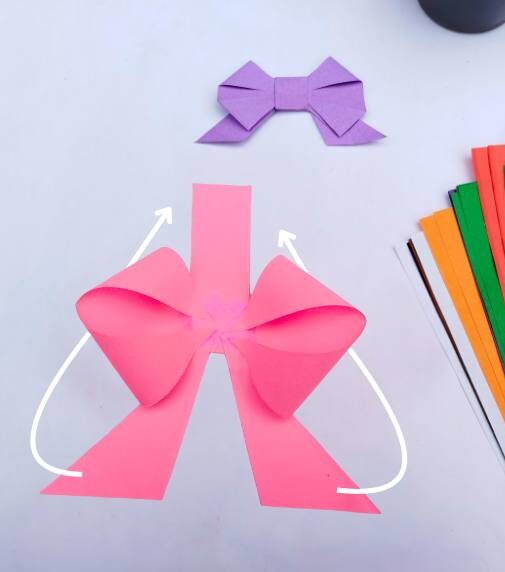
- Fold the loops onto the centre part.
- Bring the ribbon to the back sides.
- Wrap the rectangle strip around the centre.
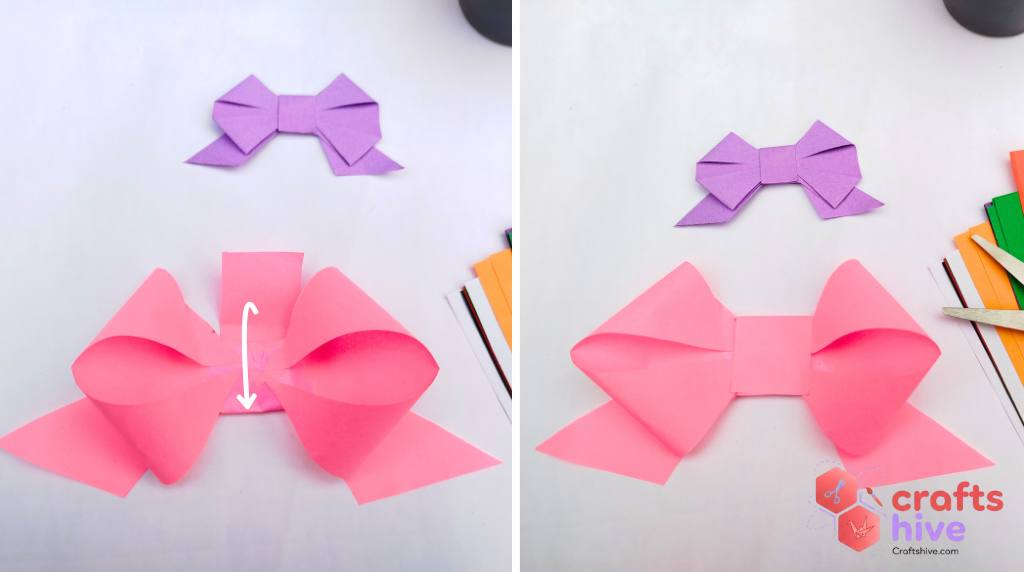
With 8.5 cm by 8.5cm, make a bow and flatten the loops a little. Now, everything is ready, we can move to the assmebly.
Learn how to craft a paper bow in detail.
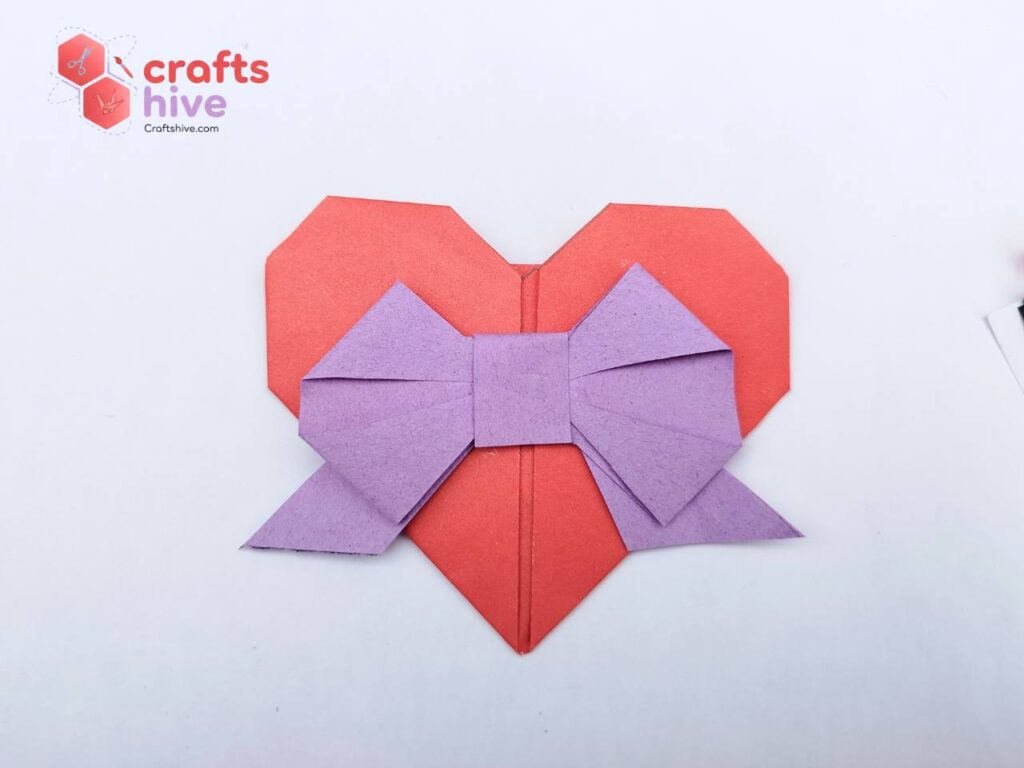
Step #3: Assemble
I wanted my ribbon tails to align with the heart sides. So, I applied some on the back side of the bow (not on the heart) and setteled it where it started looking nice to me. I concluded that you should attach it a few centimetres above the horizontal middle.
Finished
The resulting origami heart looked so cute to me personally. I attached it to my craft presentation wall, and everybody just loved how beautiful it was.
Did you make this heart present? Tell Us in the Comments.
Help us improve the weak points of our tutorial with your feedback and share photos of your work to us, too. You can also encourage me to design such LOVE crafts.