


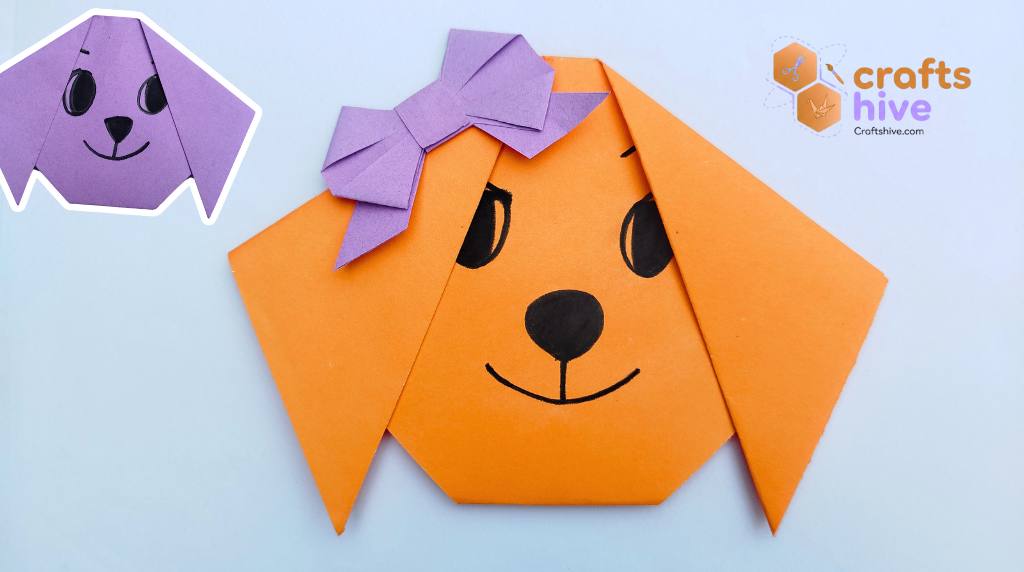
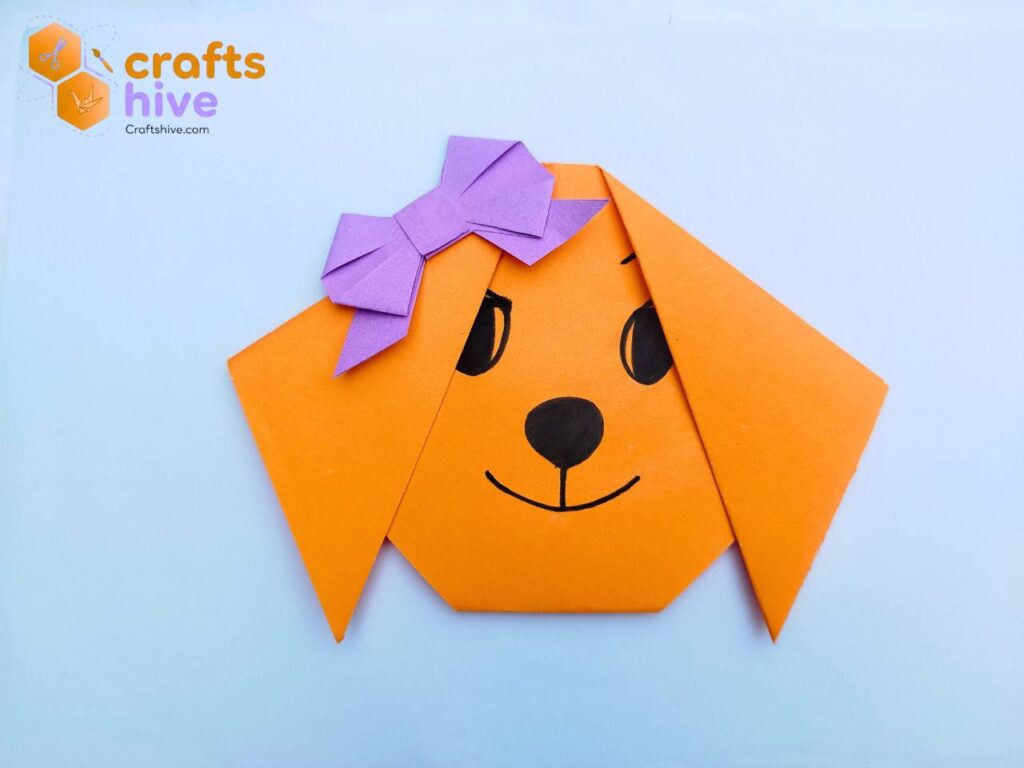
Learn how to craft another last-minute origami present for the 14th of February. This is gonna be a cute origami puppy with a bow that you can use as a greeting card and wall decoration. Like my usual crafts, it only uses the traditional origami models, which means it should be simple and easy for all.
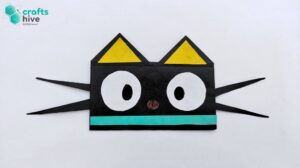
I have drawn a cute face for the puppy with the ears hiding a part of it. It looked so cute to me this way. I hope you liked that, too.
How to Make an Origami Puppy with a Bow
This origami puppy with a bow is a simple is the 2nd that uses the paper bow. Let me teach you how to craft it with step-by-step instructions:
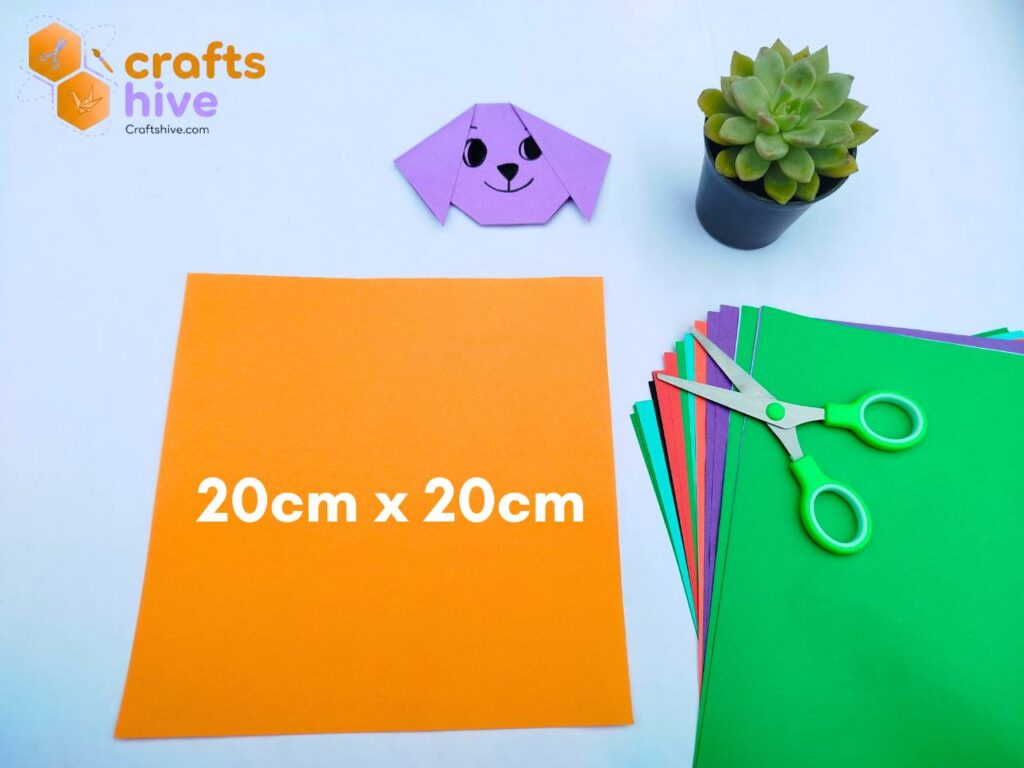
Supplies I Used
- Origami Tant Paper in orange and purple
- I used a 20cm by 20cm square sheet for the puppy and a 7.5cm by 7.5cm sheet for the paper bow
- Sketching pencil
- Black marker
- Eraser
- Paper Gluestick
- Ruler
- Scissors
Folding time: 10 minutes
Part 1: Origami Puppy
I will be folding the traditional origami puppy, which is of beginner level 1 and ends up as the head of the puppy. Only four folds are needed for this origami puppy.
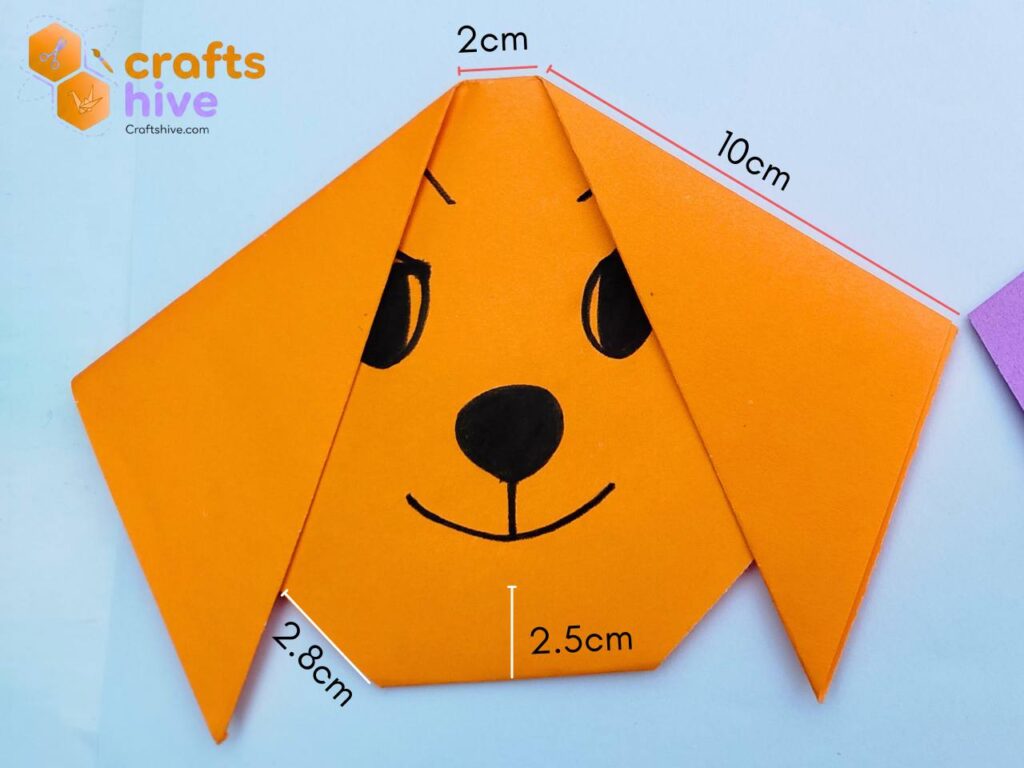
Before you begin, just remember I have modified the length of the ear folds for this project to hide the eyes under the ears. That is, the ears are quite big.
When you make it for a different craft, your ears must have small lengths. Take a look at the measurements of my puppy head origami:
Step #1: Position the Sheet
Place your square sheet of paper flat onto the table in the diamond position.

This shape has one top corner and one bottom corner. Just rotate the sheet from its normal position at an angle of 45 degrees.
Step #2: Diagonal Fold
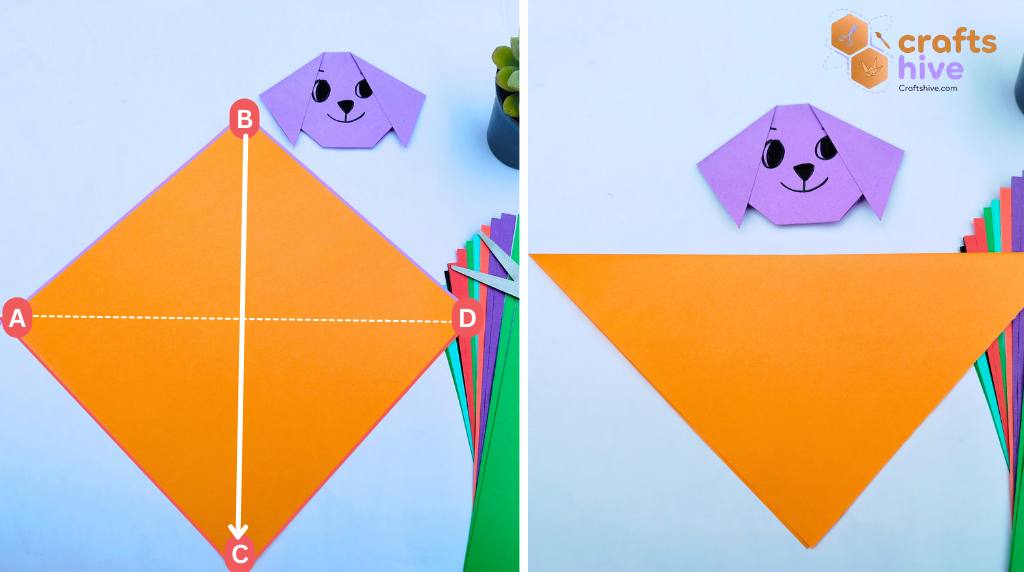
- Start folding from the top corner of the diamond and settle it on the bottom corner. Then align the top left side with the bottom left side, and so on for the top right side and bottom right side.
- Press the top side of the resulting triangle very well.
- Keep it folded.
Label Instruction: Align the side AB with the side AC and the side AD with the side AC together.
Step #3: Folds for Puppy Ears
The extent to which you fold the paper in this step will affect the size of the ears.
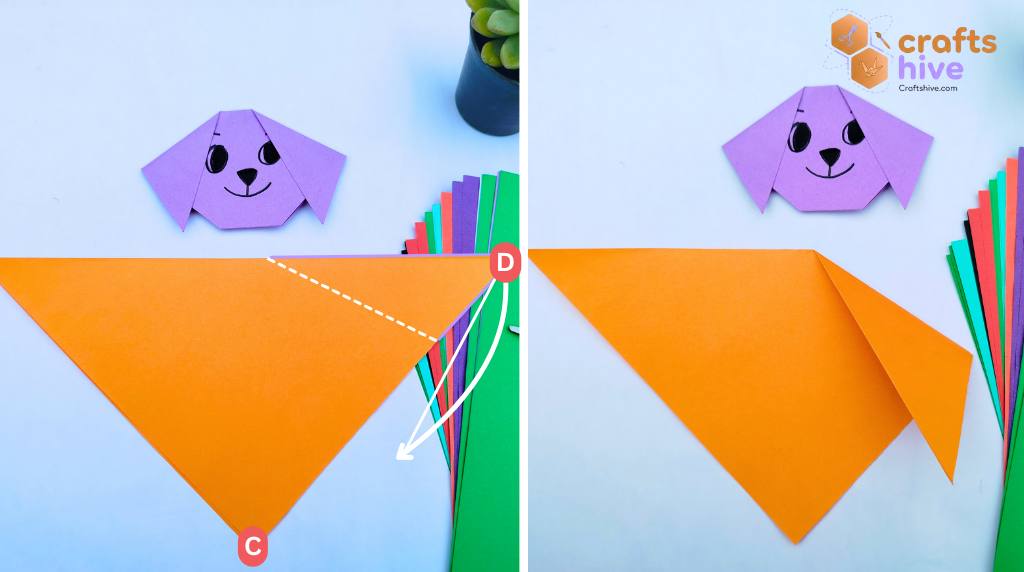
Start folding the right top corner of the triangle towards the left about an angled axis, like one marked in the picture. Crease the fold when the length of the folding side or axis of the rotation is about 10cm.
Repeat the same fold for the top right corner. The distance between the two ears with respect to the top side of the puppy’s face will be about 2cm.
The other method: If you want to get perfectly equal folds for both ears, collapse the triangle in half about the vertical middle line. Valley fold the side corner of the resulting right triangle.
Undo. Then, about the same crease, Mountain Fold. Then undo that fold, too. You will have marked guiding creases for the folds.
The con of this method is the appearance of the centre vertical crease, so I recommend avoiding it.
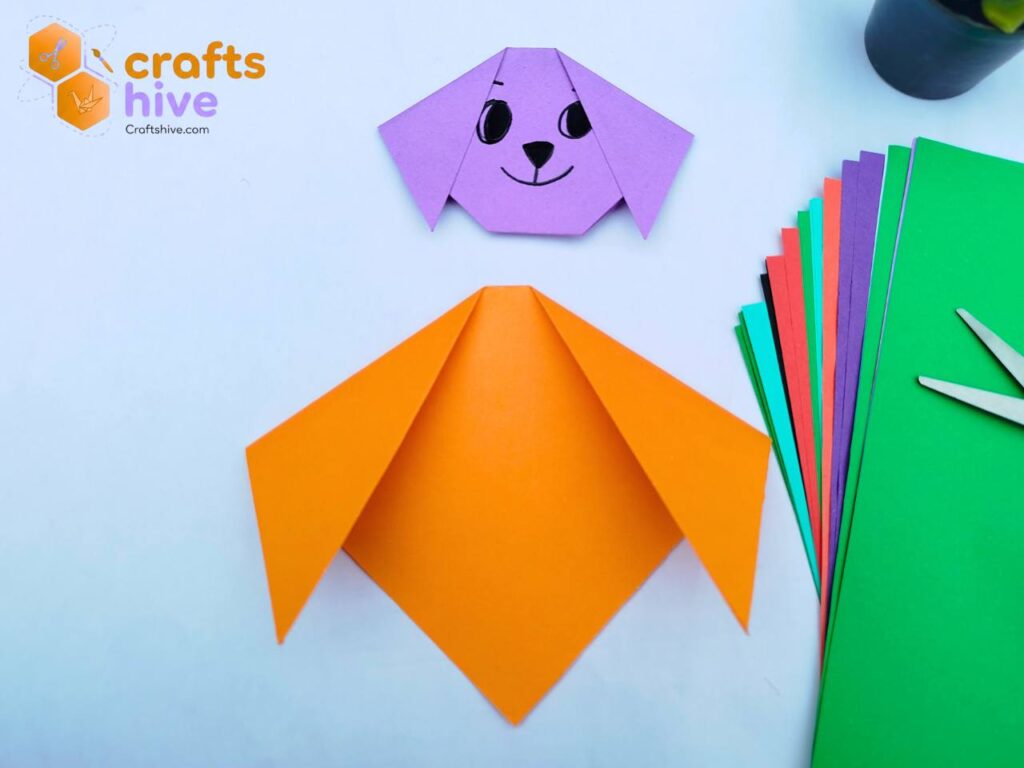
Step #4: Turn the Side
Turn your whole paper puppy face folded so far upside down.
Step #5: Fold for Puppy Chin
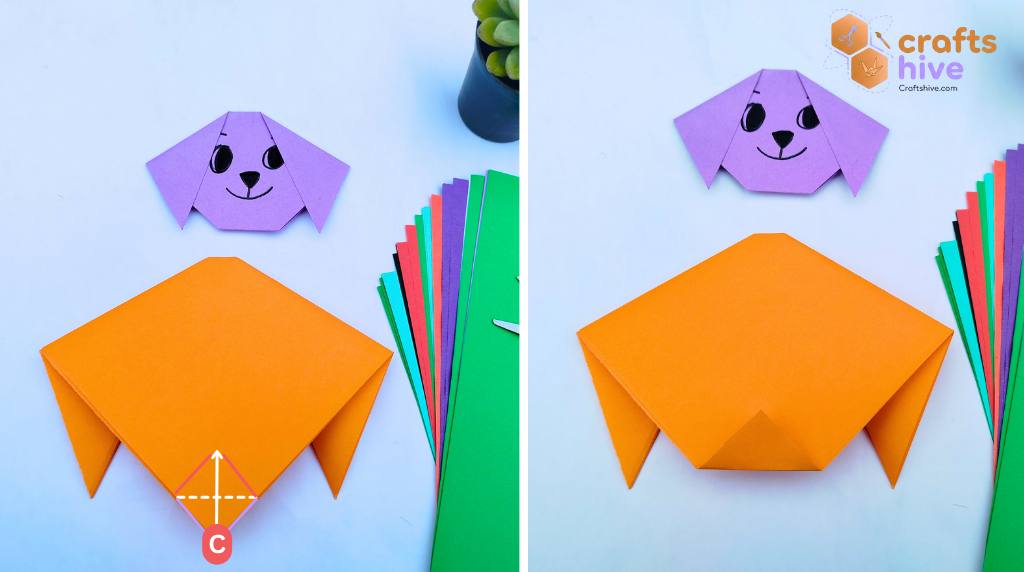
Valley fold the bottom corner with a height of about 2.5cm.
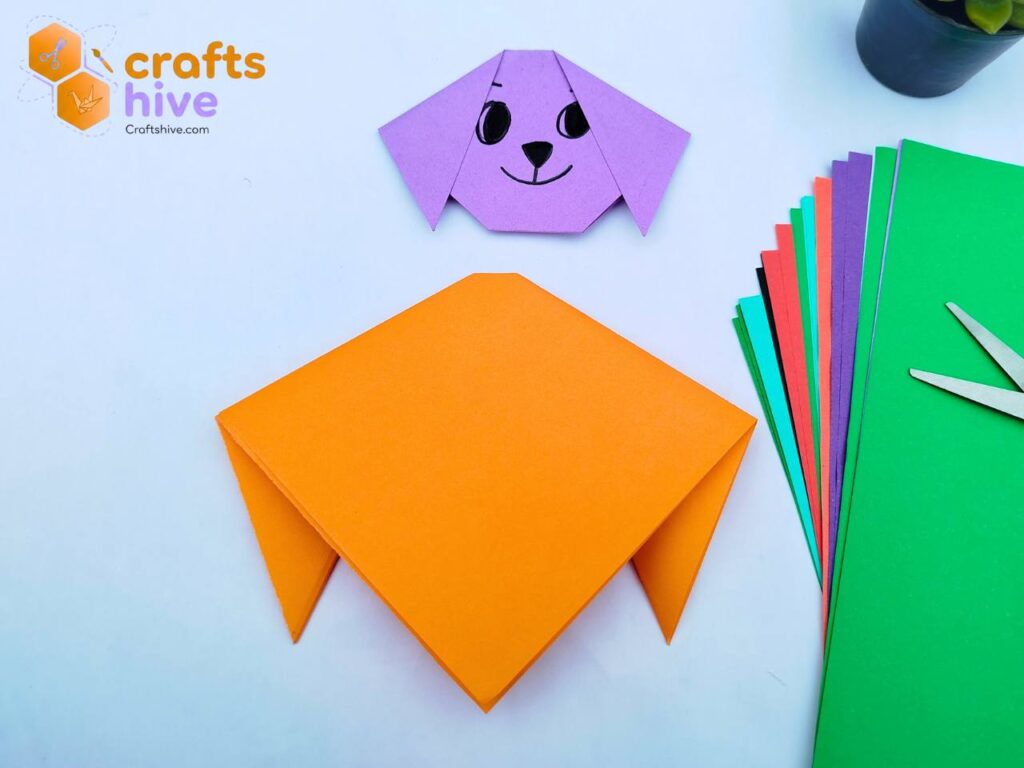
Step #6: Puppy Face Drawing
Again, turn the model upside down. Now, we have a base model for the puppy head, let’s sketch the face.
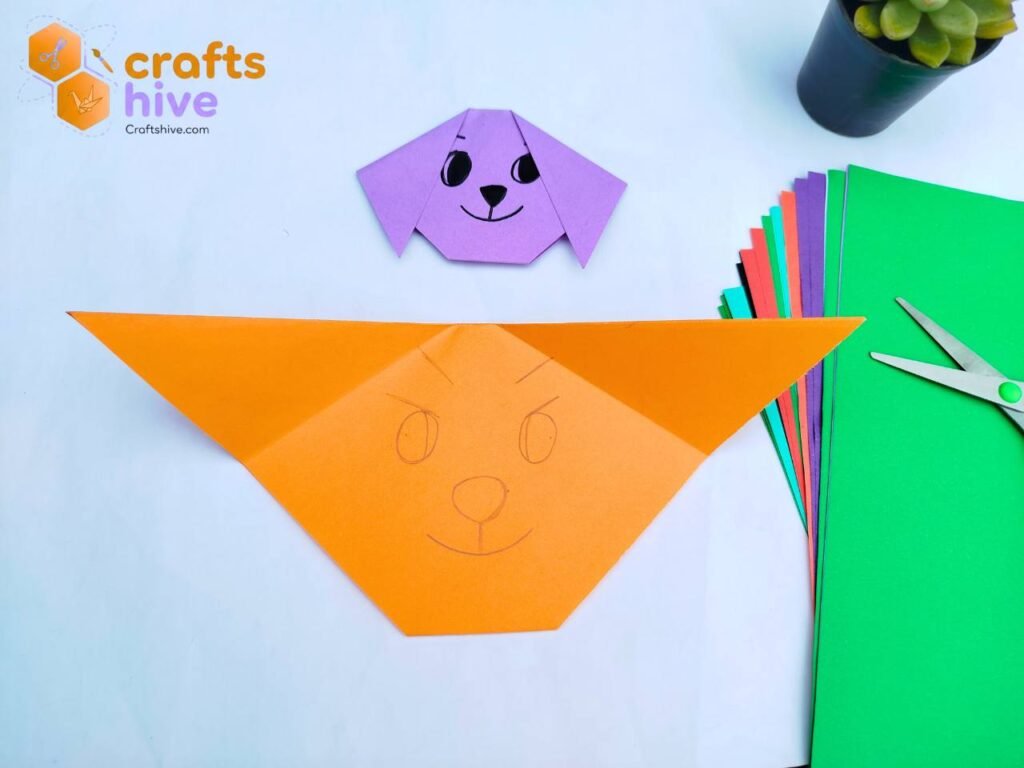
For this, make sure to unfold the ears for a moment. I used the sketching pencil to first roughly draw the face. I repeatedly checked where the ears would settle so that the eyes would not be completely covered. I drew a usual animal nose, the eyelashes, round big eyes and a smile.
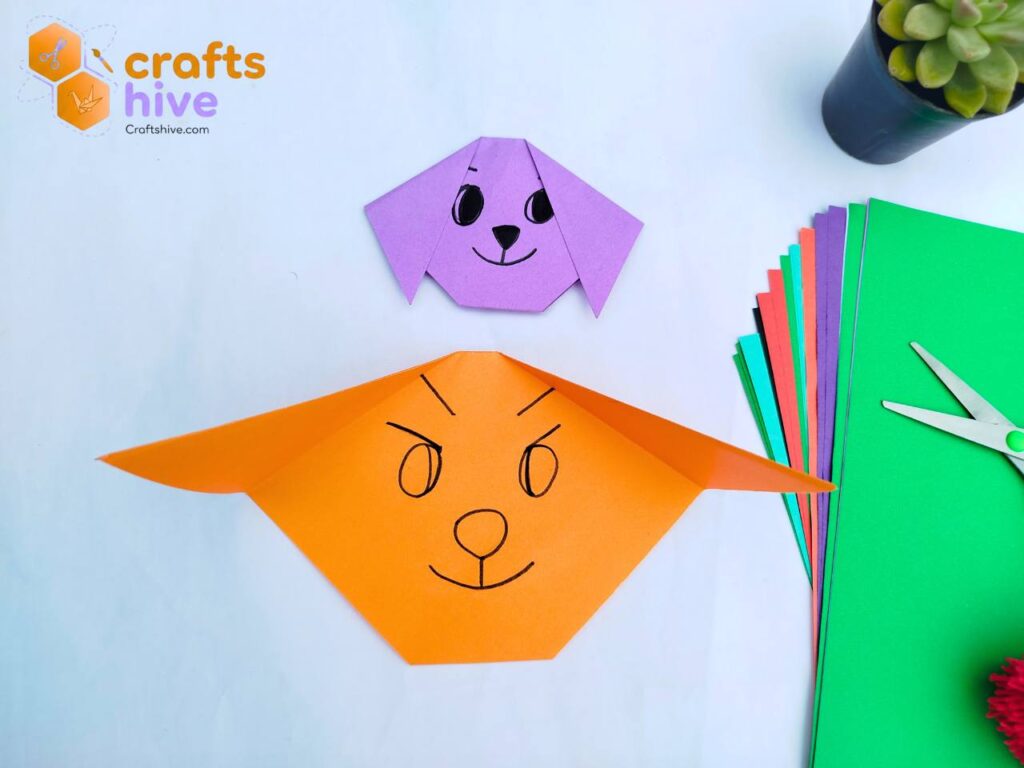
After sketching is finished, perfectly draw over the strokes (correct where needed) using a permanent black marker. Then color in the black.
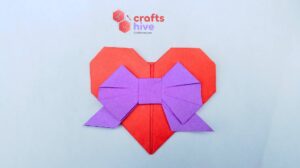
Part 2: Bow
With the 7.5cm by 7.5cm square sheet of paper, I ended up with a 6.5cm bow. You can learn how to make a couquette bow like this with my detailed guide.
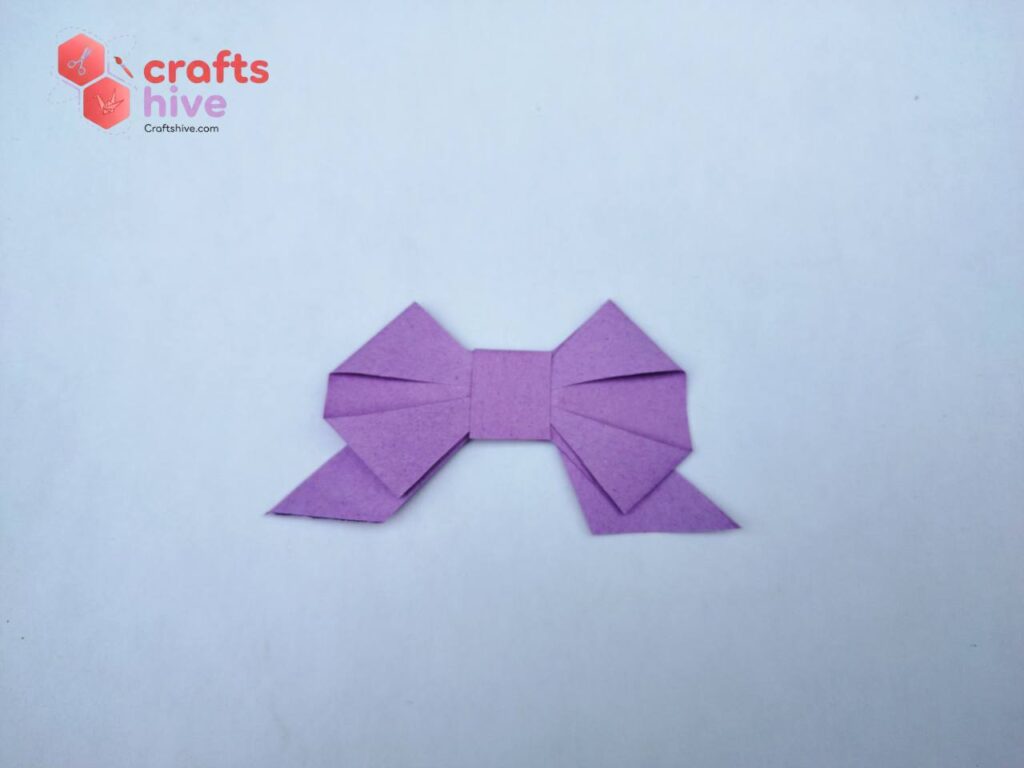
Just glue this bow at an angle on the left ear and your origami puppy should be finished.
Did you like this quick Craft? Tell Us in the Comments.
Help us improve the weak points of our tutorial with your feedback and share photos of your work with us, too. You can also encourage me to design such LOVE crafts.
About "Origamist@Craftshive"
Our origamist is expert in both the traditional origami and designing some REALLY creative crafts.