
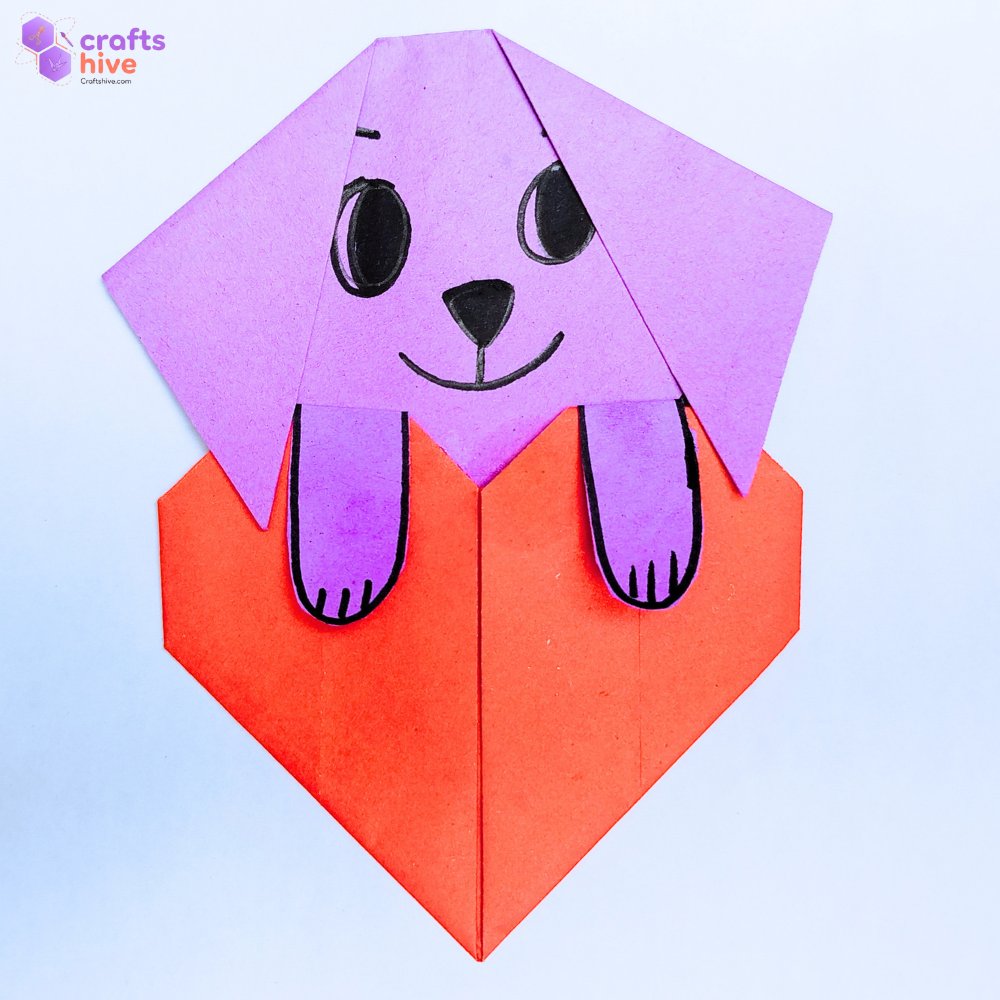
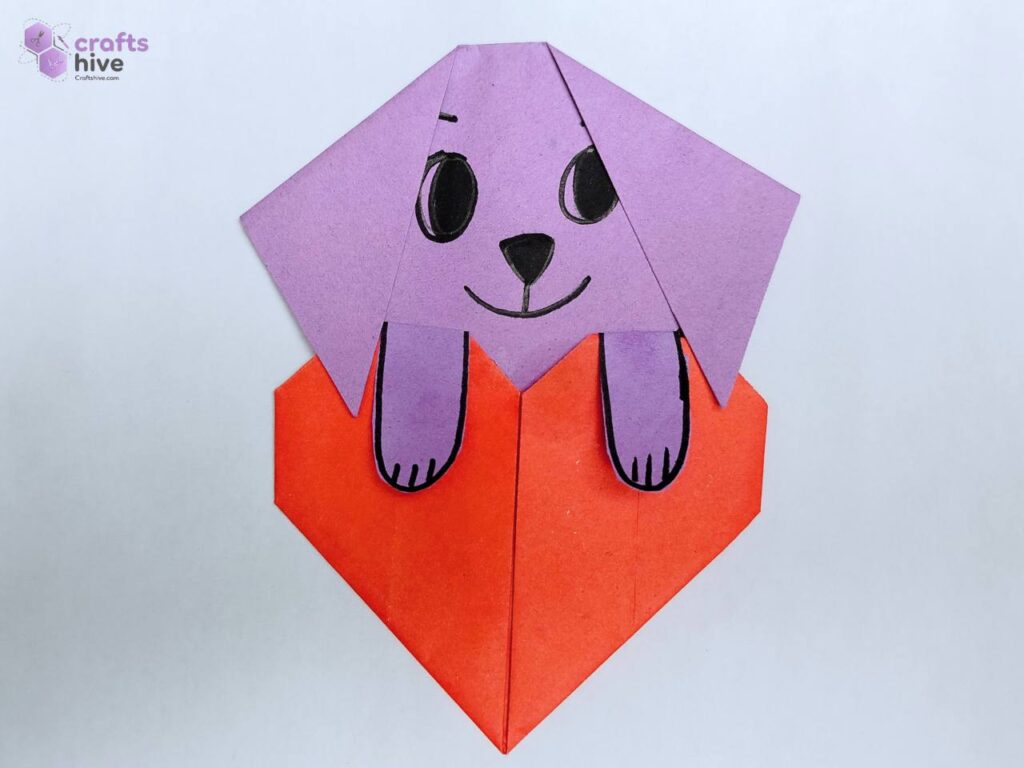
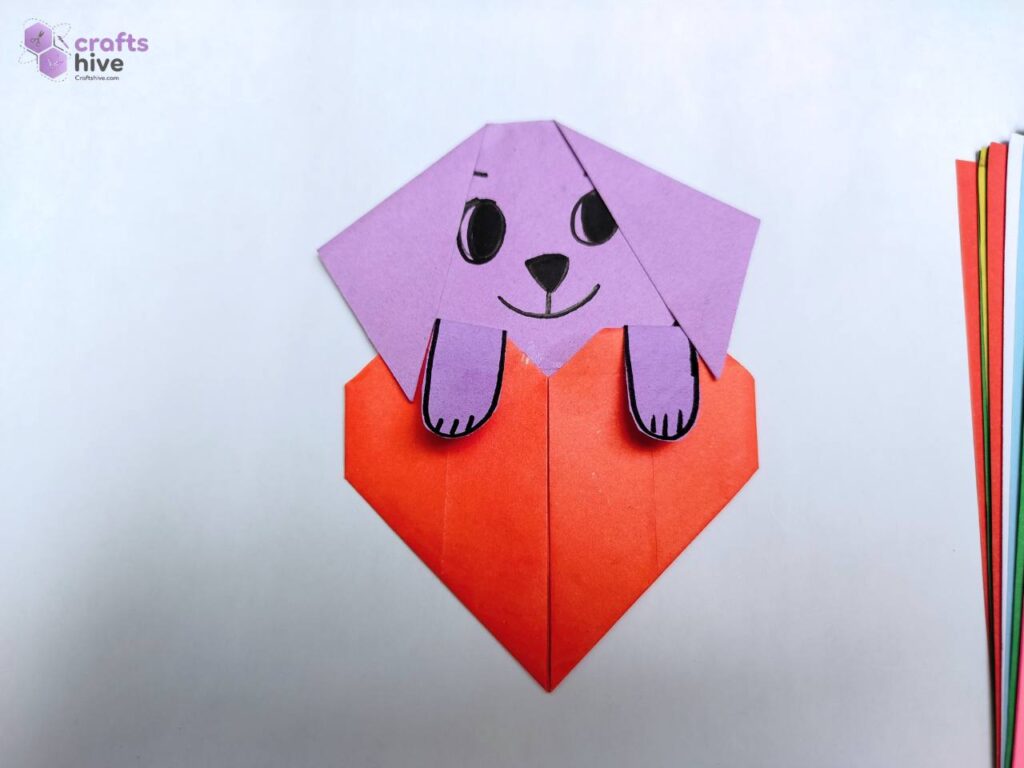
Using my origami puppy face and traditional heart, I have designed a cute and easy Puppy present. My idea was to craft a puppy peeking out of a big heart present. So, I attached the puppy face behind the heart with the ears still in front, and inserted small cutouts of the dog’s arms inside.
You can also write your greetings on the heart, whether for Mother’s Day for Father’s Day. My favorite part of this heart craft is how the ears cover a part of the eyes. Let’s dive into how you can also craft this puppy present. I will expain you how to make everything.
[ez-toc]
Origami Puppy with Heart: Step-by-Step
Models Used: Traditional/Origami with Drawing
Crafting Time: 10 minutes
Materials:
- Square sheet of paper in purple and red
- Glue
- Pencil
- Marker
Part 1: Origami Heart
With a 14cm by 14cm square sheet of Tant paper, we have to fold a red origami heart. This is an easy traditional model and can be learned in detail with my “How to Fold Traditional Heart” guide. Here I shall explain folding it briefly:
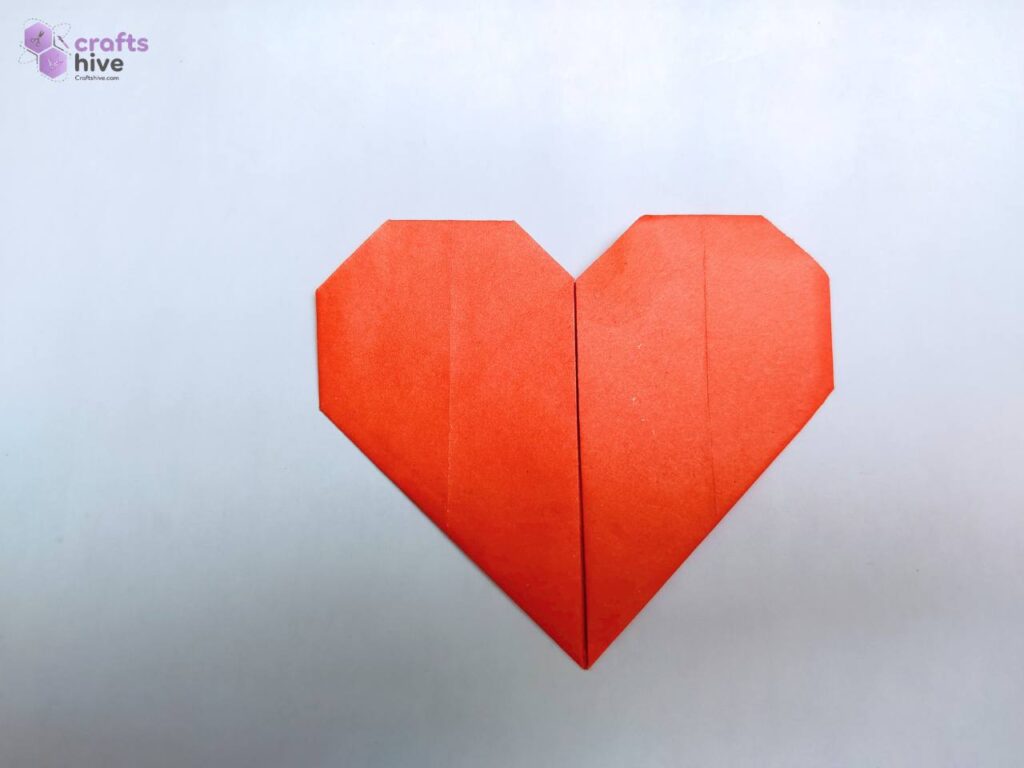
For teaching, I will be using a purple sheet of small dimensions. Small sheets are perfect if you are learning for the first time.
Step #1: The Diagonal Fold
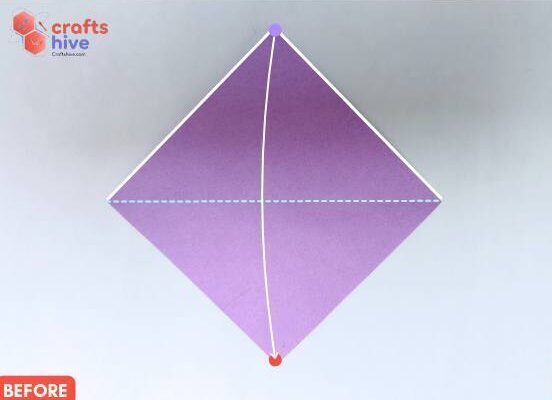
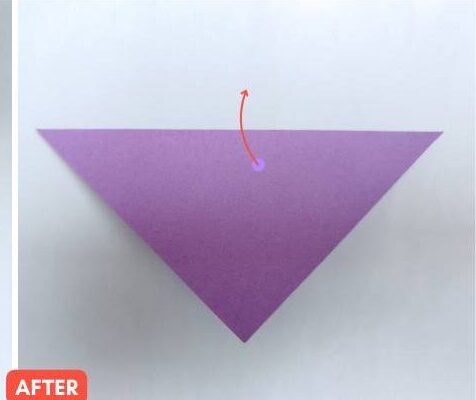
- With your square sheet placed in the diamond position, fold the paper in half along the horizontal diagonal. Press the paper flat and unfold it to make a horizontal crease.
Step #2: Mountain Fold
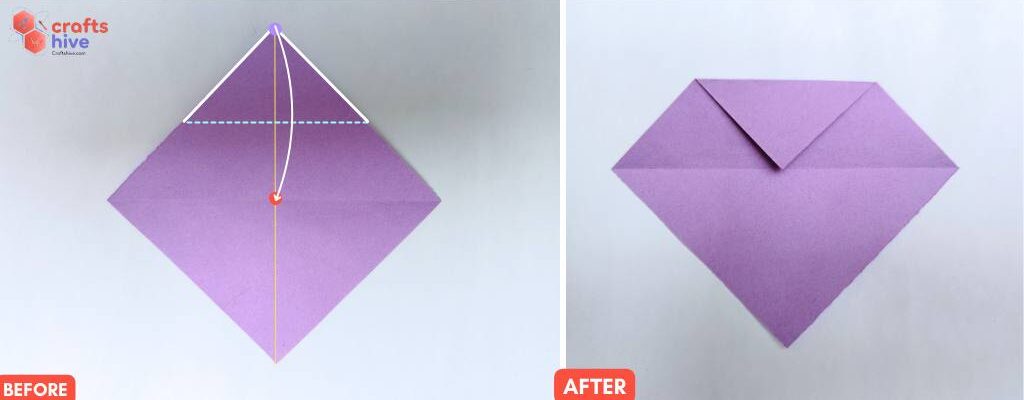
- Fold to the top corner of the creased diamond to the centreline and settle it right in the middle of this crease. You will have a diamond shape.
Step #3: Valley Fold
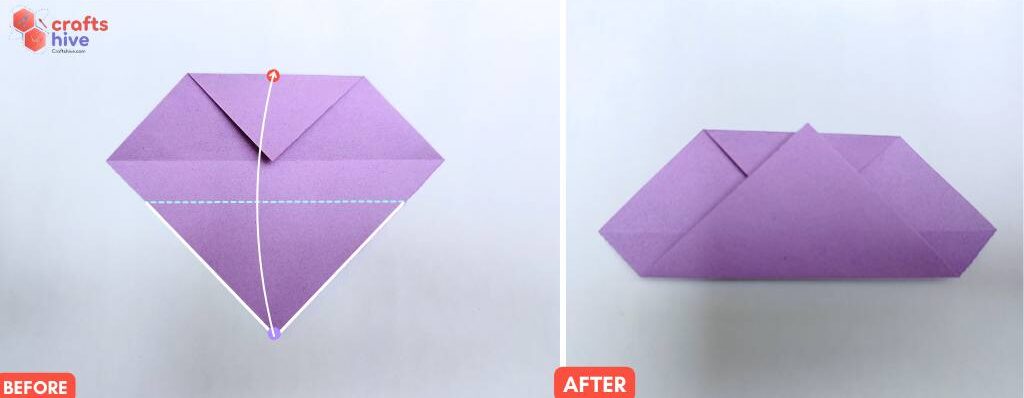
- Fold the bottom corner of the diamond shape to the top edge of the previously folded flap and settle it in the middle. Press the paper flat afterwards.
Step #4: Fold the Right Side of the Heart
Note: Pick all the layers for this fold.
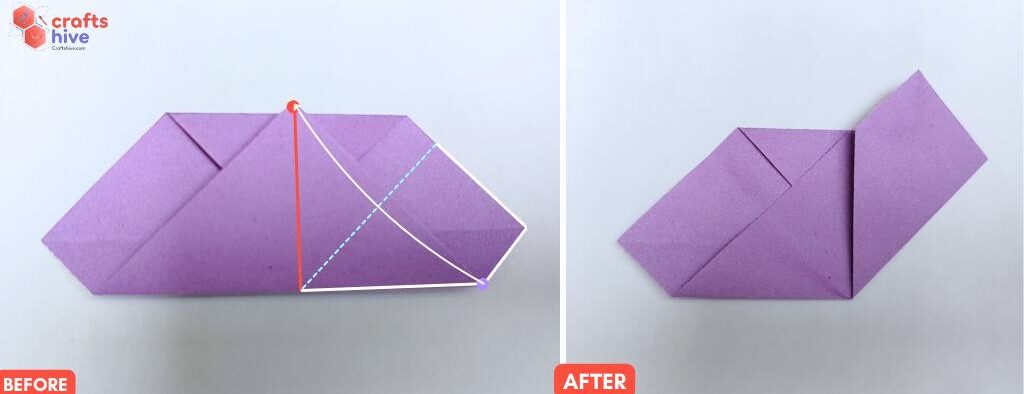
- Fold the bottom half edge of either side of the model to the centreline and align with the line through the corner of the previously folded flap.
Step #5: Fold the Left Side
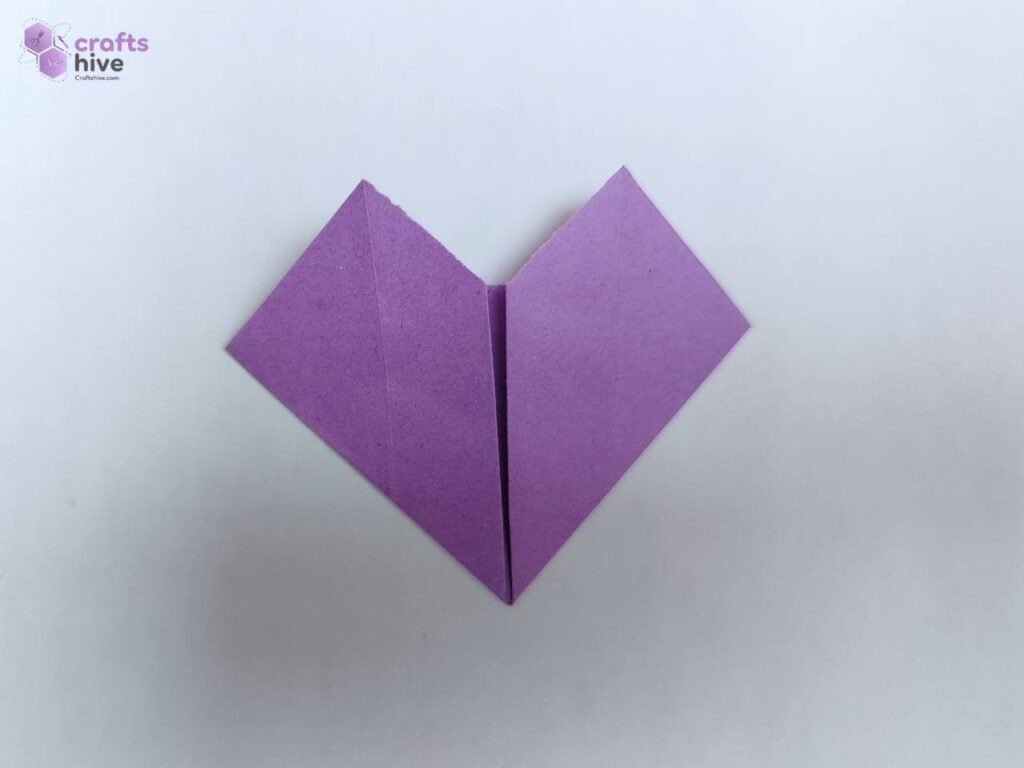
- Repeat the same fold for the remaining bottom half edge.
Step #6: Fold the Top Corners
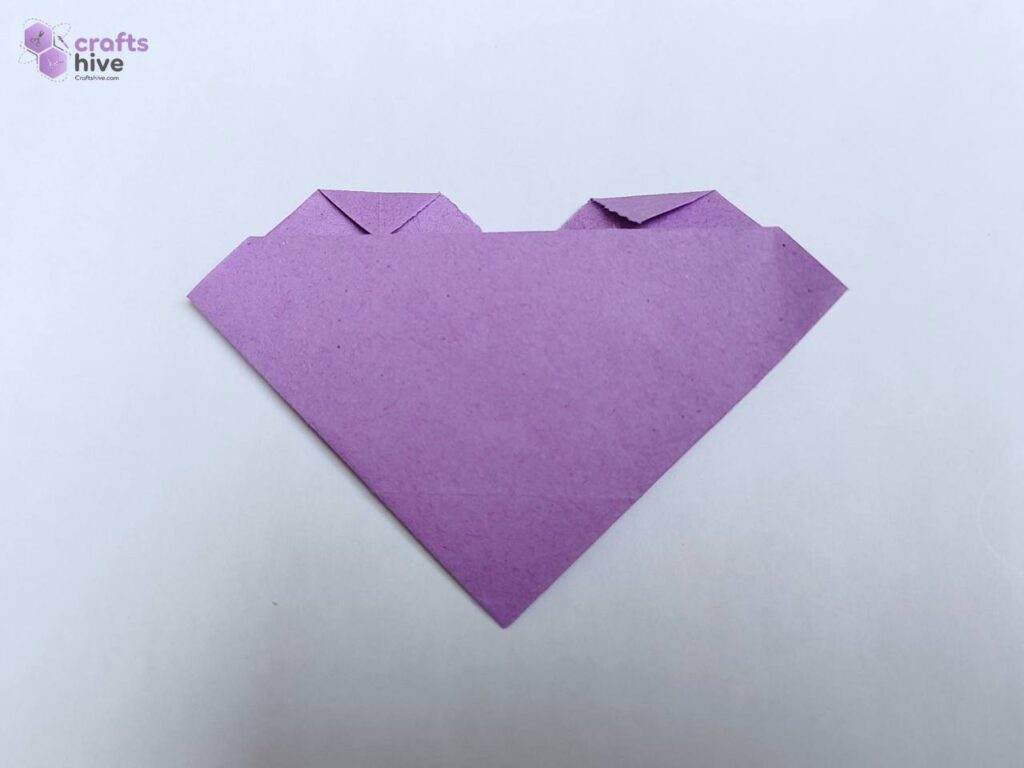
- Turn the model over.
- Fold the top corners of the heart down to the start with the pockets.
Step #7: Fold the Side Corners
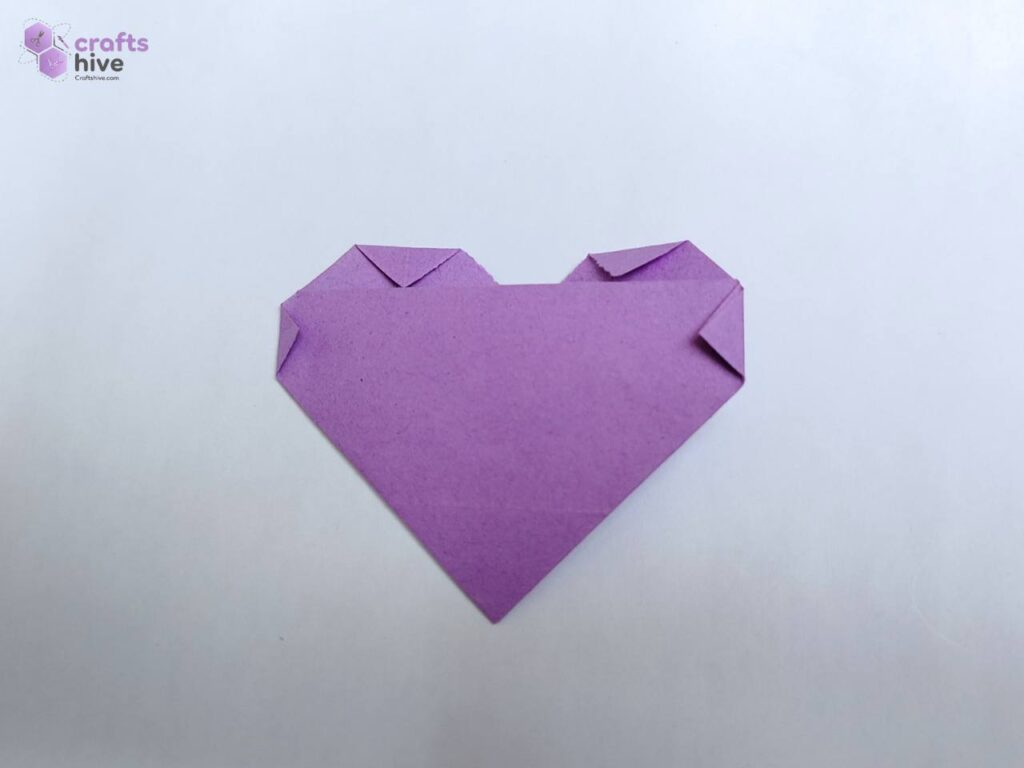
- Fold about 1cm of the left and right corners to the opposite sides.
Finished Heart
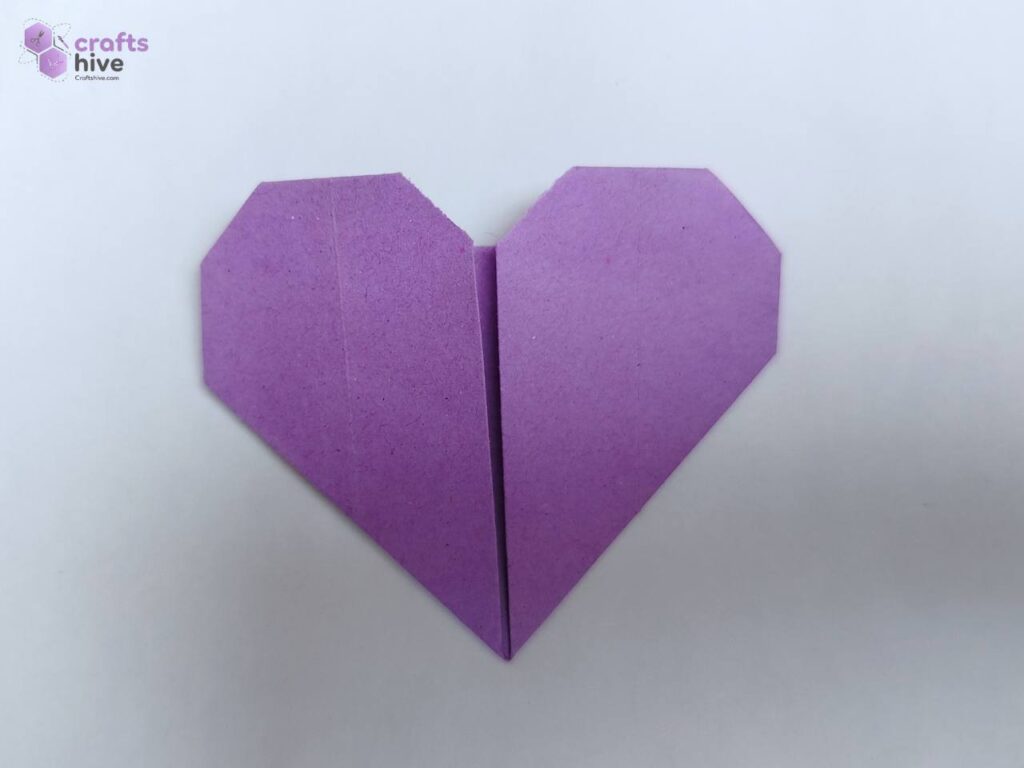
- Turn the model over to see the finished heart.
Part 2: Origami Puppy
Now, let’s fold an origami puppy face and draw a cute face on it. I will let the ears of the puppy cover a portion of the eyes. For detailed learning with corner instructions, check my guide on “Origami Puppy Face with Bow.” Let me briefly explain to you here:
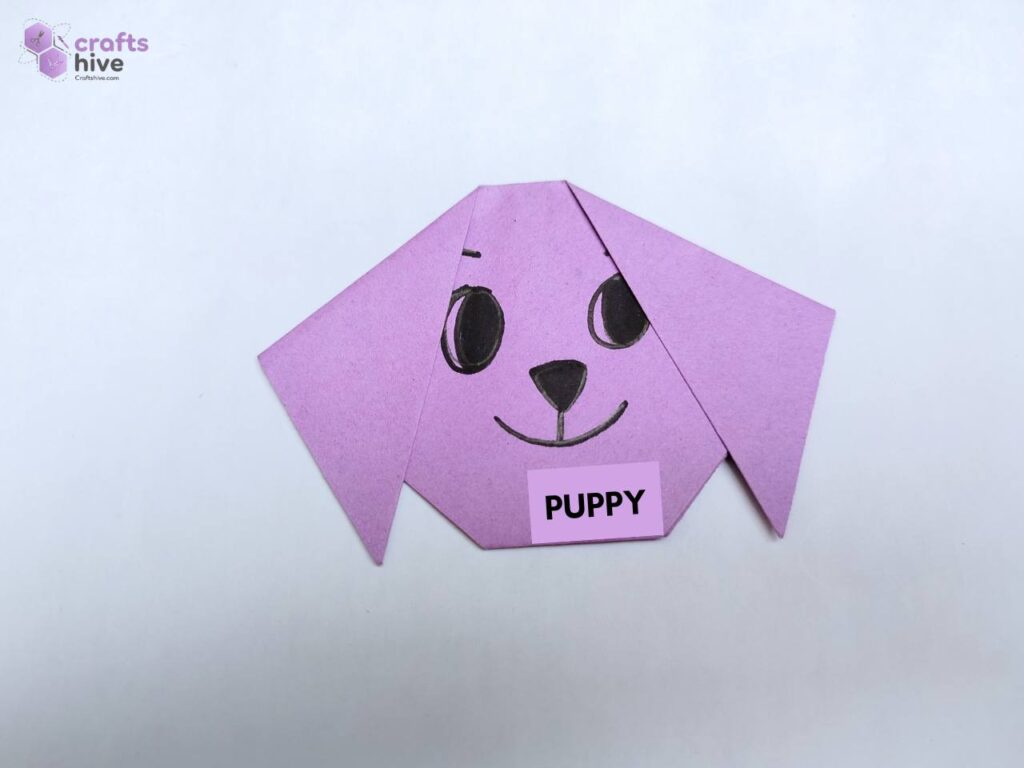
- Use a 13.5cm by 13.5cm square sheet of Tant paper in purple. For the sake of teaching, I will be using an orange sheet of 15cm by 15cm dimensions:
Step #1: Triangular Base
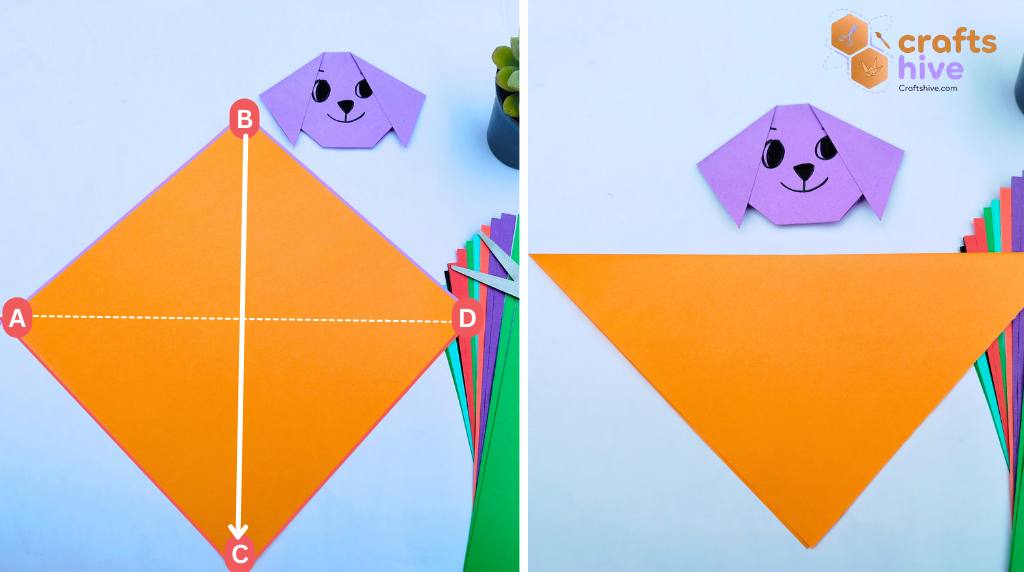
- With your square sheet of paper in the diamond position, fold the paper in half along the horizontal diagonal and press the paper flat.
Step #2: Folds for Puppy Ears
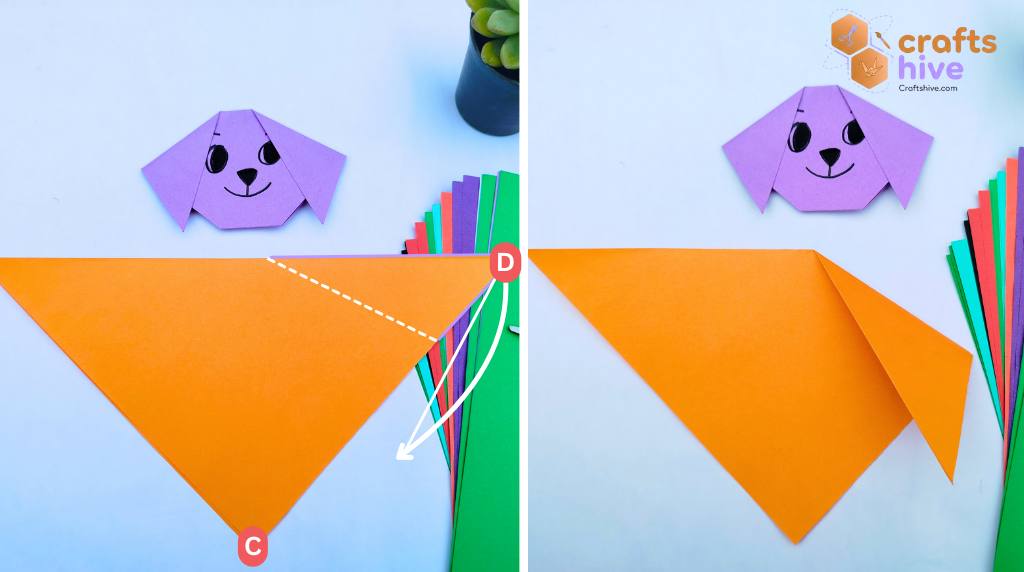
- Start folding the right top corner of the triangle to the bottom left. Crease the fold when you are comfortable with the length of the ears.
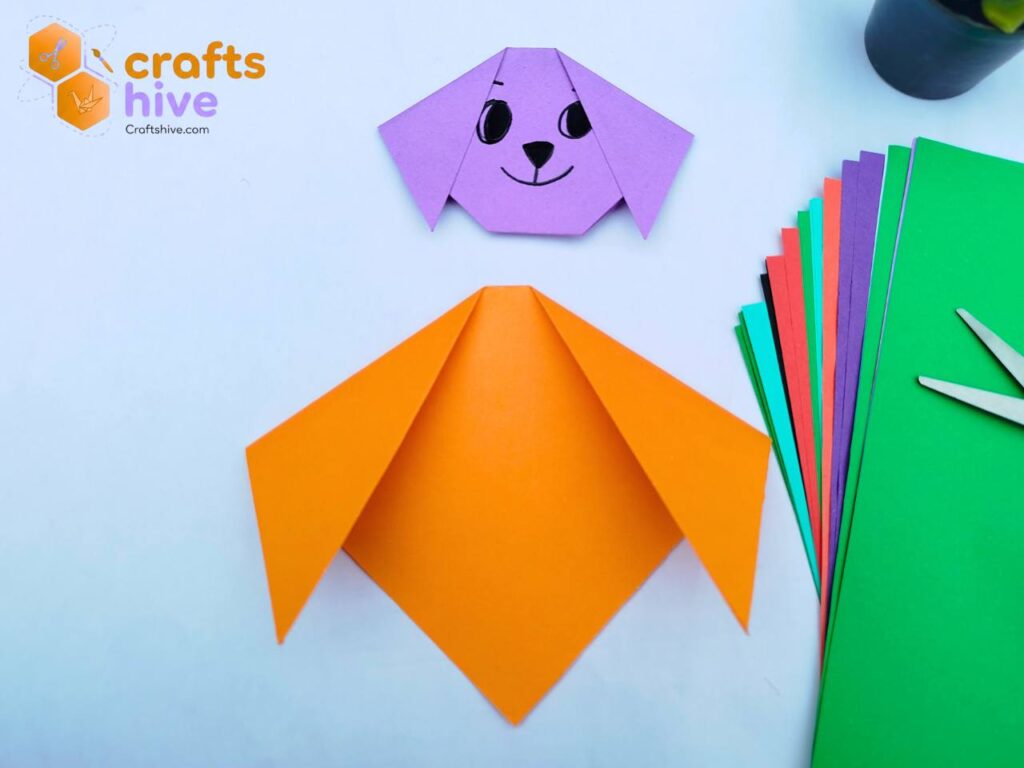
Repeat the same fold for the top right corner and make sure the extent of the fold is identical to the previous.
Step #3: Turn the Side
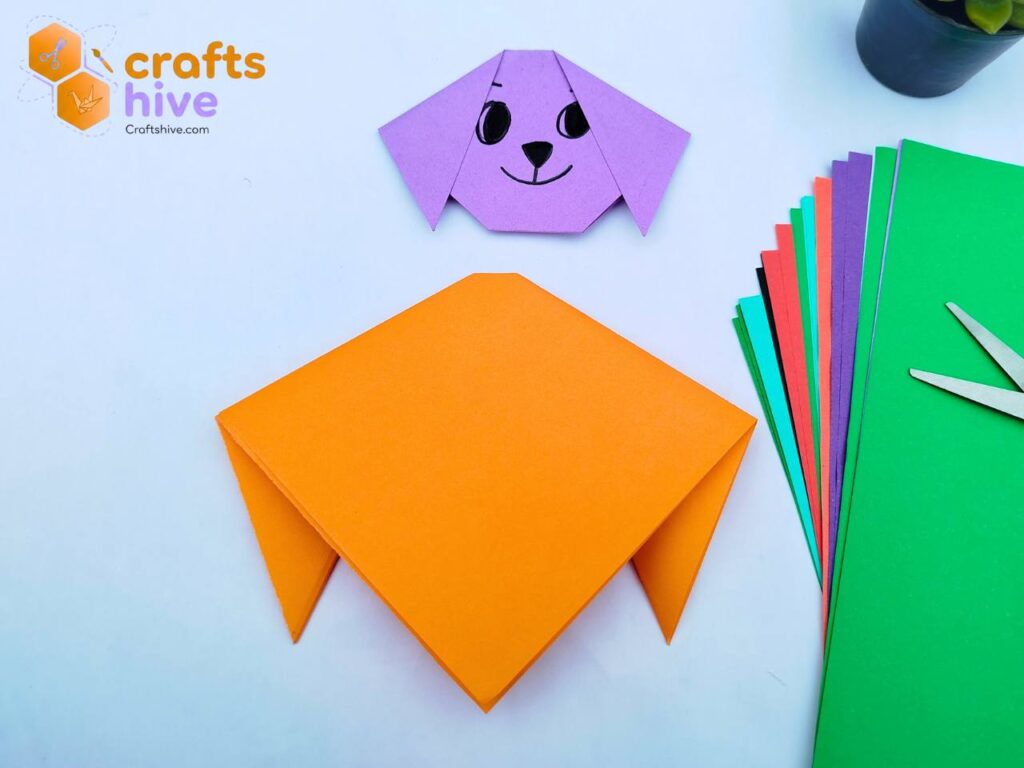
Turn the model over.
Step #5: Fold for Puppy Chin
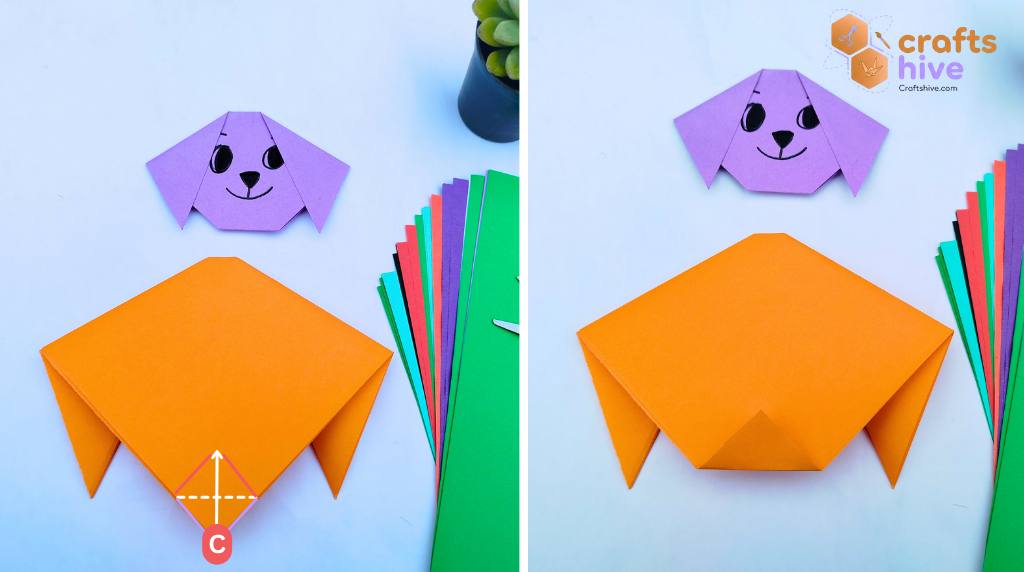
Valley fold the bottom corner. Crease the paper when you are comfortable with the height of the fold. Folds with less height will make a thinner chin.
Step #6: Puppy Face Drawing
Turn the model over again, unfold the ear flaps, and sketch the face.
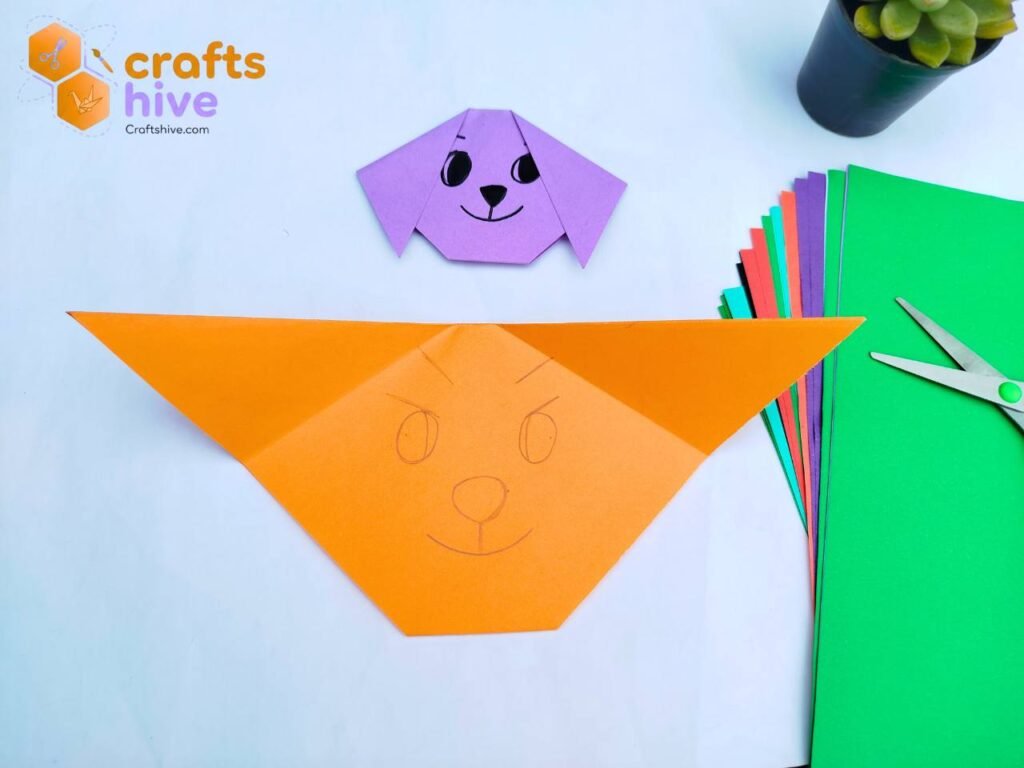
I will draw a usual animal nose, the eyelashes, big, round eyes, and a smile.
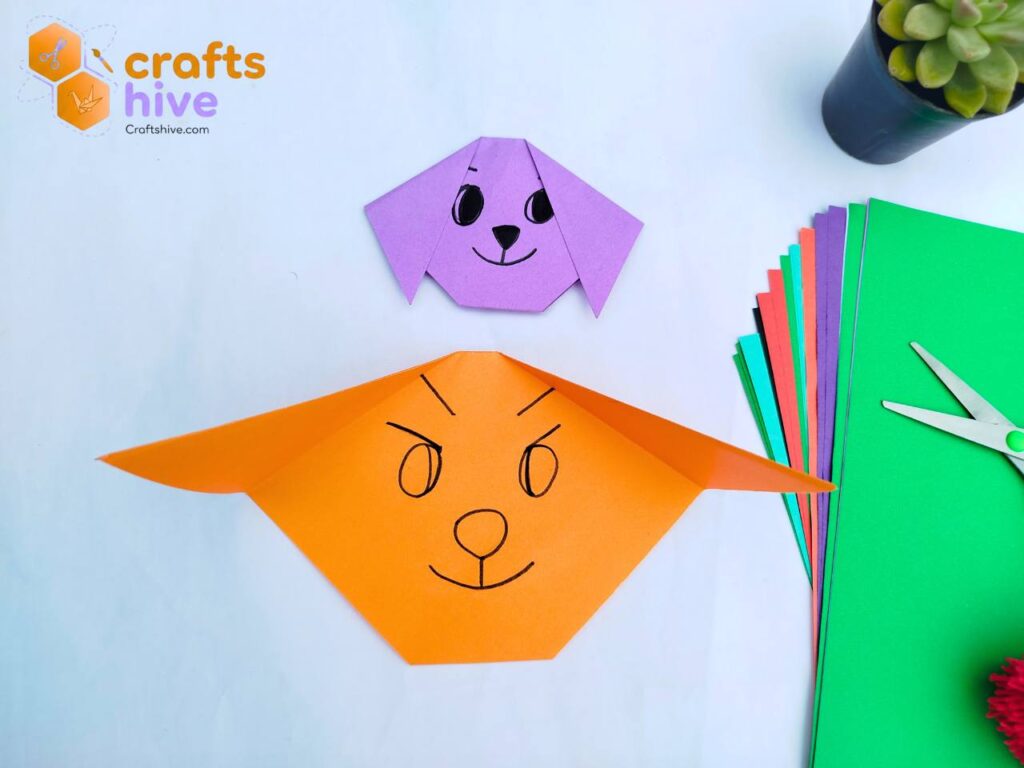
After sketching is finished, perfectly draw over the strokes (correct where needed) using a permanent black marker. Then color in the black.
Part 3: Arms
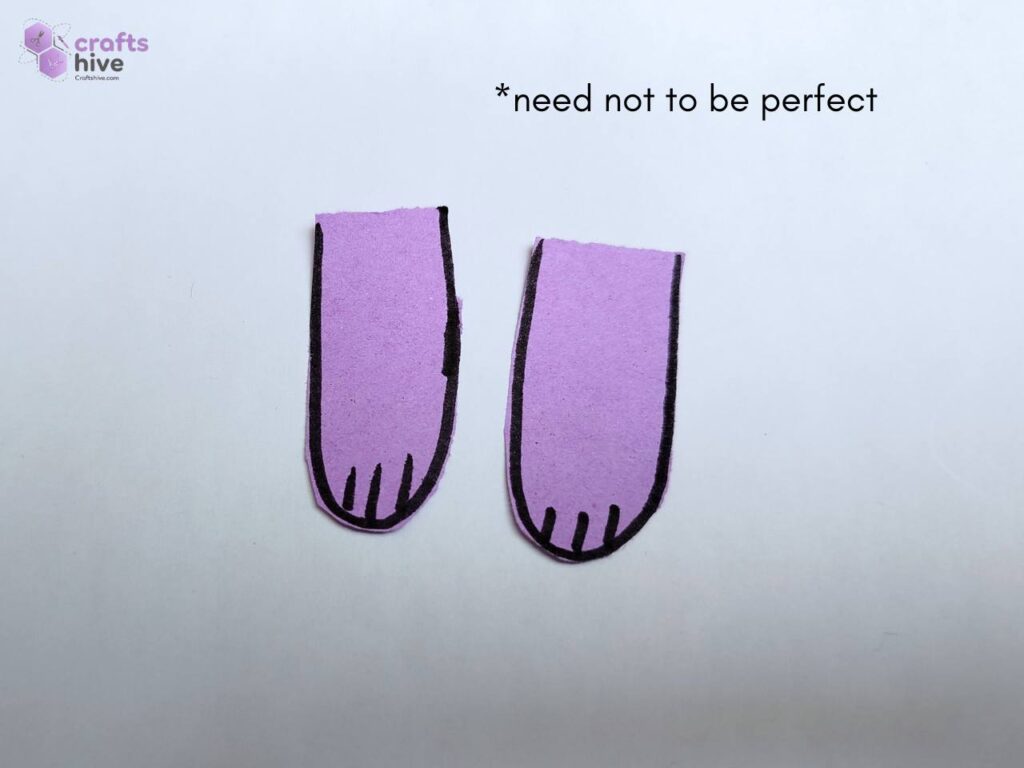
On a piece of purple Tant paper, starting from one edge of the sheet, draw the arms with straight strokes for the paws. I usually like them a little imperfect, but you can try to make them as similar to each other and perfect as you can.
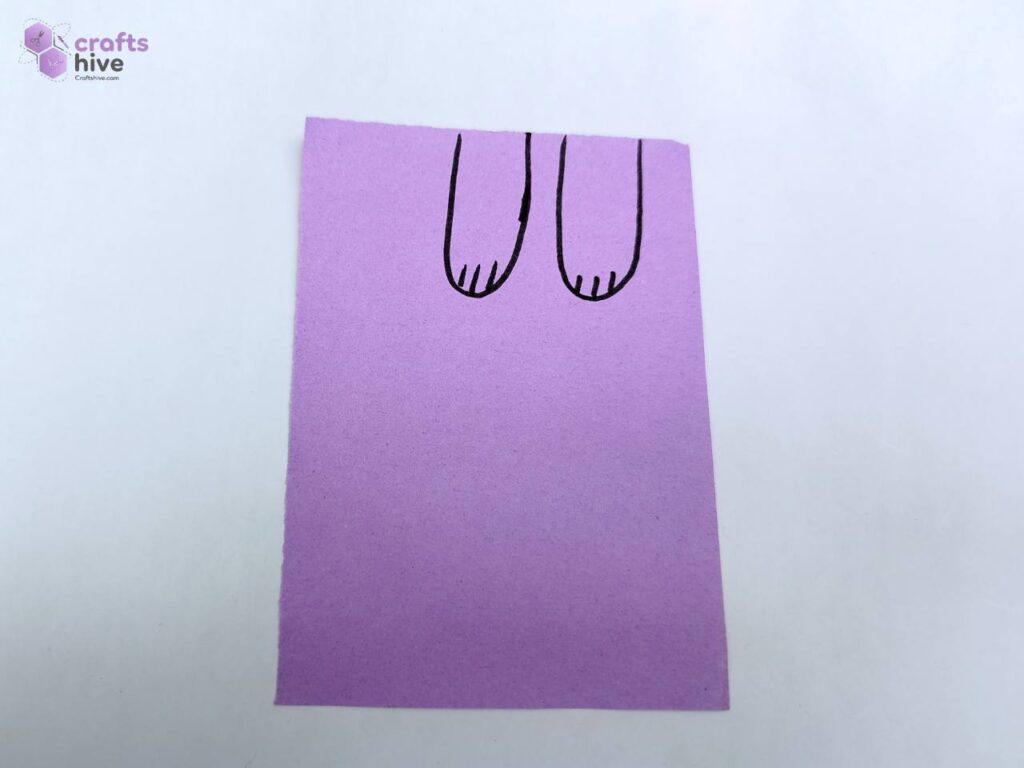
With the scissors, take cutouts for the arms from the sheet. Fold behind the top edges of the arms and press a little.
Assembly
Turn both the models over and glue the puppy face and the origami heart like below. You can use both the fabric glue and paper glue.
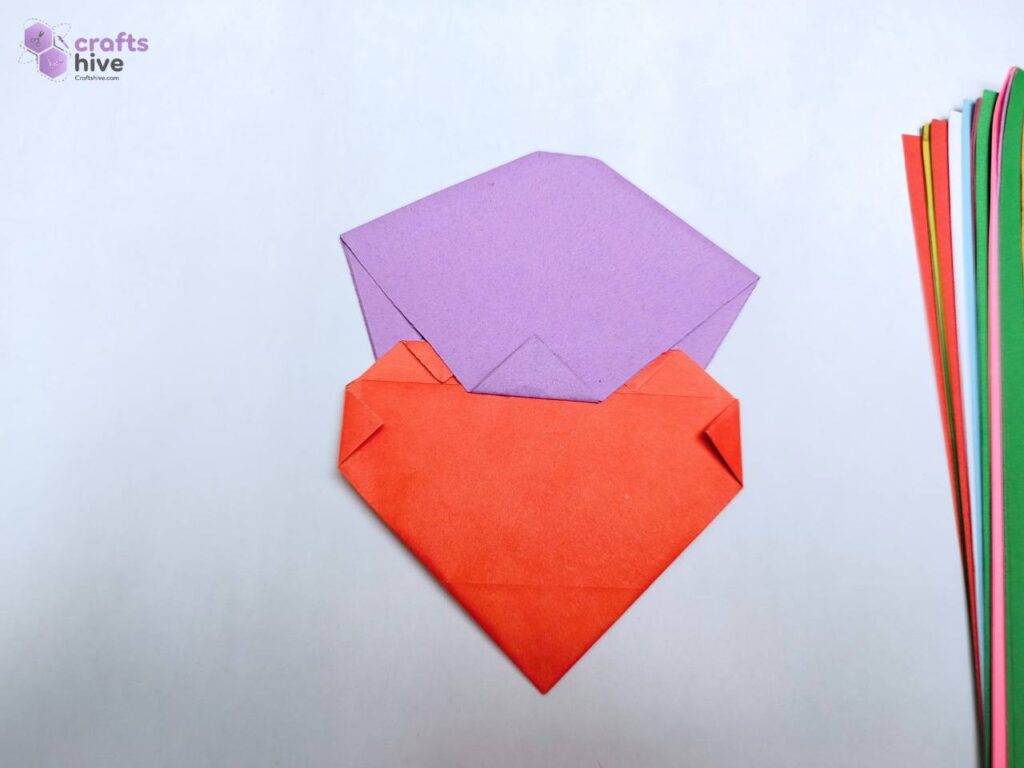
Turn the attached models over, glue the folded part, and insert the arms into the heart. You can easily settle the arms over the top edges of the heart. This way it looks like a puppy has placed its arms over the origami heart.
Did you like this Love Craft? Tell Us in the Comments.
Your feedbacks let us know how well we were able to teach you this origami and what you want next (if we don’t have a tutorial on already. See what’s next:

About "Talha"
Hey, I’m Talha, the Crafter on Craftstive.com. I love to share guides on folding cute origami models and paper crafts, and I am always ready to inspire your next craft project with my weekly craft discussions.