
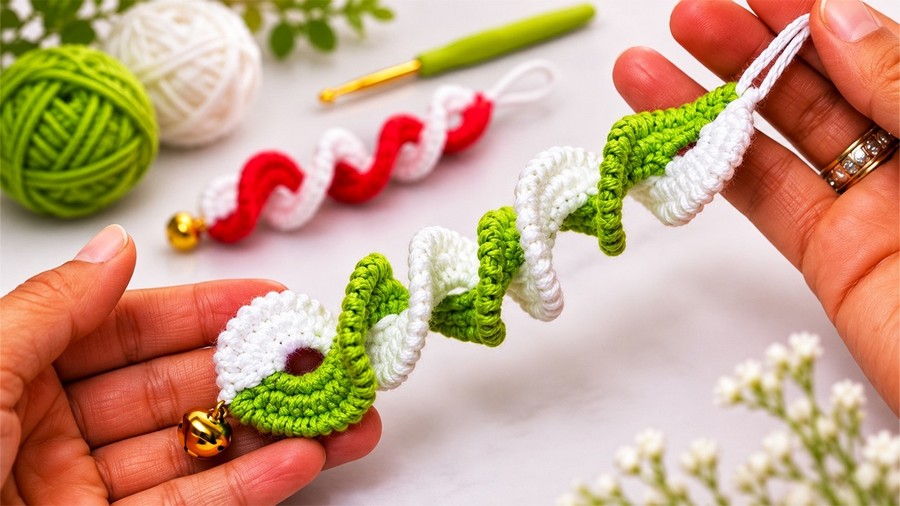
Spin some handmade holiday magic with this whimsical crochet wind spinner! This twirling spiral ornament adds bright festive charm and fun movement to any Christmas tree, porch, or holiday window. Using two contrasting yarn colors, the gentle twists look like a dancing peppermint candy. This easy-to-follow video tutorial guides you through every step, helping you create a cheerful decoration that spins in the winter breeze and brings smiles to everyone.
Christmas Twisted Wind Spinner Ornament

To make this spinner, you start by creating a chain of open loops with treble crochets. Next, you fill each loop with single crochets and increase in the next row so the piece curls naturally. A textured border finishes the edge before repeating the steps in white on the other side. Finally, you stitch the top together, add a hanging loop, and attach a cute little bell at the bottom.
Difficulty Level
-
Level: Easy to Advanced Beginner
-
Why: The project works up very quickly using repetitive rows and standard stitches. The natural spiral forms automatically through simple increases. The only parts requiring a bit of extra focus are working the reverse single crochet edging and joining the two sides neatly.

Pattern Abbreviations
-
ch: chain
-
sc: single crochet
-
tr: treble (triple) crochet
-
sl st: slip stitch
-
st / sts: stitch / stitches

Materials
-
Cotton yarn in two colors (green and white, or red and white)
-
2.50 mm crochet hook (Tulip 4/0)
-
Small jingle bell or decorative charm
-
Tapestry / yarn needle
-
Scissors

Special Stitch Tutorial: Reverse Single Crochet (Crab Stitch)
This stitch gives the outer edges a neat, corded decorative rim. Instead of working forward from right to left, you work backward from left to right:
-
Do not turn your work at the end of the previous row; keep the right side facing you and chain 1.
-
Insert your hook from front to back into the stitch directly to the right (behind your hook).
-
Yarn over and pull up a loop (twist the hook slightly to pull the yarn through). You now have two loops on your hook.
-
Yarn over again and draw through both loops on the hook.
-
Repeat into each stitch across to create the twisted cord-like border.
Video Guide:
