Show support for BeingArtistic.
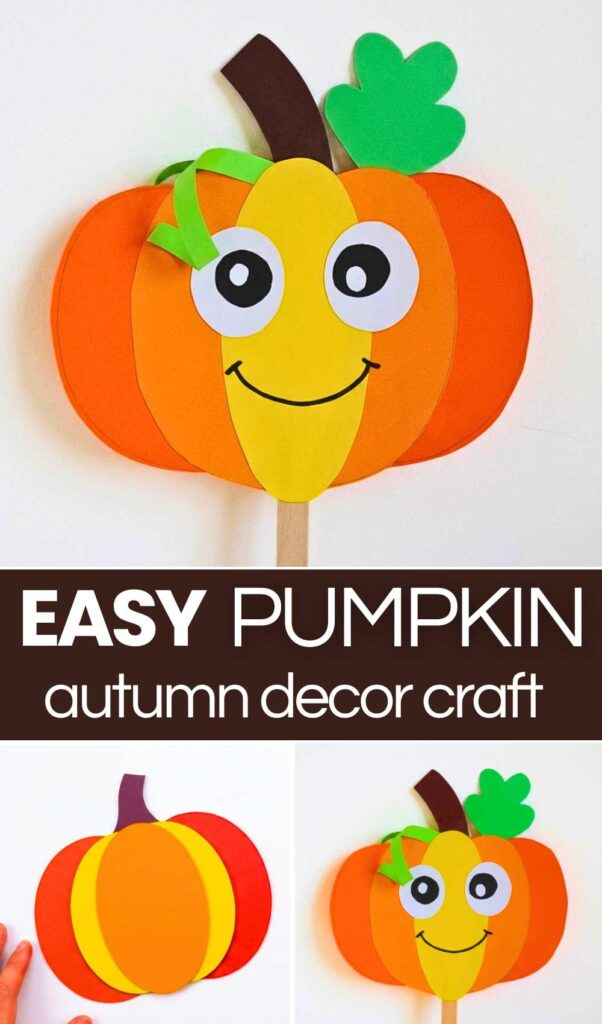
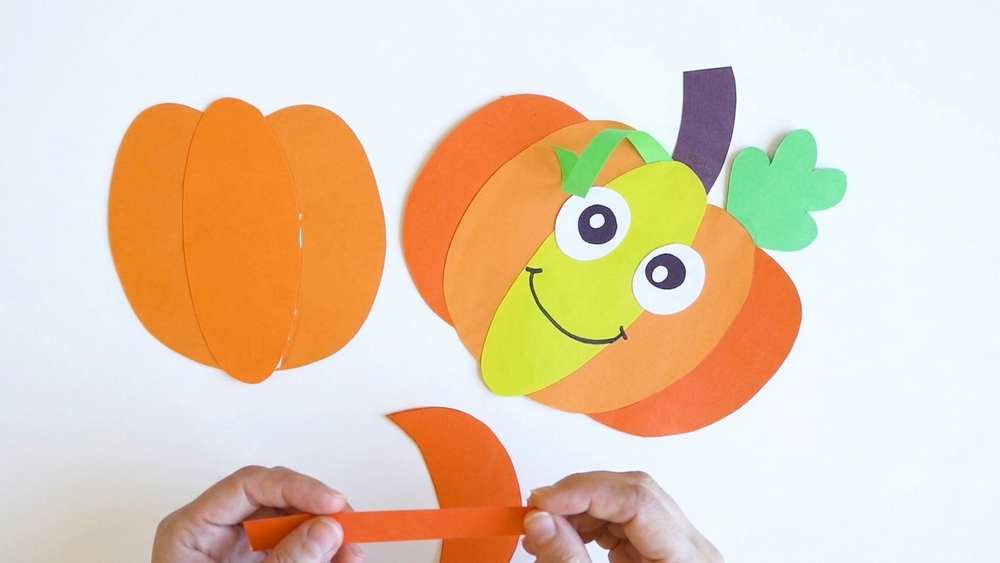
Looking for a CUTE back-to-school craft for kids that is quick to assemble? Learn how to DIY this kawaii-eyed pumpkin puppet made from just paper cutouts, following a step-by-step guide. This is part of a 2D pumpkin craft that makes a paper pumpkin with different-colored pumpkin ridges. You can attach a stick back to the character pumpkin to turn it into a pumpkin puppet for Halloween cosplay.
You can also make your pumpkin without a face if you want to make a Halloween garland using your flat pumpkins. If you are looking for a no-cut method, you can also follow the origami pumpkin guide.
KAWAII Pumpkin Paper Craft Activity
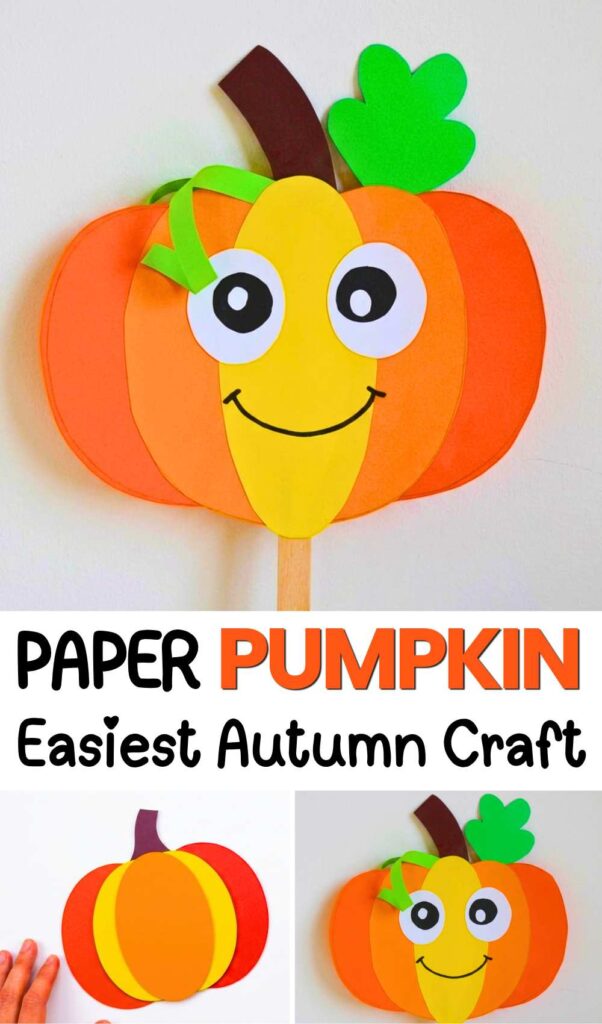
You will cut a yellow pumpkin center and two orange side pieces. Glue the orange pieces behind the yellow one. Add a brown stem on top. Cut and glue a green leaf and a curly green vine. Make two eyes with white and black paper, then glue them on. Use a black marker to draw a big happy smile and eyebrows. Your cute pumpkin craft is ready!
https://craftshive.com/origami-kawaii-pumpkin-paper-craft/
https://craftshive.com/foldable-paper-pumpkins-with-template/
Quick Guide to DIY Pumpkin Craft
This guide provides step-by-step instructions for creating the pumpkin with a happy face! Follow through to let the kids make their own versions!
Materials Needed
-
Colored Construction Paper: Yellow, orange, brown, green, white, and black.
-
Tools: Scissors, glue stick, pencil, and a black marker.
Beginner? Follow the Tutorial Below!
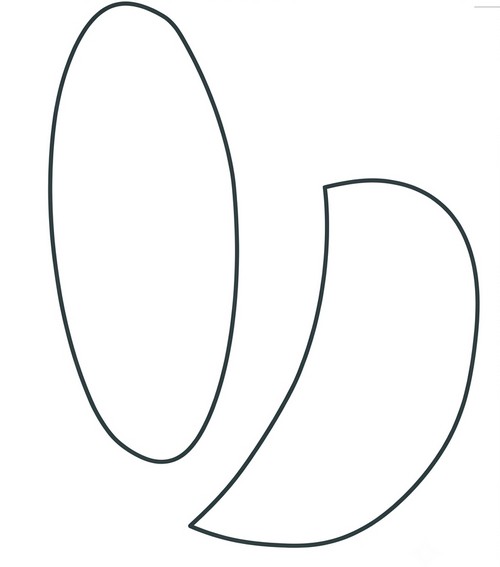
Printable Templates
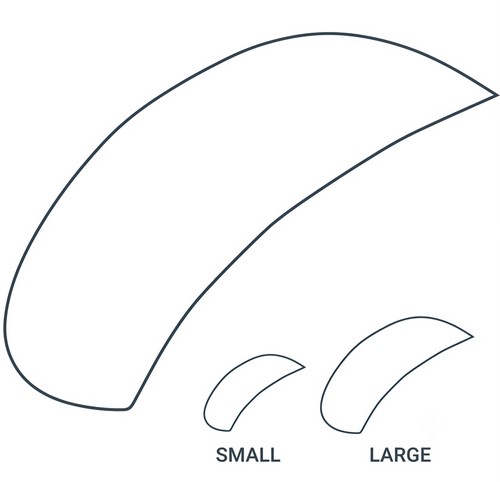
Step-by-Step Instructions
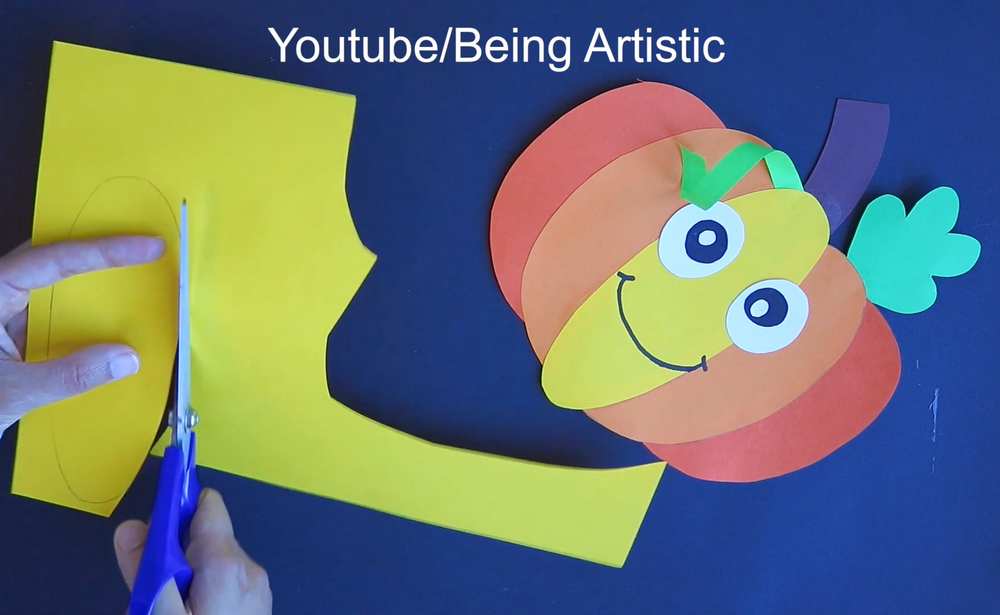
1. Prepare the Pumpkin Center
Start with a sheet of yellow construction paper. Use a pencil to draw a large, vertical oval shape. This will be the main face of your pumpkin. Carefully cut it out using your scissors. For this, you have to print and cut the left of the first template.
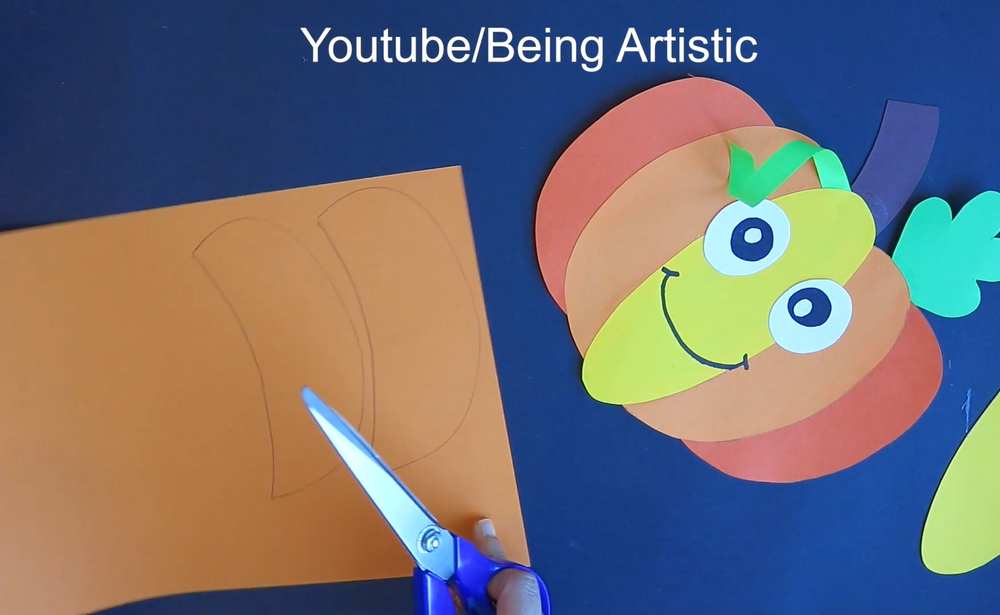
2. Create the Pumpkin Sides
Take a sheet of orange construction paper. Draw two large crescent or “C” shapes that match the height of your yellow oval. These will form the outer layers of the pumpkin to give it a rounded look. Cut these two pieces out. To add more dimension, you can cut two additional, slightly smaller orange crescents (using the 3rd template).
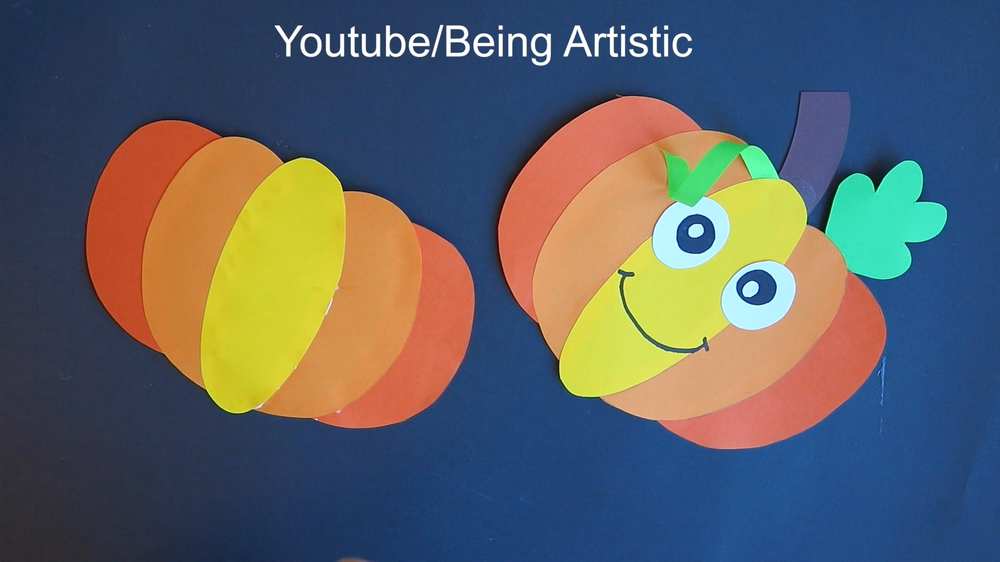
3. Assemble the Pumpkin Body
Apply glue to the back edges of your yellow oval. Press the orange crescent pieces onto the glue so they peek out from behind the yellow center on both the left and right sides. If you cut extra orange layers, glue those behind the first set to create a fuller, multi-toned effect.
4. Add the Stem
Using brown paper, cut out a small rectangular shape with a slightly rounded top to serve as the stem. Apply glue to the bottom of the stem and secure it to the top center of your pumpkin, overlapping the yellow paper slightly.
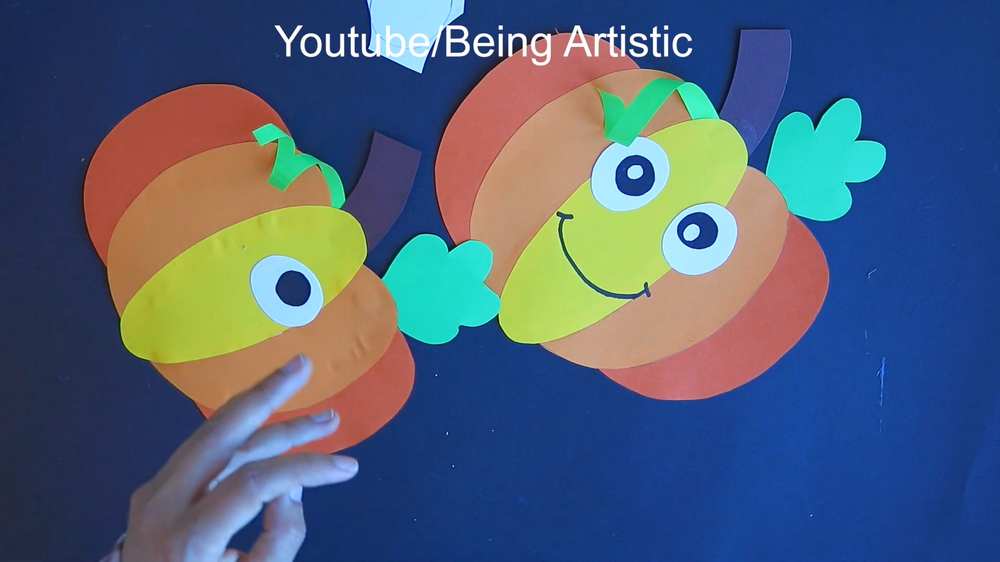
5. Craft the Leaves and Vines
-
Leaf: Cut a wavy-edged leaf shape out of green paper. Glue it to the top of the pumpkin, tucked slightly behind or next to the brown stem.
-
Vine: Cut a very thin, long strip of green paper. To make it “curly,” wrap it tightly around a pencil or the barrel of your marker, hold it for a few seconds, and then slide it off. Glue one end of this curly vine near the base of the stem.
6. Make the Eyes
Cut two medium-sized circles out of white paper. Then, cut two smaller circles out of black paper (or use your black marker to draw them). Glue the black circles onto the white circles to create the pupils, and then glue the completed eyes onto the upper half of the yellow section of your pumpkin.
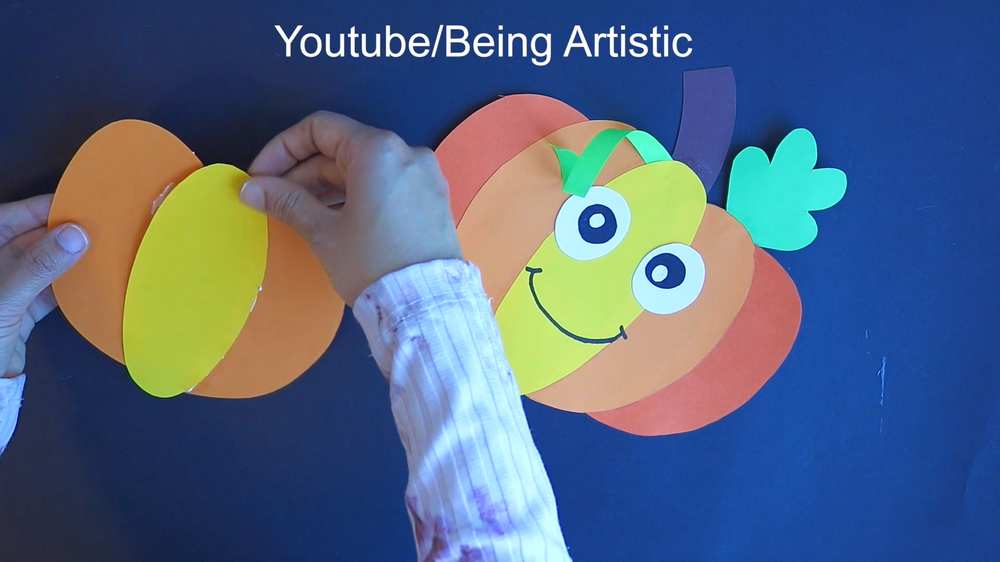
7. Draw the Face
Take your black marker and draw a wide, happy smile centered below the eyes. Add small upward curves at the ends of the mouth to give it a cheerful expression. You can also draw two small, simple eyebrows above the eyes to finish the look.
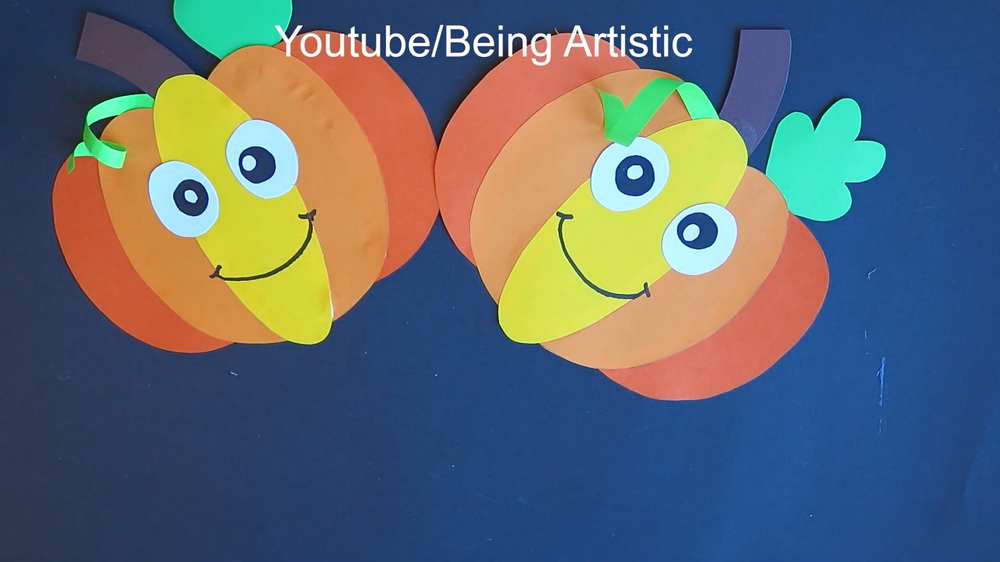
Your “Silly Pumpkin Face” craft is now complete! These are perfect for fall decorations or as a fun activity for a Halloween party.
Share on Social Media!