Show support for BeingArtistic.
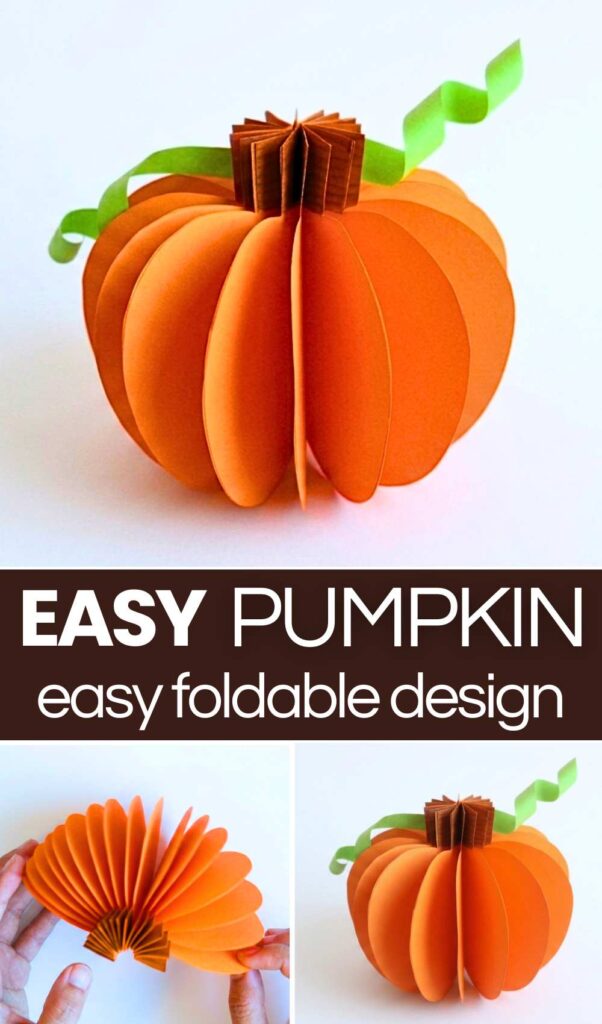
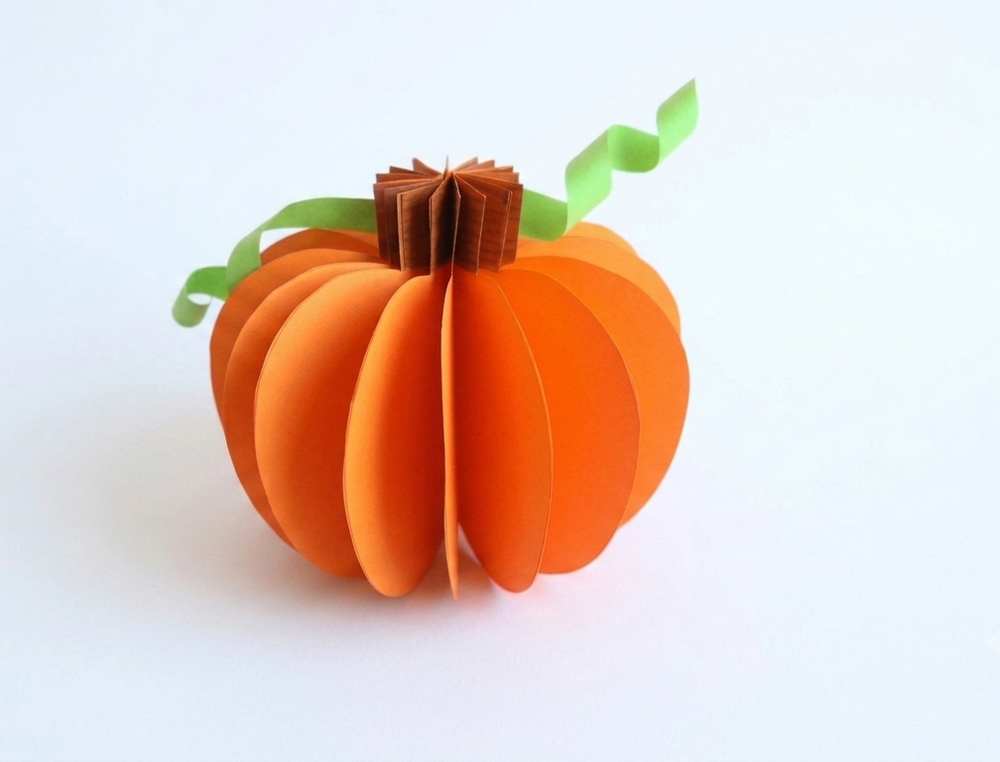
Last time, you learned an easy VERSION of the paper pumpkin ornaments that are quick and easy! Now, let’s make these easy paper pumpkins with a foldable design, with a FREE PRINTABLE TEMPLATE + a step-by-step tutorial for beginners. Unlike the previous paper pumpkin for garlands, we shall make the full pumpkin bodies, including the stem, and join them side by side. We also have the curly vines made cleverly!
This 3D paper pumpkin also involves coloring, so you don’t have to join the flat cutouts. The way we take cutouts for this paper pumpkin, we shall also get the 3D stem just like the pumpkin. To make it fuller, you can also make 20 cutouts.
Easy Foldable Paper Pumpkins
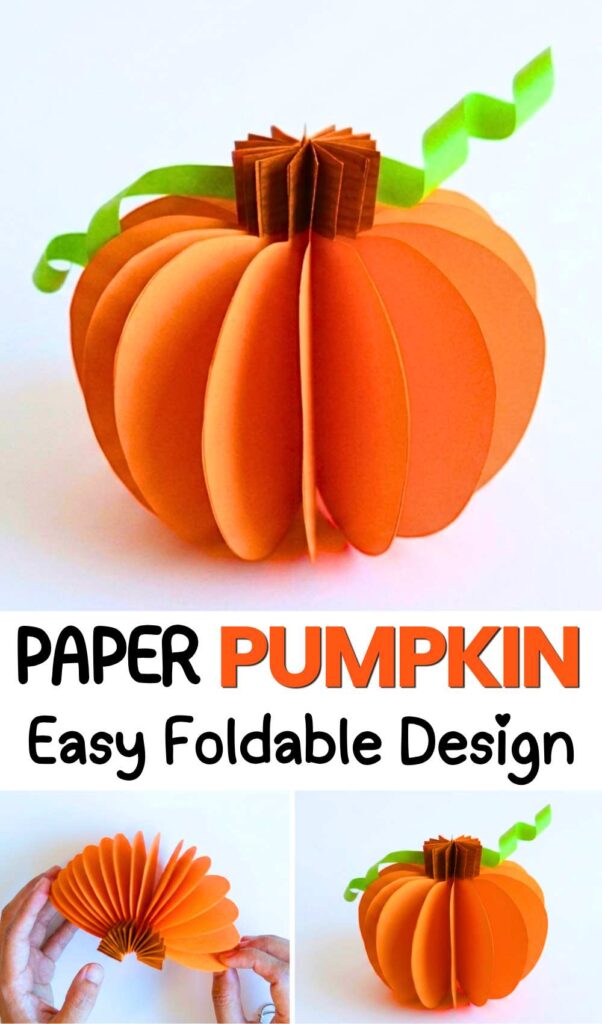
Decorate your table, Halloween garland, and even your Thanksgiving table with this pumpkin this fall. I have also shared many tutorials for making the pumpkins using crochet, sewing, paper crafting, and even pom poms. Be sure to check all those tutorials later-on, too. Now, continue reading to learn more about your pumpkin project.
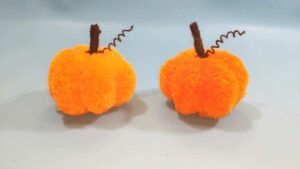
Here is a step-by-step guide to creating the 3D foldable paper pumpkin craft:
Materials Needed:
-
Orange construction paper or cardstock
-
Green construction paper
-
Brown marker or pen
-
Pencil
-
Scissors
-
Glue stick or liquid glue
-
A pen or pencil (for curling the vines)
Instructions:
Step 1: Create the Pumpkin Template:
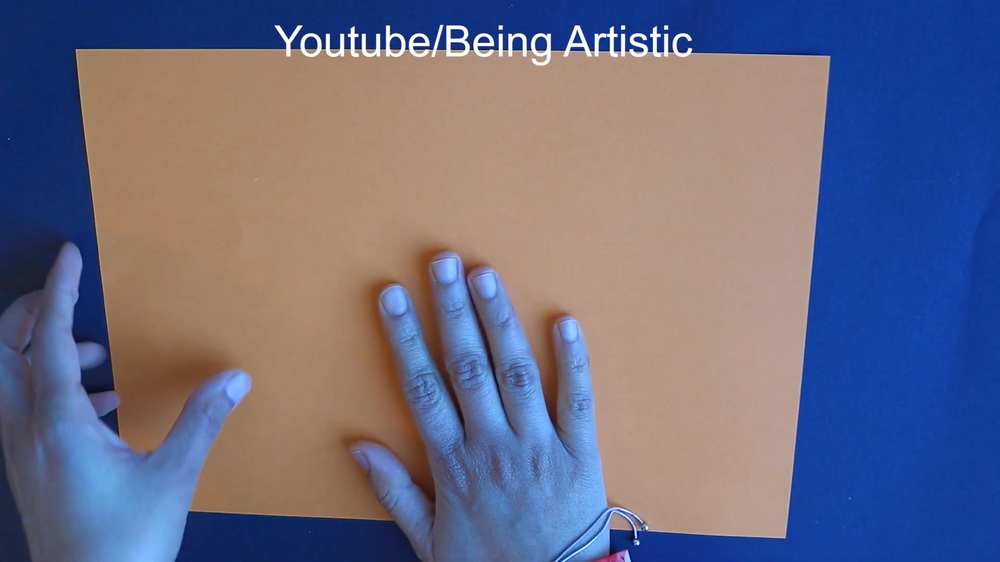
Take a sheet of orange paper and fold both the left and right short edges to the middle crease of the paper.
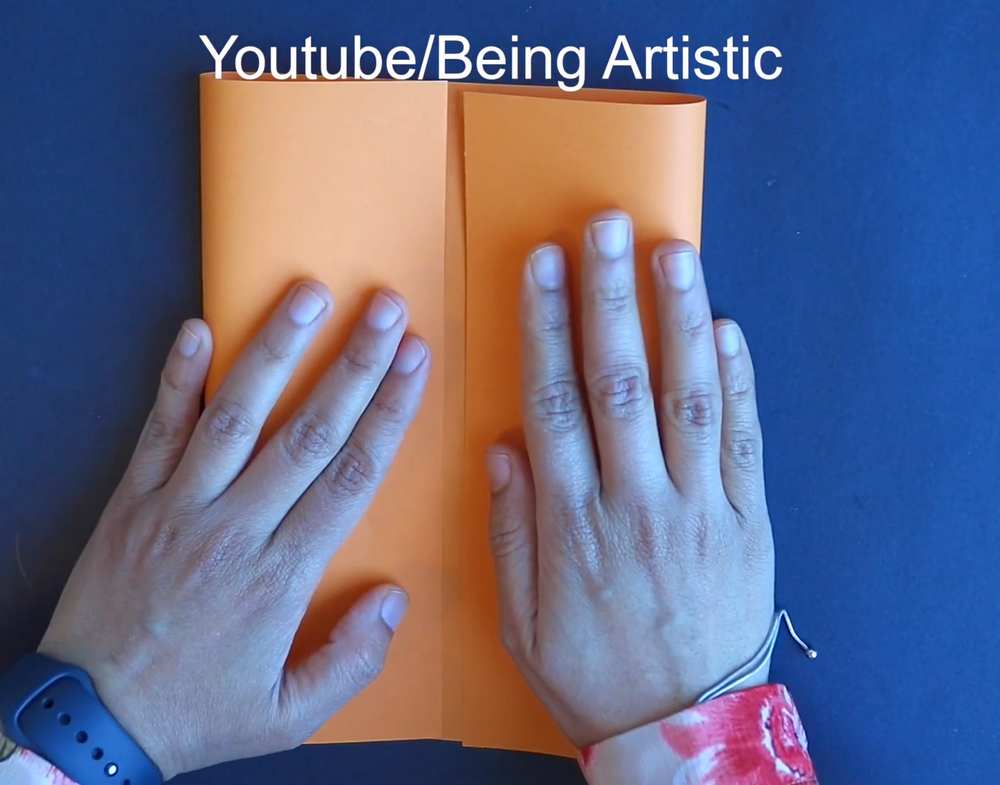
On the folded section, use a pencil to draw half of a pumpkin shape, including a small rectangular section at the top for the stem.
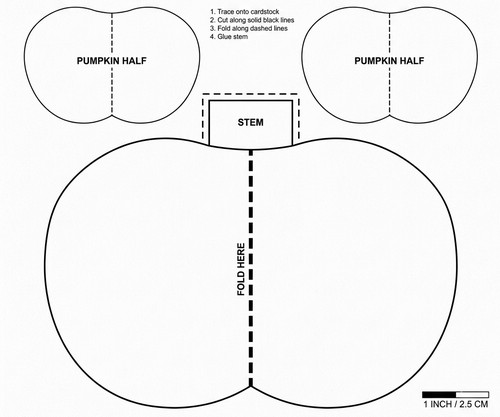
Template:
If you want to cut without folding, you can also print the template. Draw on each of the two sections.
Step 2: Cut Out Multiple Shapes
Carefully cut along the pencil line through all the layers of the folded paper. When you unfold them, you should have several identical pumpkin shapes. You will need approximately 10 to 15 of these cutouts to make a full, lush-looking 3D pumpkin.
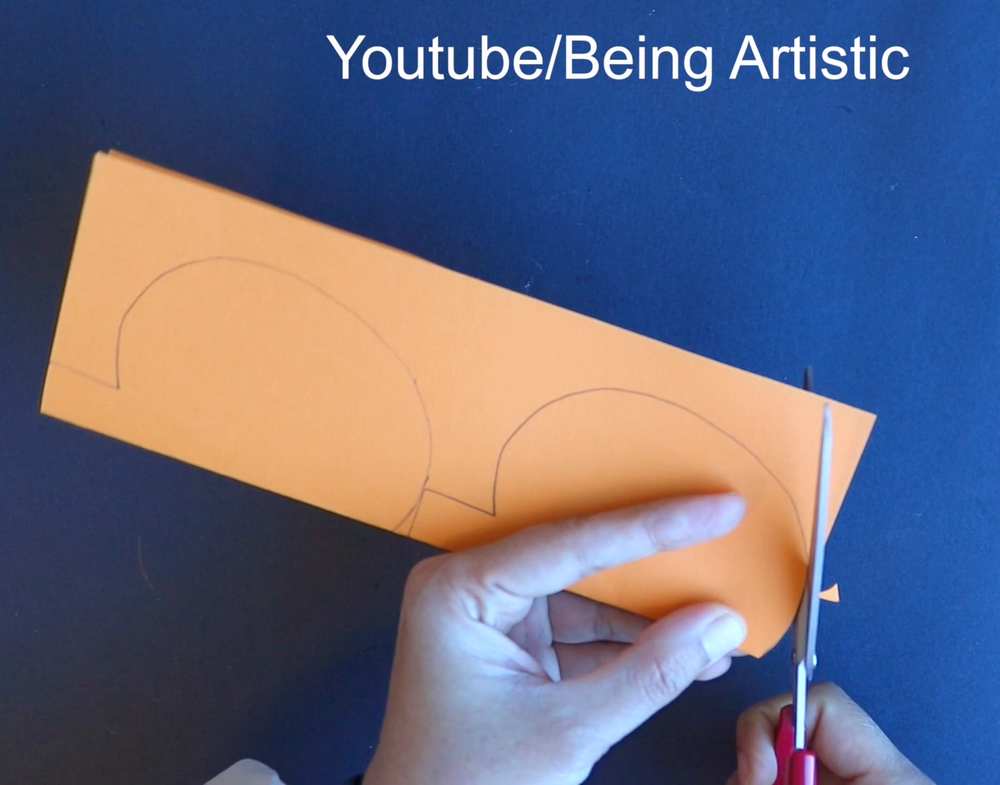
Step 3: Detail the Stems
Take each pumpkin cutout (keep them folded in half for now) and use a brown marker to draw horizontal lines or shade the stem area at the top. This adds a realistic texture to the pumpkin’s “wood” handle.
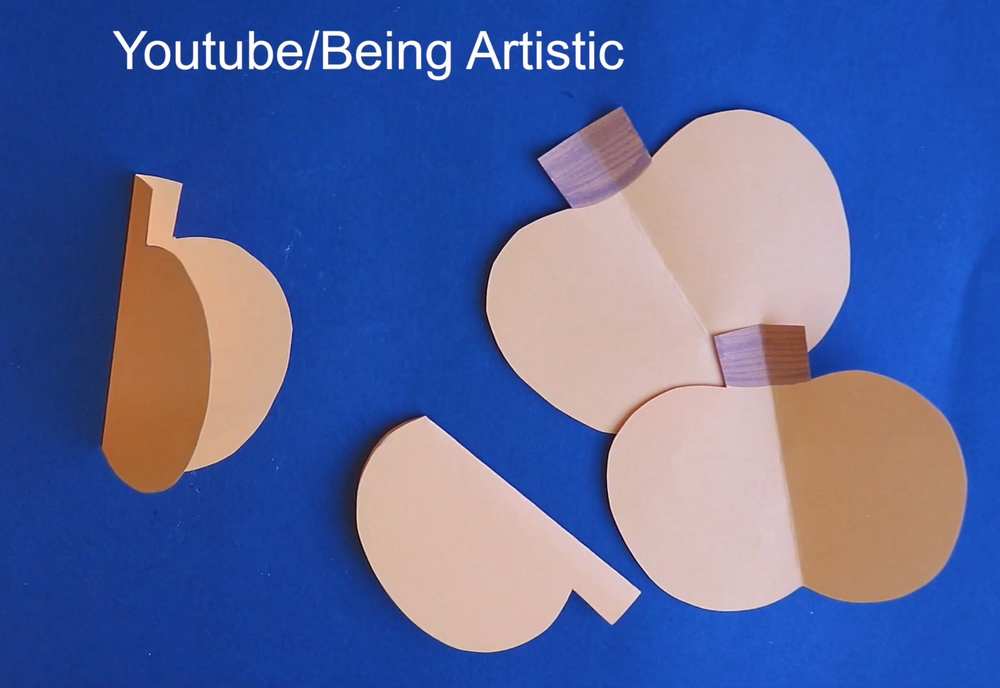
Step 4: Glue the Stack Together
-
Keep your pumpkin cutouts folded in half.
-
Apply glue to the outer face of one folded half.
-
Place another folded pumpkin directly on top of it, aligning the edges perfectly.
-
Continue this process, gluing one folded pumpkin to the next, until you have a thick stack of paper.
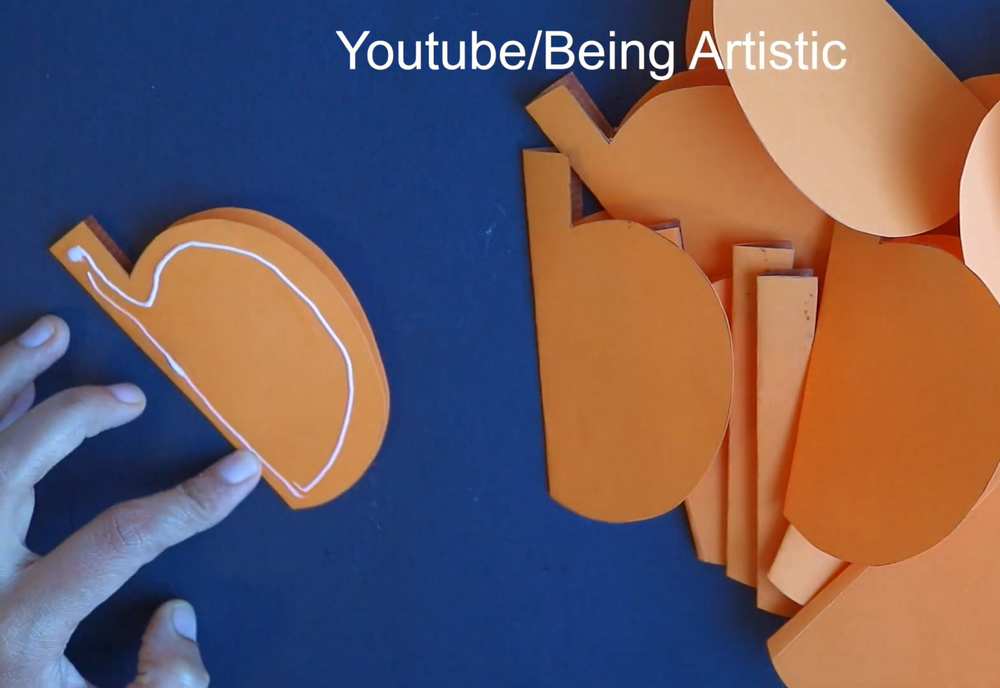
Step 5: Form the 3D Pumpkin Body
Apply a generous amount of glue to the top surface of your stack. Carefully fan the paper out in a circle, bringing the first pumpkin half around to meet the last one. Press the two ends together firmly. Your pumpkin should now be a 3D sphere with many “ribs” or sections.
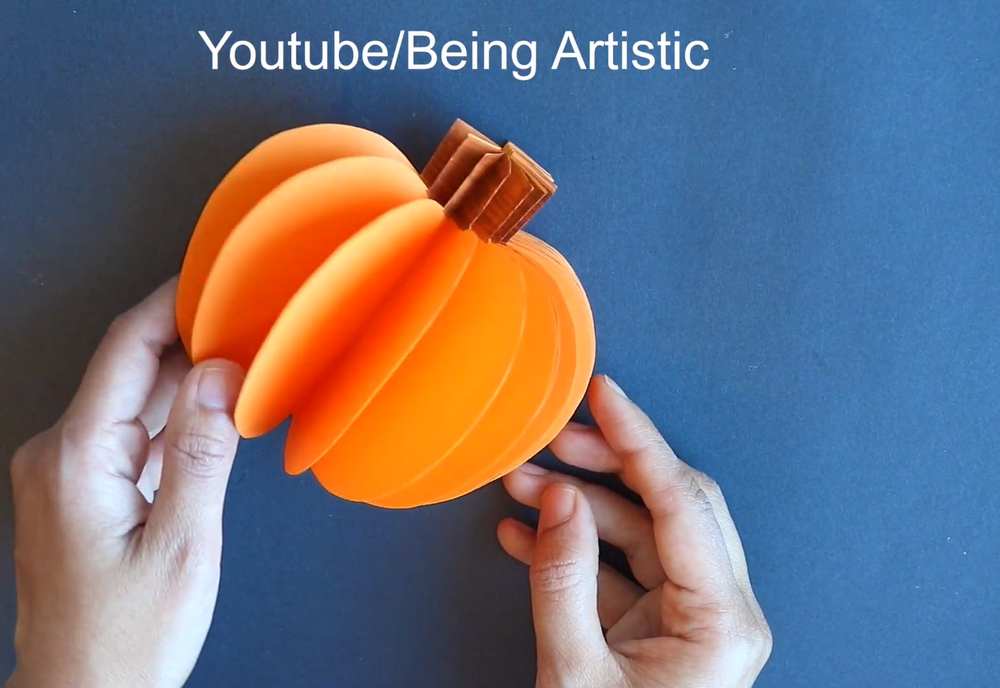
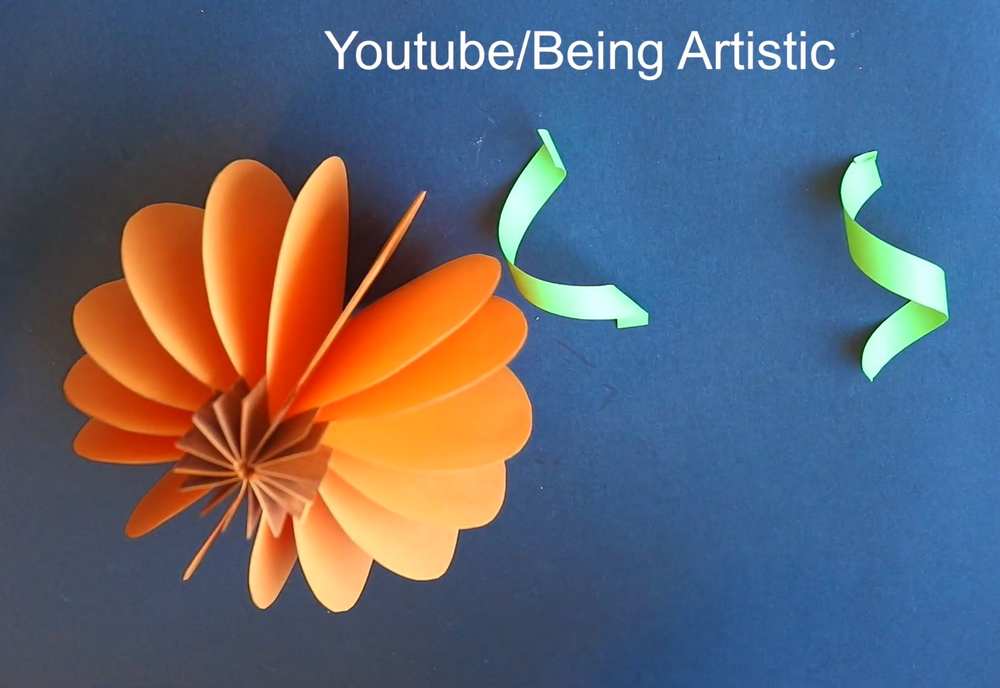
Step 6: Prepare the Vines
Cut two thin, long strips of green paper. To create the curly vine effect, wrap each strip tightly around a pen or pencil. Hold it for a few seconds, then slide it off to reveal a spiral shape.
Step 8: Final Assembly
-
Apply a small dab of glue to the ends of your curled green vines.
-
Tuck the vines and the green leaf into the top center of the pumpkin, right next to the brown stem.
-
Adjust the paper “ribs” so they are evenly spaced.
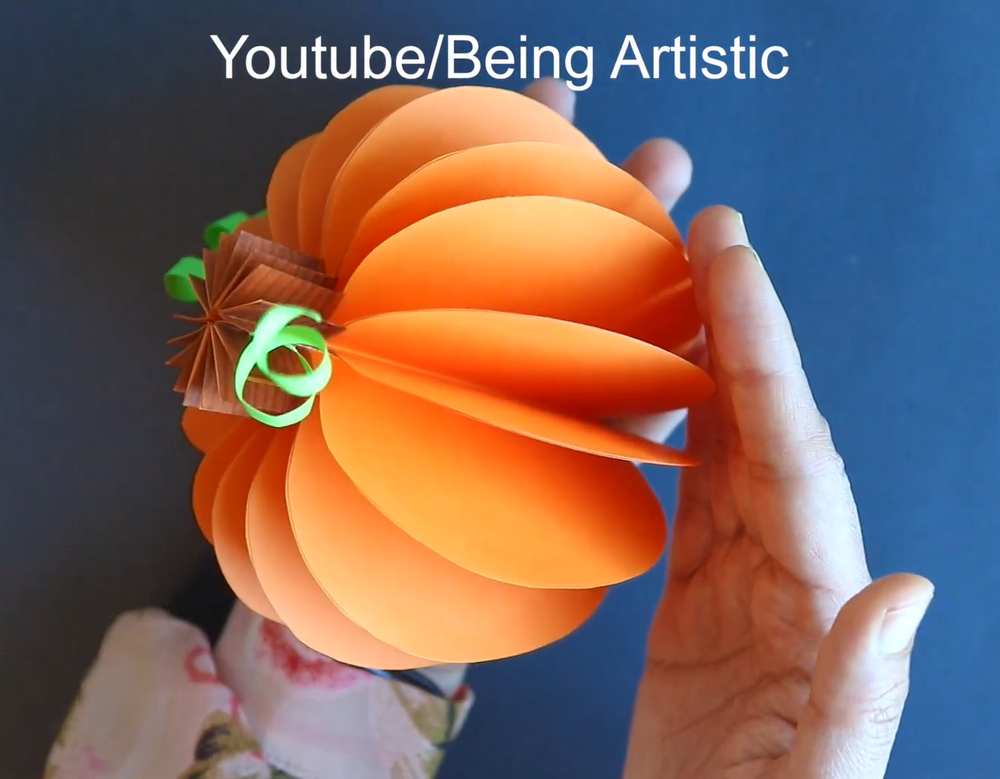
Your 3D foldable pumpkin is now complete! These look great as table centerpieces or hanging decorations for autumn and Halloween.
Video Guide:
Share on Social Media!