
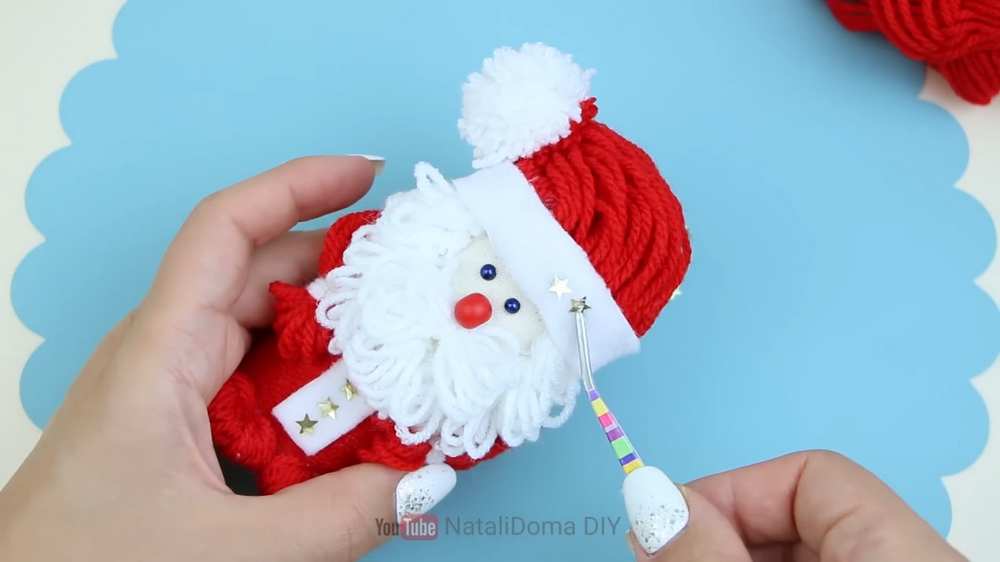
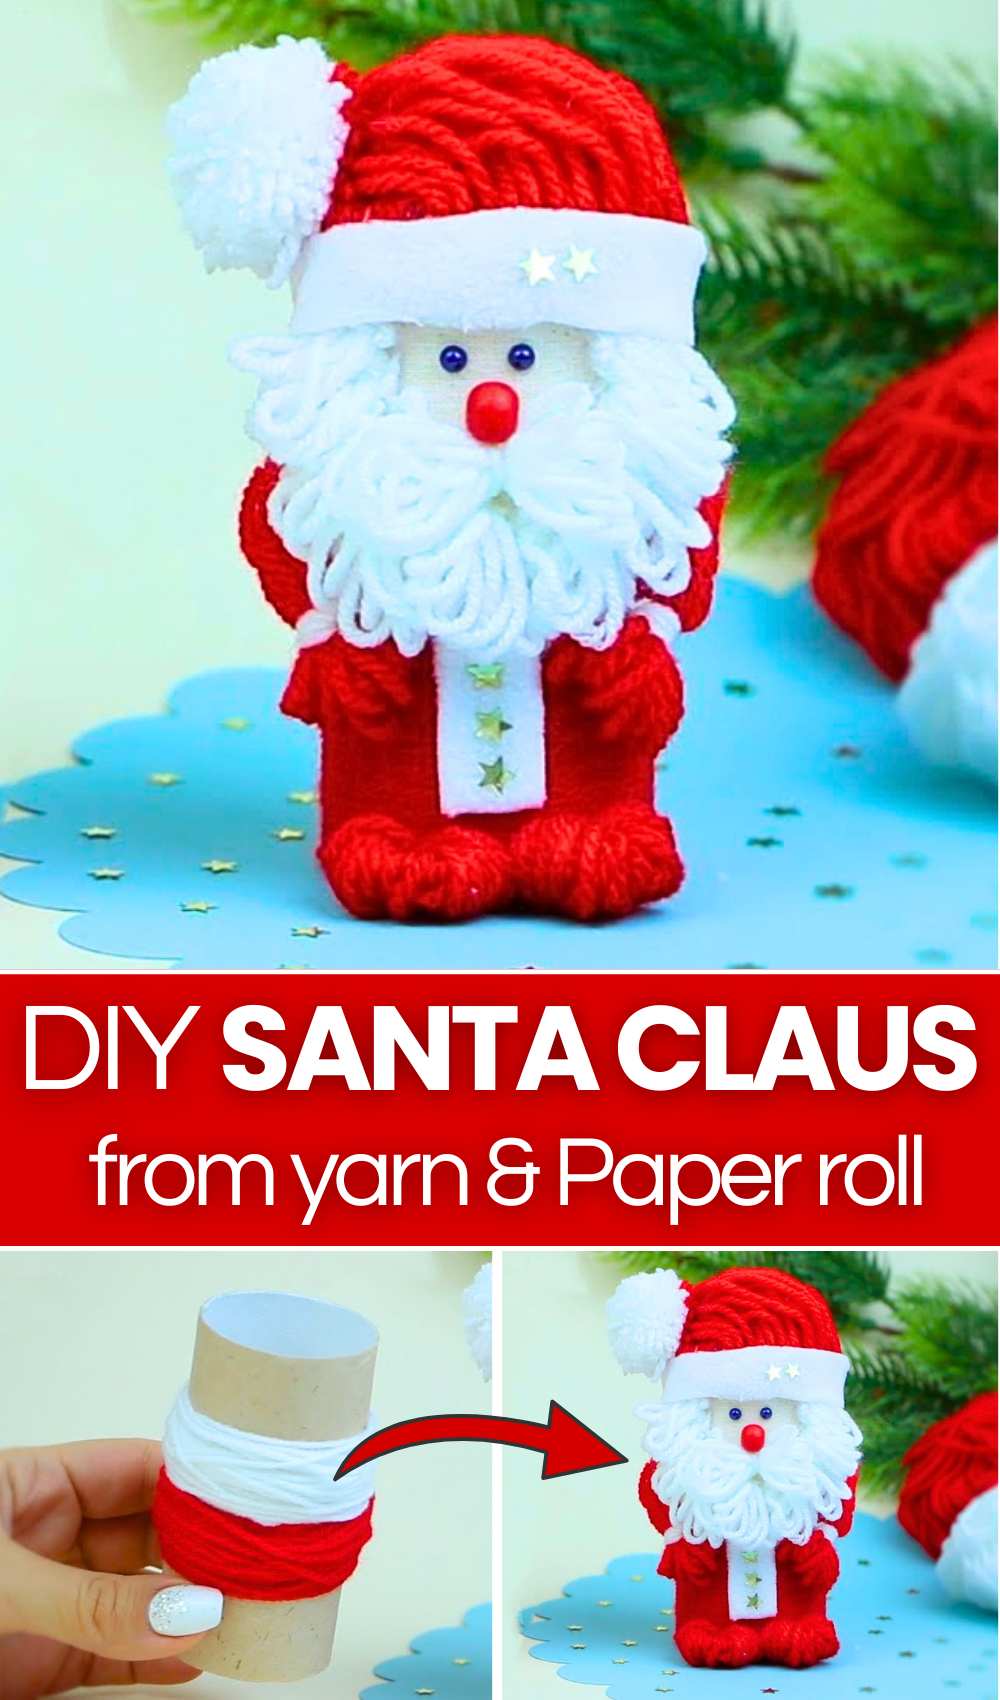
I am back with another pom-pom Christmas gift craft you can make in under 10 minutes! Learn how to DIY an adorable miniature Santa Claus figurine using an upcycled cardboard toilet paper roll, yarn, and felt.
By wrapping the roll in red yarn and adding a fabric face, handmade yarn beard clusters, boots, arms, a drooping Santa hat, a fluffy pom-pom, and decorative gold stars, a plain roll transforms into a festive holiday character.
This craft is perfect for budget-friendly Christmas decorations, tabletop ornaments, holiday mantle displays, festive classroom crafting, homemade gift toppers, and fun holiday recycling projects for kids and adults alike.
Difficulty Level and Explanation
Difficulty Level: Easy / Beginner
The project does not require specialized crafting tools, sewing machines, or advanced technical skills. The steps rely on simple repetitive yarn-wrapping around fingers, basic scissor cutting, and hot-glue assembly.
The dimensions do not require millimeter precision, making it very forgiving and accessible for beginners and supervised children.
Materials and Techniques Used
Materials:
-
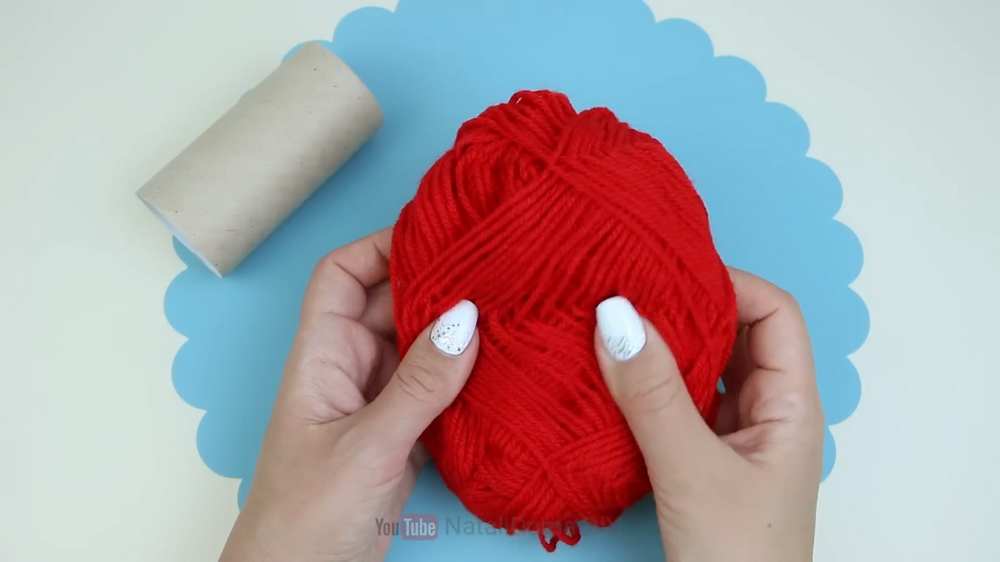
Empty cardboard toilet paper tube
-
Red yarn and white yarn
-
White fabric or felt
-
Hot glue gun and glue sticks
-
Scissors and tweezers
-
Small red bead (for the nose)
-
Two small black seed beads (for the eyes)
-
Tiny gold star sequins
Techniques and Folds:
-
Yarn wrapping & bundling: Wrapping yarn around fingers multiple times (5, 10, 15, and 50 wraps) and tying off centers or ends to create tufts, limbs, boots, and pom-poms.
-
Curved fabric cutting: Trimming white felt into a rounded face shield and slender strips for trim.
-
Cinching and binding: Tying yarn clusters tightly with contrasting or matching yarn to shape cuffs and hat peaks.
-
Pom-pom trimming: Shearing looped yarn bunches into a dense, rounded sphere.
Video Tutorial?
Step-by-Step Guide
-
Cover the Body: Apply hot glue along the base of the cardboard roll and wrap red yarn tightly upward in a continuous spiral until the roll is fully covered, then trim and secure the end.
-
Attach the Face: Cut a piece of white felt into a rounded U-shape/arch and hot-glue it onto the upper front of the cylinder to establish Santa’s face.
-
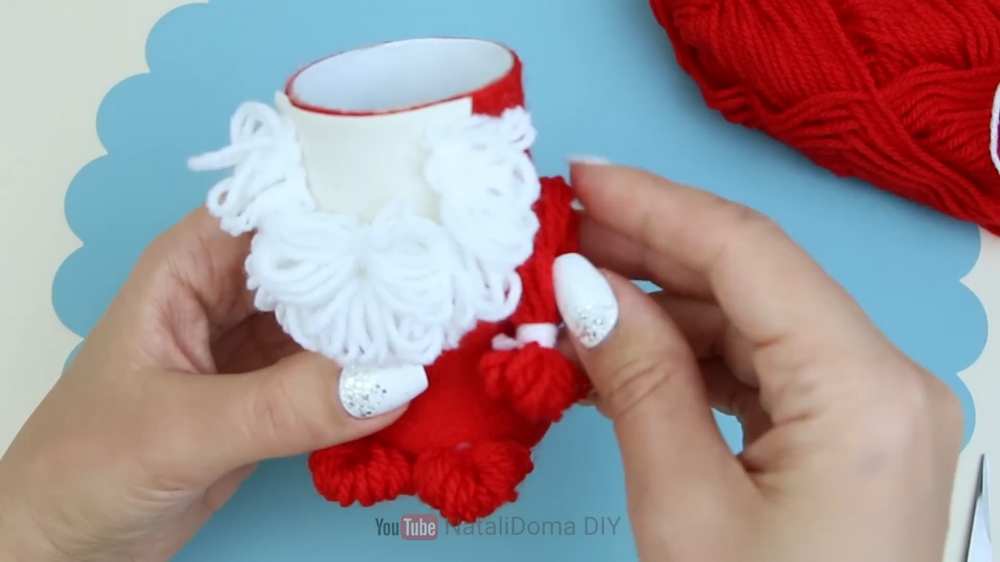
Craft and Attach the Beard: Wrap white yarn around one finger 10 times, tie in the middle, and snip ends to form small tufts. Glue these around the bottom and sides of the felt face to build a layered, fluffy beard and mustache.
-
Make and Attach the Boots: Wrap red yarn around a finger 15 times, bind the center with yarn, fold it into a shoe shape, and glue two matching boots side-by-side at the bottom front of the roll.
-
Make and Attach the Arms: Wrap red yarn around three fingers 15 times, tie near one end with white yarn to create mittens and cuffs, trim the loops, and glue an arm to each side of Santa’s body.
-
Add Facial Features: Glue a small red bead onto the center of the face for the nose, followed by two tiny black beads above it for the eyes.
-
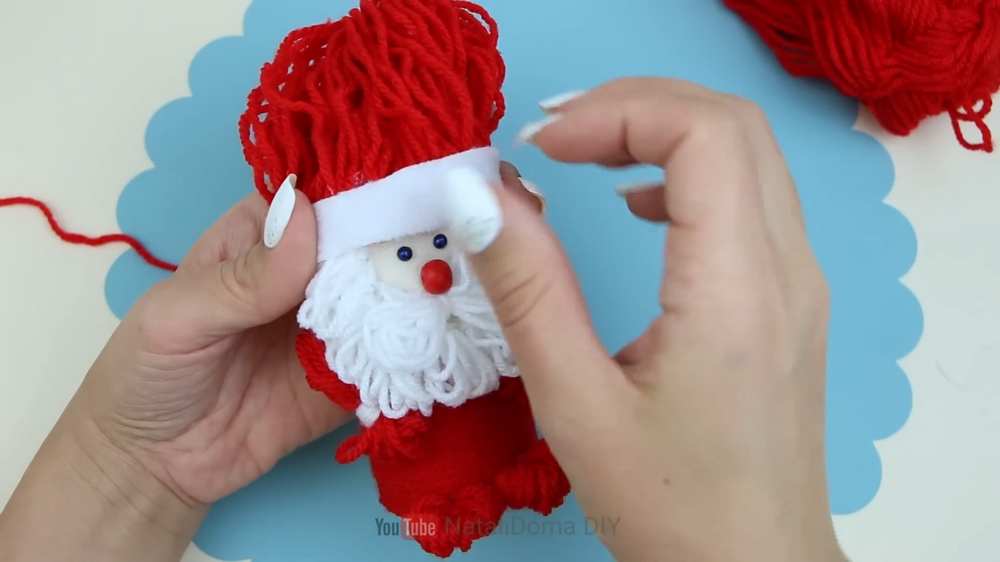
Assemble the Hat: Cut a strip of white felt. Wrap small bundles of red yarn (5 turns each) and glue them continuously along the felt strip. Wrap the strip around the top rim of the roll and glue it in place.
-
Shape the Hat Tip: Gather the loose red yarn strands at the top of the head, smooth them to one side, cinch them together with a piece of red yarn, and snip off excess yarn.
-
Create the Pom-Pom: Wrap white yarn around four fingers 50 times, tie tightly across the middle, cut the looped ends, and trim the strands evenly into a round ball. Glue the pom-pom to the drooping tip of the red hat.
-
Add Final Details: Glue a small white felt strip down the front coat line, decorate it with tiny gold star sequins using tweezers, and attach two gold stars onto the hat brim for a sparkling holiday finish.
About "NataliDoma"
She is a pom pom plushie designer who always makes something UNIQUE!