
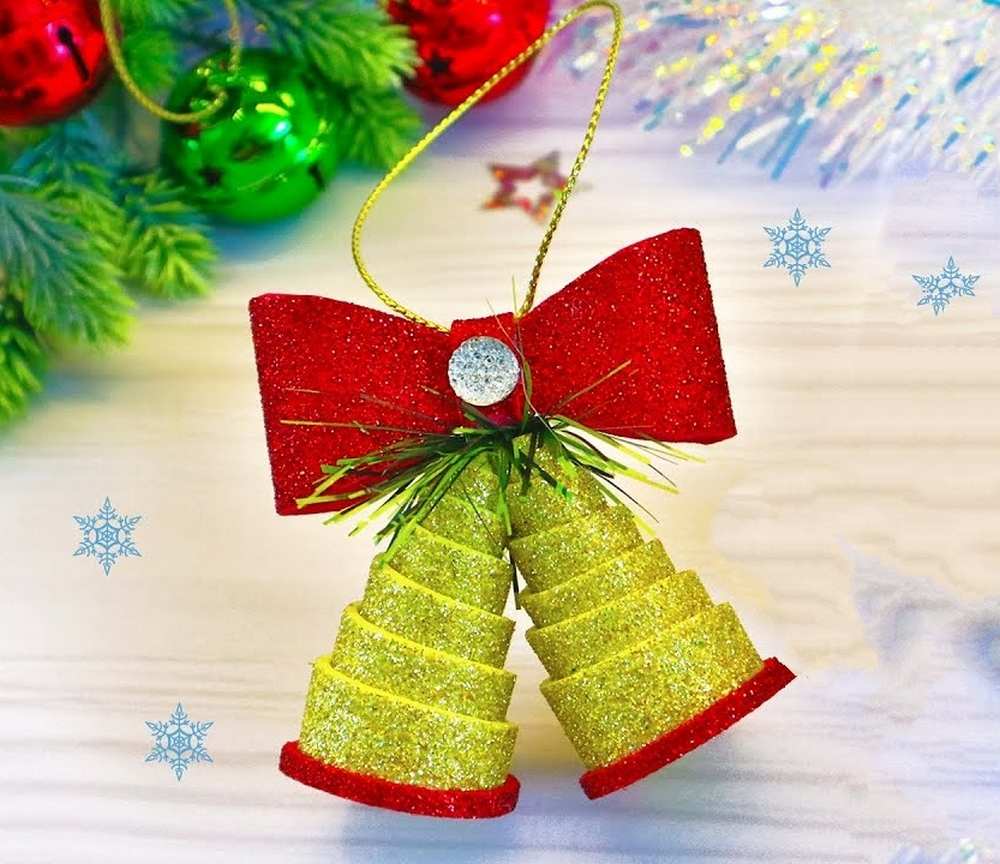
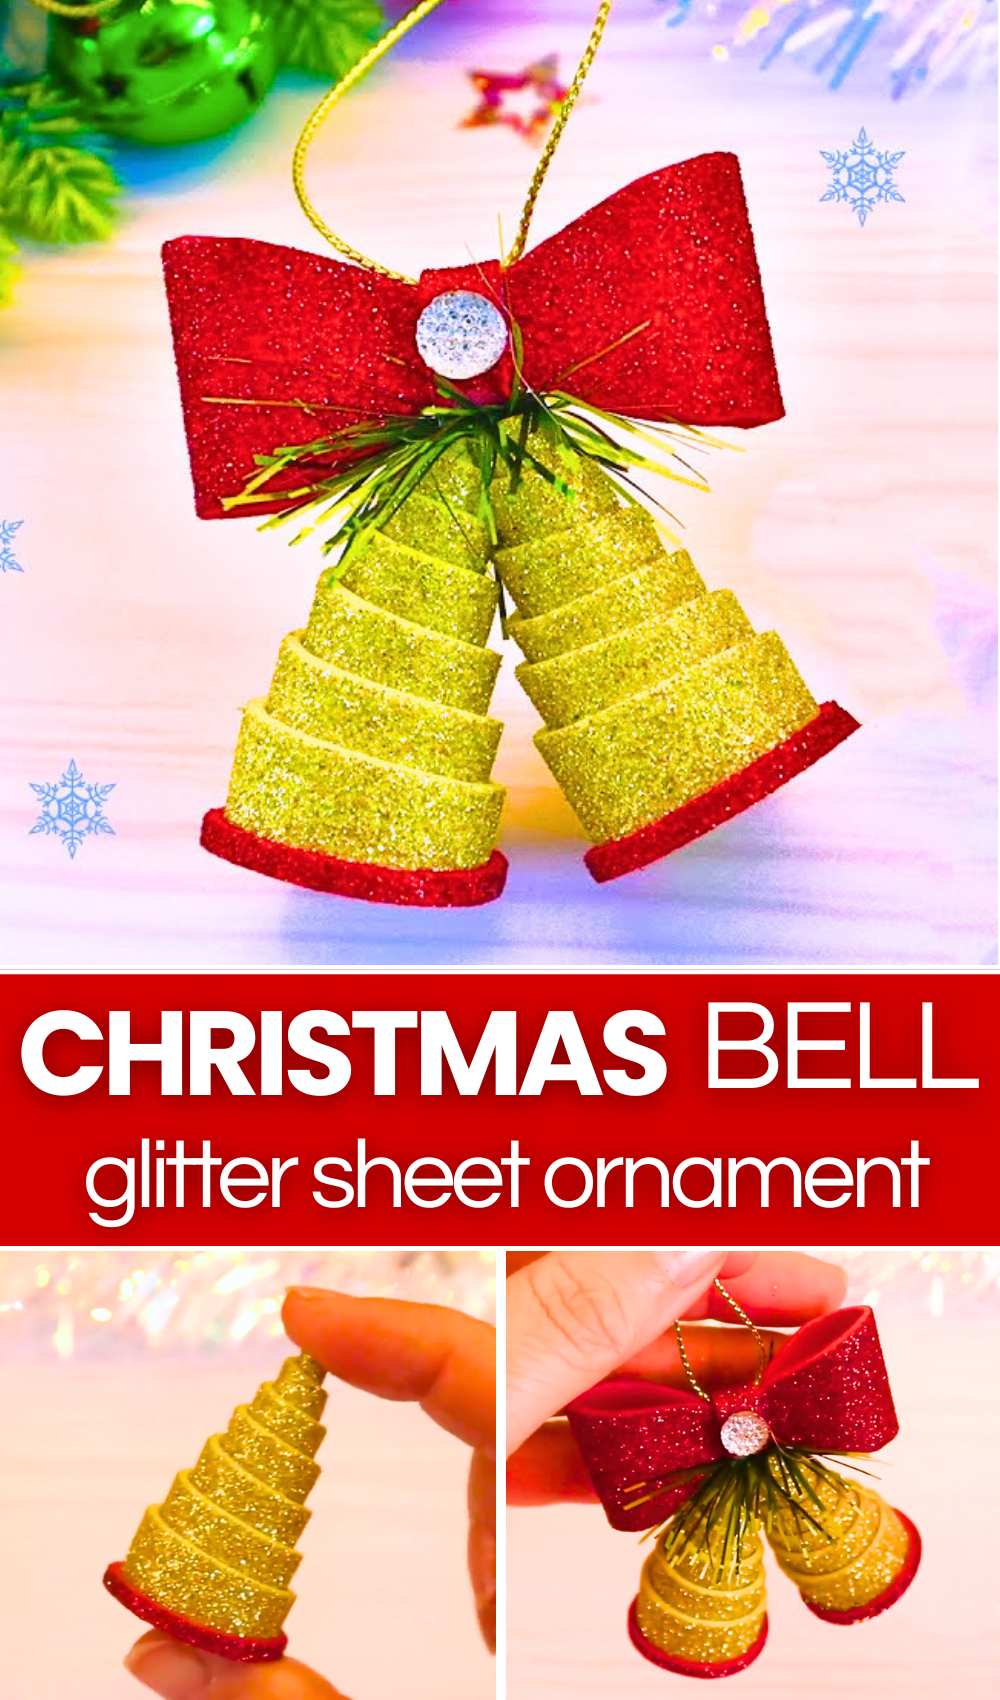
In today’s DIY foaming sheet Christmas ornament tutorial, learn how to craft decorative Christmas bell ornaments using glitter EVA foam sheets. These lightweight ornaments are ideal for decorating Christmas trees, holiday wreaths, door hangers, gift wrapping accents, festive window displays, garland embellishments, or holiday craft fairs and classroom holiday workshops.
Long strips of gold glitter foam are spiraled into stepped, conical bell shapes and trimmed with thin red borders.
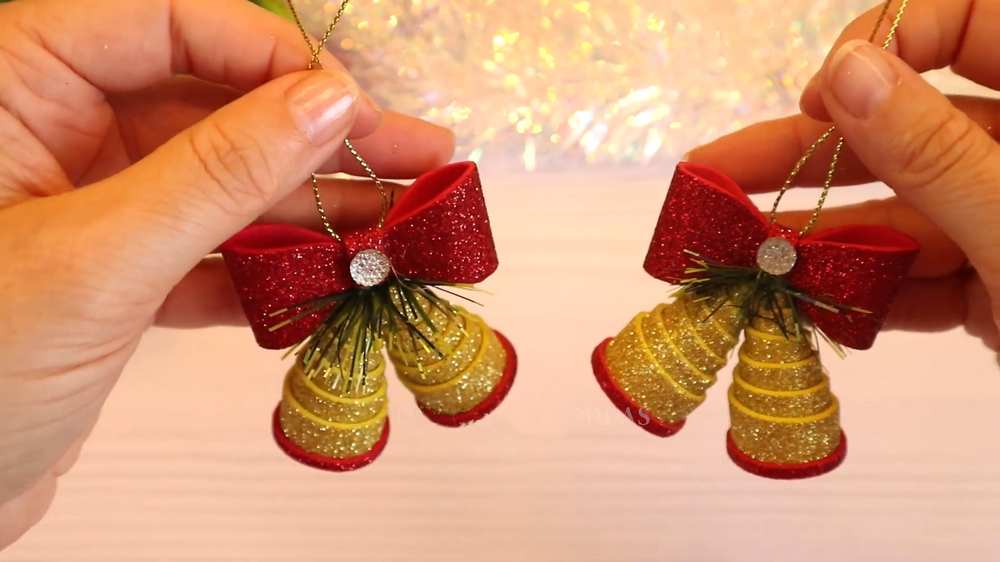
Two bells are joined together, accented with artificial pine needles, and topped with a handmade red glitter foam bow containing an embedded gold hanging cord and a sparkling rhinestone center.
Difficulty Level and Explanation
-
Difficulty Level: Easy (Beginner)
-
Explanation:
The project requires only basic household craft supplies like foam, scissors, and a hot glue gun. The shapes are straightforward geometric cuts, and no sewing or complex paper-folding techniques are necessary. The only step requiring slight care is angling the foam strip evenly while coiling so the bell develops a uniform conical taper without slipping out of alignment.
Enlisted Materials and Folds Used
Materials:
-
Gold glitter EVA foam sheet (2 mm thickness)
-
Red glitter EVA foam sheet (2 mm thickness)
-
Artificial pine needle / tinsel greenery sprig
-
Gold metallic hanging cord
-
Small clear flatback rhinestone
-
Hot glue gun and glue sticks
-
Craft scissors
-
Ruler
Folds and Shaping Techniques:
-
Angled Spiral Coil: Rolling a long strip progressively downward at an offset to build a 3D hollow tiered cone.
-
Symmetrical Corner Trim Fold: Folding a rectangle in half crosswise to snip identical tapered angles on opposing ends.
-
Double Loop Bow Fold: Folding outer ends inwards toward the center axis to create curved three-dimensional bow loops.
-
Center Cinch Wrap: Wrapping a narrow strip tightly around the center of the folded loops to lock the bow’s shape.
Video Tutorial?
Frame-by-Frame Detailed Analysis
-
00:00 – 00:10: Introduction to the finished project displaying a pair of golden jingle-bell style ornaments with red rims, artificial pine greenery, a red glitter bow, a center crystal, and a gold hanging loop.
-
00:11 – 00:14: Introduction of the primary material: two-millimeter-thick red and gold glitter EVA foam sheets.
-
00:15 – 00:18: A gold glitter foam strip measuring 1.5 cm by 30 cm is shown and measured.
-
00:19 – 01:05: Rolling begins. Hot glue is added incrementally along the back edge of the gold strip. The maker rolls the strip at a graduated downward angle, creating an overlapping, terraced conical bell structure.
-
01:06 – 01:13: The uneven lower base of the coiled bell is carefully snipped with scissors to create a stable, level bottom opening.
-
01:14 – 01:46: A slender red glitter foam strip is glued around the lower rim of the bell to conceal raw edges and create a decorative border. The excess is cut off.
-
01:47 – 01:49: The process is repeated to produce two identical gold-and-red bell bases.
-
01:50 – 01:54: A red glitter foam piece measuring 2.5 cm by 6 cm is introduced for the bow.
-
01:55 – 02:00: The piece is folded in half and the corners are diagonally trimmed with scissors, forming an elongated diamond shape with squared ends.
-
02:01 – 02:15: Hot glue is placed at the center of the red shape; both tapered ends are folded inward to meet in the middle, forming two bow loops.
-
02:16 – 02:46: A thin red foam strip is cut for the bow center. A gold cord loop is placed at the back of the bow, and the center strip is wrapped around both the bow and string, secured with hot glue.
-
02:47 – 02:59: The tops of the two bells are glued together side-by-side at an outward flare.
-
03:00 – 03:12: A small piece of faux evergreen pine garland is cut, fluffed, and glued across the apex where the two bells connect.
-
03:13 – 03:22: The red bow is firmly hot-glued directly over the greenery sprig.
-
03:23 – 03:25: A single faceted clear rhinestone is attached to the center of the red bow.
-
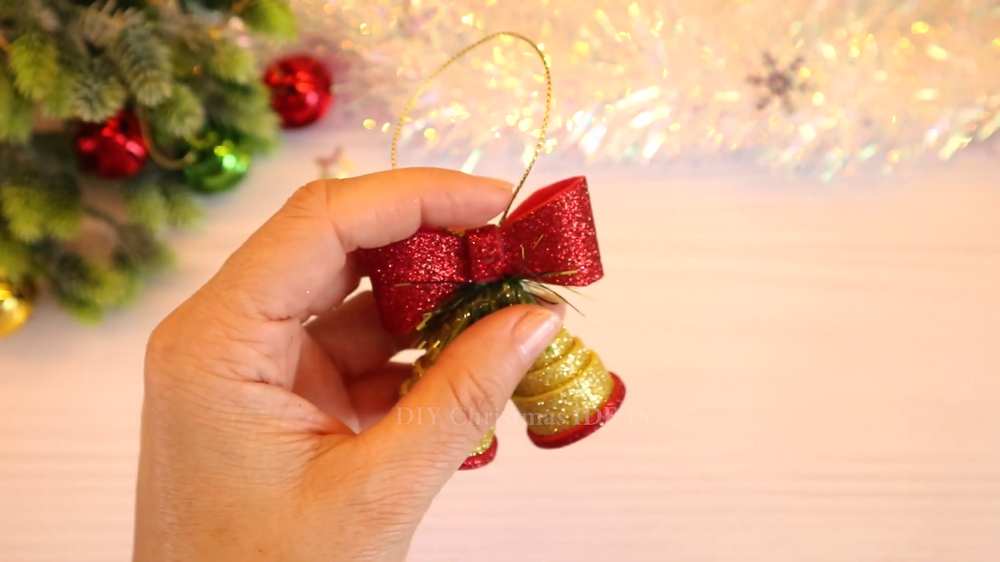
03:26 – 03:39: The completed ornament is held up to show the front, back, and hanging arrangement.
Quick Step-by-Step Guide
-
Cut two strips of gold glitter foam measuring 1.5 cm by 30 cm.
-
Apply hot glue along the unglittered side and tightly coil each strip diagonally downward into a tiered conical bell shape.
-
Trim the bottom edge of each cone flush with scissors.
-
Glue a narrow strip of red glitter foam around the bottom rim of both bells.
-
Cut a 2.5 cm by 6 cm piece of red glitter foam, fold in half, and trim the corners to create a tapered bow template.
-
Fold both pointed ends into the center and glue them down to form two bow loops.
-
Place a gold cord loop against the center back of the bow and wrap a thin red foam strip around the center, securing with glue.
-
Glue the two gold bells together side-by-side at their tops.
-
Attach a small cluster of artificial pine needles to the top junction of the bells.
-
Glue the red bow over the pine sprig and add a decorative rhinestone to the bow’s center.
About "DIYChristmasIDEAS"
She shared only Christmas crafts with always the creative ideas!