
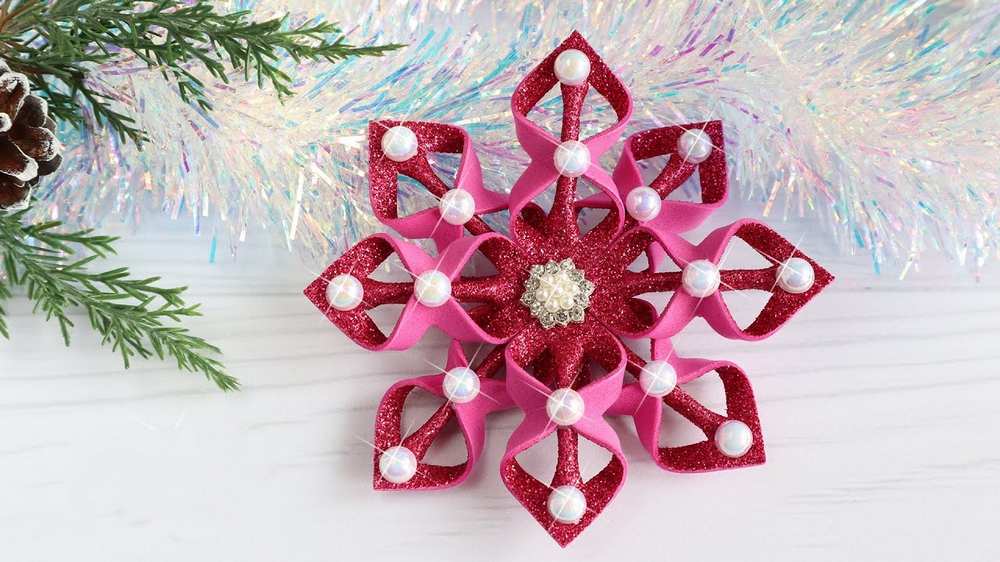
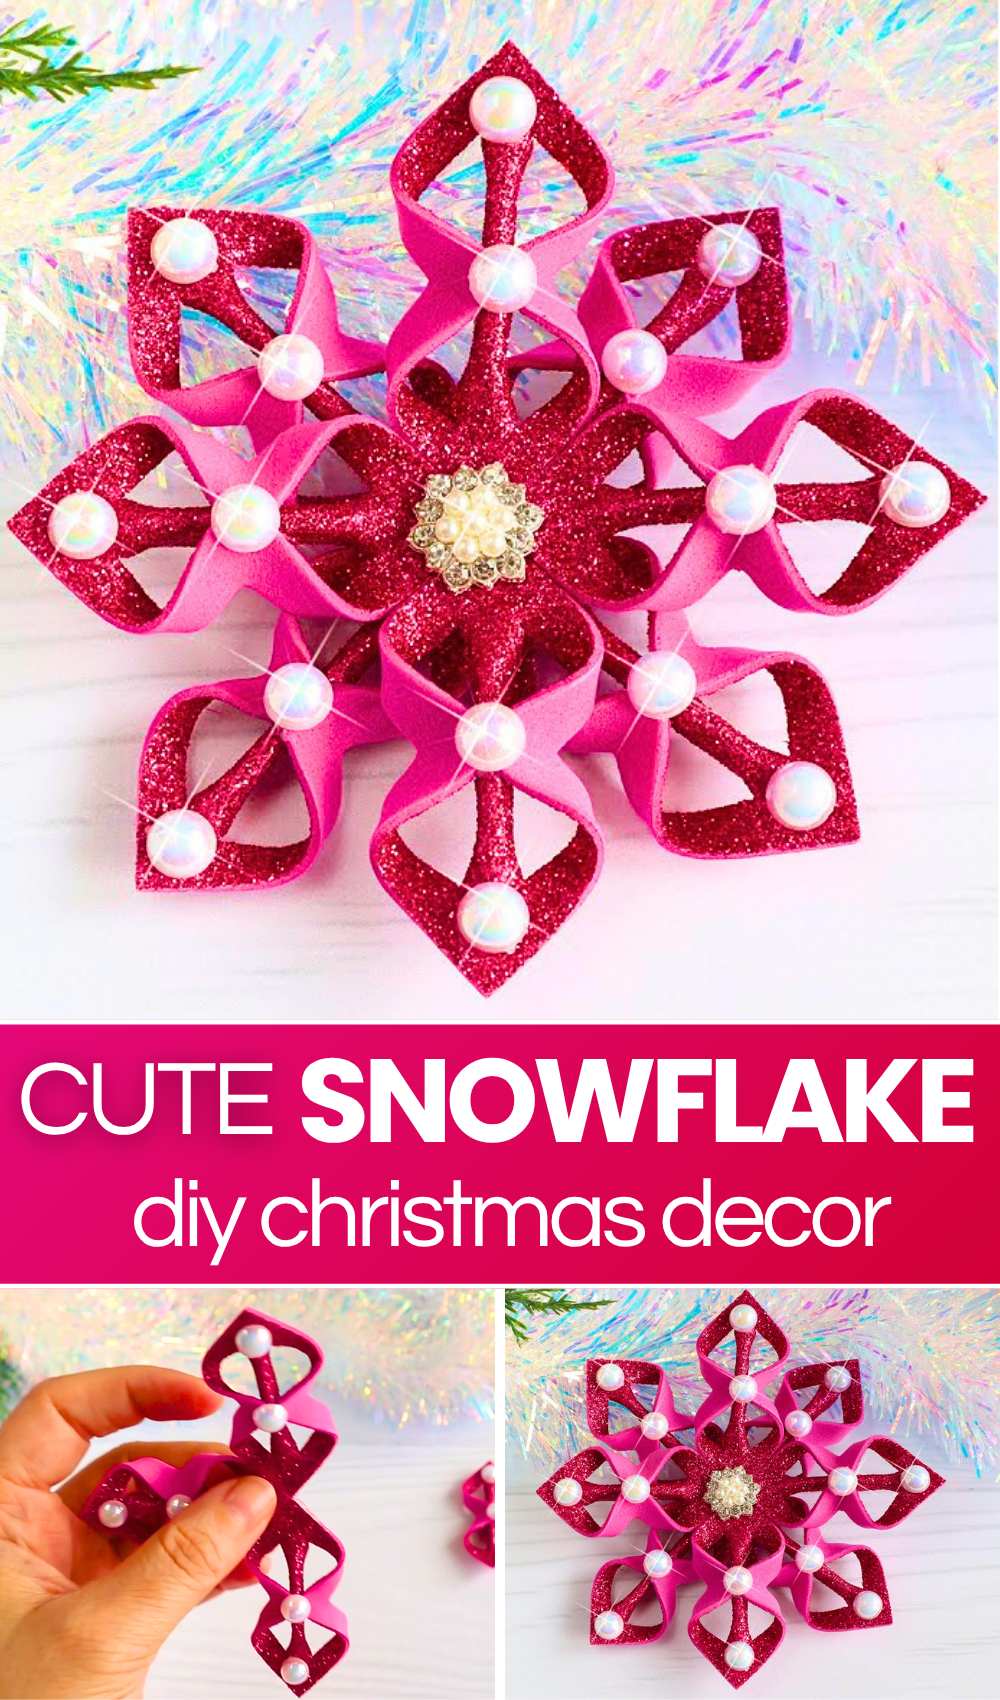
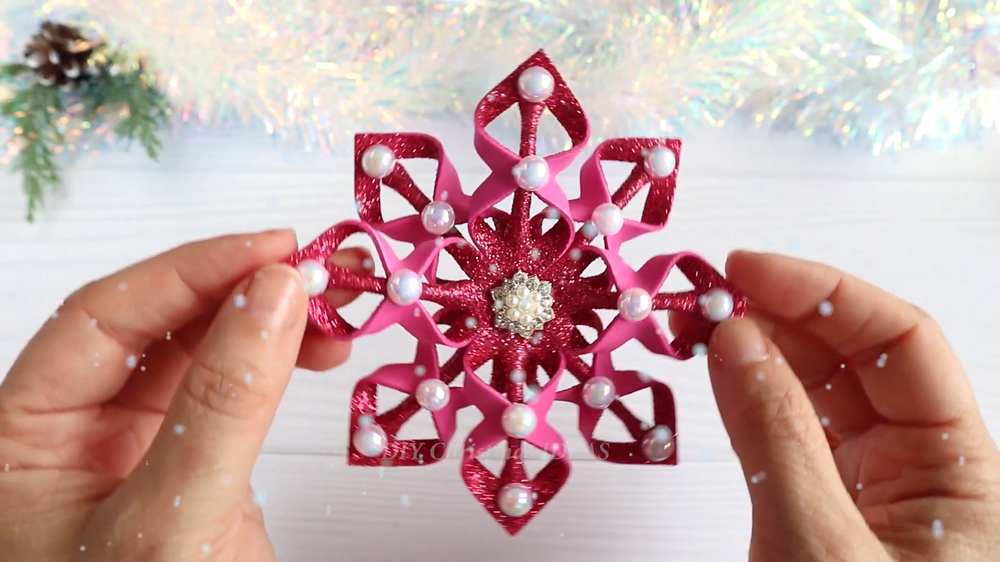
Are you looking for a REALLY elegant, shiny, and unique foaming sheet snowflake idea? Learn how to make this eight-pointed pink beaded snowflake ornament from magenta glitter EVA foam. Perfect as a Christmas tree hanging ornament, wreath accent, holiday gift topper, window suncatcher, festive party garland medallion, or holiday table accent.
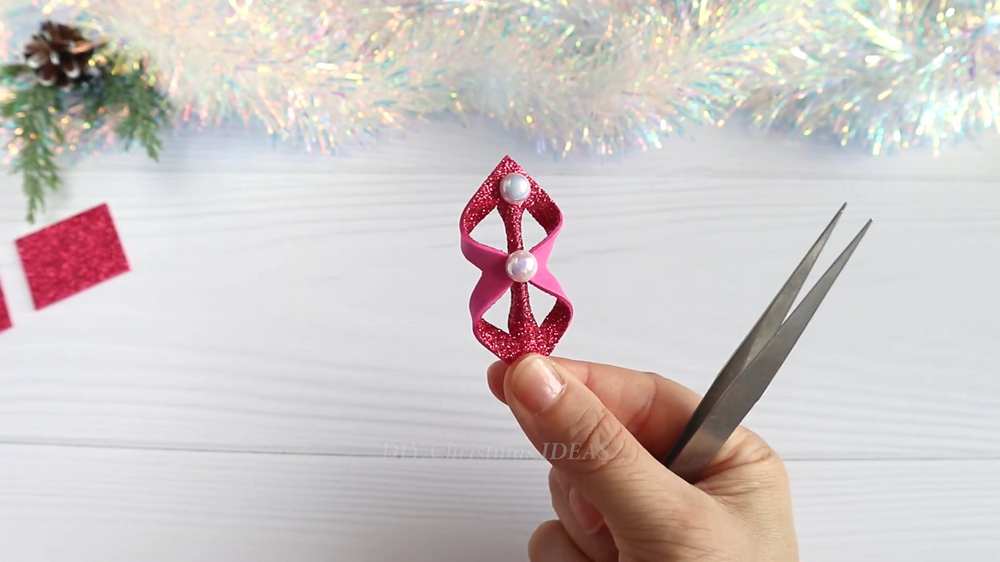
Eight 4×4 cm foam squares are folded diagonally, slit with parallel cuts, trimmed, and folded into sculpted double-loop lantern petals. Each petal is embellished with three white pearl beads along its central spine.
Four petals are joined to assemble a 4-pointed cross star; two identical stars are then stacked at a 45-degree offset, secured with a foam backing patch, and finished with a sparkling rhinestone-pearl centerpiece.

Difficulty Level
-
Level: Advanced Beginner / Moderate
-
Why: The project requires fine scissor control when cutting thin parallel borders and trimming the inner diamond without tearing the foam. Assembling the double-loop petal structure requires neat glue placement, and stacking the two 4-pointed stars demands precise 45-degree radial alignment for balanced symmetry.
Materials Used
-
Magenta (dark pink) glitter EVA foam sheets (eight
4×4 cmsquares, plus scrap for the center backing) -
Scissors
-
Hot glue gun and glue sticks
-
White half-pearl beads (24 total: 3 per arm)
-
Tweezers (for precise bead placement)
-
Rhinestone and pearl floral cabochon / brooch center
Folds & Techniques Used
-
Diagonal Triangle Fold: Folding each square corner-to-corner to create the cutting axis.
-
Concentric Slit Cutting: Cutting two parallel slits toward the apex while keeping the outer frame connected.
-
Inner Center Cutout: Folding and snipping out the interior triangular core to leave open hollow frames.
-
Double-Loop / Lantern Fold: Curving the outer and inner frame strips inward to the center line to form a two-tiered, three-dimensional figure-8 petal.
-
90° Cross-Star Assembly: Adhering four petals at their bases to build a 4-point star.
-
45° Offset Layering: Interlocking and bonding two 4-point stars at 45 degrees to produce an 8-pointed snowflake.
Learn to Make the Foaming Sheet Snowflake Plush
Better learn the whole method of making this beaded snowflake using foaming sheets in this tutorial:
Quick Frame-by-Frame Guide
-
Cut the Squares (00:06–00:15): Cut eight
4×4 cmsquares from magenta glitter foam. -
Fold & Slit (00:16–00:28): Fold a square diagonally in half into a triangle. Cut two parallel slits from the folded edge toward the point, leaving the tip intact.
-
Trim the Core (00:29–00:59): Unfold flat, glue the center fold, then refold and snip away the central diamond core to leave hollowed-out concentric bands.
-
Form the Double-Loop Petal (01:00–01:15): Apply hot glue and fold the cut frame strips inward along the centerline to construct a dimensional, double-lantern petal.
-
Add Pearl Accents (01:16–01:32): Use hot glue and tweezers to adhere three white half-pearls down the petal’s front spine (top, middle, and bottom). Repeat steps 2–5 to make 8 identical arms.
-
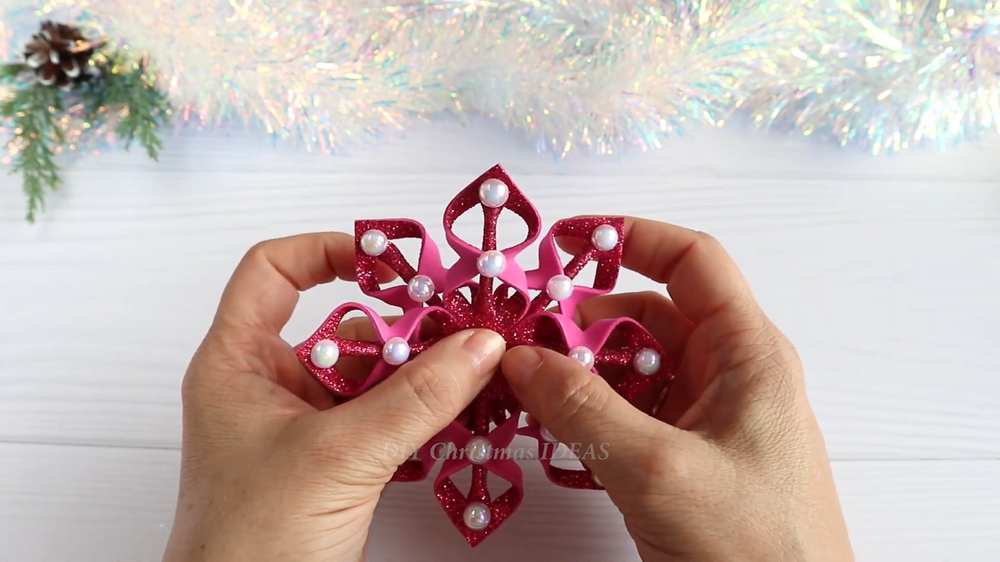
Assemble Two 4-Point Stars (01:33–02:12): Glue four arms together side-by-side at their bases into a 4-pointed cross star. Assemble the remaining four arms into a second identical star.
-
Layer the Stars (02:13–02:24): Apply hot glue to the center of the first star and place the second star on top, rotated 45 degrees to form an 8-pointed snowflake.
-
Reinforce the Back (02:25–02:37): Flip the snowflake over, apply hot glue, and adhere a small glitter foam square patch over the center joints for strength.
-
Attach Center Brooch (02:38–03:03): Flip to the front, apply hot glue to the middle, and secure the rhinestone-and-pearl flower centerpiece.