
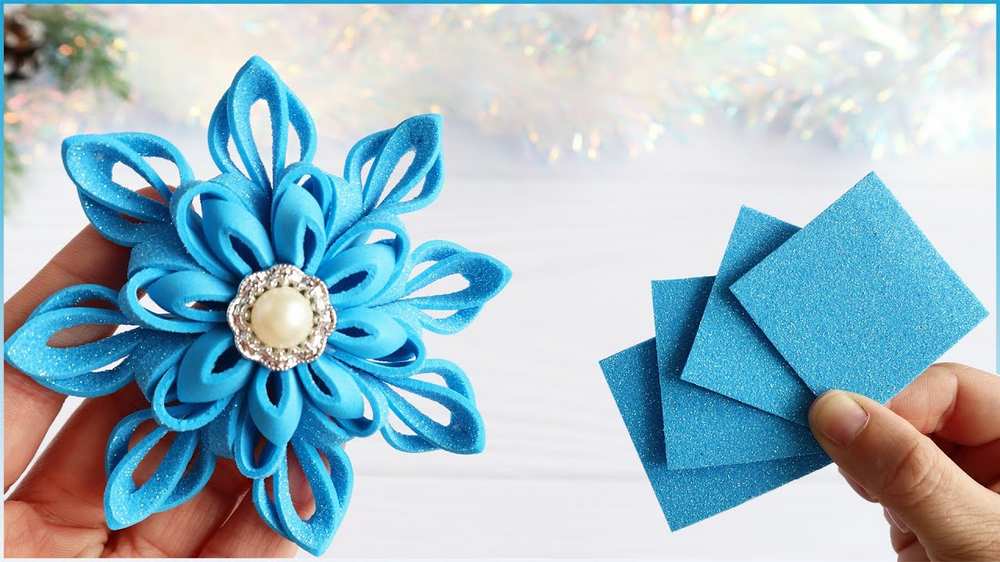
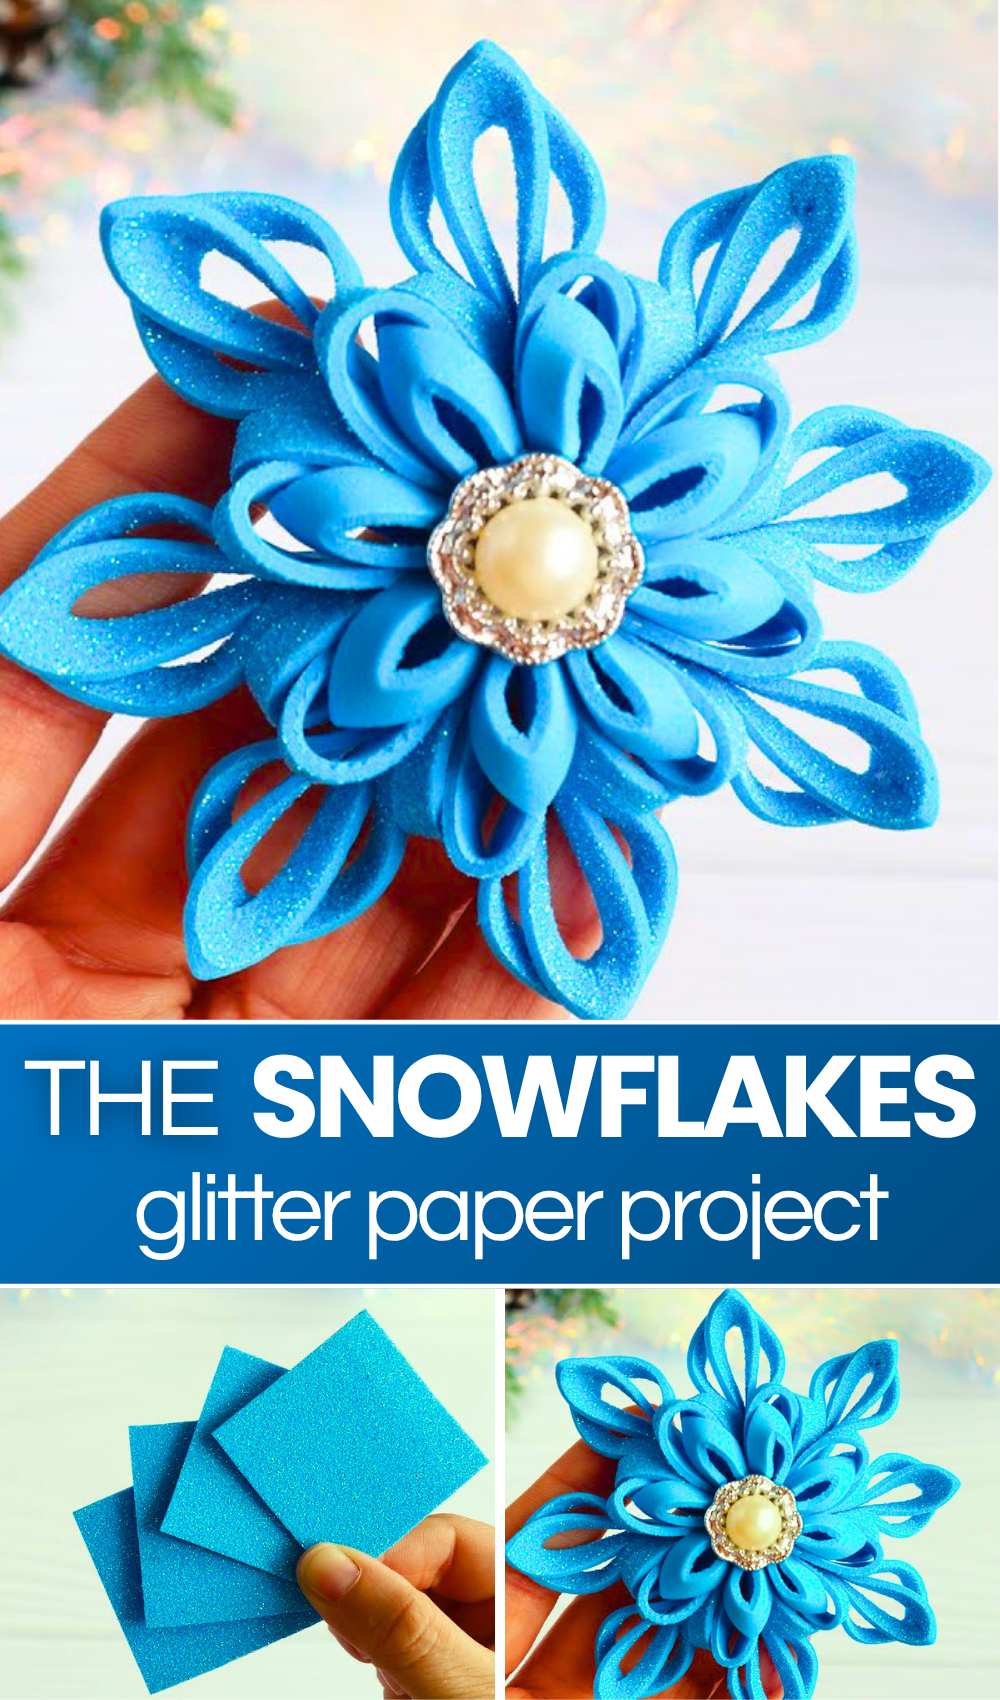
In today’s DIY jewelry snowflakes Christmas tutorial, learn how to DIY a layered, 8-pointed snowflake ornament from blue glitter EVA foam. Ideal as a Christmas tree hanging ornament, holiday wreath accent, festive gift package topper, winter garland embellishment, or seasonal hair accessory.
Four 5×5 cmsquares are halved diagonally, folded, and slit to form eight tiered outer petals alongside eight miniature inner petals salvaged from the cutouts.
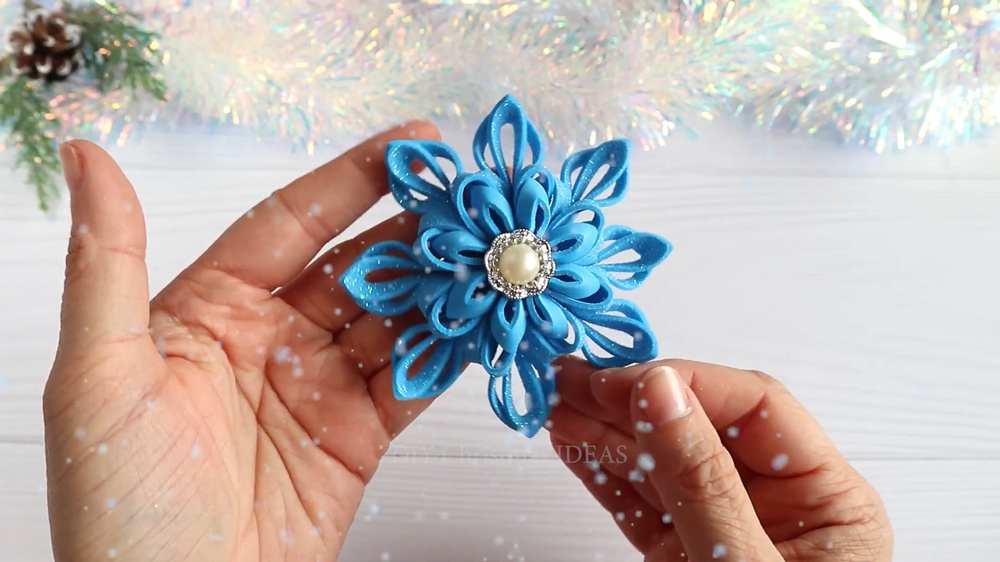
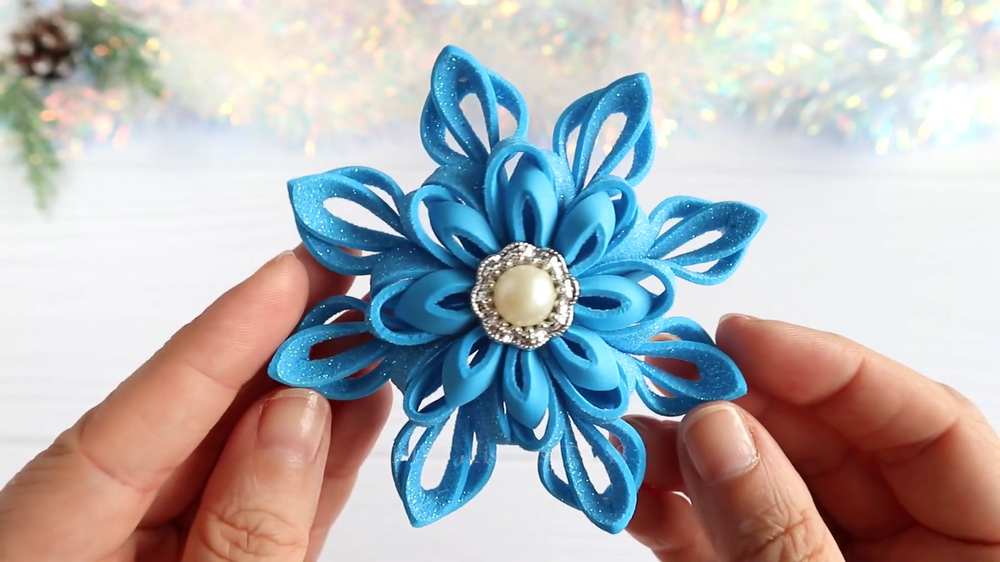
The small petals are glued into a central rosette crowned with an ornate pearl-and-rhinestone cabochon, while the larger petals are adhered behind it in a radial star pattern and secured with a foam backing disc.

Difficulty Level
-
Level: Easy to Advanced Beginner
-
Why: The project utilizes straightforward materials and repetitive assembly. The only tricky aspects are executing consistent parallel cuts without snipping through the apex, handling small cutouts with hot glue, and keeping the eight petals evenly spaced in a symmetrical circle.
Materials Used
-
Blue glitter EVA foam sheets (four
5×5 cmsquares, plus scrap foam for a circular backing disc). -
Scissors
-
Hot glue gun and glue sticks
-
Rhinestone-and-pearl center cabochon/embellishment
Folds & Techniques Used
-
Diagonal Half-Fold: Folding the triangular foam piece in half along its height to make symmetrical parallel cuts.
-
Apex-Preserved Slit Cutting: Cutting parallel slits along the edges while leaving the top tip joined.
-
Curved Loop Folds: Bringing and overlapping the slit strips into hollow teardrop curves without creasing the foam.
-
Base Pinch Fold: Pinching and gluing the petal base tightly together to create a 3D tapered stem.
-
Radial Ring Assembly: Joining identical petal stems side-by-side in a complete circle.
Learn to Make the Foaming Sheet Snowflake Plush
Better learn the whole method of making this jewlery snowflake using foaming sheets in this tutorial:
Quick Frame-by-Frame Guide
-
Cut the Triangles (00:07–00:18): Take four
5×5 cmblue glitter foam squares and cut each diagonally across to produce eight triangles. -
Fold & Cut Slits (00:19–00:43): Fold each triangle in half along its centerline. Snip off the small bottom corner (save this tiny chevron piece!), then make two parallel slits from the folded side towards the apex without cutting completely through.
-
Form the Large Tiered Petal (00:44–01:26): Unfold flat. Apply hot glue and overlap the outer cut strips inward, repeat with the middle strips, then pinch the bottom tip together to lock the petal shape.
-
Form the Small Inner Petal (01:27–01:42): Take the tiny cutout chevron saved earlier, loop its ends together with glue, and pinch the base into a mini teardrop petal.
-
Prepare All Sets (01:43–01:50): Repeat steps 2–4 to produce eight large tiered petals and eight small inner petals.
-
Build the Center Rosette (01:51–02:47): Hot glue the eight small teardrop petals side-by-side by their bases to form an 8-petal floral ring.
-
Attach the Jewel Center (02:48–03:07): Glue the pearl-and-rhinestone centerpiece onto the front middle of the small flower.
-
Mount Outer Petals (03:08–04:20): Turn the rosette over and glue the eight large tiered petals radially behind it, nestling each between the inner petals.
-
Seal the Backing (04:21–04:34): Cut a small circular foam disc, apply hot glue, and press it firmly over the back center to hide and secure all petal joints.
About "DIYChristmasIDEAS"
She shared only Christmas crafts with always the creative ideas!