
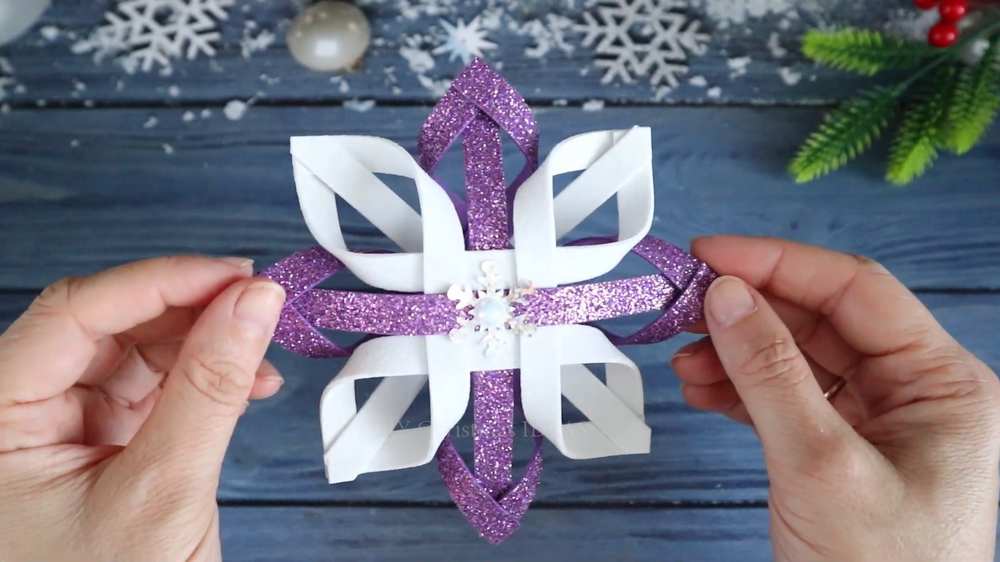
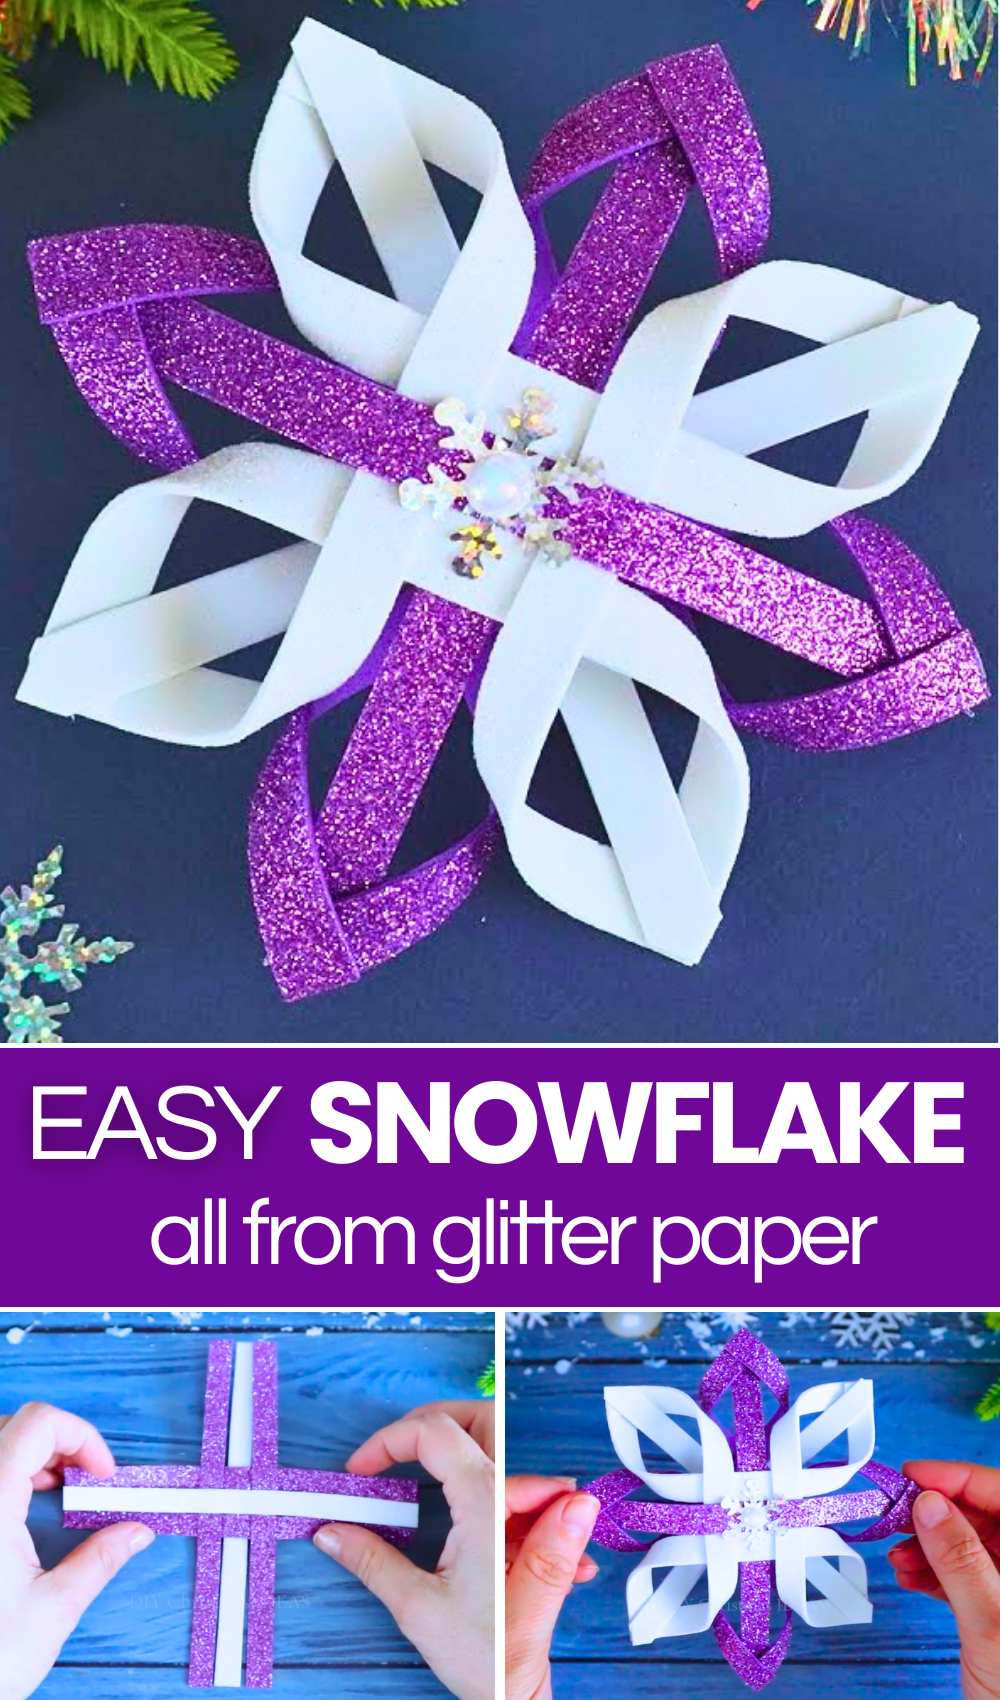
Looking for the easiest yet REALLY elegant foaming sheet snowflake method? Learn how to DIY this beautiful 2-color 8-point glitter sheet snowflake using just rectangular strips and one petal pattern. This snowflake also features a small decorative jewel snowflake button in the middle so you can proudly hang it as a Christmas or New Year ornament, just like a store-bought ornament. It is made from 2 4-point petals that result in alternating petal colors and a beautiful 3D look. Learn how to make this snowflake with the tutorials below!
[ez-toc]

Tutorial to Craft a Foaming Sheet Purple and White Ornament
This project is a glittery snowflake ornament. It is made using purple and white foam strips. The strips are one centimeter wide and fifteen centimeters long. You glue the strips to make a flat grid. You fold the corner strips into loops and glue the tips. You make two stars like this.
You put one star on top of the other star. You pull the straight strips through the loops and glue them down. You use scissors to cut the ends into sharp points. Finally, you glue a small snowflake jewel in the center. It is a very pretty craft for Christmas.
DIY Glitter Foam Snowflake Ornament Guide
Materials Needed:
-
Glitter Foam Sheets: Purple and White (2mm thickness).
-
Adhesive: Hot glue gun.
-
Cutting Tools: Scissors.
-
Centerpiece: A small decorative snowflake gem or button.
Video Tutorial?
Detailed Instructions:
Step 1: Prepare the Foam Strips
Cut your purple and white glitter foam into thin strips. You will need:
-
Dimensions: 1 cm wide and 15 cm long.
-
Quantity: You will need a total of 12 strips (6 for each half of the snowflake). Usually, this consists of 4 white strips and 8 purple strips to create the color contrast seen.
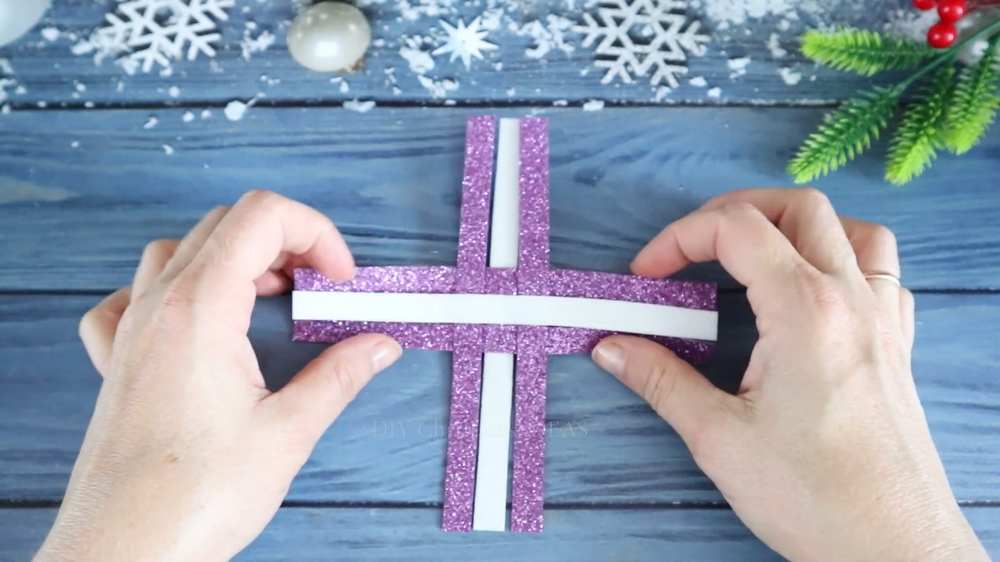
Step 2: Create the First Grid Base
-
Lay one white strip vertically on your workspace.
-
Glue two purple strips parallel to it, one on the left and one on the right.
-
Take a horizontal white strip and glue it across the center of the vertical strips.
-
Glue two purple strips horizontally, one above and one below the center white strip.
-
Note: Ensure you weave the strips (over and under) to create a stable grid, then apply small dots of glue at the intersections to lock them in place.

Step 3: Form the Corner Loops
-
Go to one corner of the grid where two purple strips meet at a right angle.
-
Bend the ends of these two strips toward each other to form a loop.
-
Overlap the tips and secure them with a drop of hot glue.
-
Repeat this for all four corners. You will have a star shape with four loops and four straight strips sticking out from the middle of each side.
Step 4: Create the Second Star
Repeat Steps 2 and 3 exactly to create a second, identical star shape.
Step 5: Assemble the Snowflake
-
Place the first star flat on the table with the glitter side facing down.
-
Place the second star on top of it with the glitter side facing up.
-
Rotate the top star by 45 degrees. The loops of the bottom star should now line up with the straight strips of the top star.
-
Take a straight strip from the top star, thread it through the corresponding loop of the bottom star, fold the end back, and glue it to itself.
-
Flip the whole thing over and repeat this for the remaining straight strips and loops.

Step 6: Shaping the Points
-
Once all points are glued, you will have 8 points consisting of folded foam.
-
Use your scissors to trim the excess foam at the end of each point.
-
Cut them into a sharp V-shape or arrowhead style to give the snowflake a professional, crisp look.
Step 7: Final Decoration
-
Apply a small amount of hot glue to the very center of the snowflake.
-
Press your decorative snowflake gem or jewel into the glue and hold it for a few seconds to set.
Your DIY Glitter Snowflake Ornament is now complete and ready to hang!