Subscribe to zhaidardiy1!
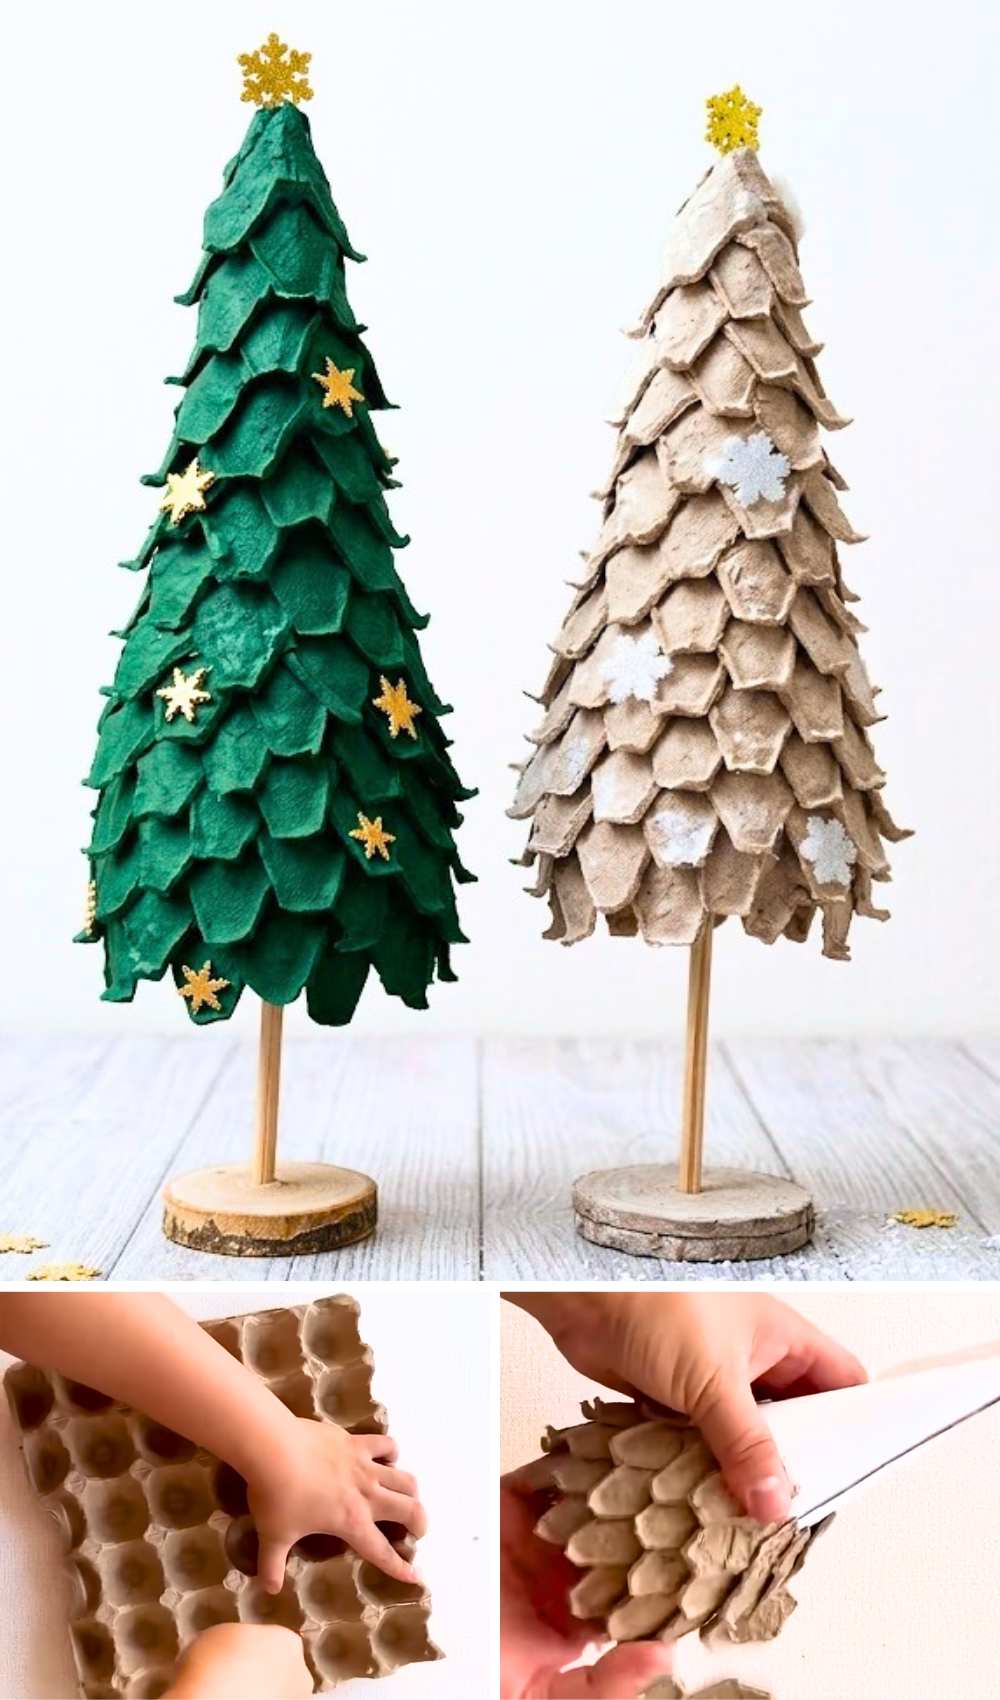
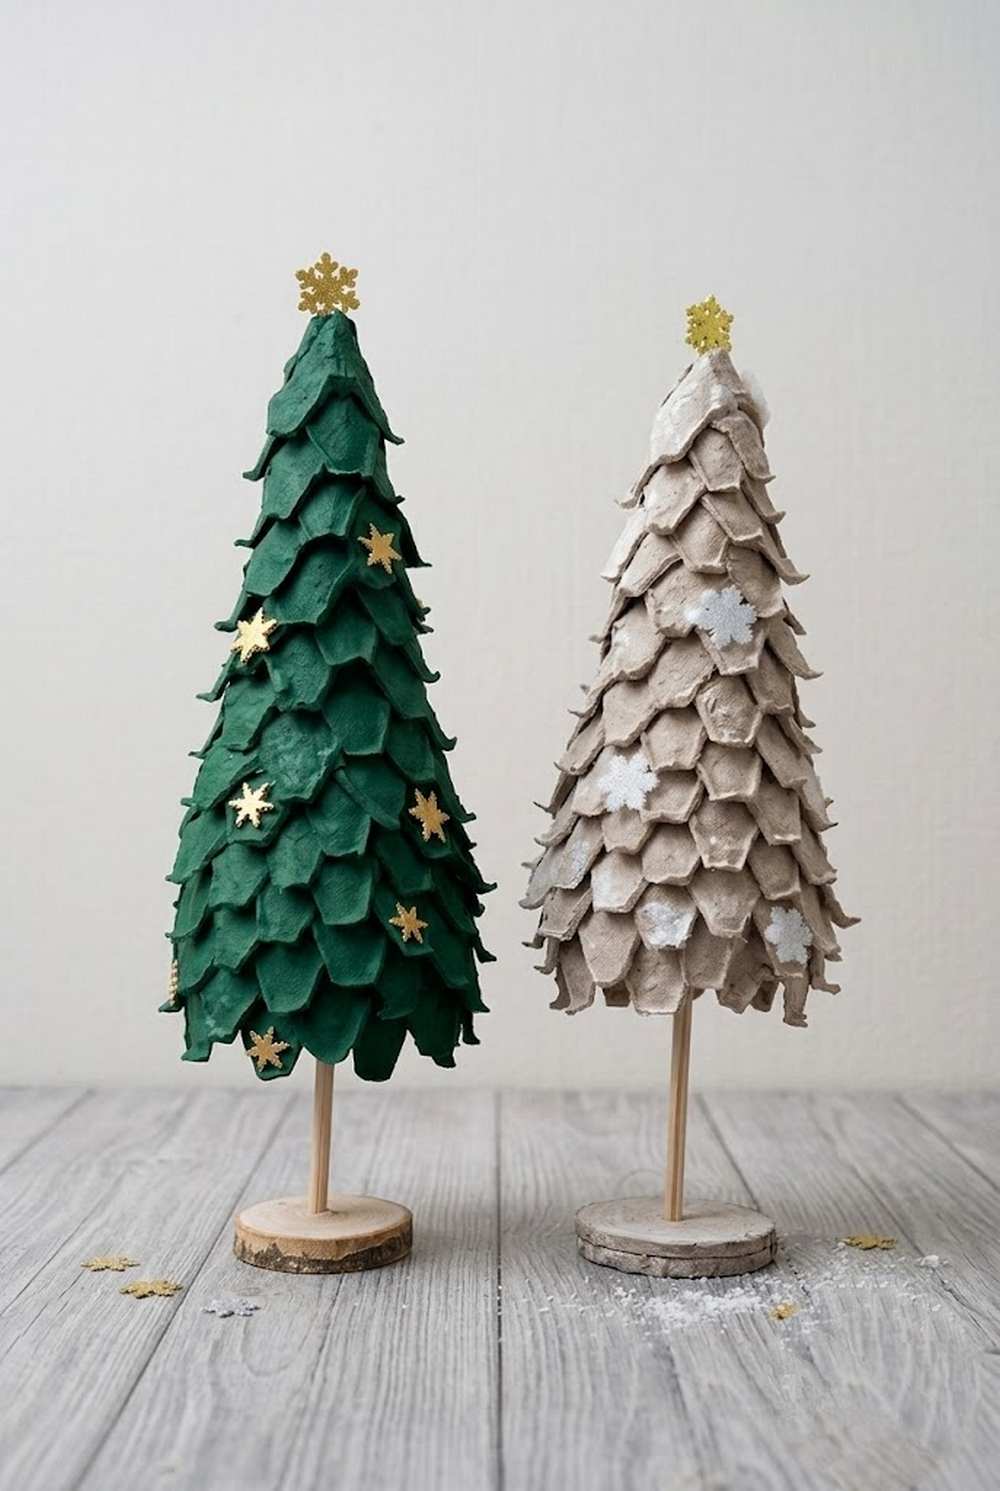
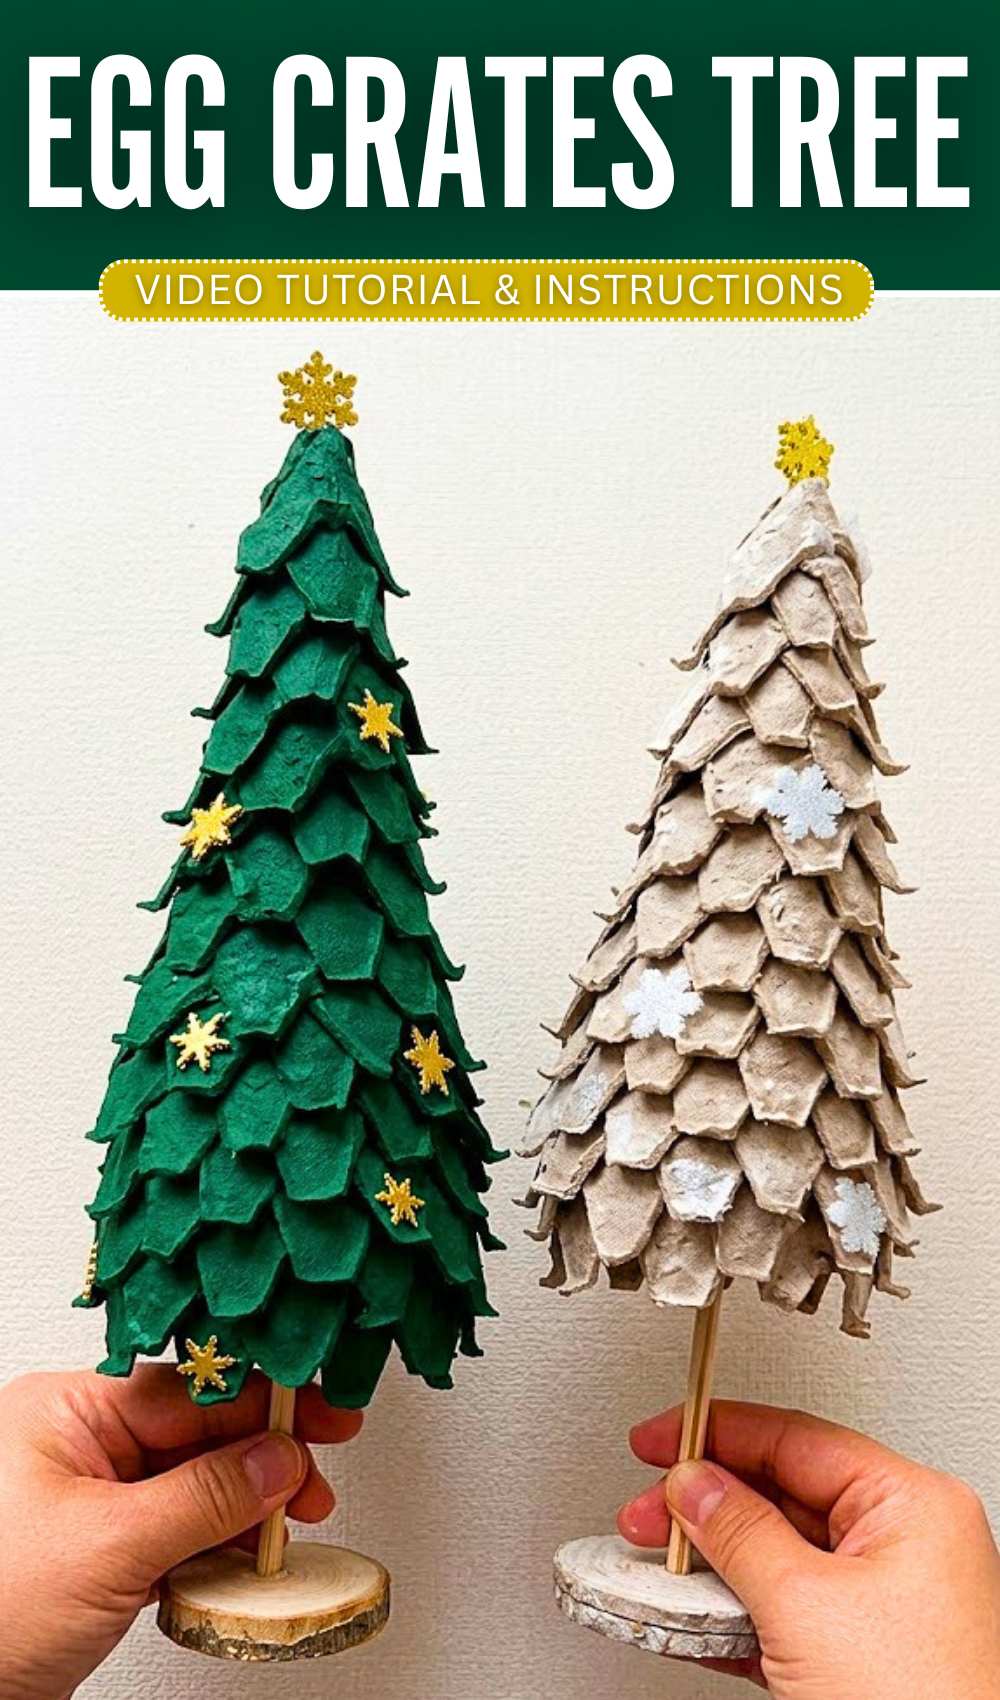
Until now this year, I have only shared tutorials for making a Christmas tree decoration out of NEW materials such as pipe cleaners, yarn, and even felt. But today, I welcome you to this INCREDIBLE upcycling Christmas craft. Introducing the DIY standing Christmas tree table decorations that are made just of old egg cartons, some acrylic paint, and some extra materials like a wooden slice and a dowel to make it stand on your table.
You can also make it without the paint for cottage Christmas decorations and instead just attach the faux golden snowflakes or stars all around. It can also be turned into a Christmas tree ornament and a gift holder.
The idea is to just cut the egg carton hexagonal pieces and layer them just like a pinecone to make this beautiful Christmas tree in less than 30 minutes. You can also decorate it with pink color, jingle bells, and lighting. Now, continue reading to learn how to make it in detail.


Tutorial to DIY a Christmas Tree Table Decoration
This project is about making a small Christmas tree from an egg box. You use an egg box, paper, glue, a stick, and a wood base. First, you cut the egg box into small bits. You trim them to look like leaves. Then you make a paper cone.
You put a stick into a wood base with glue. You put the paper cone on top of the stick. You glue the egg box bits onto the paper cone in rows. You start at the bottom. You move to the top. Then you paint the tree. You can paint it green or white. You add a star on top. It is very easy and fun.
How to Make an Egg Carton Christmas Tree
What you will need:
-
Cardboard egg cartons (about 2–3)
-
A piece of paper (for the cone)
-
A wooden dowel or long skewer
-
A wood slice base
-
A drill (to make a hole in the base)
-
A hot glue gun
-
Scissors and a craft knife
-
Green or white paint and a brush
-
Small star or snowflake decorations
Video Tutorial?
Step-by-Step Instructions
1. Prepare the Egg Carton Pieces
-
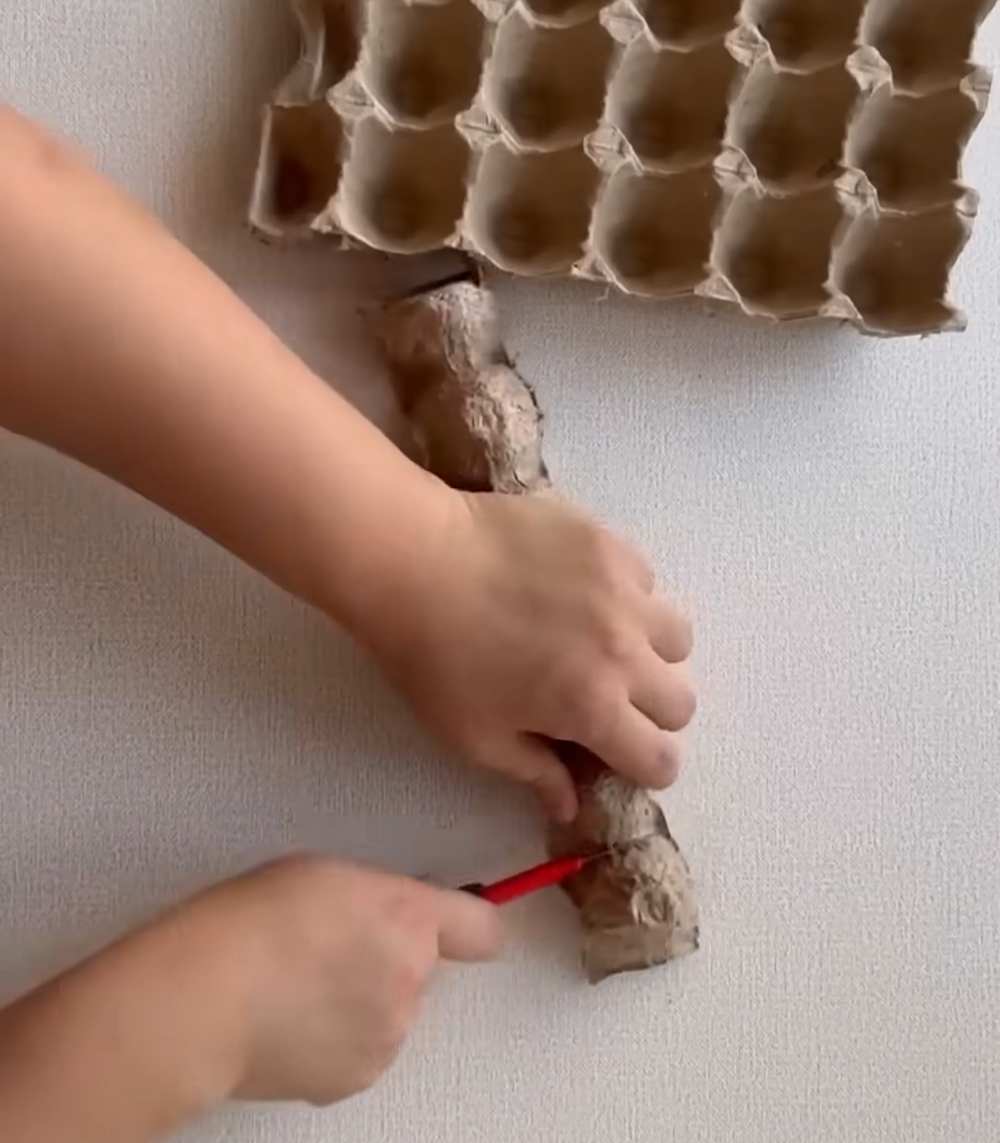
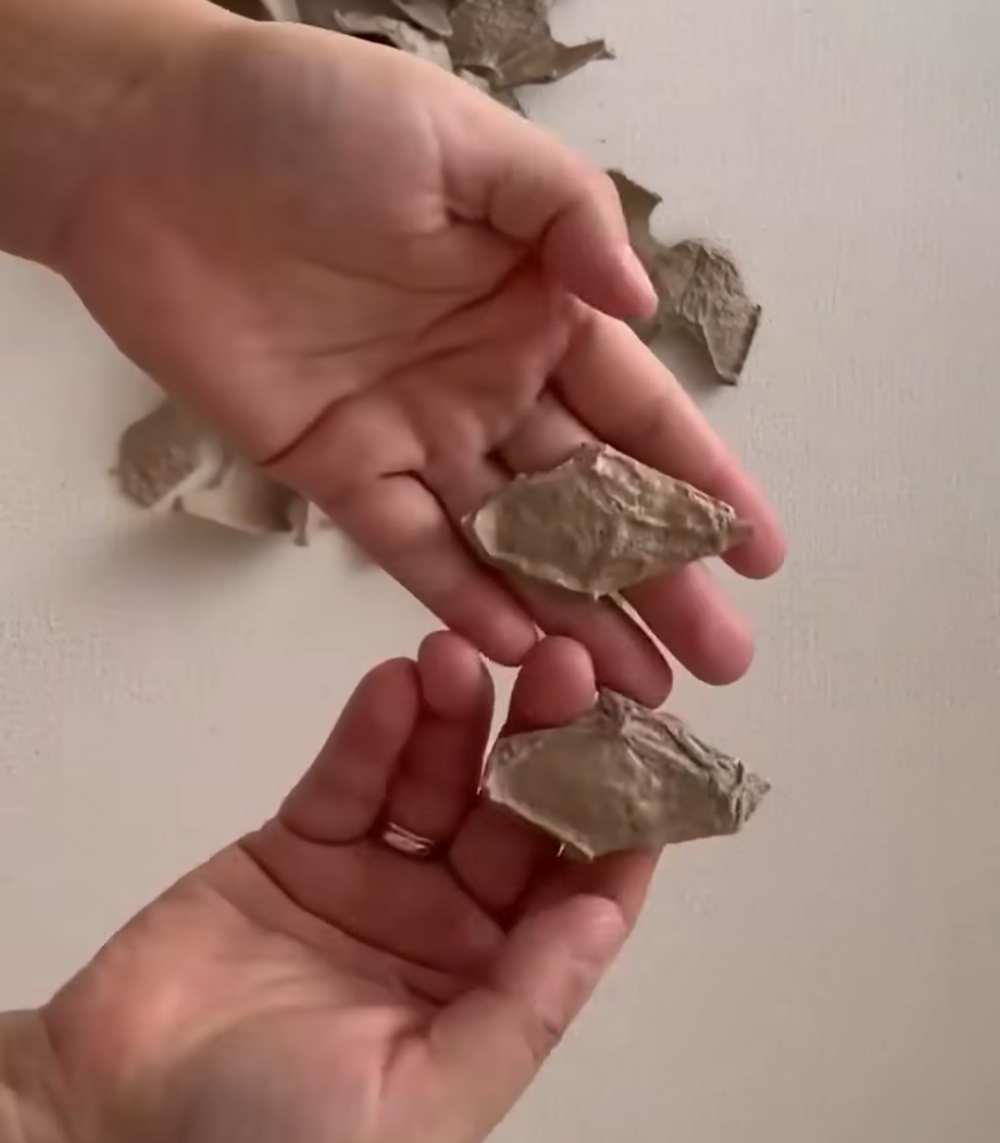
Use your craft knife or scissors to cut out the individual “cups” and the tall “divider” pieces from the egg carton.
-
Trim the edges of each piece so they are shaped like small petals or leaves. These will act as the branches of your tree. You will need a lot of these!
2. Build the Tree Trunk and Base
-
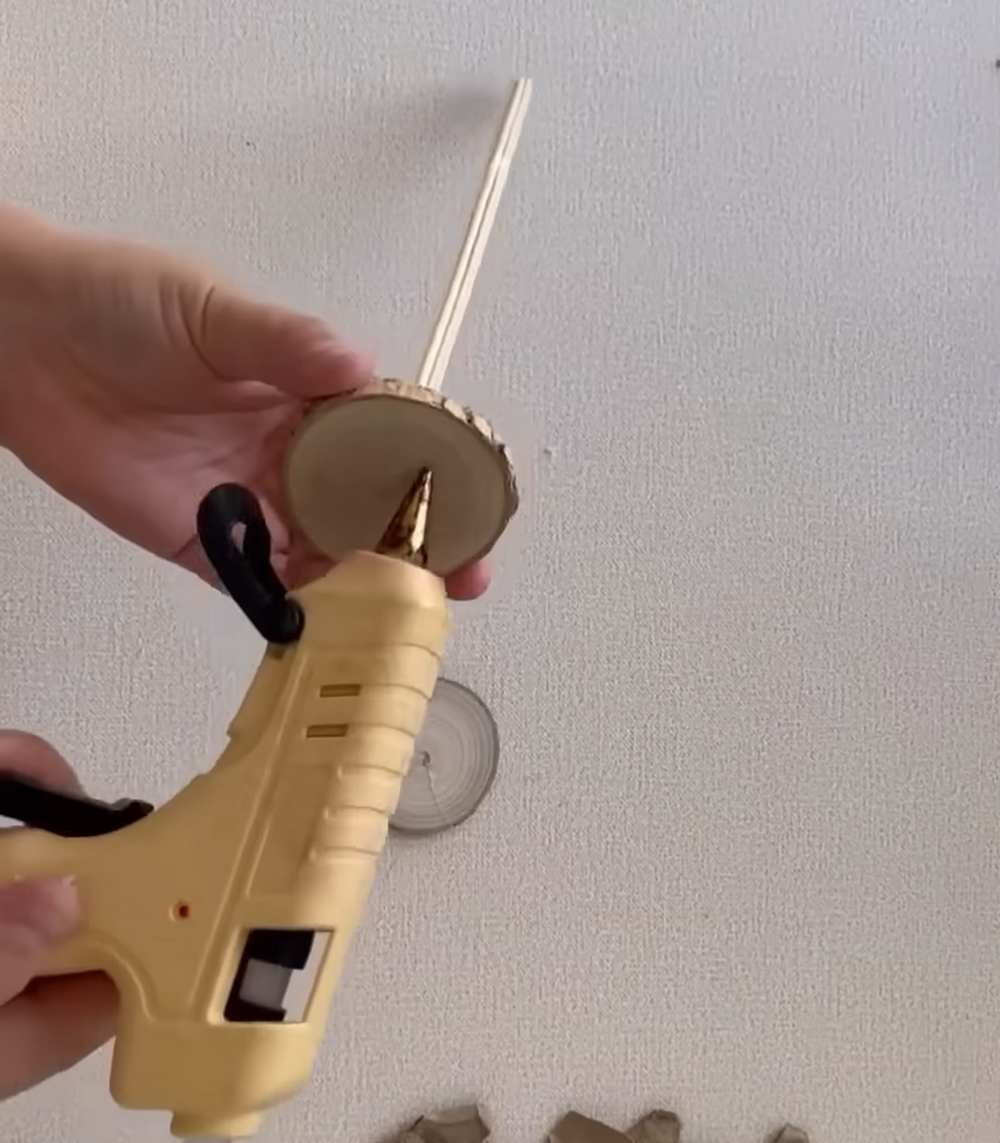
Take your wood slice and drill a small hole in the center.
-
Put a drop of hot glue into the hole and push your wooden dowel inside. Hold it until it is firm and straight.
3. Create the Tree Body (Cone)
-
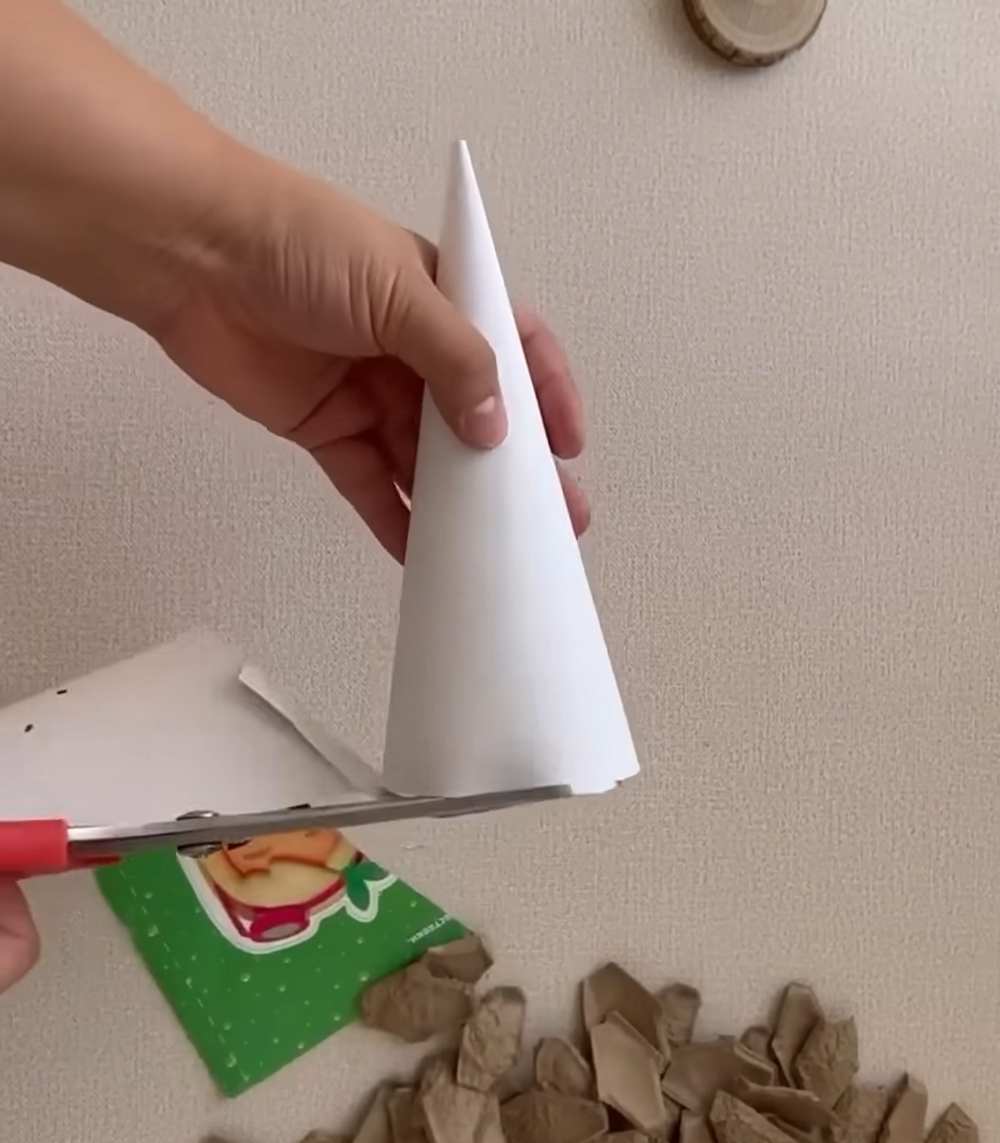
Roll a piece of paper into a cone shape.
-
Glue the edge of the paper to keep the cone shape.
-
Use scissors to trim the bottom of the cone so that it stands perfectly level.
-
Slide the paper cone onto the wooden dowel and glue it at the top so it stays fixed.
4. Attach the Branches
-
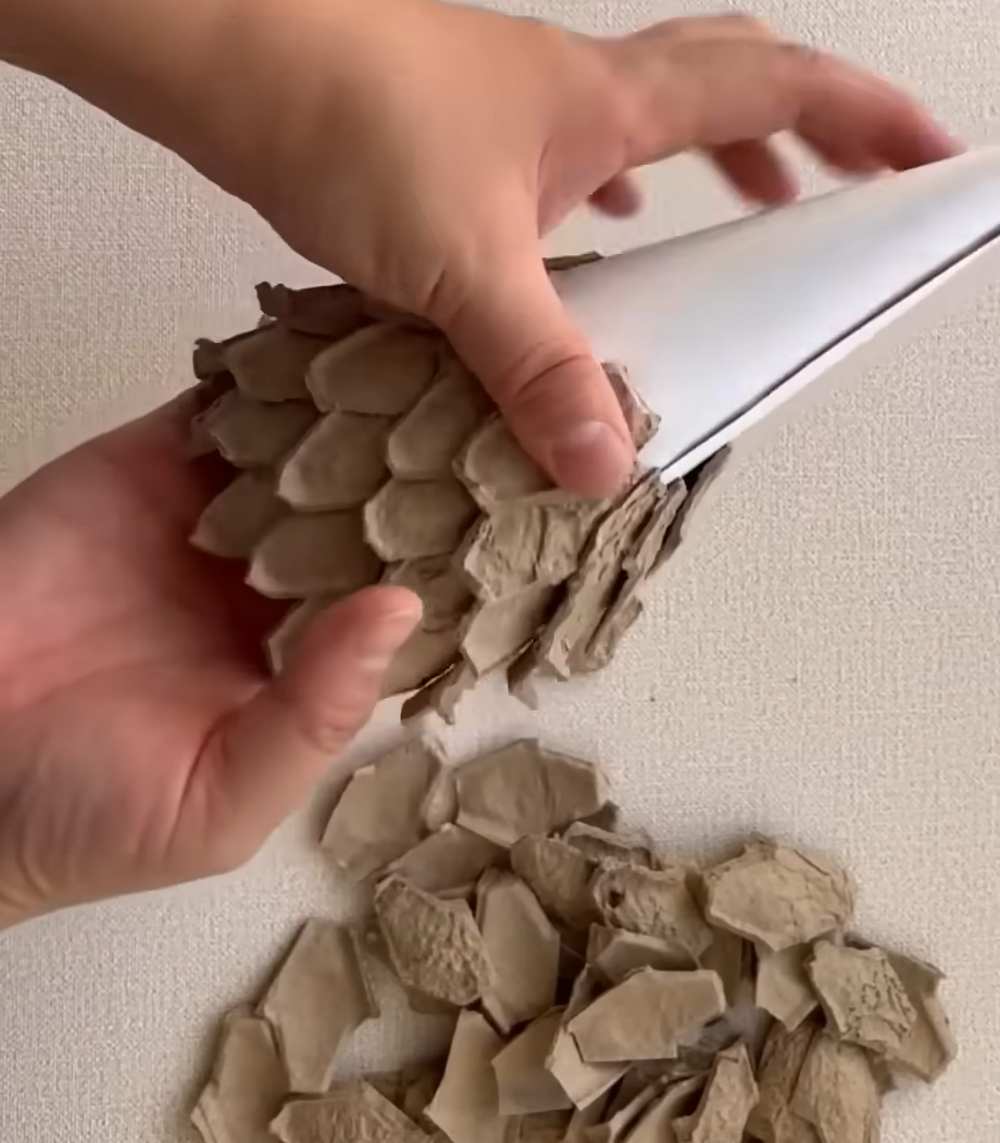
The Bottom Row: Apply hot glue to the top of an egg carton piece and stick it to the very bottom edge of the paper cone. Repeat this in a circle until the bottom layer is finished.
-
Layering Up: Glue the next row of pieces slightly higher than the first row. Make sure the new pieces overlap the ones below them (like shingles on a roof).
-
The Top: Continue layering until you reach the tip of the cone. Use smaller pieces of the carton for the very top to keep it pointy.
5. Painting
-
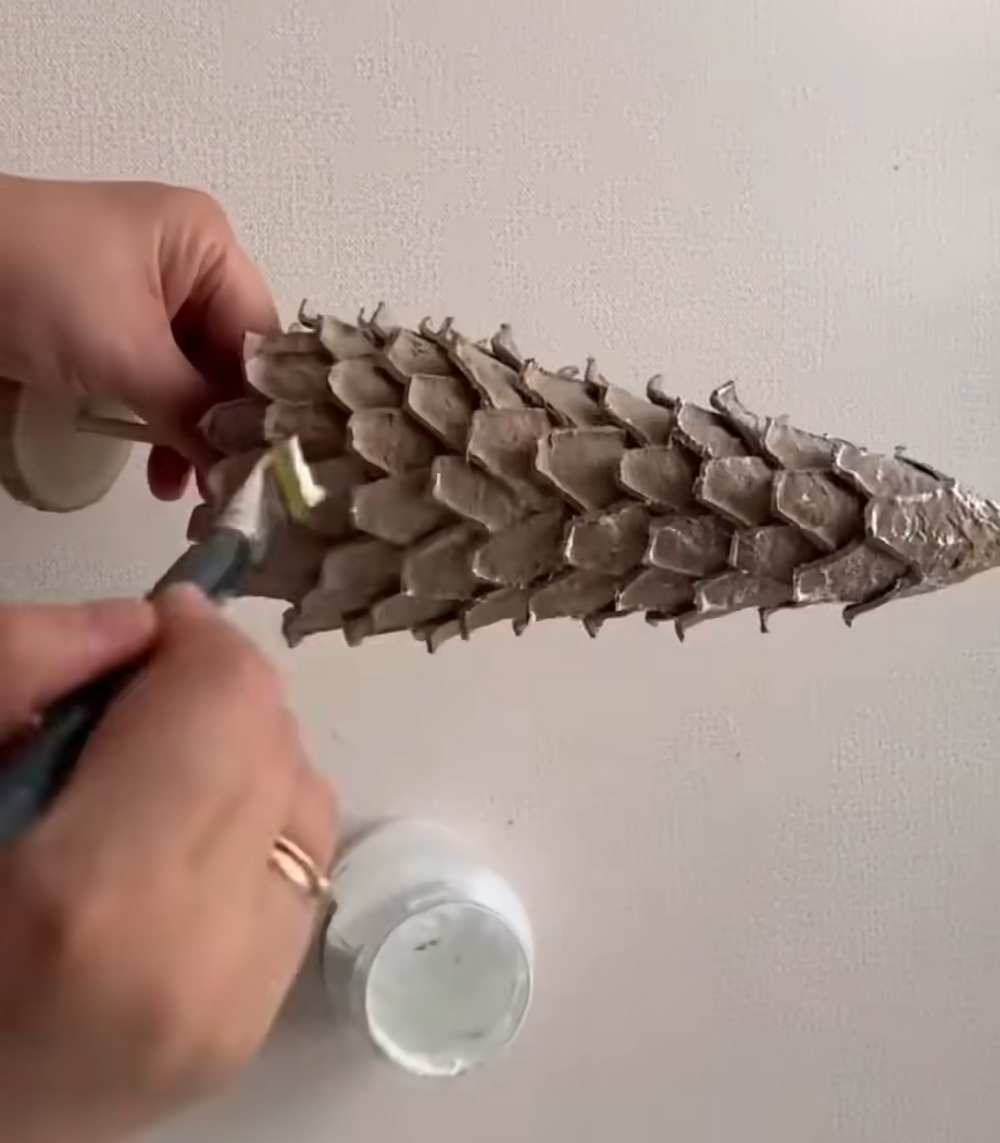
Paint the entire tree. You can use green for a traditional look or leave it plain/brown for a rustic look.
-
For a “snowy” effect, take a brush with a little bit of white paint and lightly dab the tips of the “branches.”
6. Add Decorations
-
Use hot glue to stick small gold stars or white snowflakes all over the tree.
-
Glue a larger star or snowflake to the very top.
Your egg carton Christmas tree is now finished! You can make several of these in different sizes and colors to create a mini winter forest.