
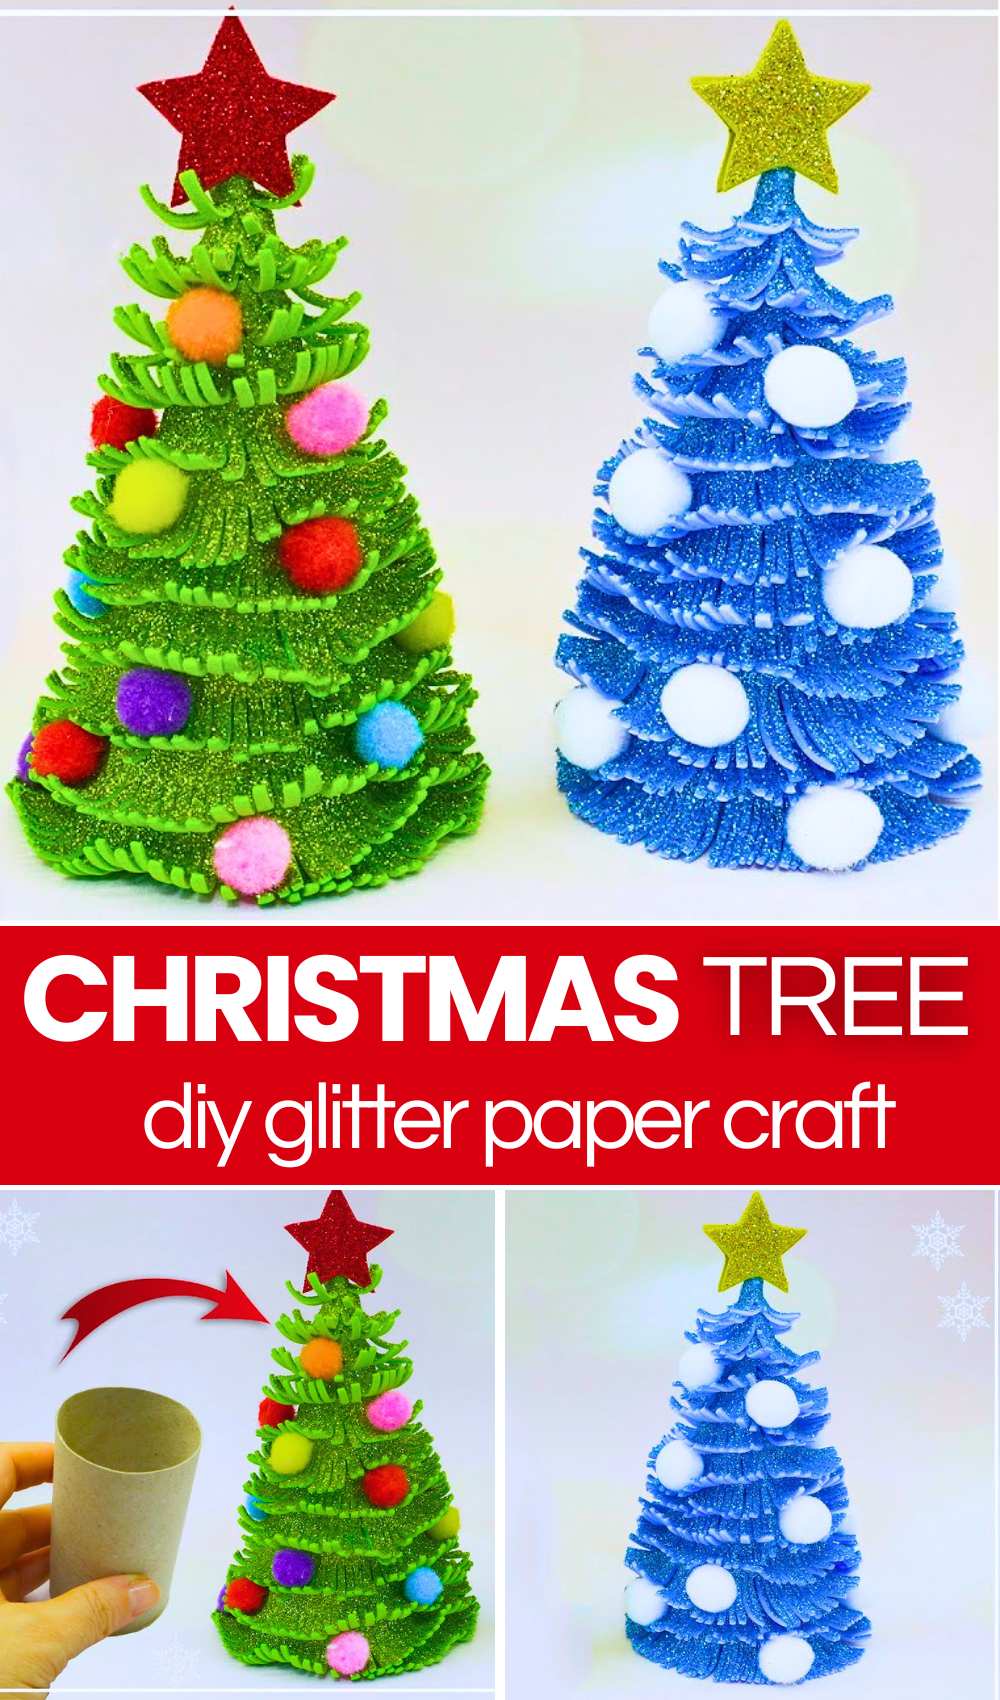
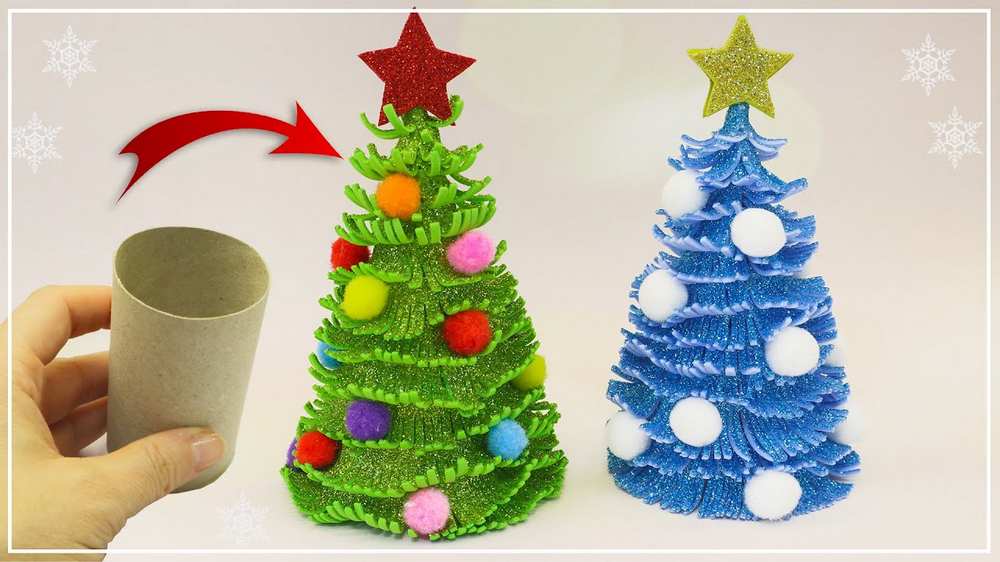
In today’s DIY Christmas tree miniature decorations tutorial, learn how to craft a glittery Christmas tree using a recycled cardboard tube and glitter foam sheets. Makes a festive holiday tabletop, desk, or mantel display and you can choose from the blue and green variations. You can make yours with the same pom-poms in many colors as lighting!
The cardboard roll is reshaped into a sturdy cone base, then layered with heat-curled fringed foam strips to create tiered pine needles. It is finished with a toothpick-mounted glitter star topper and colorful mini pom-pom ornaments.

Uses:
-
Centerpiece accents for holiday village displays.
-
Handmade seasonal gifts, party favors, or stocking stuffers.
-
Fun, budget-friendly winter holiday crafting project for school or home.
Difficulty Level
Level: Easy (Beginner)
Reasoning:
The craft relies on simple everyday techniques: cutting straight slits, rolling cardboard into a cone, and adhering parts with hot glue. The only step requiring caution is pressing the foam against an iron to curl the fringe, which requires careful handling to prevent burns and needs adult supervision if done with children.
Materials
-
Cardboard toilet paper roll
-
Green glitter foam sheets (cut into 2 cm wide strips)
-
Red glitter foam sheet (for the star)
-
Miniature multicolored craft pom-poms
-
Wooden toothpick
-
Hot glue gun and glue sticks
-
Scissors
-
Craft tweezers
-
Electric clothes iron (for thermal curling)
Folds and Shaping Techniques
-
Conical Rolling: Slitting the cardboard tube lengthwise and rolling it diagonally into an overlapping cone.
-
Base Trimming: Beveling the lower edge of the cone into a flat circular plane so it stands upright.
-
Fringing: Cutting dense, parallel fringe slits along one edge of the foam strips.
-
Thermal Heat-Curling: Pressing the fringe edge directly onto a warm iron soleplate so the foam relaxes and curls upwards.
-
Spiral Wrapping: Winding the curled strips around the cone in an ascending overlap.
-
Sandwich Assembly: Enclosing the toothpick support between two identical star cutouts using adhesive.
Step-by-Step Frame Guide
-
Build the Cone Base (00:10 – 00:51):
Cut the cardboard toilet paper roll open lengthwise with scissors. Roll the cardboard tightly into a tapered cone shape, secure the overlapping seam with hot glue, and snip away the irregular bottom excess so the cone stands stably upright. -
Fringe the Glitter Foam (00:52 – 01:18):
Cut several strips of green glitter foam measuring 2 cm in width. Use scissors to snip tiny, closely spaced parallel slits along one edge of each strip to create a long fringe border, leaving the top edge uncut. -
Heat-Curl the Branches (01:19 – 02:04):
Carefully hold the fringed foam strip against the heated soleplate of an iron. As the heat hits the foam, the fringe tips will bend and curl outwards naturally. Repeat across all strips. -
Wrap the Tree Layers (02:05 – 03:16):
Apply hot glue around the bottom rim of the cardboard cone. Press the uncut margin of a curled strip against the base, with the curls curving outwards. Spiral the fringed strips upward around the cone, adding glue as you ascend until the cone is completely covered. -
Attach Top Stem and Finish Apex (03:17 – 03:47):
Insert the blunt end of a wooden toothpick into the top peak of the cone and secure it with hot glue. Wrap the final piece of curled foam tightly around the base of the toothpick to neatly cover the cone tip. -
Seal the Bottom Base (03:48 – 04:06):
Turn the tree upside down, apply a ring of hot glue along the inside base rim, and affix a circular piece of green glitter foam to seal the hollow bottom. -
Make the Tree Topper (04:07 – 04:33):
Cut out two identical red glitter stars. Apply hot glue to the exposed top tip of the toothpick, sandwich the toothpick between the two star pieces, and press them firmly together. -
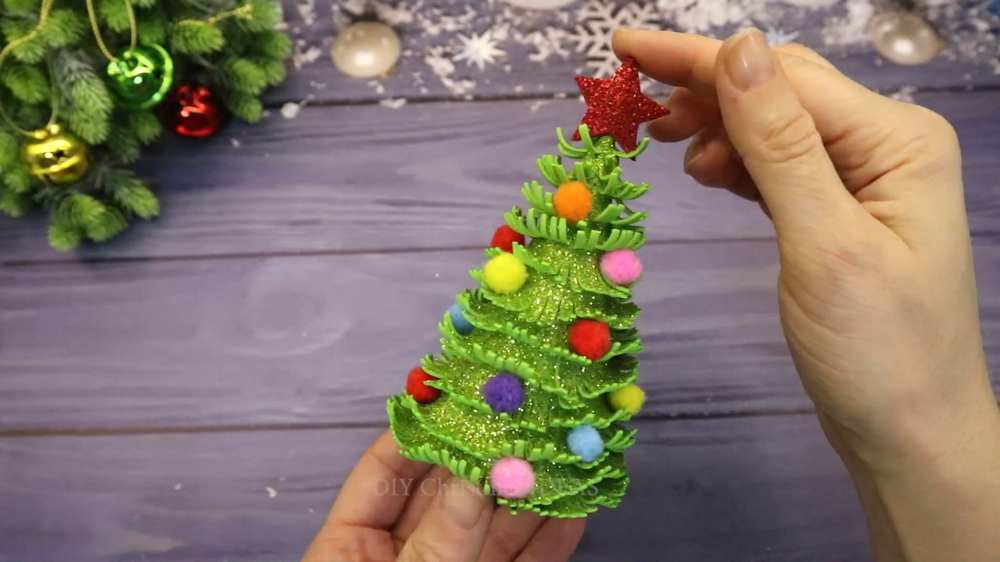
Decorate with Baubles (04:34 – 05:03):
Using craft tweezers, pick up mini colorful pom-poms, add a small dot of hot glue to each, and press them onto various branch layers around the tree to complete the ornament.
