Show support for @CUTEASYDIY!
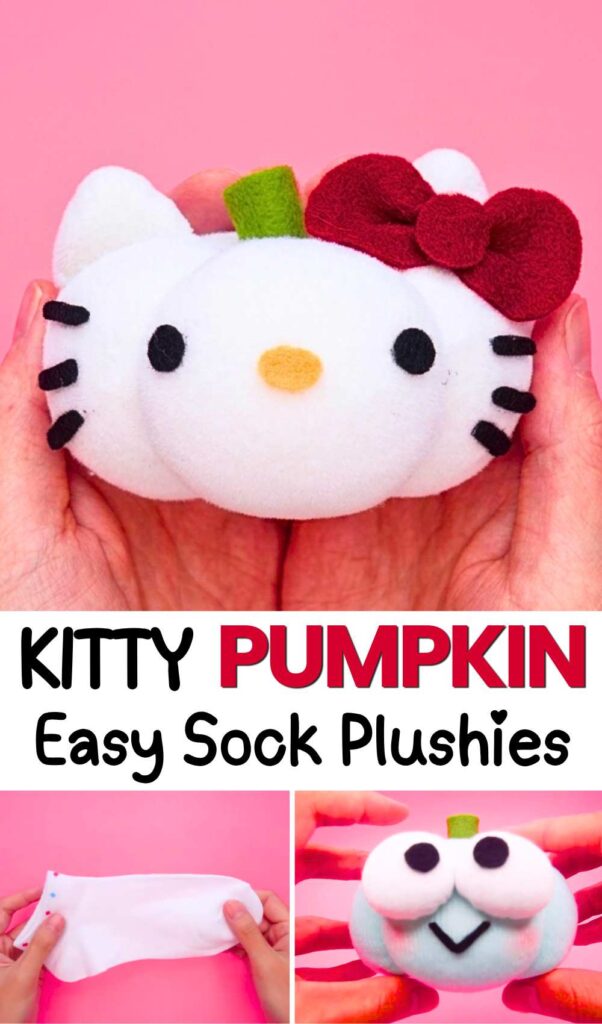
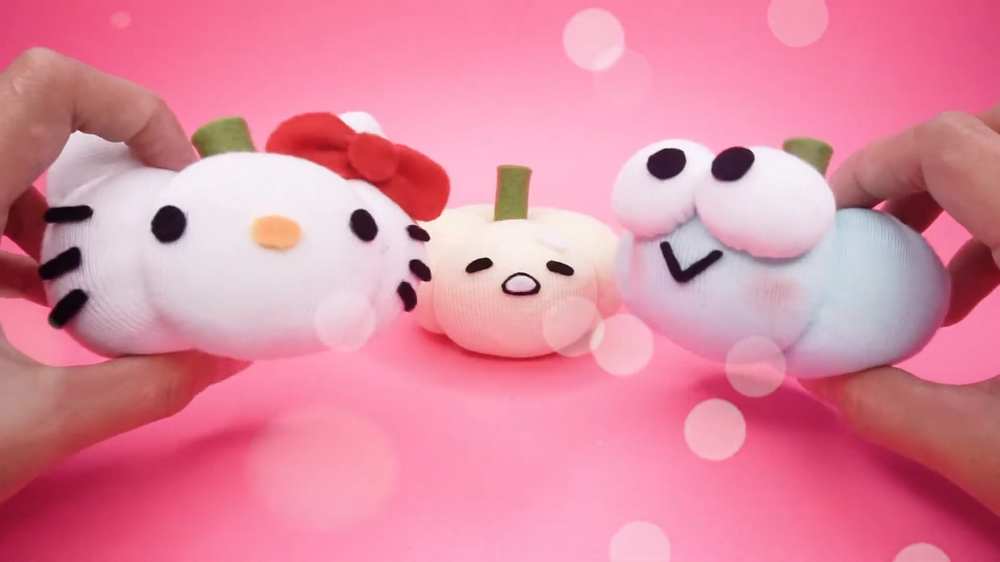
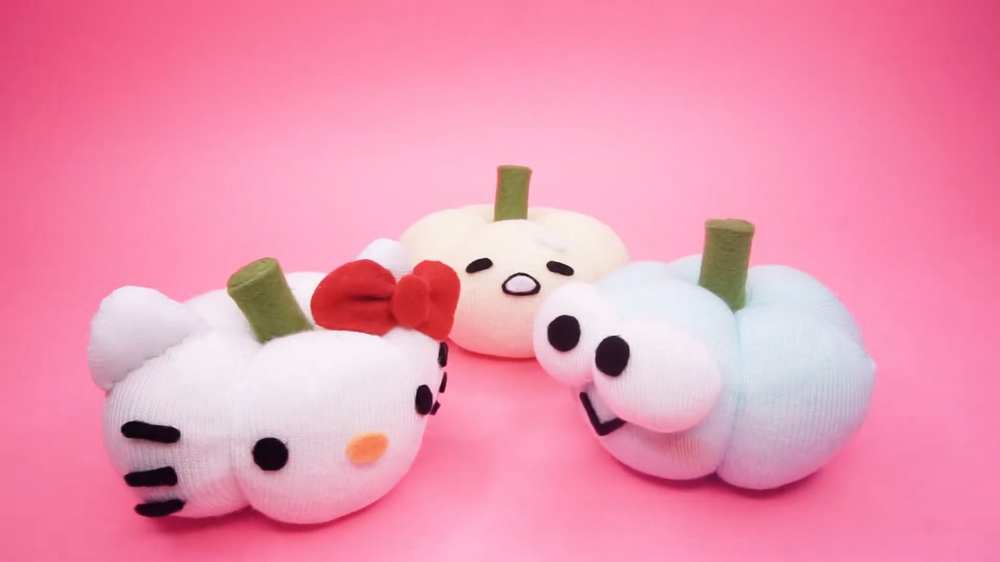
With this 3-in-1 featured tutorial, learn how to make 3 UNIQUE pumpkins! These include a Hello Kitty, a Keropi, and a Gudetama, all based on the same ridged pumpkin plushie in white. This method, unlike all others I have discussed in this blog (made out of a velvet fleece square), is “how to make a pumpkin out of a sock.” These are irresistible Halloween cosplay presents for Sanrio and viral arts lovers.
Character Pumpkin Plushies
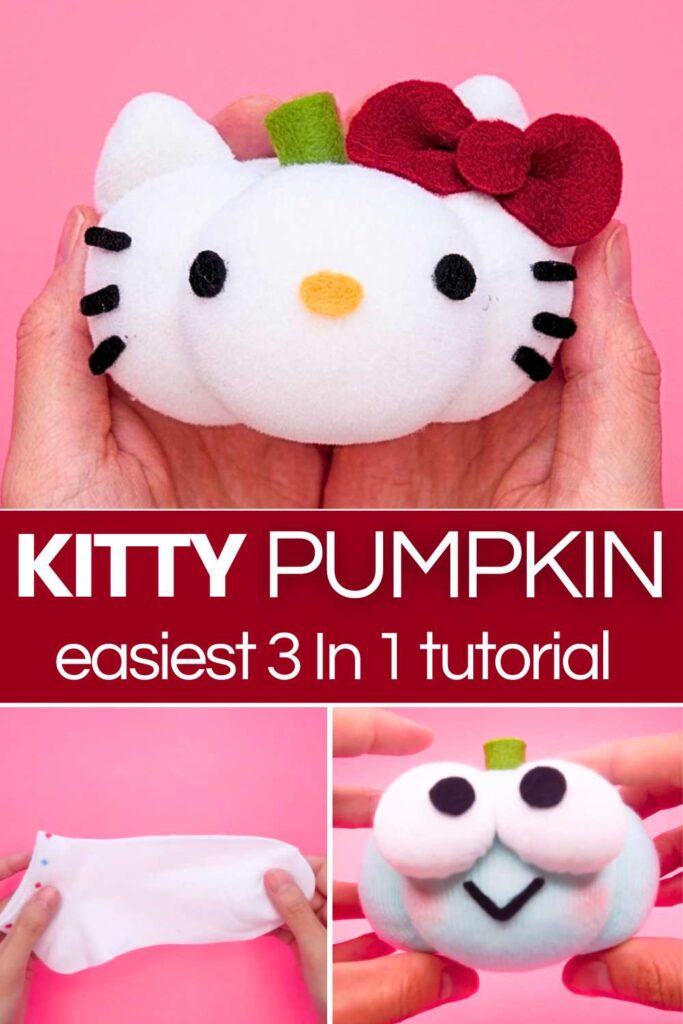
While the base is the same, we shall also make separate parts for the pumpkin characters, such as the bow for Hello Kitty and big stuffed eyes for the Gudetama and more. You will like all the variations of these pumpkin characters.
This is much CUTER than all the crochet pumpkin plushies I have shared patterns for this year. DIYing this stuffed pumpkin is easy and quick, so be sure to make all the pumpkin character variations. I especially love the Sanrio pumpkin variation. Yours might be a Gudetama, but I hope you will love this pumpkin. So, continue reading to learn more about this Halloween cosplay pumpkin project.
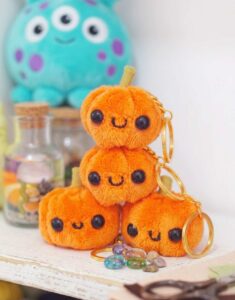
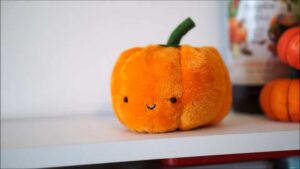
Materials Needed:
-
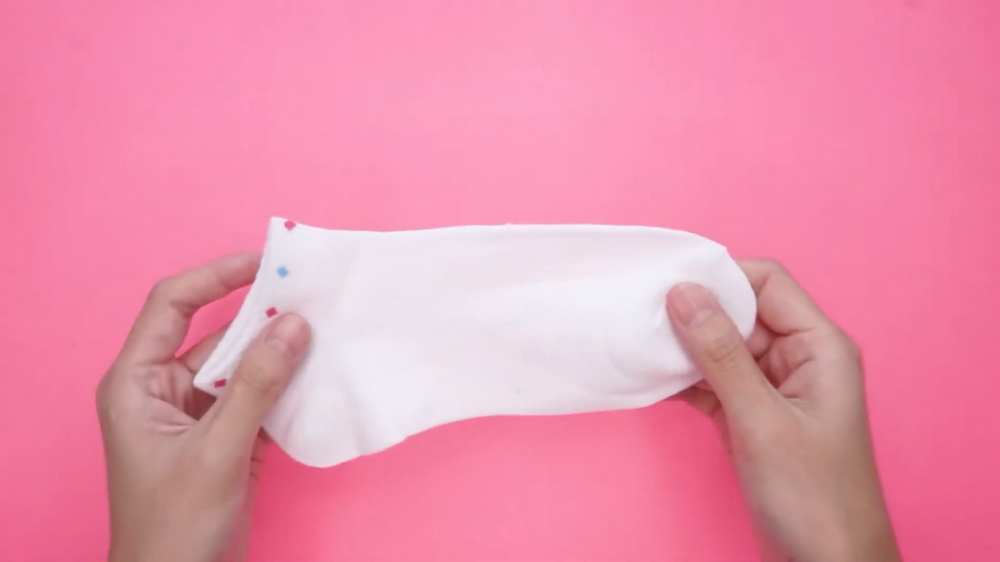
Socks: White (for Hello Kitty/Gudetama) or Light Blue/Green (for Keroppi).
-
Pillow Stuffing: Polyester fiberfill.
-
Felt Fabric: Green (stem), Red (bow), Black (eyes/whiskers), Yellow (nose).
-
Sewing Tools: Needle, white thread, and pins.
-
Crafting Tools: Scissors, fabric glue (like UHU), and a marker.
-
Optional: Pink blush and a makeup brush (for Keroppi).
Tutorial to Make A Character Pumpkin
Learn how to make the plush pumpkin in detail
Phase 1: Creating the Pumpkin Body
This process is the same for all three characters.
-
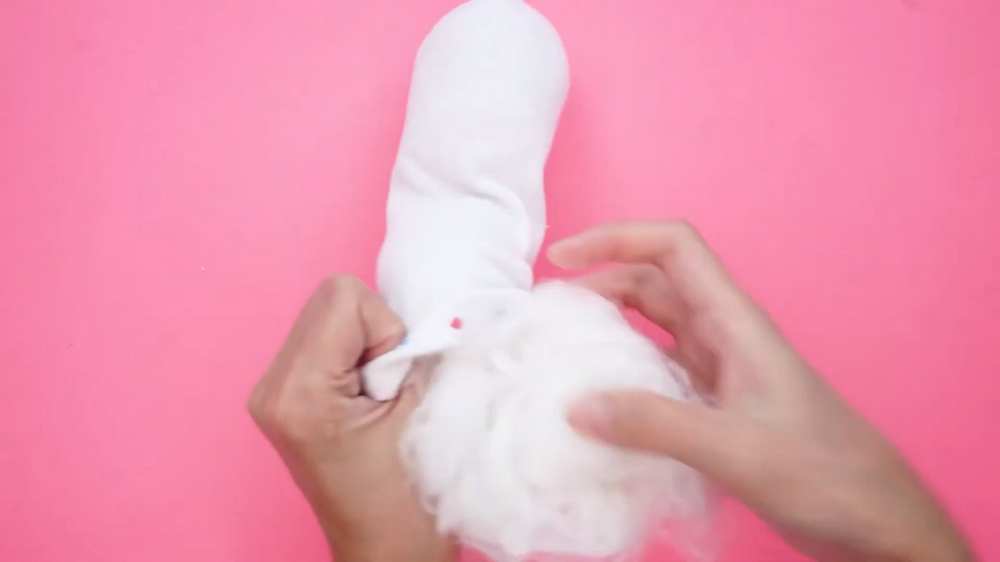
Stuff the Sock: Take a clean sock and fill the toe section with a generous amount of pillow stuffing until it forms a firm, round ball.
-
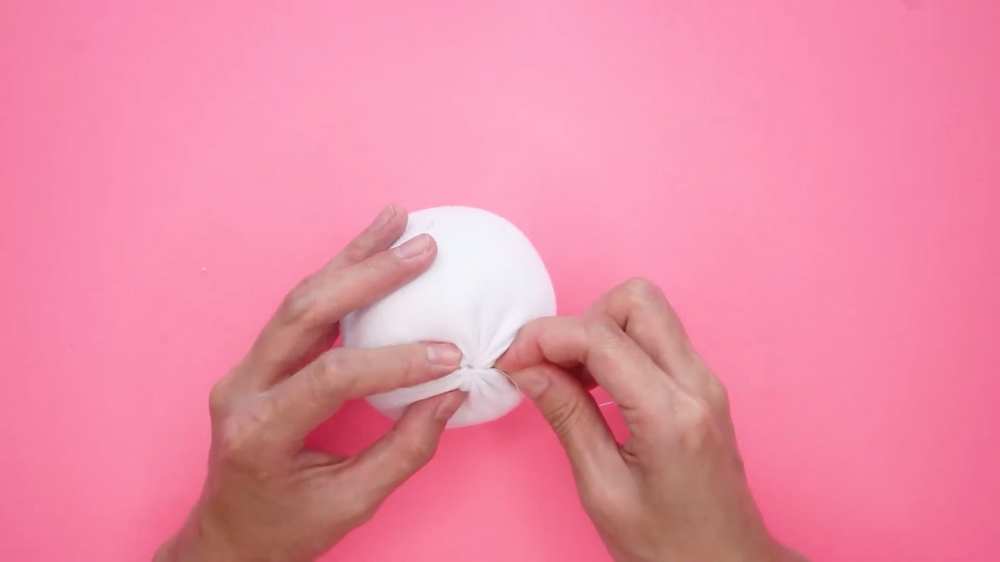
Seal the Sock: Tie or sew the opening shut, pressing it tightly against the stuffing. Cut off the excess sock material, leaving a small “tail.”
-
Secure the Closure: Use a needle and thread to stitch the gathered opening closed, ensuring no stuffing can escape.
-
Create the Pumpkin Segments:
-
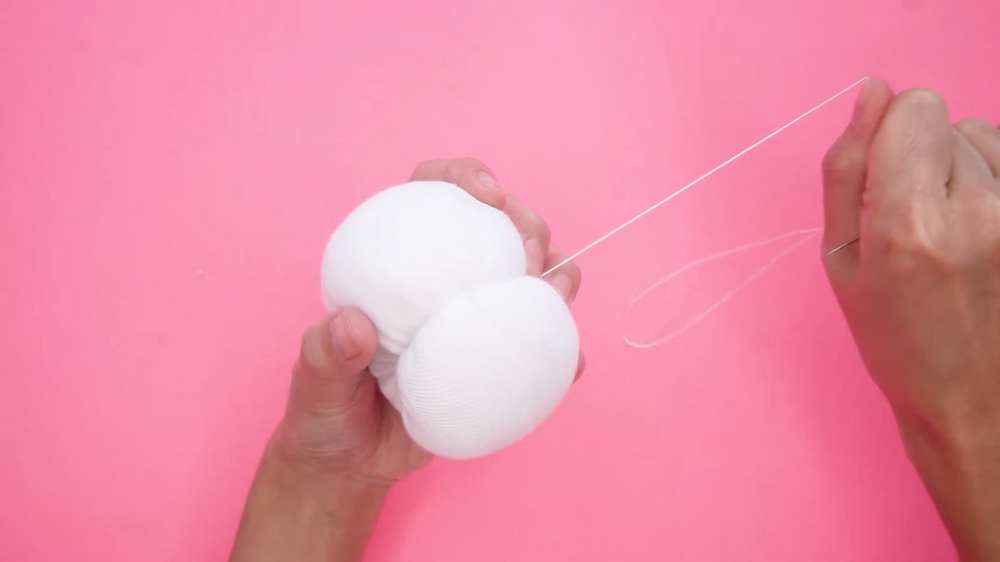
Thread a long piece of white thread through your needle and knot the end.
-
Insert the needle through the center bottom of your stuffed ball and pull it out through the center top.
-
-
-
Wrap the thread around the outside of the ball, re-insert the needle through the bottom, and pull it tight. This creates one “rib” of the pumpkin.
-
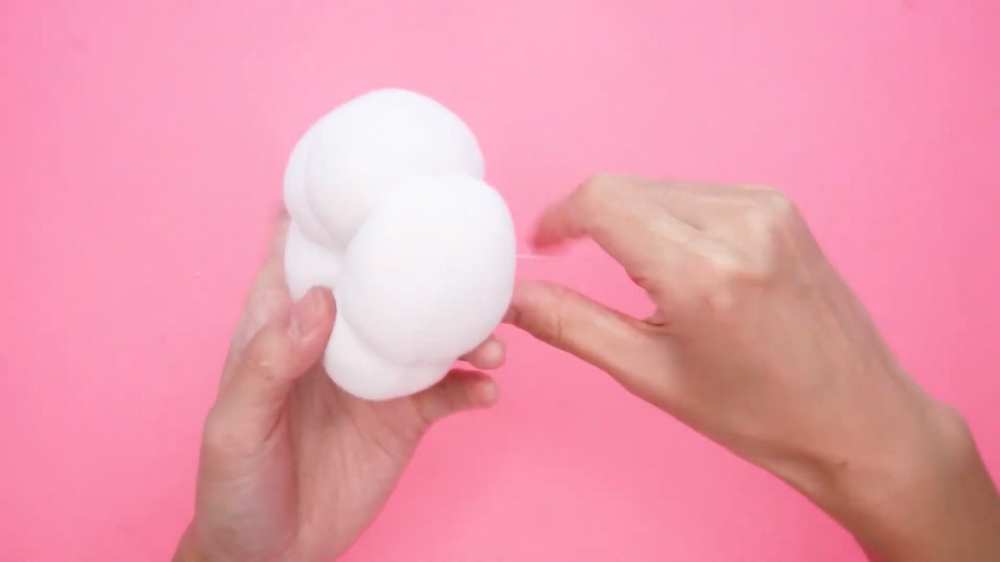
Repeat this process until you have created 5 or 6 equal segments. Knot the thread securely at the bottom and trim.
-
Phase 2: Hello Kitty Customization
-
Make the Ears:
-
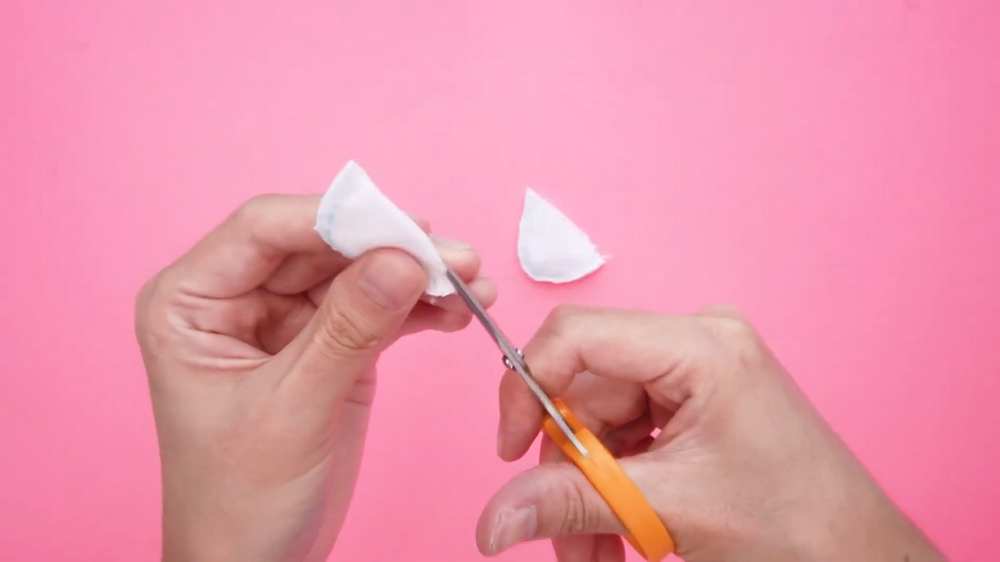
On a scrap piece of white sock, draw two semi-circle ear shapes.
-
Sew along the curved line, then cut them out.
-
-
-
Turn them inside out so the seam is hidden.
-
Add a tiny bit of stuffing to each ear and sew the bottom edge shut.
-
-
Attach the Ears: Pin the ears to the top of the pumpkin (near the center) and sew them onto the body using a ladder stitch.
-
Prepare the Face:
-
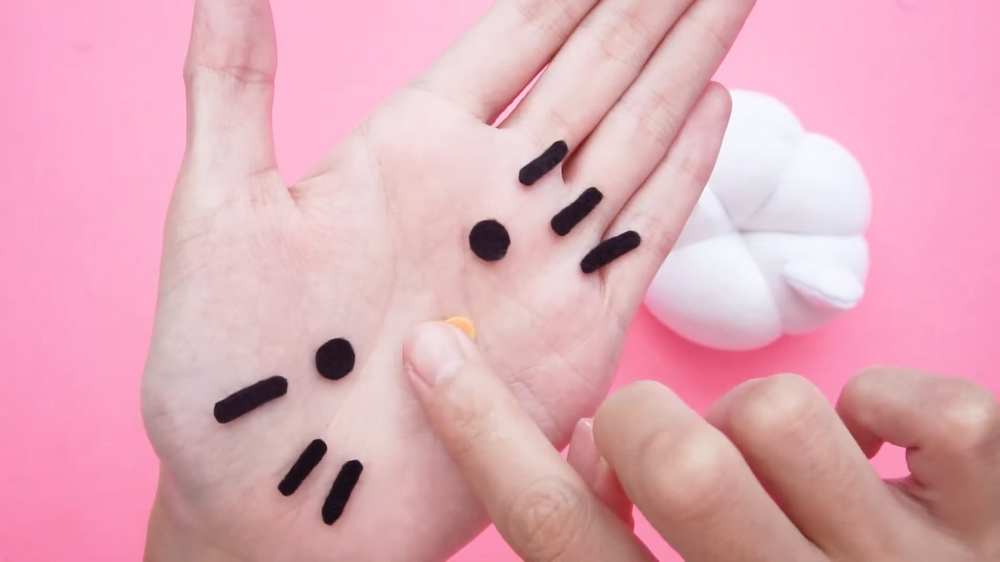
Cut two small ovals from black felt for the eyes.
-
Cut six thin strips from black felt for the whiskers.
-
Cut one small yellow oval for the nose.
-
-
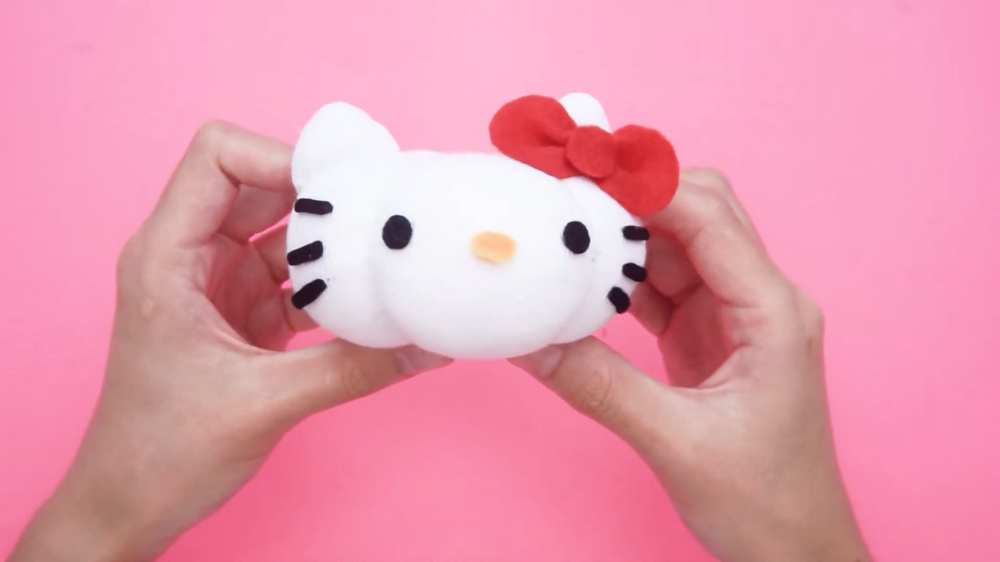
Assemble the Face: Use fabric glue to attach the nose in the center, the eyes slightly above the nose, and the whiskers on the sides.
-
The Iconic Bow:
-
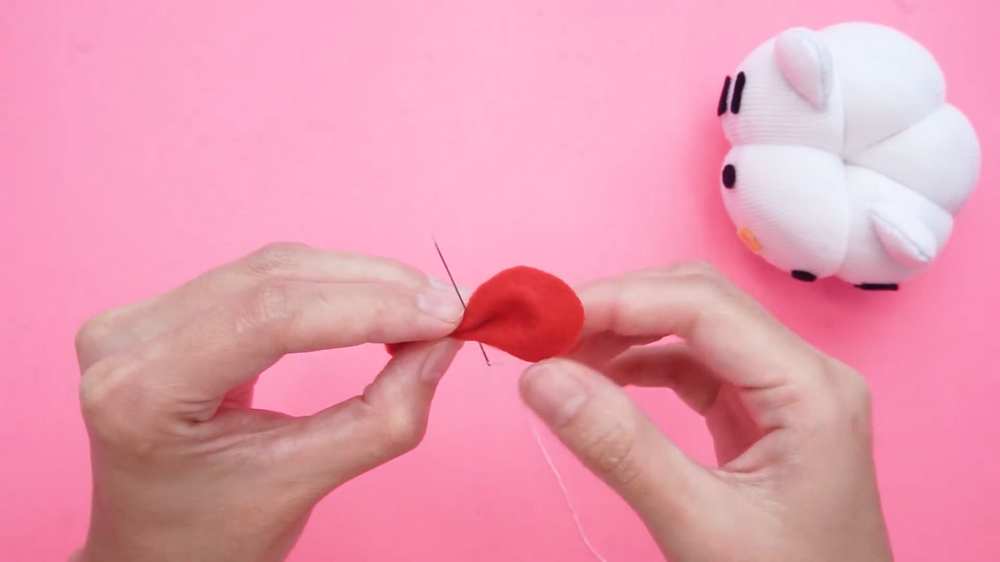
Cut a red rectangle of felt and round the corners.
-
-
-
Pinch the middle and wrap a thread around it (or sew a few stitches) to create the bow shape.
-
Glue a small red circle in the center. Glue the finished bow near one ear.
-
-
Add the Stem: Cut a strip of green felt (approx. 8cm x 2cm). Roll it up tightly, gluing as you go to create a cylinder. Glue this to the very top center of the pumpkin.
Phase 3: Character Variations
For Gudetama:
-
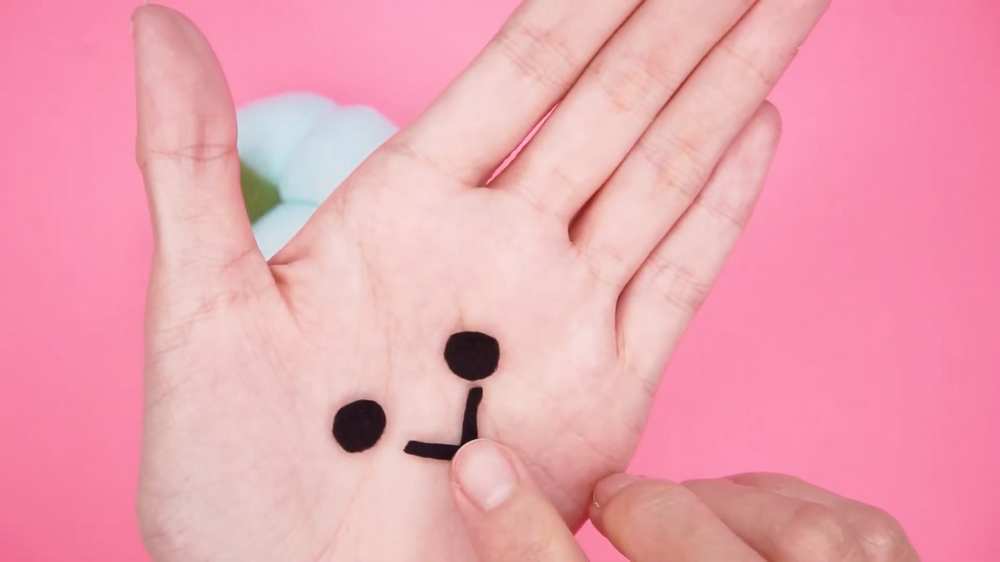
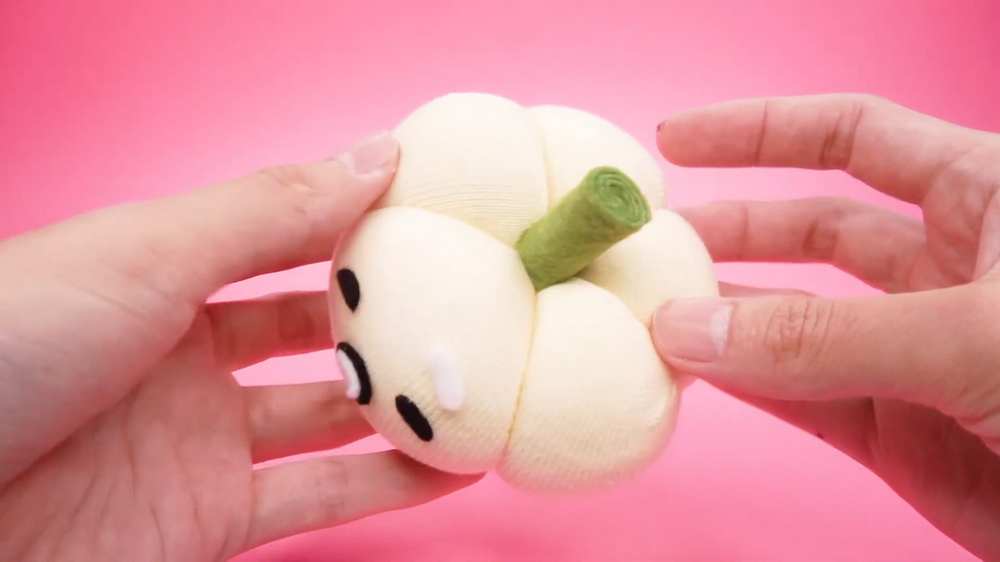
Face: Instead of ears and a bow, cut a black felt mouth shape with a tiny white felt “drool” or “tongue” detail inside. Glue on two small, lazy-looking black oval eyes.
-
Stem: Add the green stem as usual.
For Keroppi:
-
Base: Use a light blue or green sock for the pumpkin body.
-
Big Eyes:
-
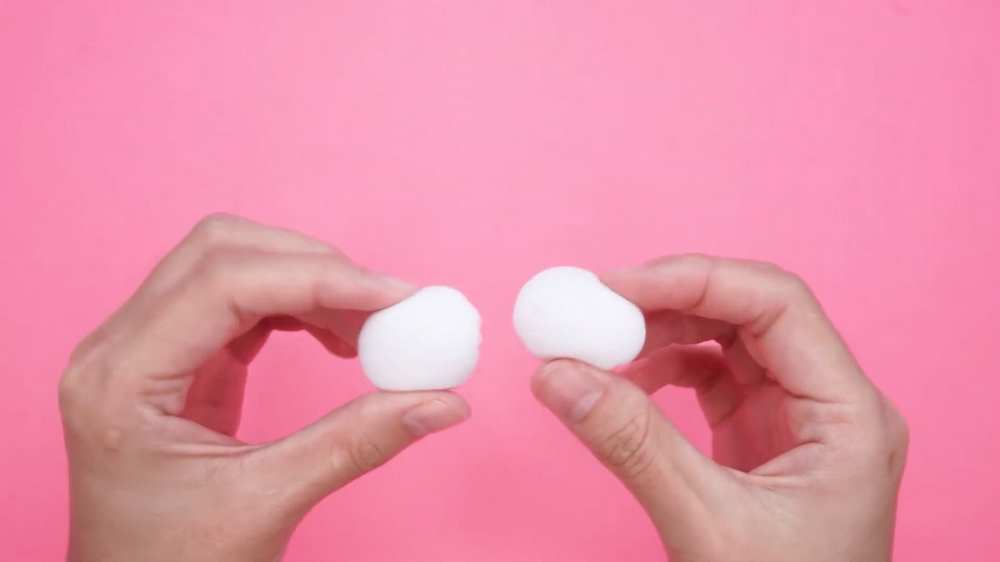
Cut two circles from a white sock.
-
-
-
Stitch around the edges, pull tight to gather, add stuffing, and close to make two small white “poufs.”
-
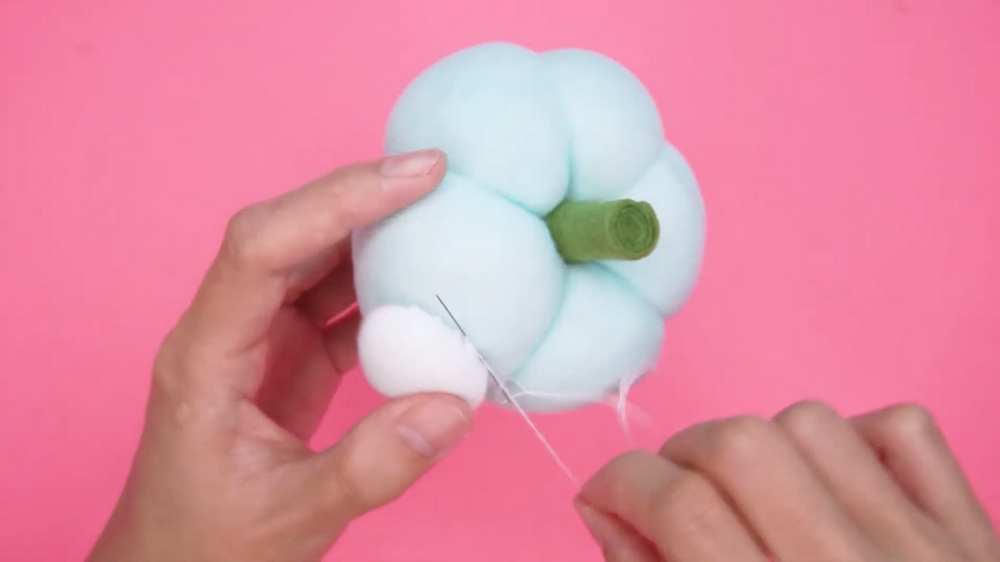
Sew these large eyes onto the front top of the pumpkin.
-
-
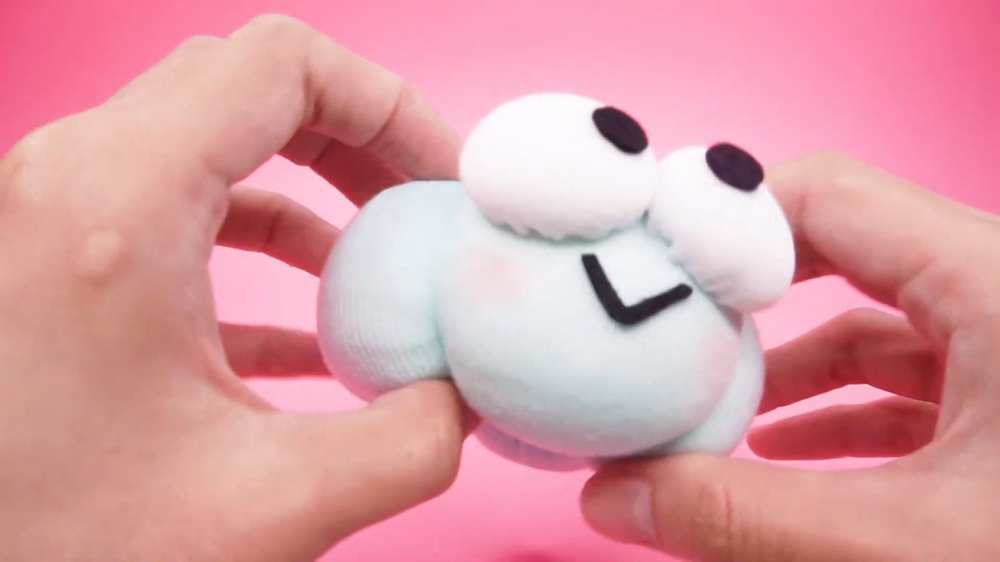
Face: Glue black felt pupils onto the white eyes and a “V” shaped black felt mouth below.
-
Finishing Touch: Use a makeup brush to apply a little pink blush to the “cheeks” of the pumpkin.