Subscribe to Chelsey DIY!
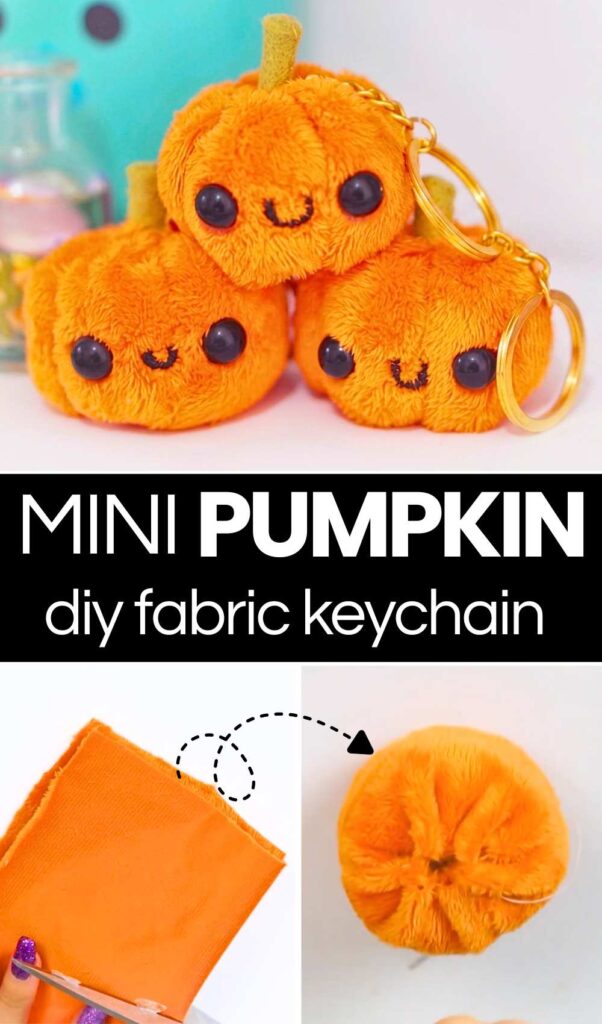
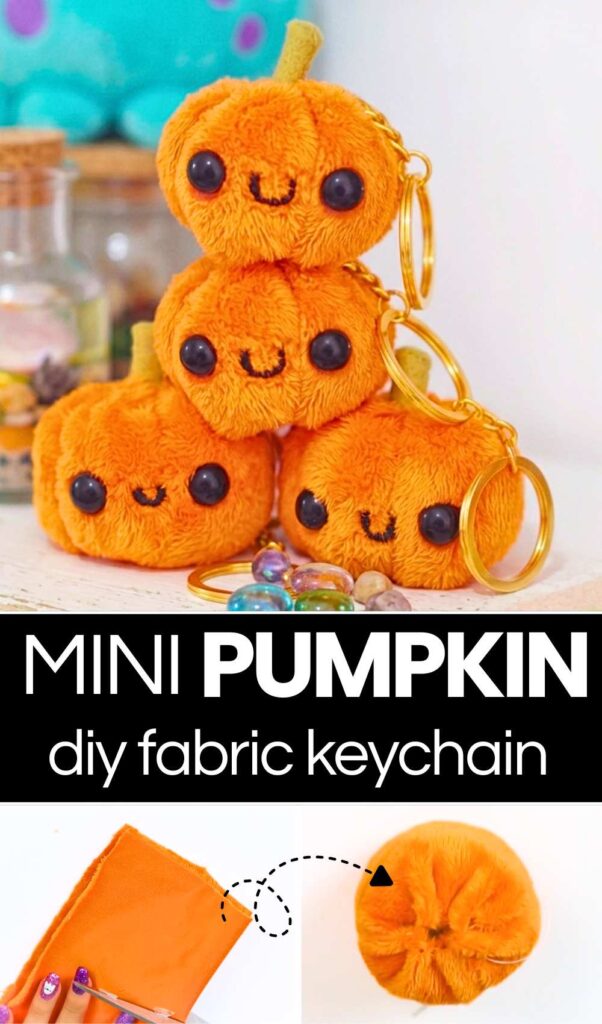
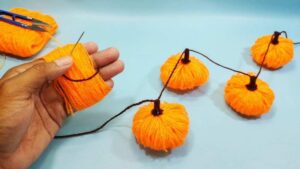
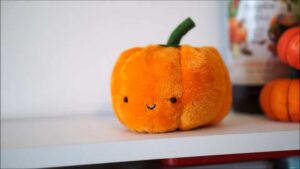
Here is another COOL method for DIYing a pumpkin plushie out of velvet fabric. This time, it is last-minute and makes the CUTEST pumpkin plushie for fall. Introducing the smiling pumpkin plushie keychains that are miniature and SUPER SOFT thanks to the use of fuzzy fleece. The method for making these cute stuffed pumpkins is the same as the one used to make the previous BIG KAWAII pumpkins.
Make Kawaii Keychain Mini Pumpkin
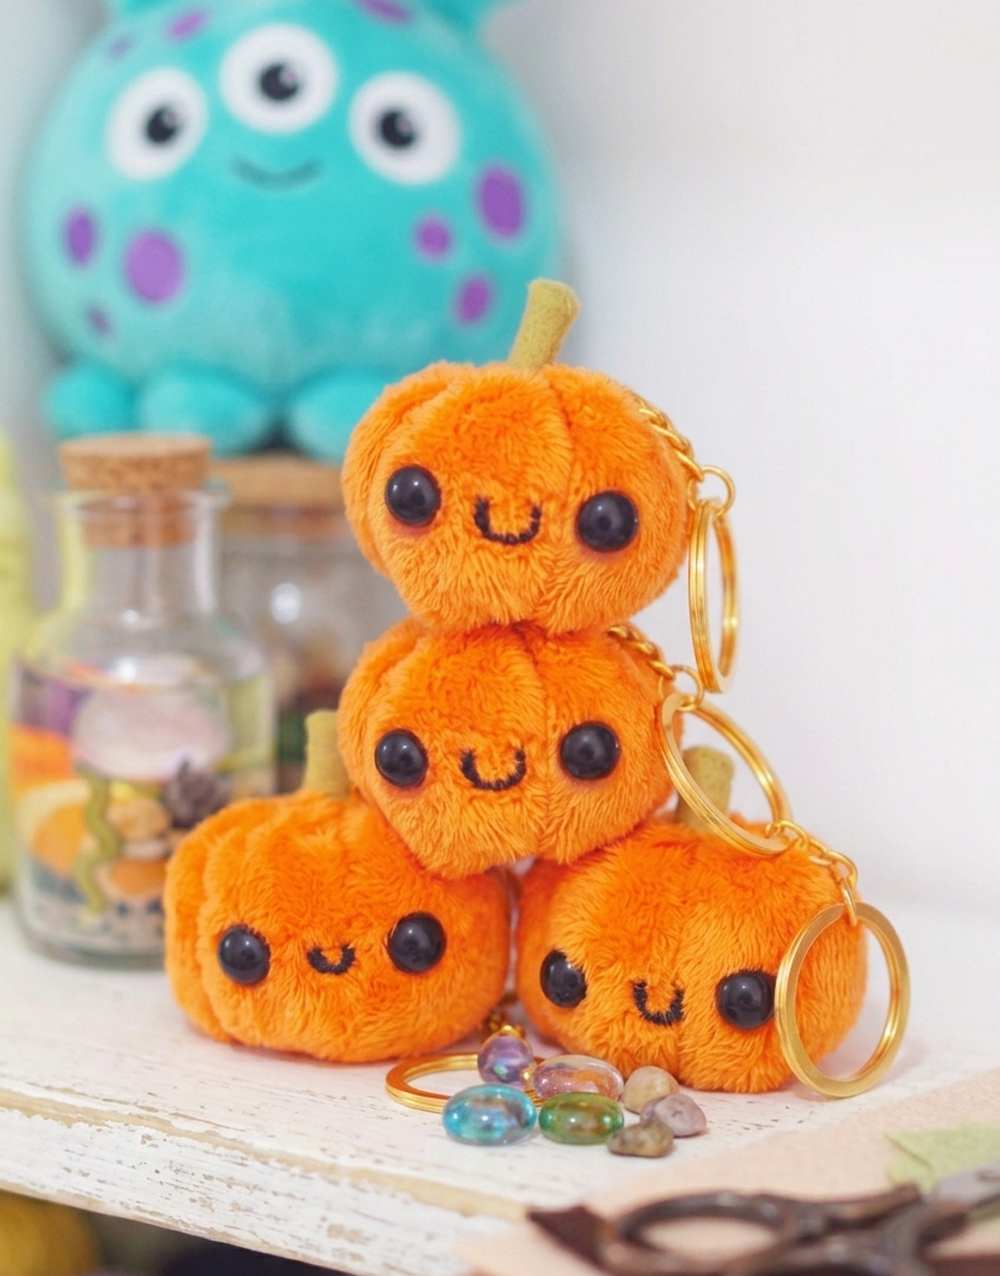
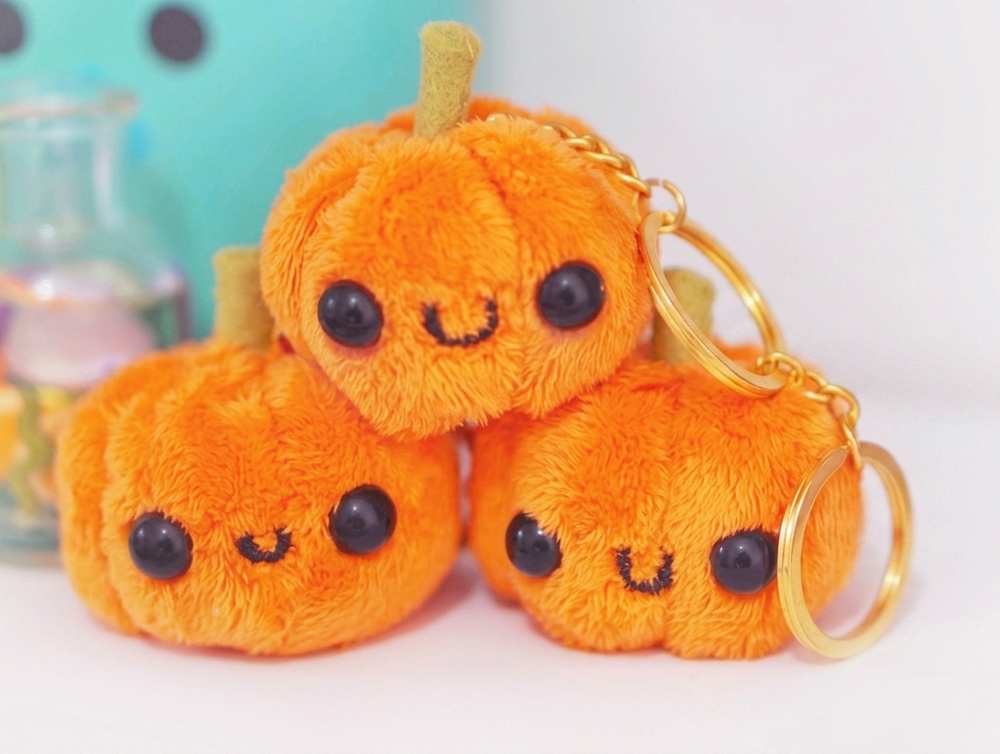
The stem of these pumpkins is made of a cinnamon stick, making them an irresistible TABLE decoration when stacked. Attach your DIY pumpkin to your fall tote bag, or you can also make one to add to a Halloween garland.
They are even quicker to DIY than the crochet pumpkin buddies. Plus, they are even softer, fluffier, and anti-stress toys. You can learn how to make this DIY pumpkin keychain following a step-by-step video tutorial in this post. Plus, there is also a written guide to follow along. Anyway, continue reading to learn more about this Halloween pumpkin project.
Materials Needed
-
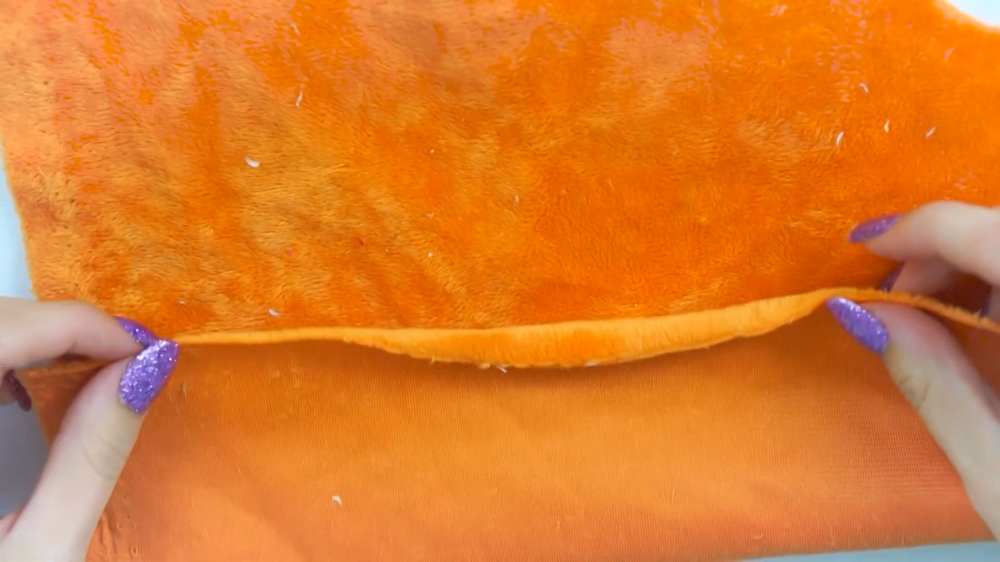
Plush Fabric: The creator recommends Shannon Fabrics for its softness and toy safety.
-
Needle and Thread: You’ll need thread matching your fabric color (orange) and black thread for the mouth.
-
Sewing Machine (optional): Hand stitching is shown, but a machine offers extra sturdiness, especially for a keychain.
-
Toy Stuffing: Available at craft stores (like Hobbycraft) or repurposed from old cushions/pillows.
-
Wool Felt: For the pumpkin stalk.
-
Hot Glue or Fabric Glue (Fabri-Tac): To secure the rolled-up stalk.
-
Toy Safety Eyes: The creator removes the backs and uses strong super glue to attach them for a less bulky look.
-
Super Glue: For attaching the eyes.
-
Keychain Hardware: To attach to the finished plush.
-
Scissors: For cutting fabric and thread.
Tutorial to Make A Kawaii Pumpkin Keychain
Learn how to make the plush pumpkin in detail
Step-by-Step Instructions
Fold your plush fabric so the right sides (the soft, fuzzy sides) are facing each other. Cut it into a strip approximately 7-8 centimeters wide.
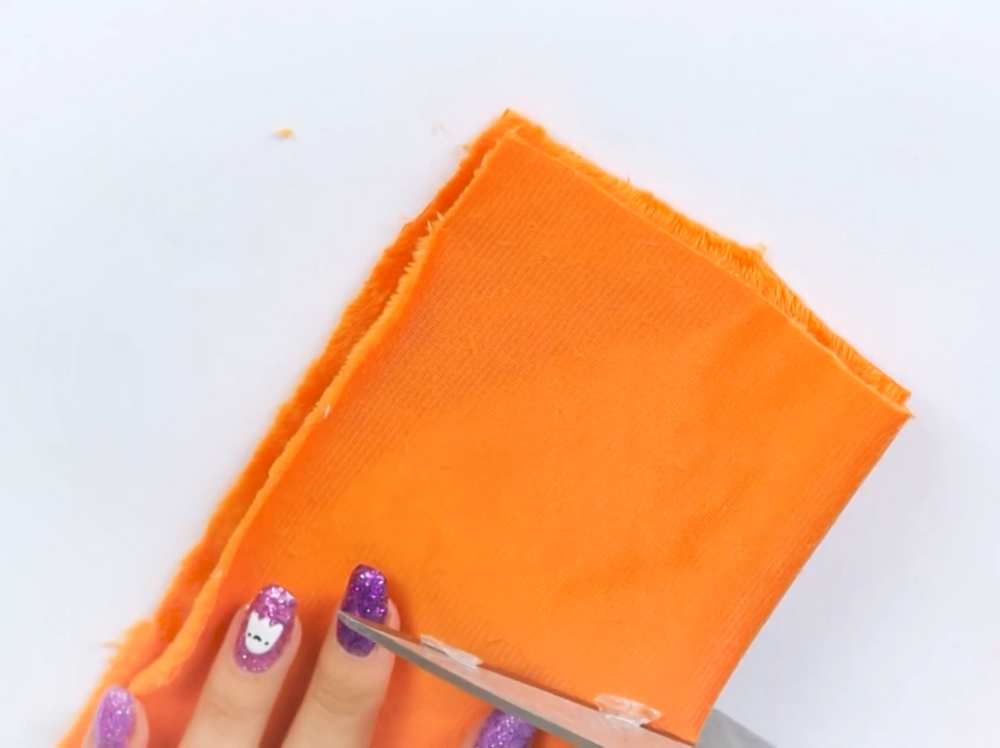
Sew the two short ends of the fabric strip together to form a tube. You can hand stitch using a basic in-and-out stitch, going back over the line to reinforce it, or use a sewing machine for a stronger seam.
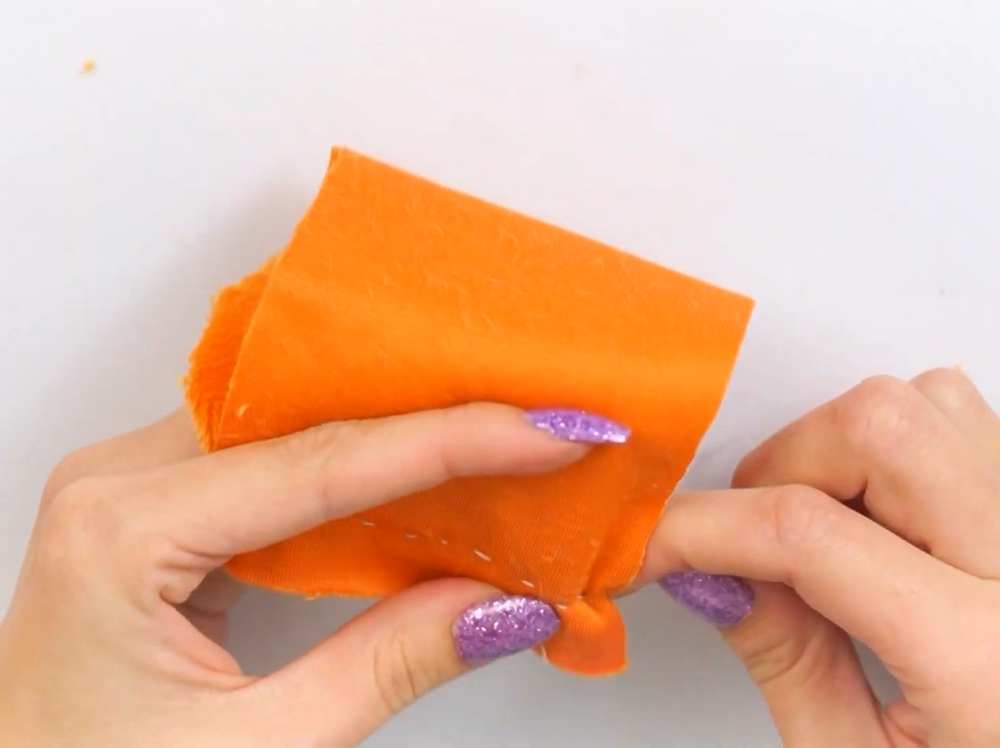
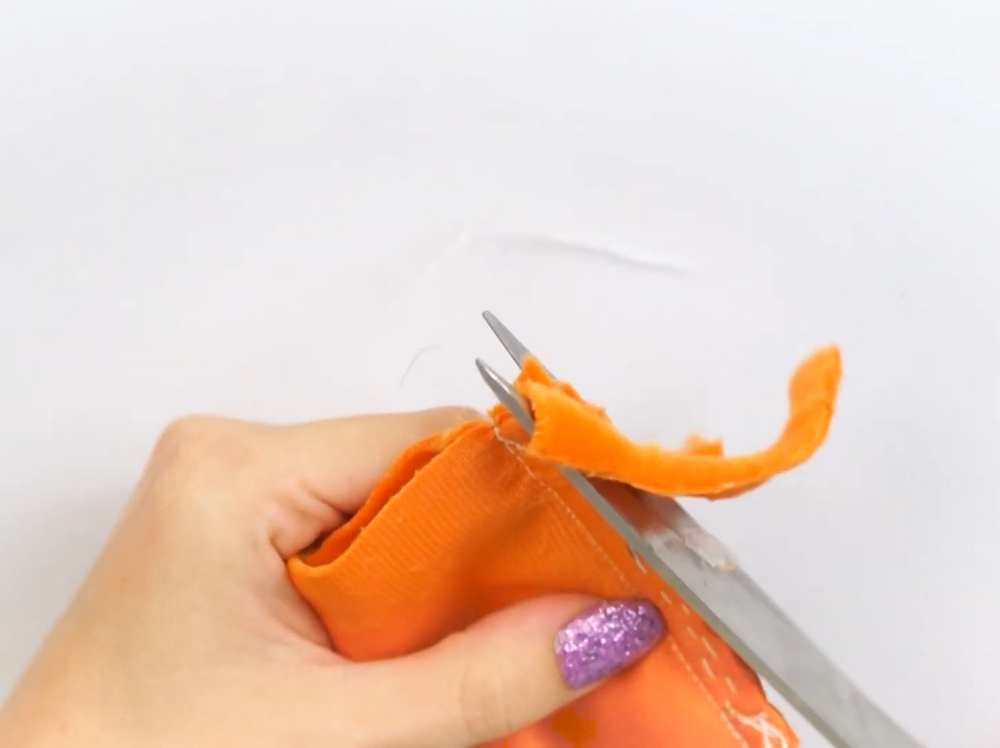
Once sewn, carefully trim any excess fabric from the seam allowance to reduce bulk, making sure not to cut through your stitches.
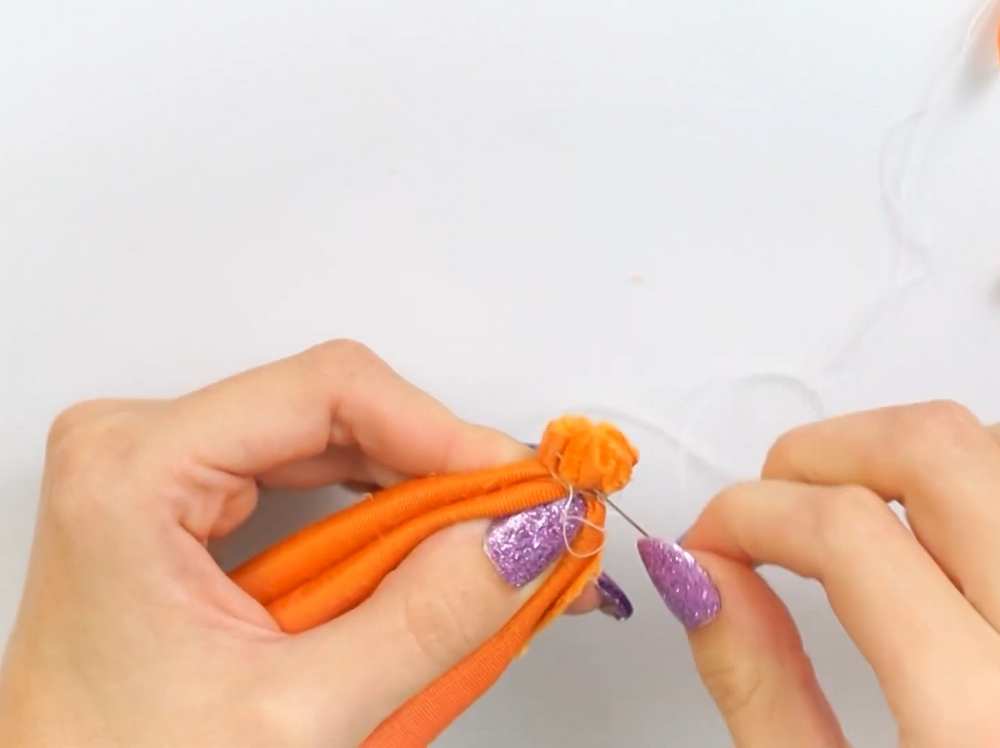
Along one end of the tube (the bottom, making sure the pile of the fabric points downwards), loosely tack (large stitches) all the way around the edge.
Pull the thread tight to gather the fabric like a drawstring. Wrap the thread around the gathered area a few times and secure it with a few stitches, then cut the thread.
Turn the fabric tube right side out so the raw edges and the gathered bottom are on the inside. Stuff the plush with toy stuffing until it’s plump.
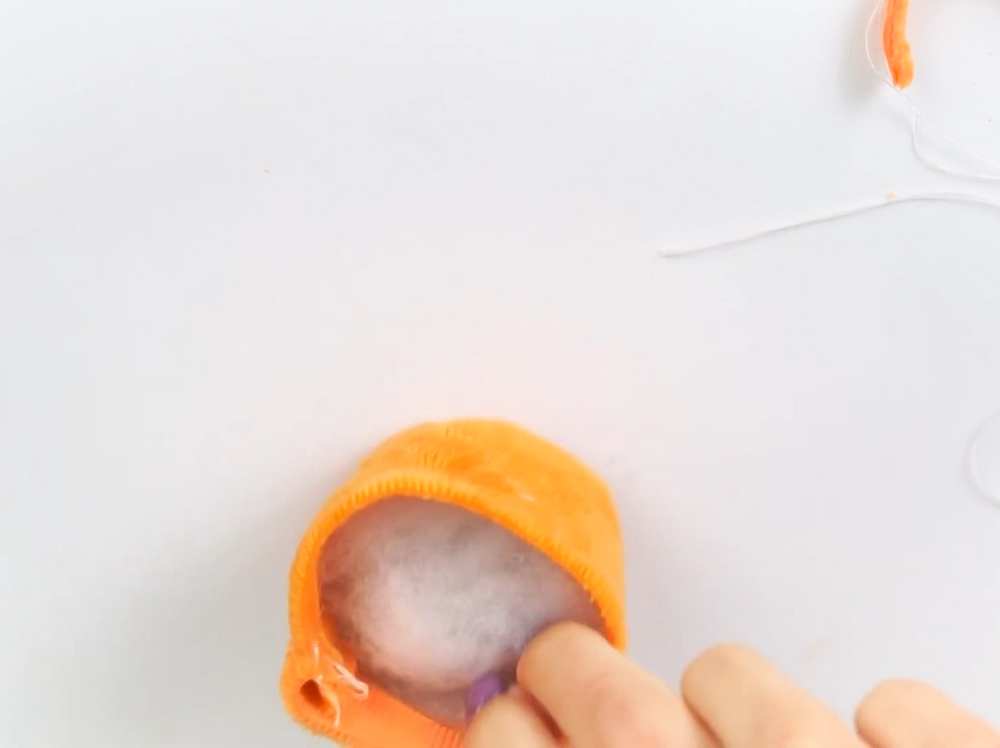
Similar to the bottom, tack around the top edge of the pumpkin, doing this from the outside since the stuffing is already in. Push the stuffing down and pull the thread tight to close the opening. Don’t tie it off just yet.
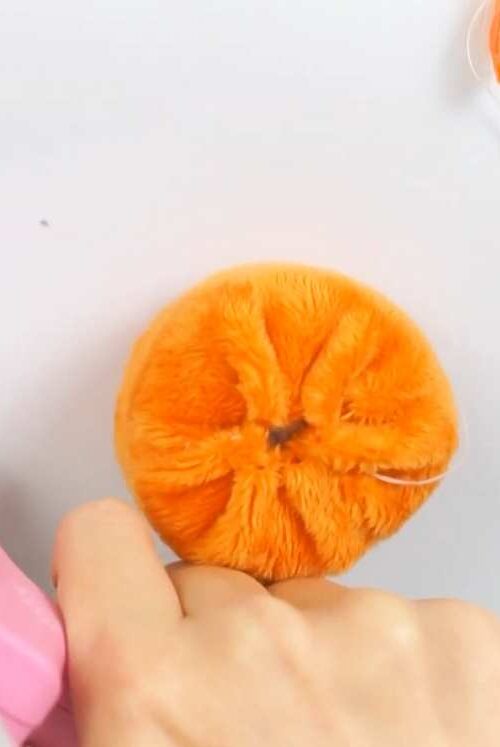
Instead of tying off, use your fingers or a tool to poke the raw edges of the fabric at the top opening inward, towards the center of the pumpkin.
Take a strip of wool felt. Apply a line of hot glue (or fabric glue) along one edge, roll the felt tightly, and glue the end down to form a small cylinder. Cut this cylinder down to the desired size for the stalk.
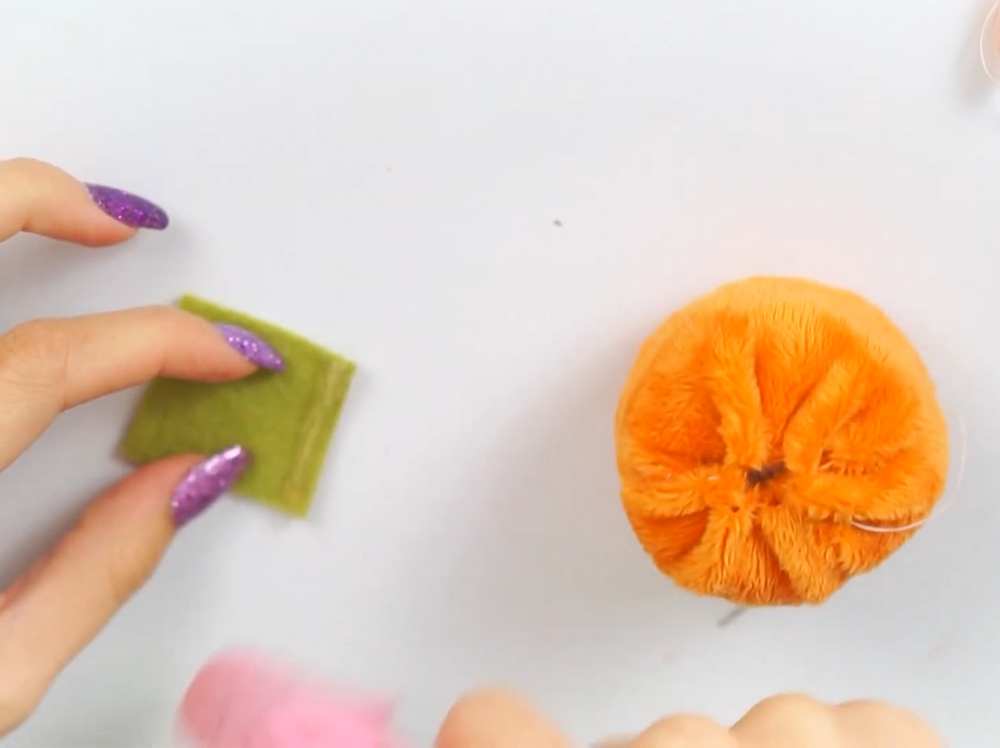
Insert the stalk into the top opening of the pumpkin, ensuring the neatest part is sticking out. Tuck the fabric edges tightly around the stalk and pull the gathering thread tight. Secure it with several stitches, sewing through the pumpkin fabric and into the stalk itself to ensure it’s firmly attached and stuffing won’t escape. Keep the outer stitches small and inner stitches larger to hide them.
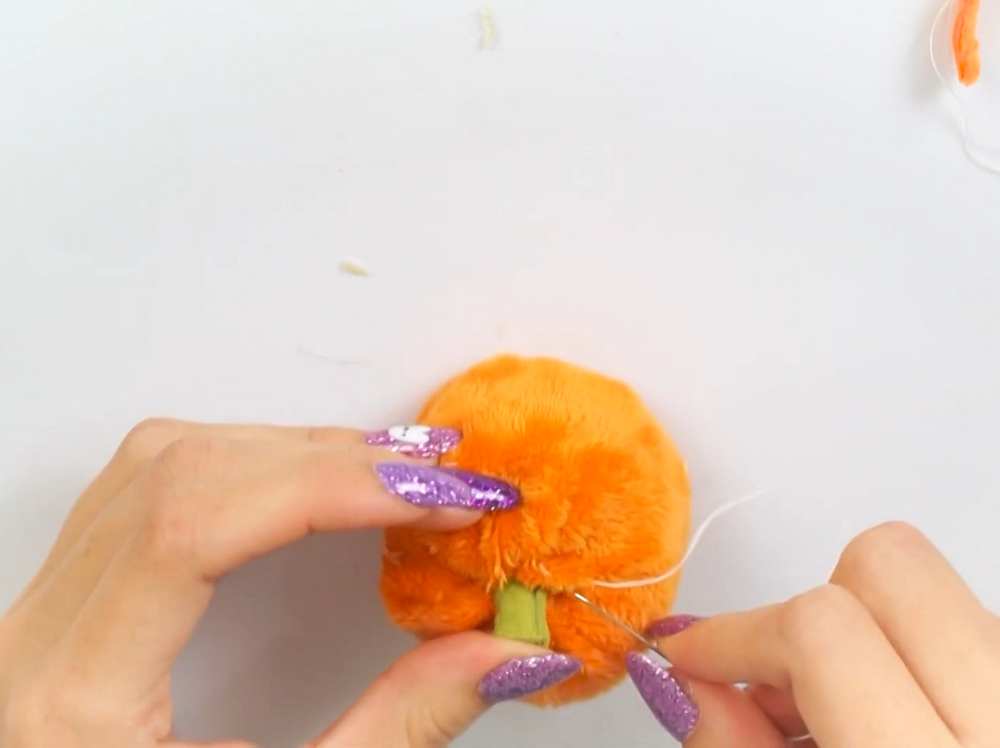
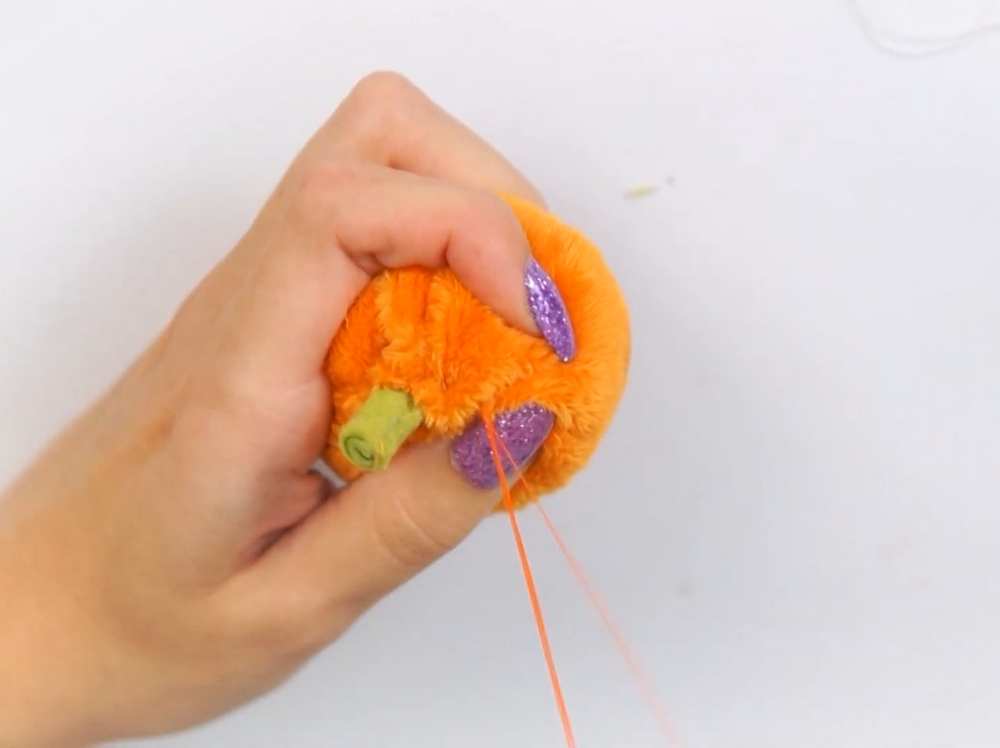
Thread your needle and tie a knot at the end. Insert the needle into the bottom of the pumpkin and bring it up through the top, near the stalk. Pull tight to create a segment line down the side of the pumpkin. Wrap the thread down the side, insert the needle back through the bottom to the top, and pull tight. Tie a small knot at the top to secure each segment before moving on to the next. Repeat this around the pumpkin until you have all your segments.
The creator removes the backing from toy safety eyes and uses a strong super glue to attach the plastic front directly to the plush fabric. This prevents bulkiness on the inside.
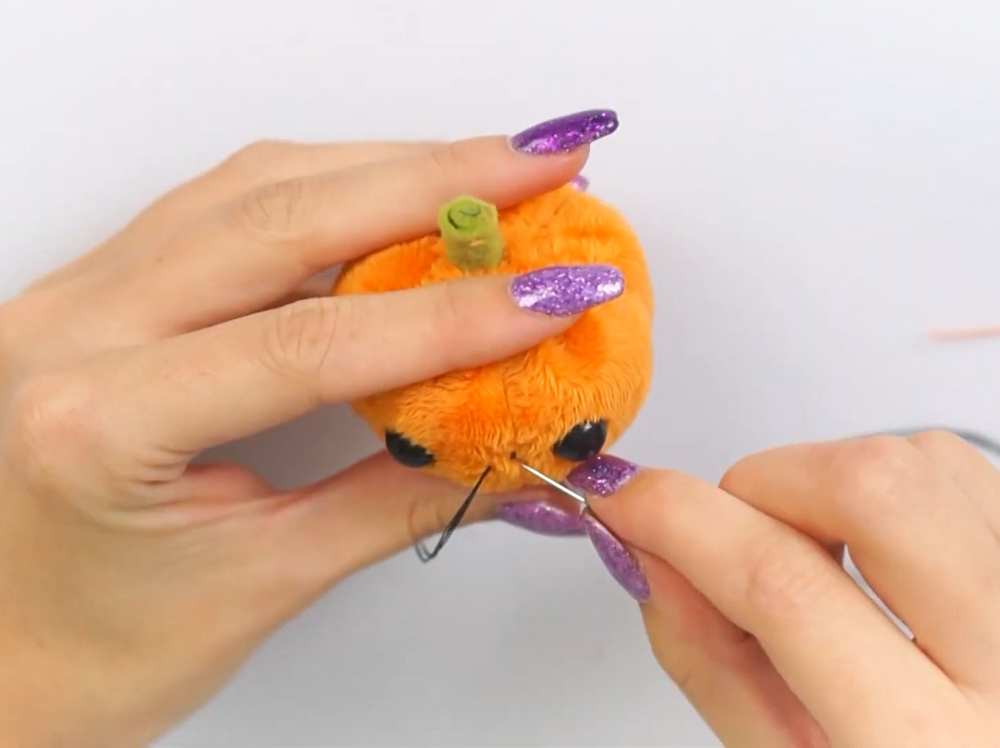
Double up some black thread on your needle and hand-stitch a mouth onto the pumpkin. You can also use fabric or acrylic paint if you prefer, but stitching makes it softer.
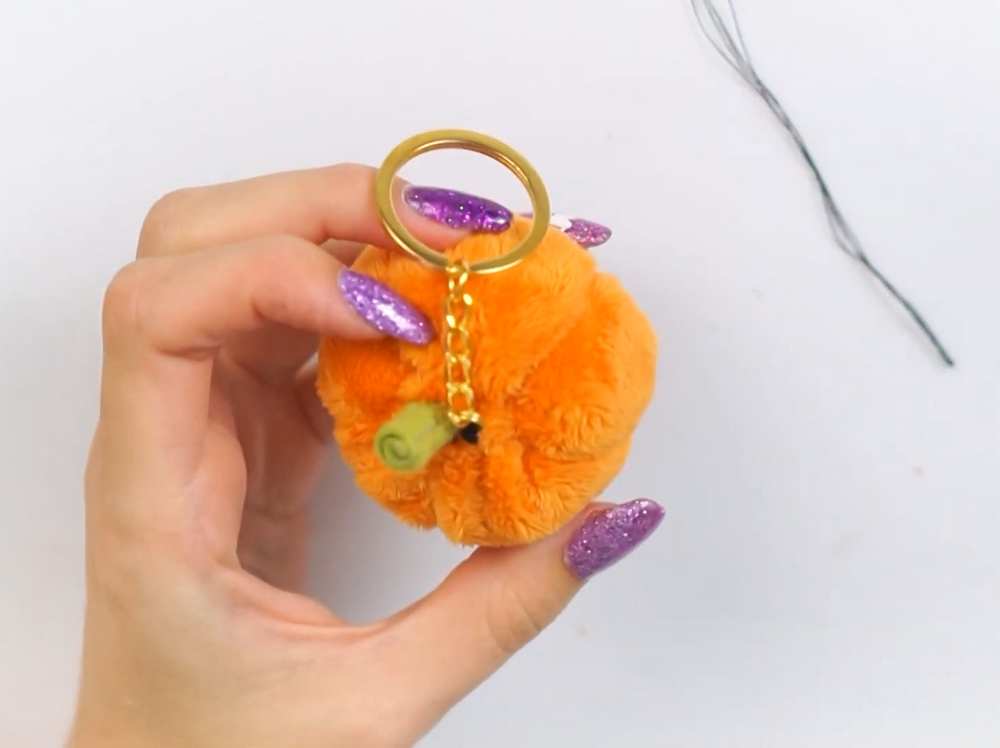
Using thread that matches your pumpkin (orange), securely stitch the keychain hardware to the top of the plush, near the stalk. Ensure the stitches are tight and secure so it holds up as a keychain.
More from Chelsey!
Save For Later: