
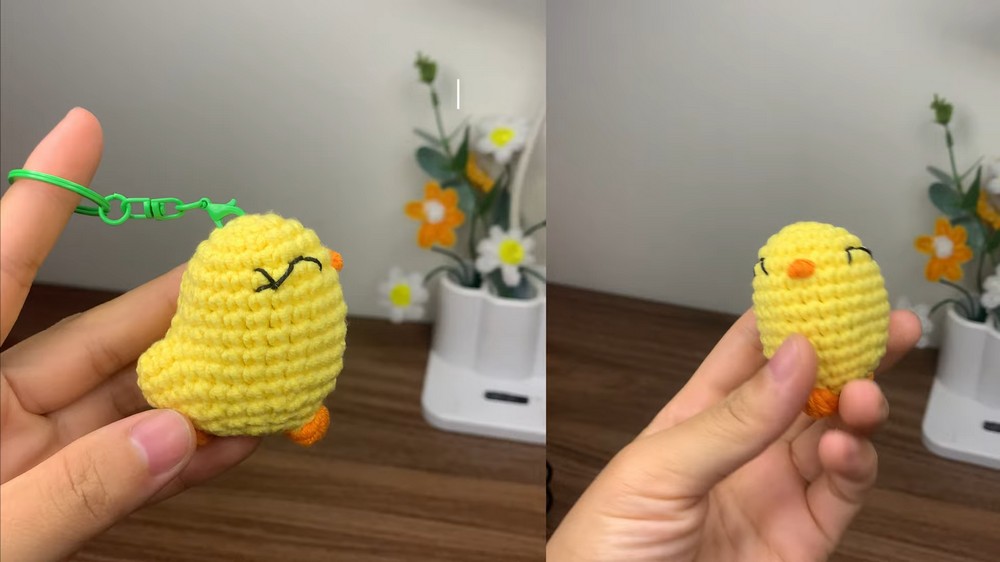
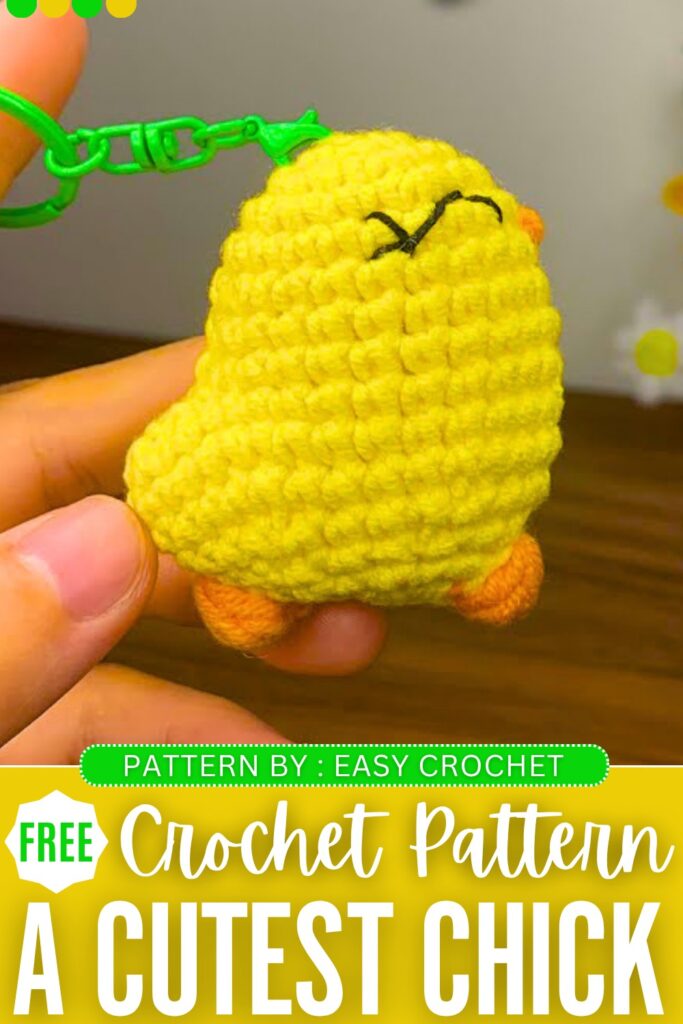
Finally, let’s crochet the CUTEST bird amigurumi with this FREE pattern. Until now, I only shared the baby chicken and baby duck amigurumi (for a chick is a broader word!). Now, let’s crochet a miniature and no-sew Tweety Bird amigurumi with a REALLY gorgeous eye embroidery.
You can crochet it for Thanksgiving, as a Valentine’s Day present along with the chocolates and a fall bag charm. Summer is here, so definitely crochet this baby chick amigurumi using cotton or thin plush yarn.
You can finish crocheting this chick in less than 25 minutes, and with the use of bobble stitch for the legs, you will simply LOVE this chick amigurumi project. Now, continue reading for the full Tweety Bird or canary bird amigurumi.
Crochet Bird Chick Amigurumi Keychain: Written Instructions
This project is a cute and tiny crochet chick. It is very simple to make. The chick has a round yellow body, a little tail, orange feet, a tiny orange beak, and black eyes. It is perfect for beginners. You can use it as a little toy, a cute gift, or a desk buddy.
Below you will find everything you need to know to make this fun project.
Materials You Will Need
- Yellow yarn for the main body and tail
- Orange yarn for the feet and the beak
- Black yarn for the eyes
- Crochet hook 2.5mm
- Stuffing (Fiberfill) to fill the toy
- Scissors to cut your yarn
- Yarn needle for sewing the details
- Stitch marker to keep track of your rounds
Abbreviations Used
- MR – Magic Ring
- sc – Single Crochet
- inc – Increase (crochet two single crochets in the exact same stitch)
- dec – Decrease (crochet two stitches together to make them one)
- ch – Chain
- dc – Double Crochet
- bobble – 5 Double Crochet Bobble Stitch
- st / sts – Stitch / Stitches
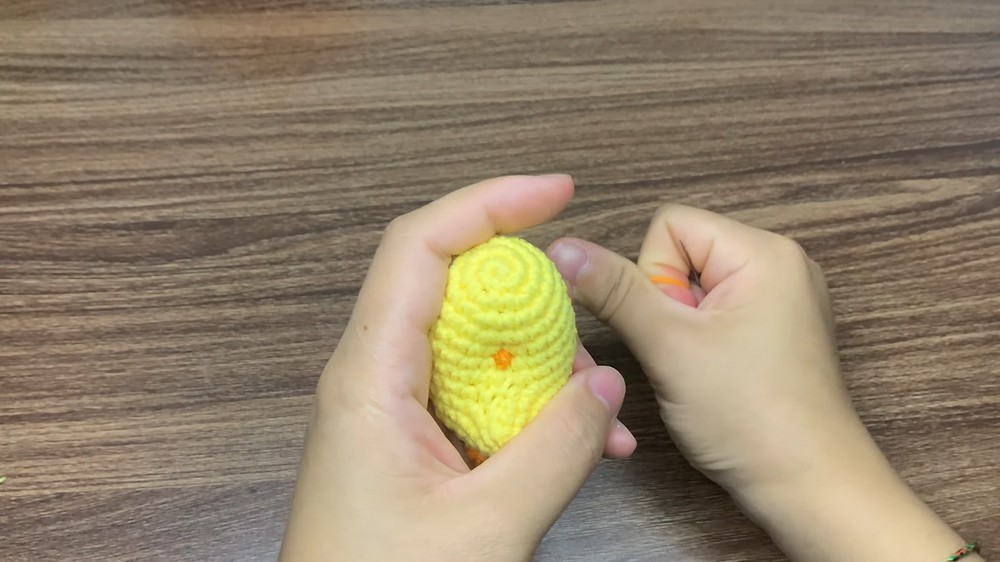
How to make a Bobble Stitch (for the feet)
Yarn over, insert your hook into the stitch. Pull up a loop. Yarn over, pull through two loops on your hook. Do this four more times in the exact same stitch. You will have six loops on your hook. Yarn over and pull through all six loops tightly.
Step-by-Step Crochet Pattern
The Main Body and Tail
Round 1: Start with your yellow yarn. Make a Magic Ring. Crochet 6 sc into the ring. Pull the yarn tail tight to close the hole. (6 sts)
Round 2: Crochet 1 inc in every single stitch around. (12 sts)
Round 3: Crochet 1 sc in the first stitch. Then, crochet 1 inc in the next stitch. Repeat this simple pattern all the way around. (18 sts)
Round 4: Crochet 2 sc, then crochet 1 inc. Repeat this pattern all the way around. (24 sts)
Round 5: Crochet 1 sc in every stitch around. Do not add any increases. (24 sts)
Round 6: Crochet 1 sc in every stitch around. (24 sts)
Round 7: Crochet 1 sc in every stitch around. (24 sts)
Round 8 (Making the Tail): Crochet 1 sc in the very first stitch. Now, chain 4. Skip the chain closest to your hook. Crochet 1 sc into the second chain, 1 sc into the third chain, and 1 sc into the fourth chain. Go straight back to the main round body and crochet 23 sc to finish the round. (24 body sts + the tail piece)
Round 9: Crochet 1 sc in the first stitch. Now you will work exactly around the small tail piece you just made. Crochet 3 sc going up one side of the tail, and crochet 3 sc going down the other side of the tail. Go back to the main round body and crochet 23 sc around. (30 sts total)
Round 10: Crochet 1 sc in every stitch around. (30 sts)
Round 11: Crochet 1 sc in every stitch around. (30 sts)
Round 12: Crochet 3 sc, then crochet 1 dec. Repeat this pattern all the way around. (24 sts)
Round 13: Crochet 2 sc, then crochet 1 dec. Repeat this pattern all the way around. (18 sts)
Making the Feet
Round 14: You will need your yellow yarn and orange yarn ready for this round.
First, crochet 2 sc in yellow. On the very last pull-through of the second stitch, change to your orange yarn.
Next, crochet 1 bobble stitch in orange. This makes the first foot. On the very last pull-through of the bobble, change back to your yellow yarn.
Then, crochet 8 sc in yellow. On the very last pull-through of the eighth stitch, change to your orange yarn.
Next, crochet 1 bobble stitch in orange to make the second foot. Change back to your yellow yarn.
Finally, crochet 6 sc in yellow to finish the round. (18 sts)
Finishing the Body
Round 15: Crochet 1 sc, then crochet 1 dec. Repeat this pattern all the way around.
Important Highlight: When you reach the orange bobble stitches, skip the top of the bobble stitch entirely. Just work your stitches into the yellow stitches before and after the foot. This forces the little feet to pop out perfectly. (12 sts)
Stuffing and Closing
Now it is time to stuff your chick. Push the fiberfill stuffing inside until the body is nice, round, and firm.
Cut your yellow yarn, leaving a long tail for sewing. Pull the yarn all the way through your last loop.
Thread your yarn needle. To close the bottom hole perfectly, weave the needle through the front loop of every other stitch. Pull the yarn very tight to close the opening. Tie a secure knot and hide the remaining yarn tail deep inside the body.
Highlight: Check the area near the tail. If you see a small gap or hole where the tail connects, use your yarn needle to sew it tightly closed.
Adding the Face Details
The Beak: Thread your yarn needle with a piece of orange yarn. Insert the needle in the center of the face where you want the beak to sit.
To create the beak, you will make a Bullion Knot. Keep your needle half-inserted in the face, and wrap the orange yarn around the tip of the needle 6 times.
Hold the wraps gently with your fingers and pull the needle carefully all the way through. This creates a tiny orange roll. Insert the needle back into the same spot to secure the little beak, tie a knot inside, and cut the yarn.
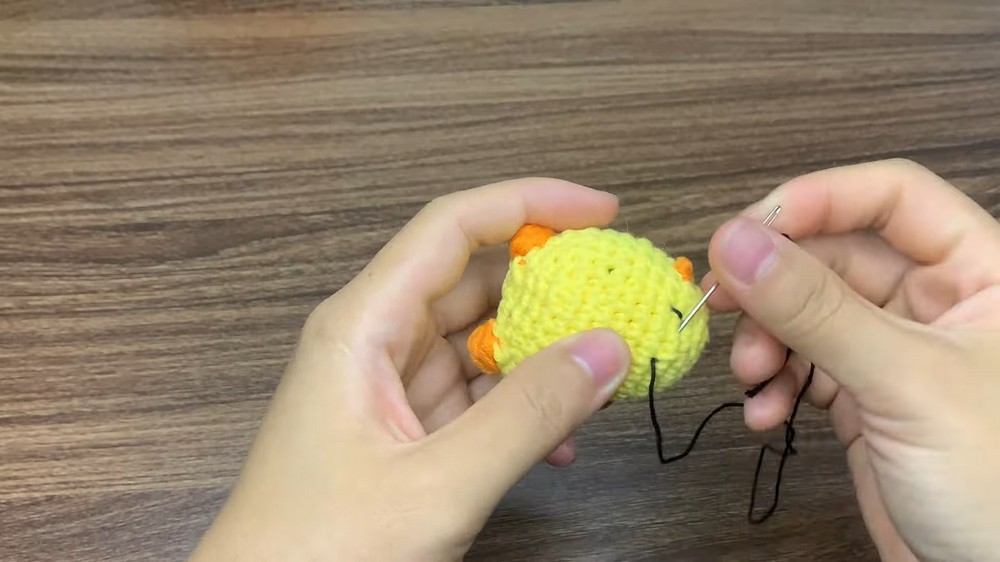
The Eyes: Thread your yarn needle with a small piece of black yarn.
Sew two tiny vertical lines on the left and right sides of the beak to make the eyes. Tie the black yarn ends tightly inside the stuffed body and cut off the extra yarn.
Your little crochet chick is completely finished! Enjoy your new cute project!
Learn with the Video Tutorial