
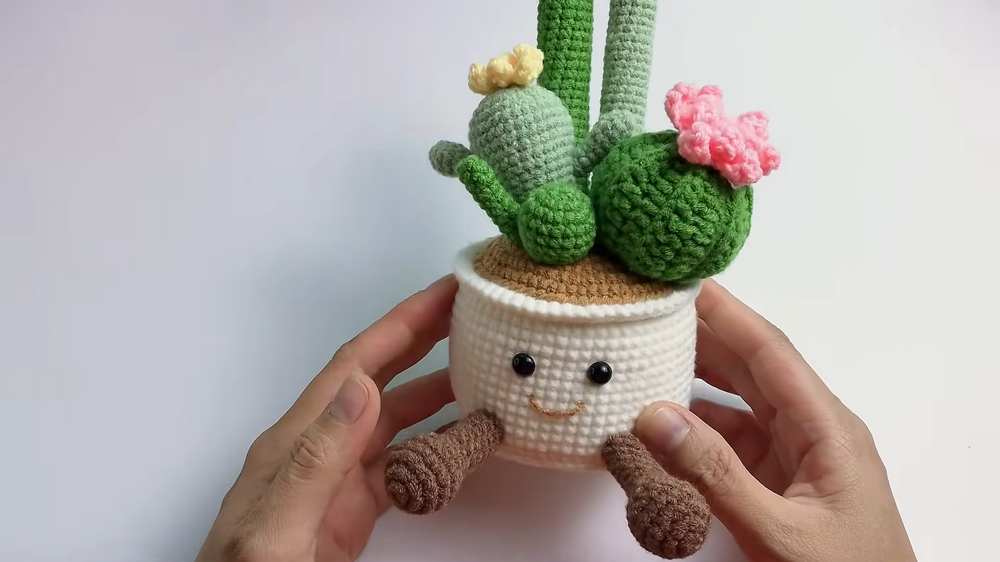
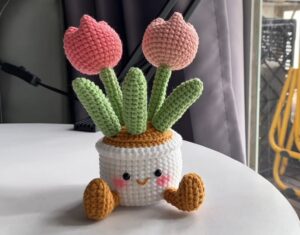
Last time, I shared a FREE pattern to crochet the Jellycat tulip pot amigurumi, and many loved it to your fill. Now, let’s crochet this elegant Jellycat cactus pot that is filled with cacti of different shapes, types, and heights. Crochet it as a gift for Valentine’s Day, Mother’s Day and more.
This looks so life-like and cute at the same time, including the same Amuseables Buddy pot that we will crochet with the plush yarn. Originally, it was presented as a 2-part tutorial, as there are different beautiful crochet stuffed cactuses.
However, below will be the FULL pattern to crochet this succulent amigurumi cactus pot for summer, spring, and even fall. We will also crochet small flowers for it, and it will turn out to be elegant. Continue reading for the full pattern to crochet this plant pot amigurumi.
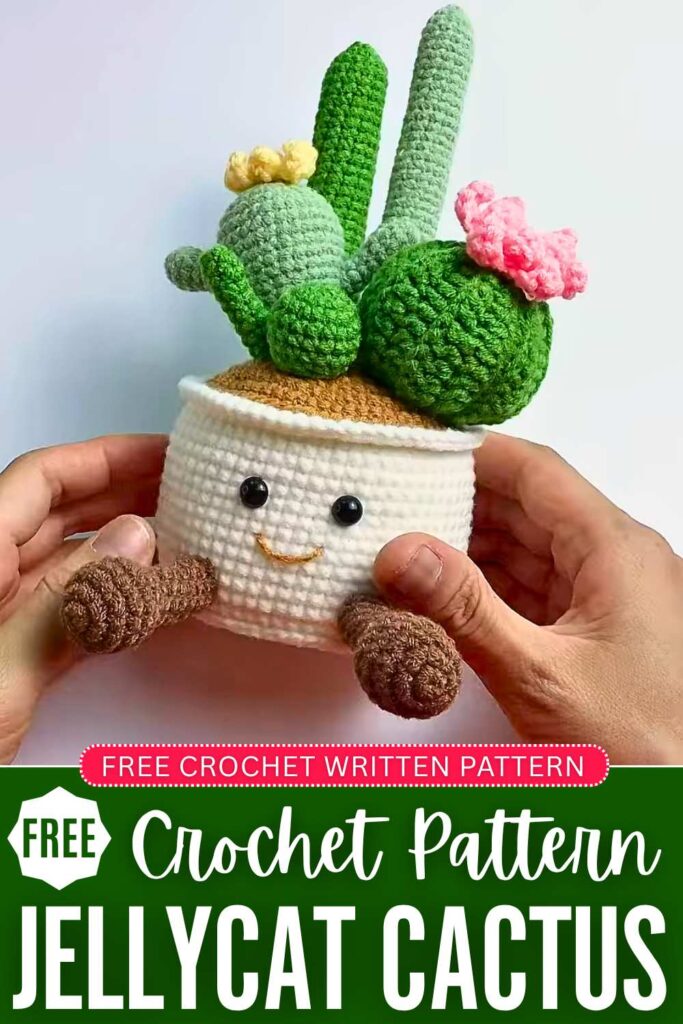
Crochet Amuseables Cactus Pot Amigurumi
This crochet pattern guides you through creating an adorable, Jellycat-inspired Cactus Pot plushie. The finished project features a stable, textured pot with two cute dangling legs and a mounded soil base.
There is also an assortment of seven distinct cactus varieties of varying lengths and shapes, decorative layered flowers, and a charming embroidered happy face. It makes a wonderful desk companion, a whimsical home decor accent, or a heartfelt handmade gift.
Materials Required
- Yarn: Milk Cotton yarn (5 ply / 50g per skein). You will need a pot color (such as terracotta, beige, or brown), a soil color (dark brown), cactus green colors (various shades of green if preferred), and flower colors (pink, yellow, or red). Note: The tutorial recommends a sturdier/denser variety of milk cotton yarn for the pot itself to help it hold its structure well.
- Crochet Hook: 2.5 mm
- Safety Eyes: 8 mm (glue-on style)
- Yarn / Tapestry Needle
- Fiberfill Stuffing
- Stitch Markers or Sewing Pins
- Glue: Clear craft glue (such as UHU) and hot glue / silicone glue sticks
- Cardboard: A small piece cut into a circle matching the size of the bottom of the pot to provide structural stability.
- Embroidery Floss: A few strands of dark brown or black yarn/floss to embroider the smiling mouth.
Abbreviations (US Terms)
- MR: Magic Ring
- ch: Chain
- sc: Single Crochet
- inc: Increase (2 single crochets worked into the same stitch)
- dec: Decrease (single crochet 2 stitches together)
- sl st: Slip Stitch
- hdc: Half Double Crochet
- dc: Double Crochet
- BLO: Back Loop Only
- FLO: Front Loop Only
- Rnd(s): Round(s)
- st(s): Stitch(es)
- rem: Remaining
- rep: Repeat
Written Crochet Pattern
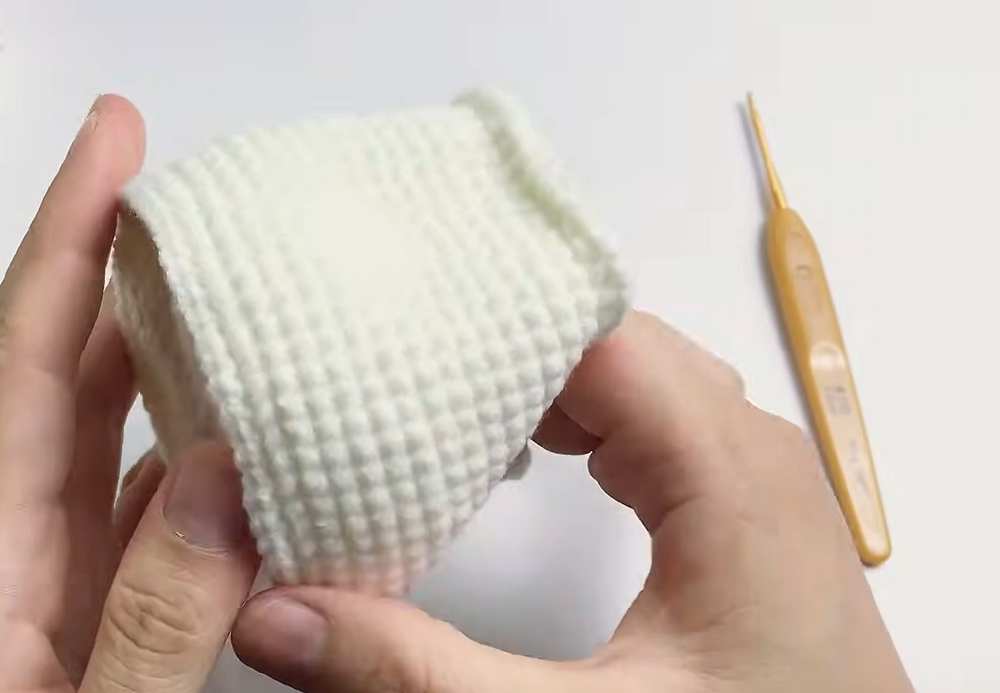
1. The Pot
Using your choice of pot-colored yarn. Work in continuous or joined rounds as indicated by sl st at the end of each round.
- Rnd 1: MR, work 8 sc into the ring. Sl st to the first st to join, ch 1. (8 sts)
- Rnd 2: 8 inc. Sl st to join, ch 1. (16 sts)
- Rnd 3: [1 sc, 1 inc] x 8. Sl st to join, ch 1. (24 sts)
- Rnd 4: [1 sc, 1 inc, 1 sc] x 8. Sl st to join, ch 1. (32 sts)
- Rnd 5: [3 sc, 1 inc] x 8. Sl st to join, ch 1. (40 sts)
- Rnd 6: [2 sc, 1 inc, 2 sc] x 8. Sl st to join, ch 1. (48 sts)
- Rnd 7: [5 sc, 1 inc] x 8. Sl st to join, ch 1. (56 sts)
- Rnd 8: [3 sc, 1 inc, 3 sc] x 8. Sl st to join, ch 1. (64 sts)
- Rnd 9: Working in BLO, 64 sc around. Sl st to join, ch 1. (64 sts)
- Rnd 10 – 22: 64 sc around. Sl st to join, ch 1 at the end of each round. (64 sts)
- Rnd 23 (Rim): Working in FLO, 64 sc around. Sl st to join, fasten off, and weave in your ends neatly.
- Base Stabilization Detail: Locate the unworked FLO loops left behind from Rnd 9 at the bottom edge of the pot. Attach your pot-colored yarn to the first loop, ch 1, and work 64 sl st loosely all the way around the base edge. Sl st to join, fasten off, and weave in ends. This creates a crisp, flat edge that helps the pot stand without tipping.
2. The Soil
Using dark brown yarn.
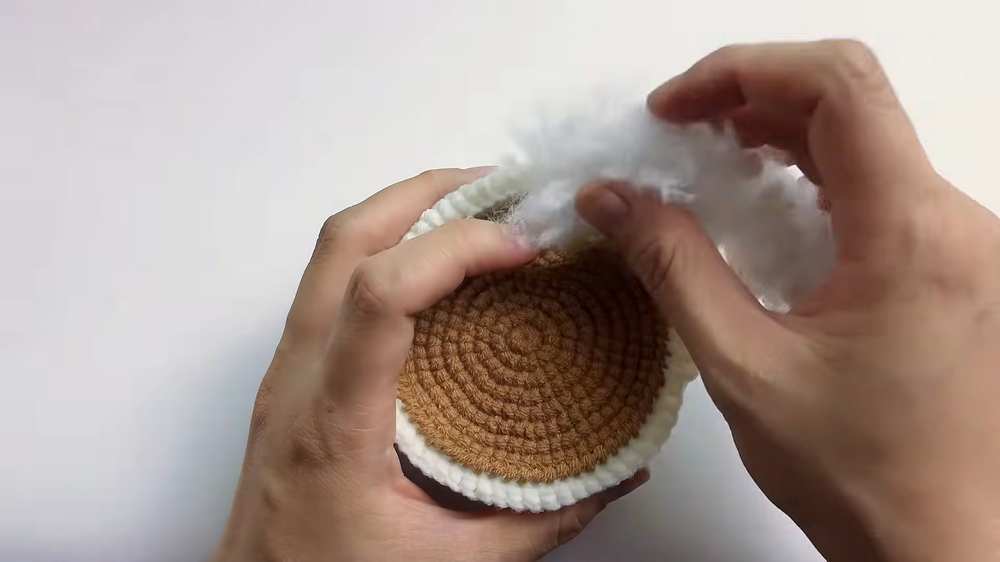
- Rnd 1 – 8: Repeat the exact pattern rows as Rnds 1 through 8 of the Pot. You will finish with a flat circle containing 64 stitches.
- Sl st to join, fasten off, leaving a very long tail for assembly.
3. Dangling Legs (Make 2)
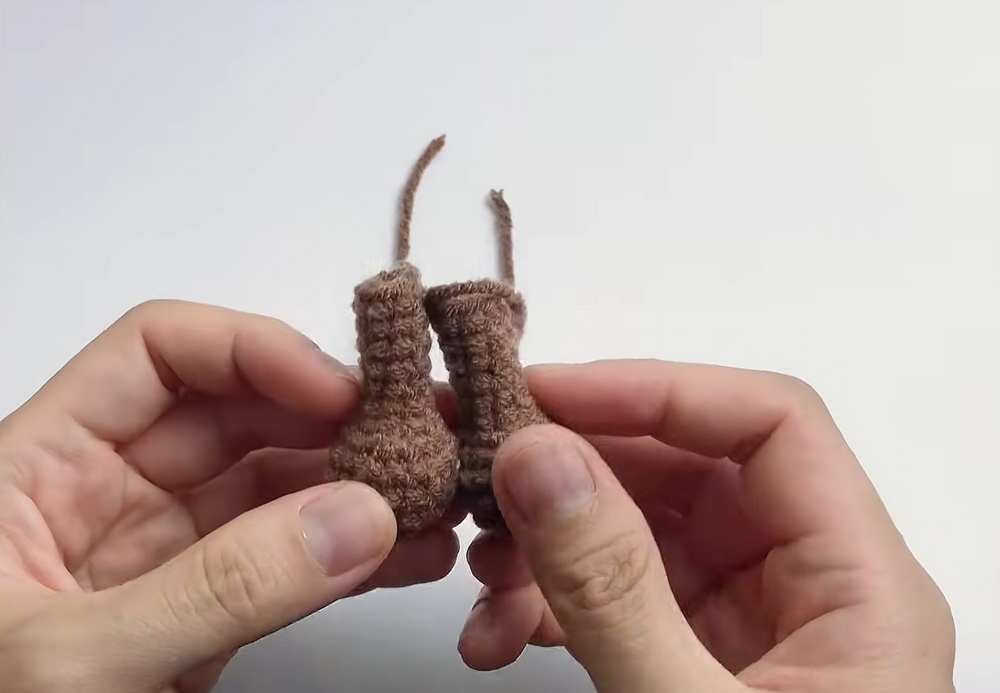
Using pot-colored yarn.
- Rnd 1: MR, work 6 sc into the ring. Sl st to join, ch 1. (6 sts)
- Rnd 2: 6 inc. Sl st to join, ch 1. (12 sts)
- Rnd 3: [1 sc, 1 inc] x 6. Sl st to join, ch 1. (18 sts)
- Rnd 4 – 5: 18 sc around. Sl st to join, ch 1. (18 sts)
- Rnd 6: [1 sc, 1 dec] x 6. Sl st to join, ch 1. (12 sts)
- Rnd 7: [2 sc, 1 dec] x 3. Sl st to join, ch 1. (9 sts)
- Rnd 8 – 13: 9 sc around. Sl st to join, ch 1. (9 sts)
- Fasten off, leaving a tail for sewing. Lightly fill the rounded foot portion with fiberfill stuffing.
Cacti Assembly Pieces
Cactus Variant 1 (Round Globular Shape)
Using green yarn.
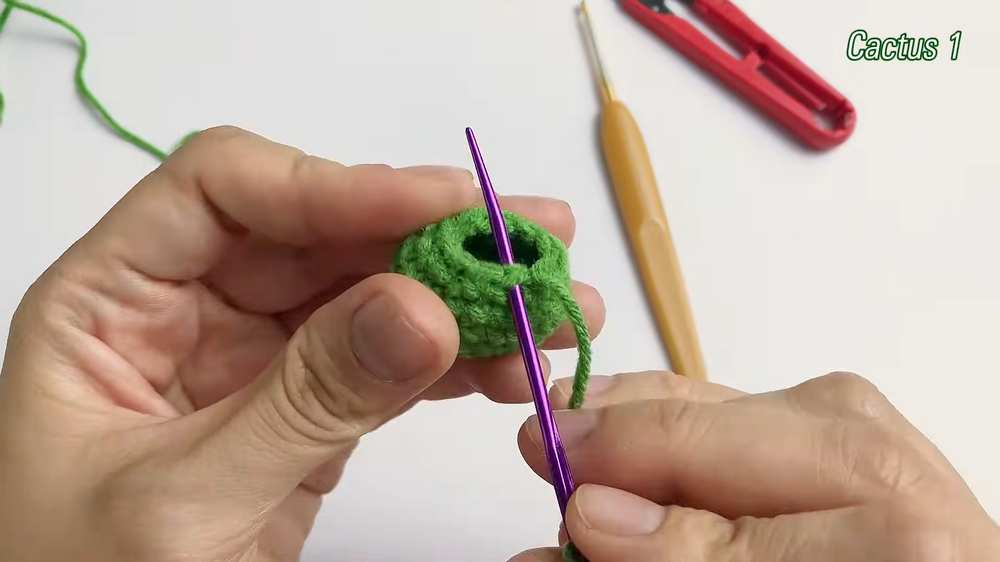
- Rnd 1: MR, work 6 sc into the ring. Sl st to join, ch 1. (6 sts)
- Rnd 2: 6 inc. Sl st to join, ch 1. (12 sts)
- Rnd 3: [1 sc, 1 inc] x 6. Sl st to join, ch 1. (18 sts)
- Rnd 4 – 6: 18 sc around. Sl st to join, ch 1. (18 sts)
- Rnd 7: [1 sc, 1 dec] x 6. Sl st to join. (12 sts)
- Fasten off, leaving a tail for sewing. Stuff firmly with fiberfill.
Cactus Variant 2 (Tiny Bud Stems)
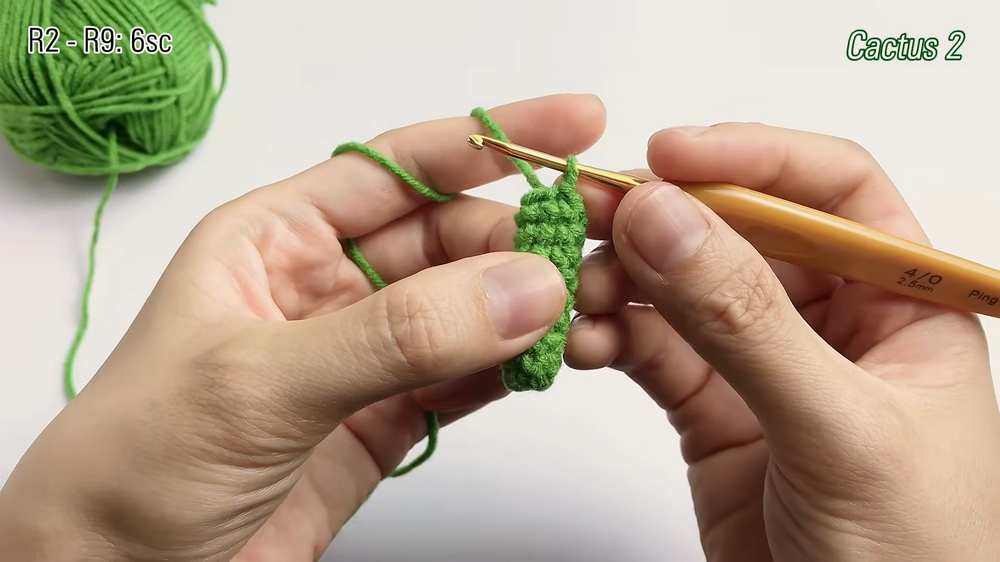
Using green yarn. This piece is small and does not require stuffing.
- Rnd 1: MR, work 6 sc into the ring. Sl st to join, ch 1. (6 sts)
- Rnd 2 – 9: 6 sc around. Sl st to join, ch 1. (6 sts)
- Fasten off, leaving a tail for sewing.
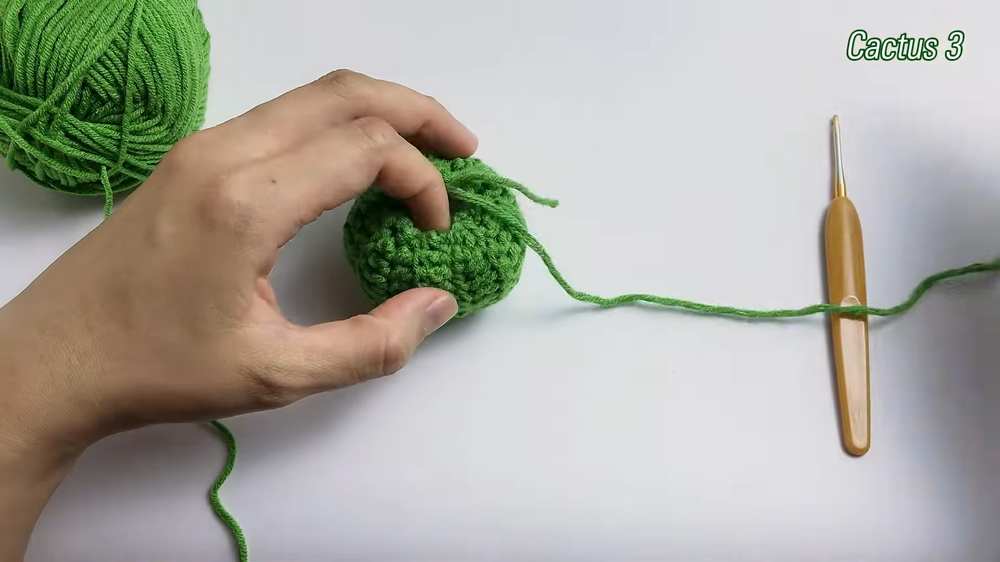
Cactus Variant 3 (Ribbed Flat Cylinder)
Using green yarn. This piece is worked back and forth in flat rows, utilizing loop variations to create ridges.
- Row 1: Ch 14. Starting in the 2nd chain from your hook, work 1 sl st, 2 sc, 3 hdc, and 7 dc. Ch 1, turn. (13 sts)
- Row 2: Working entirely in BLO for symmetry: 7 dc, 3 hdc, 2 sc, 1 sl st. Ch 1, turn. (13 sts)
- Row 3: Working entirely in BLO: 1 sl st, 2 sc, 3 hdc, 7 dc. Ch 1, turn. (13 sts)
- Row 4: Working entirely in BLO: 7 dc, 3 hdc, 2 sc, 1 sl st. Ch 1, turn. (13 sts)
- Rows 5 – 12: Repeat the sequence from Rows 1 through 4 three more times until you have 12 rows total.
- Fasten off, leaving a long tail. Fold the flat rectangular piece in half to align the first and last rows, then sew them together to form a tube. Thread your yarn needle through the stitches at the narrow tip/top end, pull tightly to gather it closed, and secure. Stuff the inside with fiberfill and lightly gather the bottom edge.
Cactus Variant 4 (Tapered Tear-Drop Column)
Using green yarn.
- Rnd 1: MR, work 6 sc into the ring. Sl st to join, ch 1. (6 sts)
- Rnd 2: 6 inc. Sl st to join, ch 1. (12 sts)
- Rnd 3: [1 sc, 1 inc] x 6. Sl st to join, ch 1. (18 sts)
- Rnd 4: [1 sc, 1 inc, 1 sc] x 6. Sl st to join, ch 1. (24 sts)
- Rnd 5: [3 sc, 1 inc] x 6. Sl st to join, ch 1. (30 sts)
- Rnd 6 – 8: 30 sc around. Sl st to join, ch 1. (30 sts)
- Rnd 9: [2 sc, 1 dec, 2 sc] x 5. Sl st to join, ch 1. (25 sts)
- Rnd 10 – 11: 25 sc around. Sl st to join, ch 1. (25 sts)
- Rnd 12: [3 sc, 1 dec] x 5. Sl st to join, ch 1. (20 sts)
- Rnd 13 – 14: 20 sc around. Sl st to join, ch 1. (20 sts)
- Rnd 15: [2 sc, 1 dec] x 5. Sl st to join, ch 1. (15 sts)
- Rnd 16: 15 sc around. Sl st to join, ch 1. (15 sts)
- Rnd 17: [1 sc, 1 dec] x 5. Sl st to join, ch 1. (10 sts)
- Rnd 18: 10 sc around. Sl st to join. (10 sts)
- Fasten off, leaving a tail for sewing. Stuff firmly with fiberfill.
Cactus Variant 5 (Mini Offshoot Pads – Make 2)
Using green yarn. These are small side attachments and do not require stuffing.
- Rnd 1: MR, work 6 sc into the ring. Sl st to join, ch 1. (6 sts)
- Rnd 2: [1 sc, 1 inc] x 3. Sl st to join, ch 1. (9 sts)
- Rnd 3 – 4: 9 sc around. Sl st to join, ch 1. (9 sts)
- Rnd 5: [1 sc, 1 dec] x 3. Sl st to join, ch 1. (6 sts)
- Rnd 6 – 7: 6 sc around. Sl st to join. (6 sts)
- Fasten off, leaving a tail to attach onto the main cacti bodies.
Cactus Variant 6 (Tall Slender Column)
Using green yarn.
- Rnd 1: MR, work 6 sc into the ring. Sl st to join, ch 1. (6 sts)
- Rnd 2: [1 sc, 1 inc] x 3. Sl st to join, ch 1. (9 sts)
- Rnd 3: [1 sc, 1 inc, 1 sc] x 3. Sl st to join, ch 1. (12 sts)
- Rnd 4 – 37: 12 sc around. Sl st to join, ch 1 at the end of each round. (12 sts)
- Fasten off, leaving a long tail for assembly. Stuff with fiberfill.
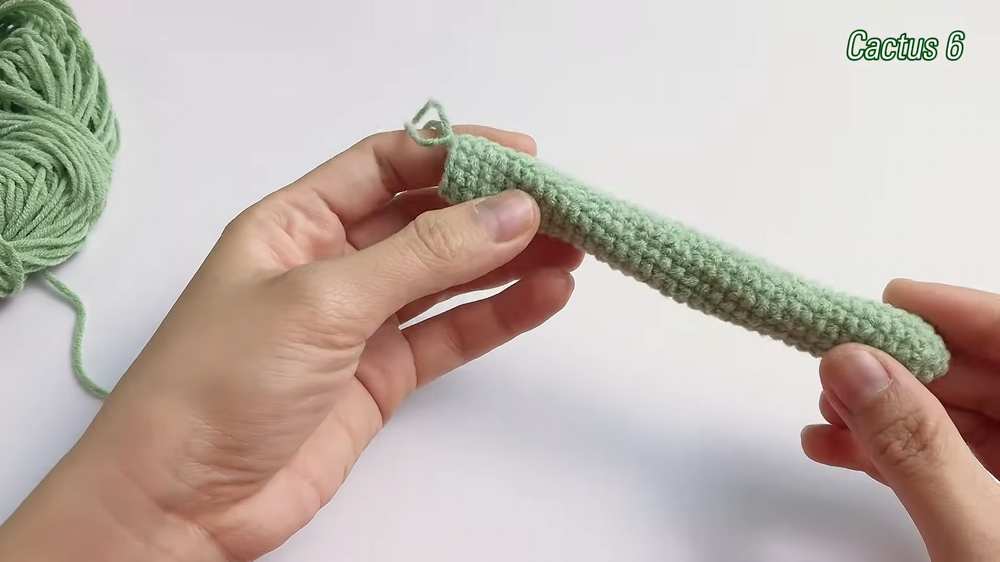
Cactus Variant 7 (Medium Slender Column)
Using green yarn.
- Rnd 1: MR, work 6 sc into the ring. Sl st to join, ch 1. (6 sts)
- Rnd 2: [1 sc, 1 inc] x 3. Sl st to join, ch 1. (9 sts)
- Rnd 3: [1 sc, 1 inc, 1 sc] x 3. Sl st to join, ch 1. (12 sts)
- Rnd 4 – 29: 12 sc around. Sl st to join, ch 1 at the end of each round. (12 sts)
- Fasten off, leaving a tail for assembly. Stuff with fiberfill.
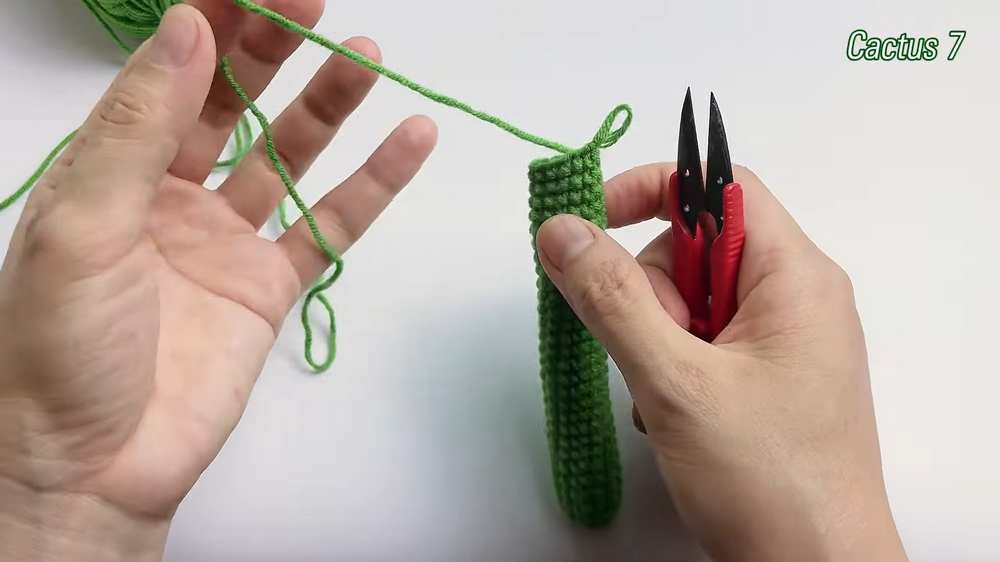
Decorative Flowers
Double-Layer Accent Flower
Using bright flower colored yarn (pink, orange, or red).
- Rnd 1: MR, work 6 sc into the ring. Sl st to join, ch 1. (6 sts)
- Rnd 2: 6 inc. Sl st to join, ch 1. (12 sts)
- Rnd 3: Working in BLO, 12 sc around. Sl st to join, ch 1. (12 sts)
- Rnd 4 (First Petal Layer): [Ch 5, turn and skip the first chain loop from hook, work 1 sl st, 1 sc, and 2 hdc down the chain length. Skip 1 base stitch from Rnd 3, then sl st into the next base stitch] x 6. Close the round with a sl st to form 6 petals total.
- Second Petal Layer: Locate the remaining unworked FLO loops from Rnd 3. Join your yarn to the first loop. Repeat the exact petal formula: [Ch 5, turn and skip first chain, work 1 sl st, 1 sc, 2 hdc down the chain. Skip 1 FLO loop, sl st into the next FLO loop] x 6. Fasten off and weave in your loose yarn tails underneath.
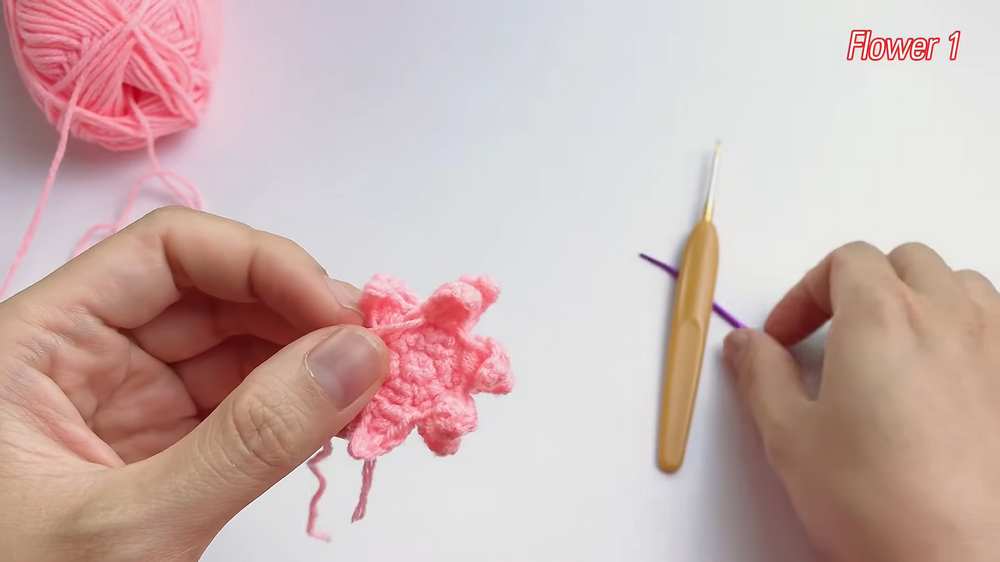
Small Single-Layer Blossom
Using contrast colored yarn.
- Rnd 1: MR, work 8 sc into the ring. Sl st to join, ch 1. (8 sts)
- Rnd 2: [Ch 4, turn and skip the first chain loop from hook, work 1 sl st, 1 sc, and 1 hdc down the chain. Sl st into the very next stitch along the magic ring base] x 8. Fasten off after completing all 8 petals and weave in the ends.
Structural Assembly and Face Details
Pot Construction
- Slip your circular cardboard cutout flat against the bottom of the crocheted pot.
- Line up the perimeter of the flat Soil piece with the remaining unworked BLO loops found inside Rnd 23 of the Pot Rim.
- Using your yarn needle and the long tail left on the soil piece, sew the two parts together stitch-by-stitch.
- Stop sewing when you have a small opening left. Pack the pot firmly with plenty of fiberfill stuffing until the soil layer domes upward nicely. Sew the remaining opening completely closed and knot securely.
Cactus Cluster Arrangement
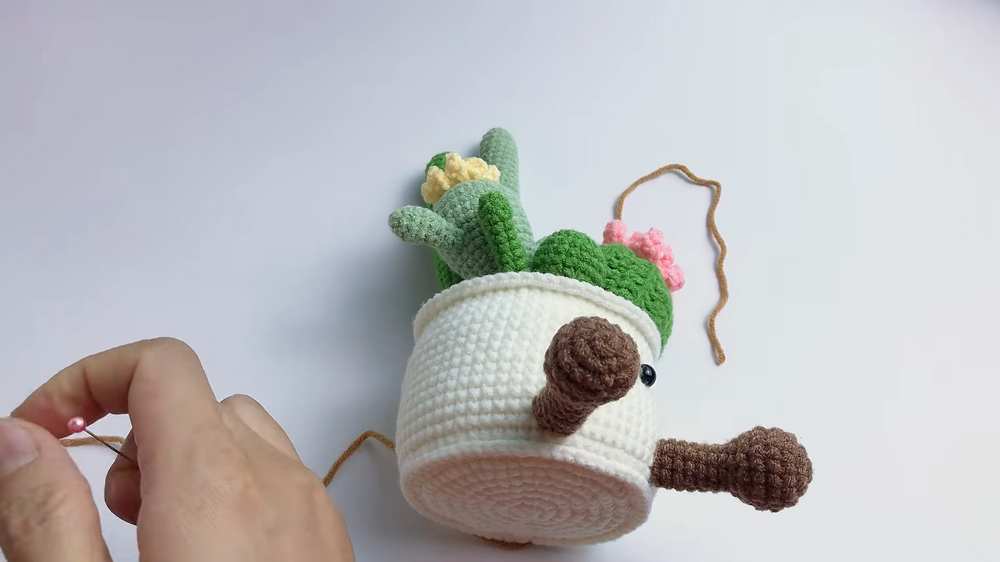
- Attach the two tiny offshoot pads (Cactus Variant 5) onto the side of one of your taller columnar cacti using craft glue or silicone.
- Arrange all seven completed cactus pieces on top of the soil layer. Use sewing pins to experiment with positioning until you create a balanced, clustered look.
- Once satisfied with the layout, pick up each piece one by one and secure them permanently to the soil using hot glue or clear craft glue. Glue the finished blossoms onto the tops of your favorite cactus stalks.
Facial Expressions
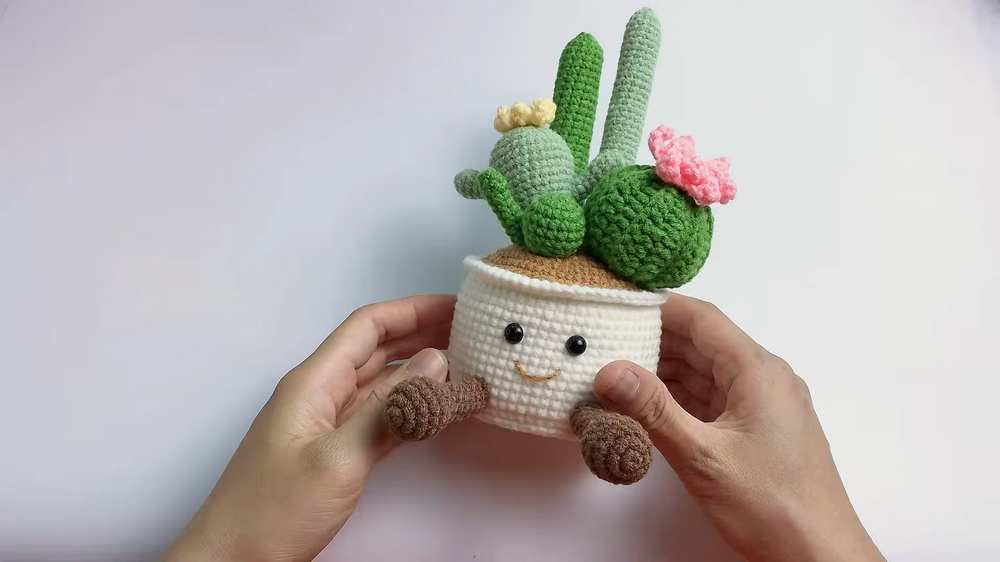
- Eyes: Affix your 8mm safety eyes onto the middle-front section of the pot body using a small dab of adhesive, spacing them evenly apart.
- Mouth: Use a tapestry needle threaded with two separated strands of dark brown or black yarn. Insert the needle to form a wide, loose “V” or “U” shape right between and slightly below the eyes. To achieve a perfectly curved smile that stays in place, put a tiny drop of clear craft glue at the tip of a pin, touch it gently to the lowest center point of the smile thread, and press it slightly downward against the pot stitches. Let it dry completely to anchor the smile shape.
- Leg Assembly: Sew or glue the top open edges of the two Dangling Legs to the bottom-front base seam of the pot so they hang over the side playfully when your cactus pot sits on a flat surface.
Learn with the Video Tutorial