
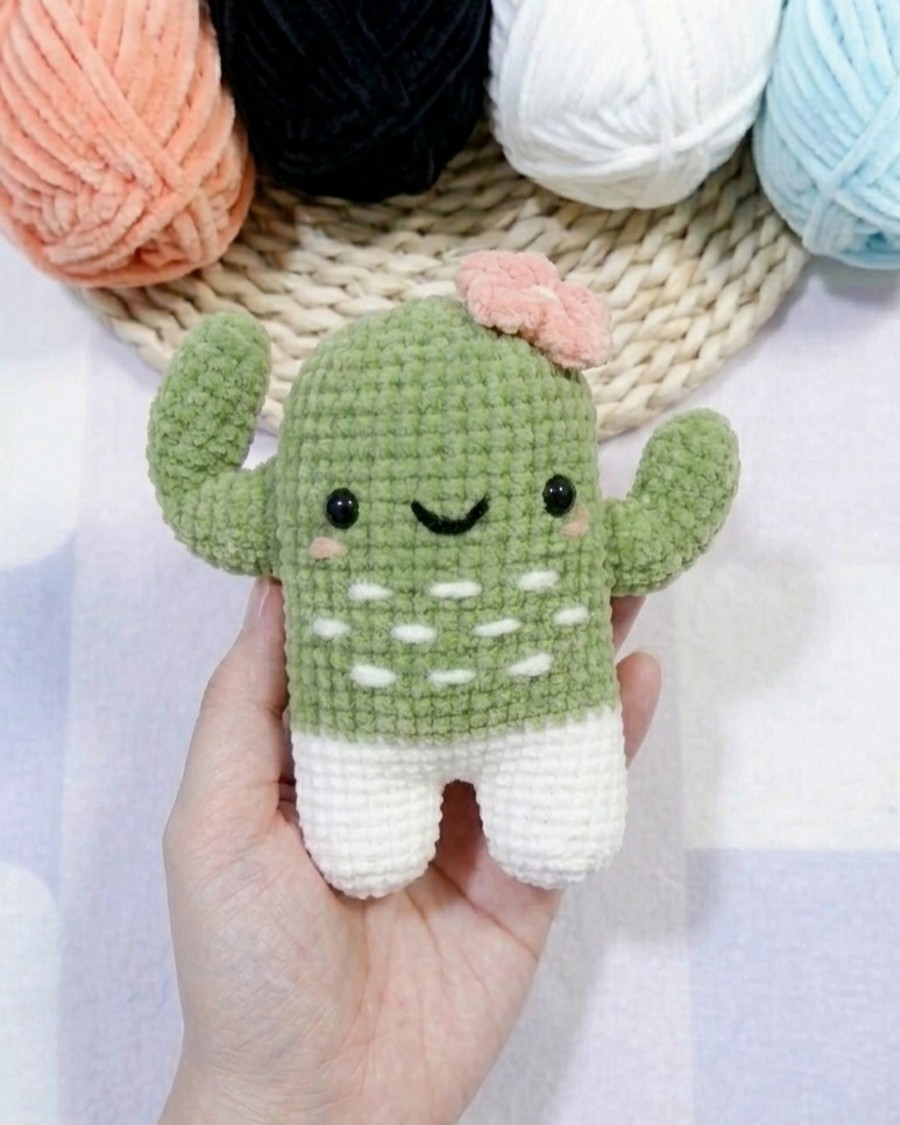
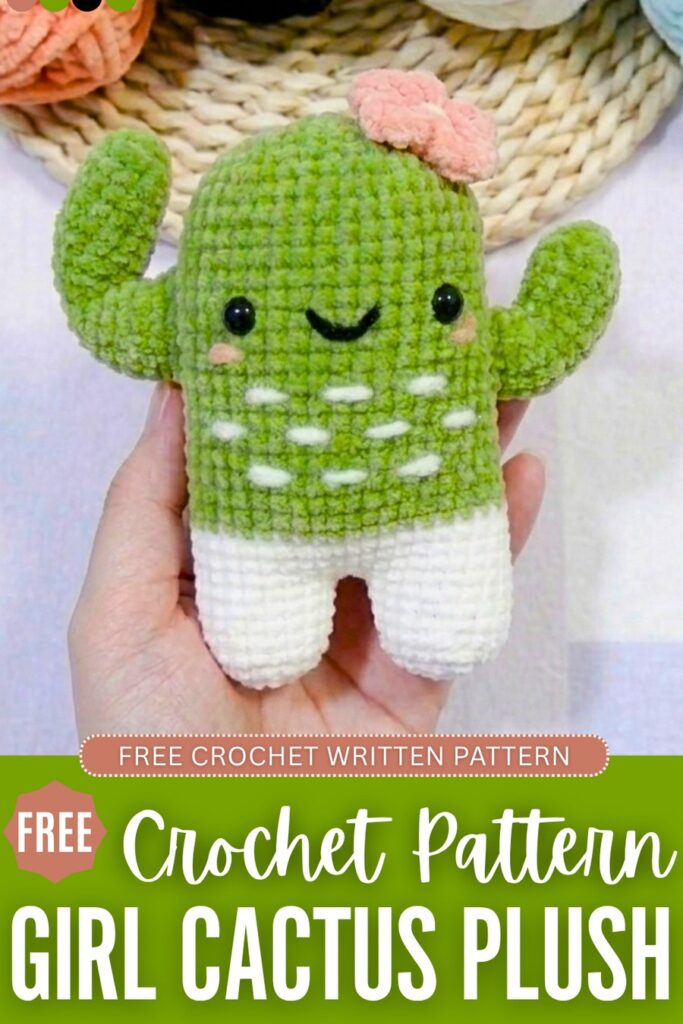
Learn how to crochet this smiling and blushing girl cactus plushie as a sweet present for a baby girl with a FREE pattern. This crochet cactus plushie doll is a part of the “couple cactus amigurumi” series and is simpler to crochet than the mustache guy cactus plushie. She has a little Sakura flower on her head as a clip, white embroidery belly spots, exciting arms ready for a hug, and blush on her cheeks.
The legs are made in white, and it complements with the light green very well. By crocheting the other cactus doll plushie in this set, you can have a not-to-be-missed crochet gift for newlyweds, couples, and siblings. They are so cozy and cute that you won’t resist but to crochet one now. Continue reading for the full pattern.
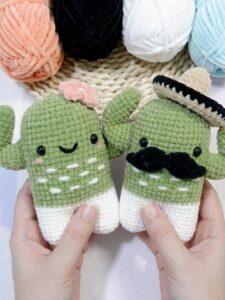
Here is how to crochet both the cactus plushies with one pattern:
Crochet Cactus Woman Plushie: Row-by-Row Pattern
This sweet girl cactus keychain is a quick and delightful amigurumi project featuring a clean color transition from white pants to a green body.
She has mismatched playful arms, a stitched happy smile, soft blushing cheeks, and a gorgeous pink blossom sitting on her head.
Here is the free pattern for crocheting this cactus girl plushie for beginners:
Materials Needed
- Green, white, pink, and light blue yarn
- 2.0 mm crochet hook
- 6mm safety eyes
- Fiberfill stuffing
- Yarn needle and scissors
- Pink cosmetic blush and a keychain ring
Legs and Body. This section builds the base of the cactus, starting with two individual legs in white yarn that are chained together to create the lower pants before switching to green for the main body.
- Round 1: With white yarn, make a MR and work 6 sc into it. (6 sts)
- Round 2: Work 6 inc around. (12 sts)
- Round 3: [1 sc, 1 inc] x 6. (18 sts)
- Round 4 – 7: Work 18 sc around. (18 sts) Fasten off the first leg. Repeat rounds 1–7 for the second leg but keep the yarn attached.
- Round 8: Chain 3 from the second leg, join to the first leg, and work 18 sc around it. Work 3 sc along the chain, 18 sc around the second leg, and 3 sc along the back of the chain. (42 sts)
- Round 9 – 12: Work 42 sc around. (42 sts)
- Round 13: Switch to green yarn and work 42 sc around. (42 sts)
- Round 14 – 30: Work 42 sc around for each round. (42 sts)
- Round 31: [5 sc, 1 dec] x 6. (36 sts)
- Round 32: [4 sc, 1 dec] x 6. (30 sts)
- Round 33: [3 sc, 1 dec] x 6. (24 sts) Stuff the body firmly here.
- Round 34: [2 sc, 1 dec] x 6. (18 sts)
- Round 35: [1 sc, 1 dec] x 6. (12 sts)
- Round 36: Work 6 dec around. (6 sts) Fasten off and weave the tail through the front loops to pull tight and close.
Left Arm The left branch is split into two distinct sections to give the arm a natural, split cactus appearance.
- Round 1: With green yarn, make a MR and work 6 sc. (6 sts)
- Round 2: Work 6 inc around. (12 sts)
- Round 3: [1 sc, 1 inc] x 6. (18 sts)
- Round 4: [2 sc, 1 inc] x 6. (24 sts) Flatten the piece and divide it into two halves of 12 stitches each.
- Top Section (Rounds 1 – 4): Work 12 sc around the first set of 12 stitches. (12 sts)
- Top Section (Round 5): Work 6 dec. (6 sts) Fasten off.
- Bottom Section (Round 1): Attach green yarn to the remaining 12 stitches and work 12 sc. (12 sts)
- Bottom Section (Round 2): Work 12 sc, adding 1 inc at the very end. (14 sts)
- Bottom Section (Round 3): Work 14 sc around. (14 sts) Fasten off and leave a long tail.
Right Arm The right arm uses the exact same base and split construction method as the left arm, but features a slightly longer top branch.
- Round 1 – 4: Follow the exact same setup and division instructions as the Left Arm.
- Top Section: Work 6 rounds of 12 sc instead of 4 rounds before closing.
- Top Section Close: Work 6 dec to close the tip and fasten off.
- Bottom Section: Repeat the exact same 3 rounds as the Left Arm bottom section (12 sc, 14 sc with an increase, 14 sc) and leave a long sewing tail.
Layered Pink Flower The flower uses back-loop and front-loop placement techniques to build up beautifully textured, overlapping rows of pink petals.
- Round 1: With pink yarn, make a MR and work 6 sc. (6 sts)
- Round 2: Working in BLO, work 6 inc. (12 sts)
- Round 3: Working in BLO, [1 sc, 1 inc] x 6. (18 sts)
- Round 4: Working in BLO, [2 sc, 1 inc] x 6. (24 sts) Fasten off the base.
- Petals: Attach yarn to the remaining FLO loops of Round 2. Work [1 hdc, 3 dc in the next st, 1 hdc, 1 sl st] repeatedly across the front loops of Round 2 and Round 3 to form the layers. Fasten off and leave a tail.
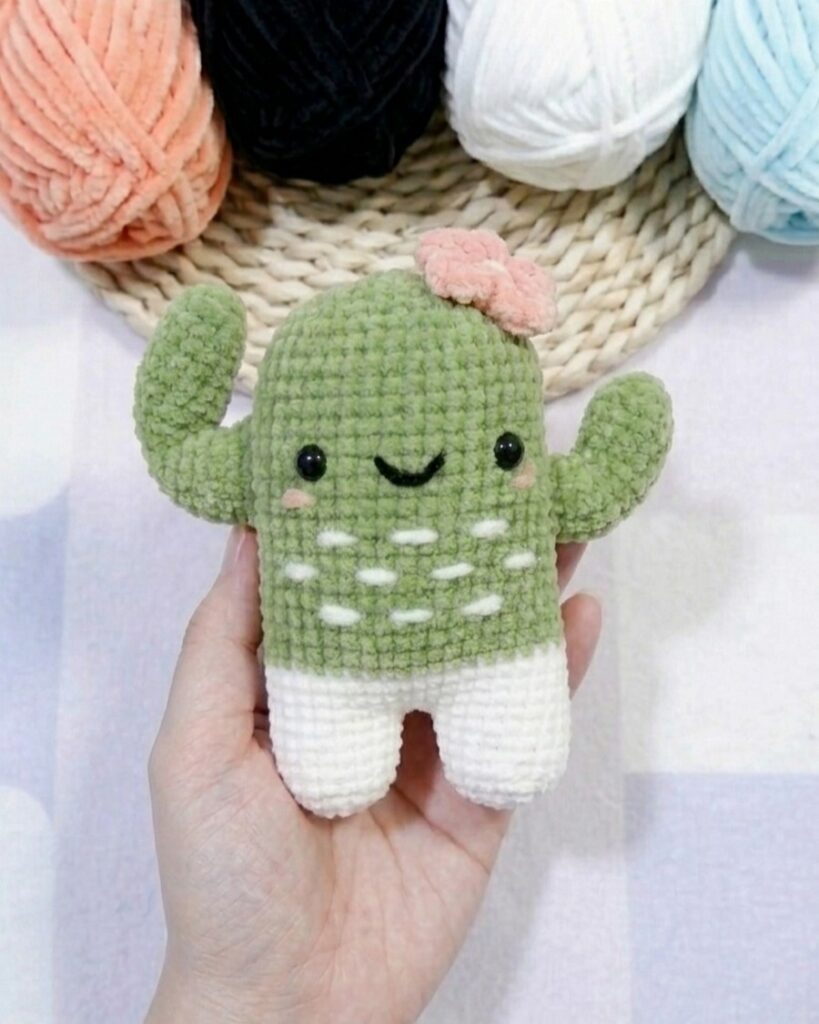
Assembly: Assembly requires securing her limbs, adding her expressive face details, and attaching her signature floral accessory.
- Step 1: Sew the left arm to the side of the body around Round 17 and the right arm around Round 19.
- Step 2: Use light blue yarn to embroider small, staggered horizontal accent lines across the green body rows to mimic cactus texture.
- Step 3: Insert 6mm safety eyes between Rows 23 and 24, leaving a gap of 7 stitches between them.
- Step 4: Stitch a tiny, upward-curved happy smile centered between the eyes using thin black thread.
- Step 5: Securely sew the layered pink flower to the top right side of her head.
- Step 6: Dab a bit of pink cosmetic blush just under her eyes for soft cheeks, then attach a keychain ring to the very top.