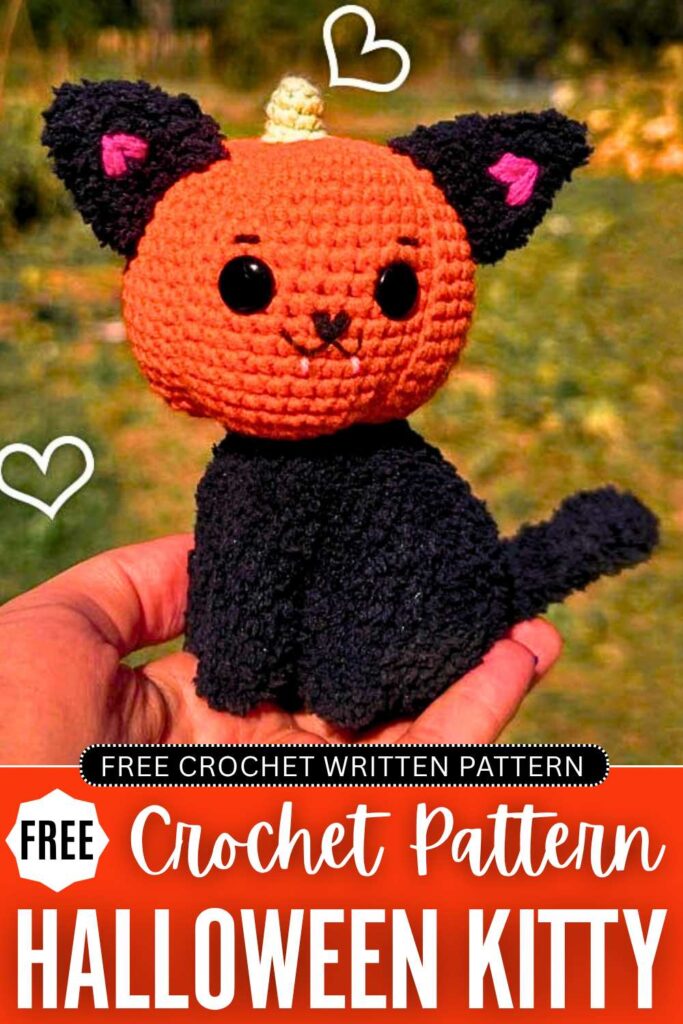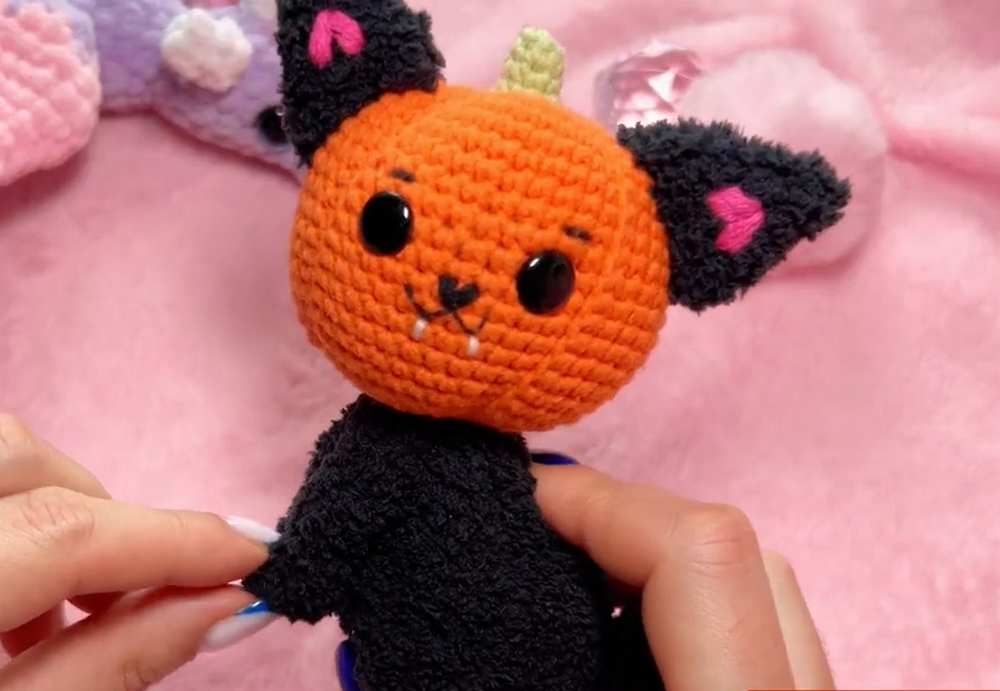
Last time, you learned how to crochet the face of the pumpkin kitty plushie to use as a Halloween bag charm! Today, you will learn how to crochet the complete pumpkin kitty cat plushie pattern, including the body, paw, and tail patterns as well as the face pattern. It is an irresistible Halloween present for kids and can also welcome guests with its sitting pose, just like the BOO ghost plush.
It is a low-sew crochet fall cat pattern you can easily finish within 1.5 hours. And with the fuzzy yarn for the ears and the body, just like in the fox plush, it makes the most comforting companion. Now, continue reading for the full crochet pumpkin amigurumi kitty pattern for all skill levels.
Crochet Pumpkin Black Cat Plushie: Written Instructions
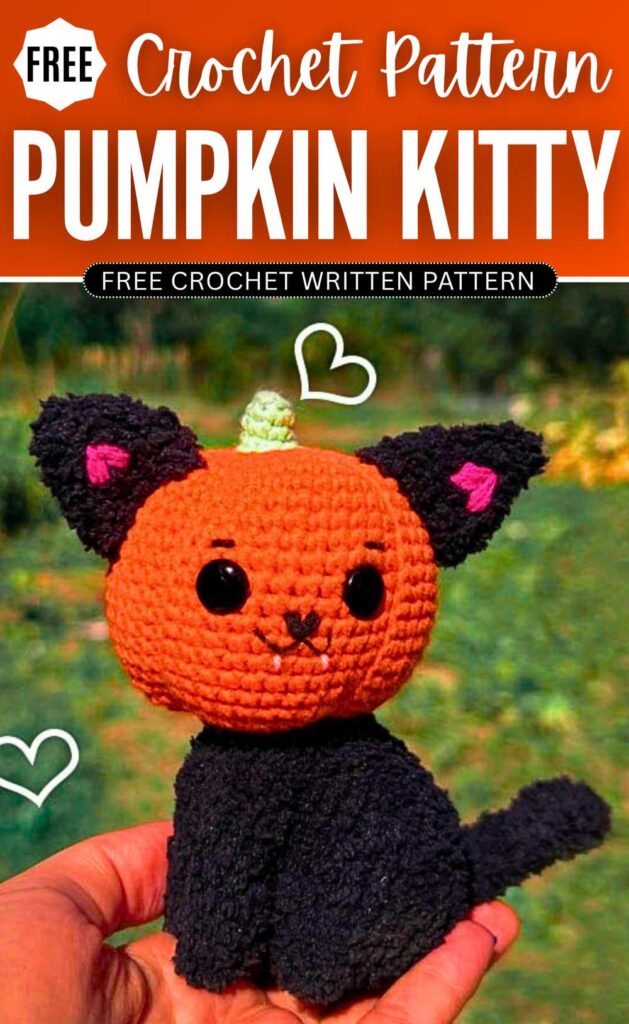
Here is the complete pattern to crochet the whole Pumpkin Kitty featuring the head, ears, body, paws, and tail. It can sit on your desktop and make your Halloween special!
Full Pumpkin Kitty Crochet Pattern
Materials You Will Need
- Yarn:
- Head & Stem: YarnArt Jeans (Sport weight) in Orange and Cream/Off-White.
- Body, Paws, Ears, & Tail: Alize Baby Softy (or similar textured/fluffy yarn) in Black.
- Details: Small amounts of black and pink yarn for the face and inner ears.
- Crochet Hook: 2.25 mm
- Eyes: 10 mm black safety eyes
- Other Tools: Fiberfill stuffing, tapestry needle, and stitch markers.
Abbreviations (US Terms)
- MR: Magic Ring
- sc: Single crochet
- dc: Double crochet
- inc: Increase (2 sc in the same stitch)
- dec: Decrease (Invisible decrease recommended)
- BLO: Back loop only
- sl st: Slip stitch
- 4dc-bobble: 4 double crochet bobble stitch (creates the hind feet)
- st(s): Stitch(es)
- [ ] * X: Repeat instructions inside brackets X times
Step-by-Step Instructions
Part 1: The Stem & Head
Start with Cream/Off-White yarn.
- Rnd 1: 6 sc in a MR (6)
- Rnd 2: BLO 6 sc (6)
- Rnd 3: 5 sc, 1 inc (7)
- Rnd 4: 3 sc, 1 inc, 3 sc (8)
- Rnd 5: [3 sc, 1 inc] * 2 (10)
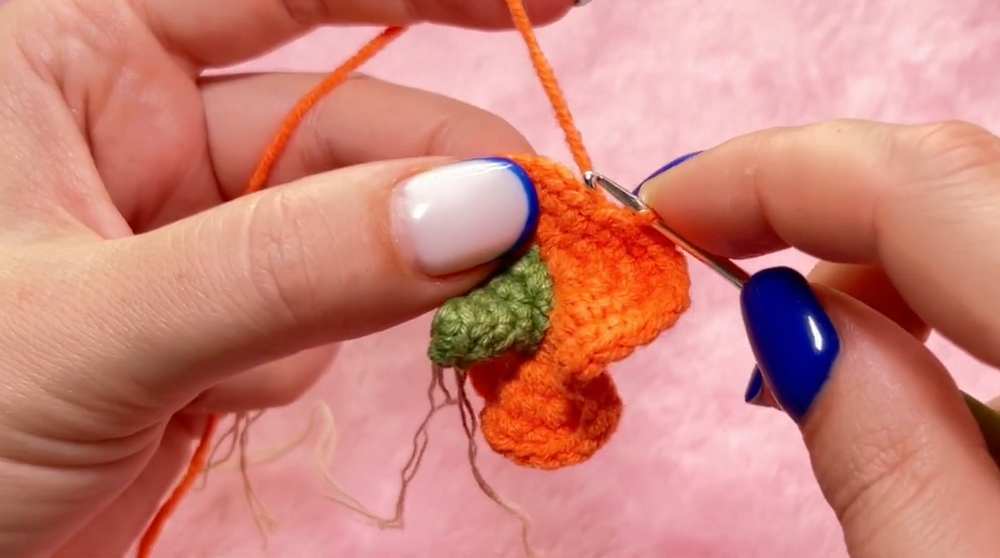
Switch to Orange yarn. The slip stitches here create the pumpkin’s ridges.
- Rnd 6: (3 sc in one st, 1 sl st) * 2, 4 sc in one st, (1 sl st, 3 sc in one st) * 2, 1 sl st (21)
- Rnd 7: (3 inc, 1 sl st) * 2, 4 inc, (1 sl st, 3 inc) * 2, 1 sl st (37)
- Rnd 8: (2 sc, 2 inc, 2 sc, 1 sl st) * 2, 3 sc, 2 inc, 3 sc, 1 sl st, (2 sc, 2 inc, 2 sc, 1 sl st) * 2 (47)
- Rnd 9–24 (16 rows): (8 sc, 1 sl st) * 2, 10 sc, 1 sl st, (8 sc, 1 sl st) * 2 (47)
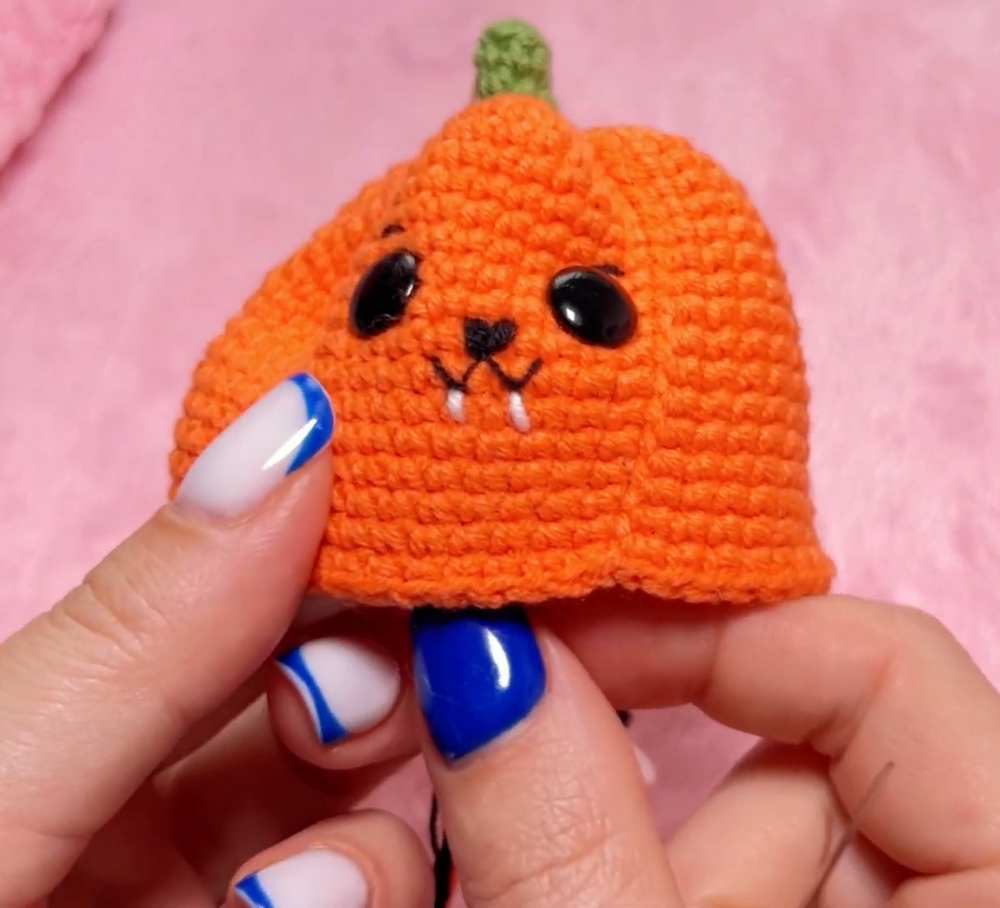
Eye Placement: Insert 10mm safety eyes between Rnds 15 and 16. Place them at approximately the 21st and 27th stitches, leaving 5 visible stitches between them.
- Rnd 25: (4 dec, 1 sl st) * 2, 5 dec, 1 sl st, (4 dec, 1 sl st) * 2 (26)
- Stuff the head firmly with fiberfill.
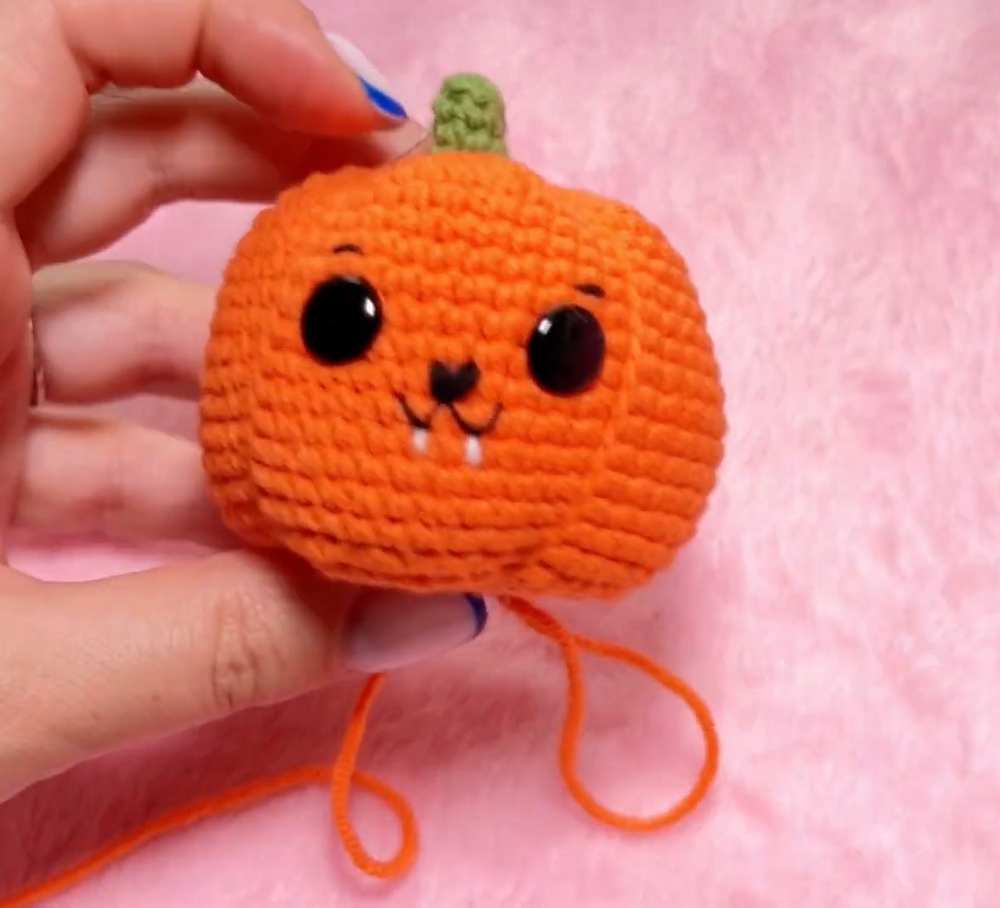
- Rnd 26: 13 dec (13) Fasten off, leave a long tail to pull the opening closed, and weave in ends.
Part 2: The Cat Ears (Make 2)
Use Fluffy Black yarn. Do not stuff.
- Rnd 1: 4 sc in a MR (4)
- Rnd 2: [1 sc, 1 inc] * 2 (6)
- Rnd 3: [2 sc, 1 inc] * 2 (8)
- Rnd 4: [3 sc, 1 inc] * 2 (10)
- Rnd 5: 1 sc, 1 inc, 2 sc, 1 inc, 4 sc, 1 inc (13)
- Rnd 6: [2 sc, 1 inc] * 2, 6 sc, 1 inc (16)
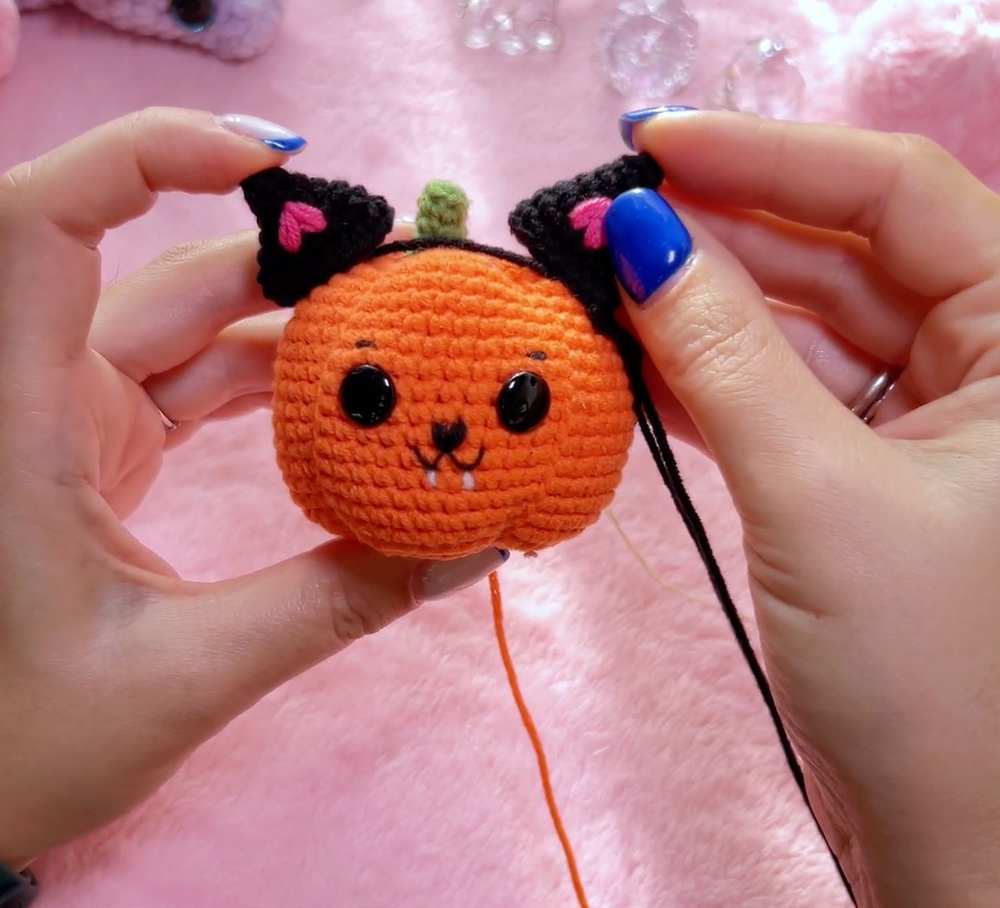
- Rnd 7: 16 sc (16) Fasten off, leaving a long tail for sewing. Embroider two pink “V” shapes onto the front of each ear for the inner ear detail.
Part 3: Front Paws (Make 2)
Use Fluffy Black yarn. Do not stuff (or stuff the tips very lightly).
- Rnd 1: 6 sc in a MR (6)
- Rnd 2: [2 sc, 1 inc] * 2 (8)
- Rnd 3–9 (7 rows): 8 sc (8) Fasten off and set aside. They will be crocheted directly into the body later.
Part 4: The Body
Use Fluffy Black yarn.
- Rnd 1: 6 sc in a MR (6)
- Rnd 2: 6 inc (12)
- Rnd 3: 12 inc (24)
- Rnd 4: [2 sc, 1 inc] * 8 (32)
- Rnd 5: 32 sc (32)
- Rnd 6 (Hind Feet Row): 11 sc, 4dc-bobble, 9 sc, 4dc-bobble, 10 sc (32)
- Rnd 7: 32 sc (32)
- Rnd 8: 6 sc, 2 dec, 12 sc, 2 dec, 6 sc (28)
- Rnd 9: 28 sc (28)
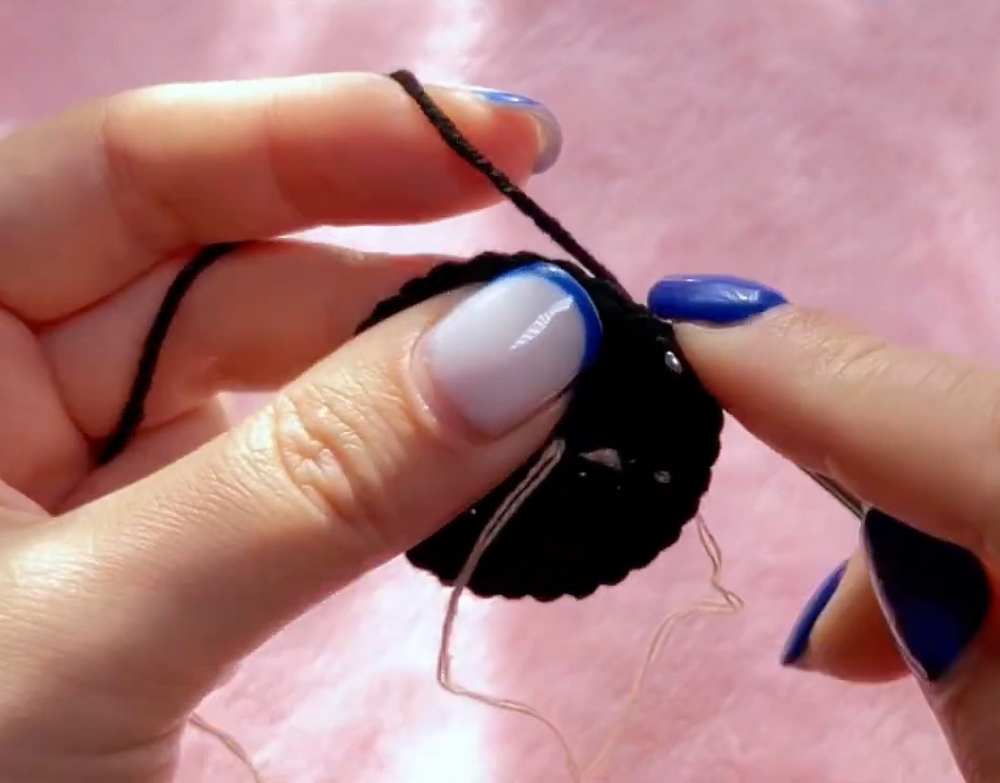
- Rnd 10: 1 dec, 23 sc, 1 dec, 1 sc (26)
- Rnd 11: 1 dec, 2 sc, 1 dec, 16 sc, 1 dec, 2 sc (23)
Joining the Front Paws: In the next two rounds, you will attach both front paws directly to the chest.
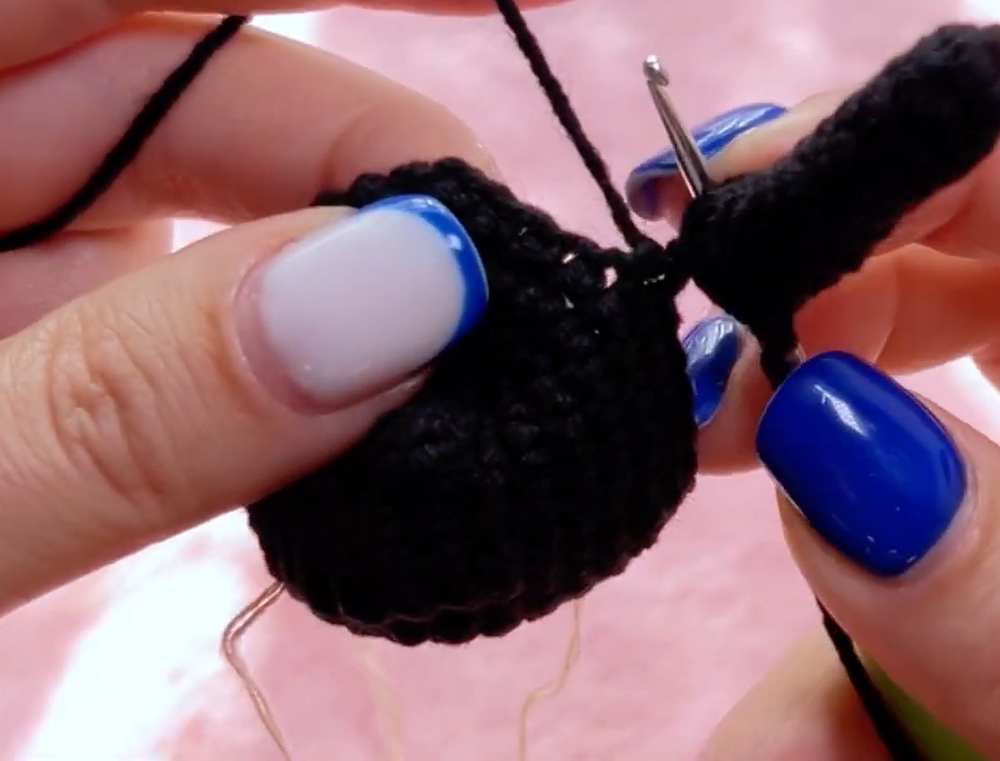
- Rnd 12: 10 sc on the body, attach Paws: [sc 1 stitch from the paw and 1 stitch from the body together] * 3 for the first paw, then repeat the same 3-stitch join for the second paw, 7 sc on the body (23)
- Rnd 13: 1 dec, 2 sc, 1 dec, 4 sc, 5 sc around the remaining unworked outer loops of the first paw, 5 sc around the outer loops of the second paw, 3 sc, 1 dec, 2 sc (24)
- Rnd 14: 1 dec, 1 sc, 1 dec, 16 sc, 1 dec, 1 sc (21)
- Rnd 15: 21 sc (21)
- Stuff the body firmly with fiberfill.
- Rnd 16: 10 dec, 1 sc (11)
- Rnd 17: 5 dec, 1 sc (6) Fasten off, leaving a long tail for sewing the body to the head.
Part 5: The Tail
Use Fluffy Black yarn.
- Rnd 1: 7 sc in a MR (7)
- Rnd 2–13 (12 rows): 7 sc (7) Fasten off, leaving a long tail for assembly.
Assembly & Finishing Touches
- Facial Embroidery:
- Stitch a small upside-down triangle with black yarn between the eyes for the nose.
- Bring a line down and split it into a wide “W” shape for the cat smile. Add tiny horizontal lines above the eyes for eyebrows.
- Use pink yarn to embroider two small vampire fangs pointing down from the mouth.
- Ears: Sew the ears to the sides of the head near Rnds 7–10, framing the cream stem.
- Head to Body: Sew the top opening of the body securely to the bottom center of the pumpkin head. Ensure the front paws align nicely under the face.
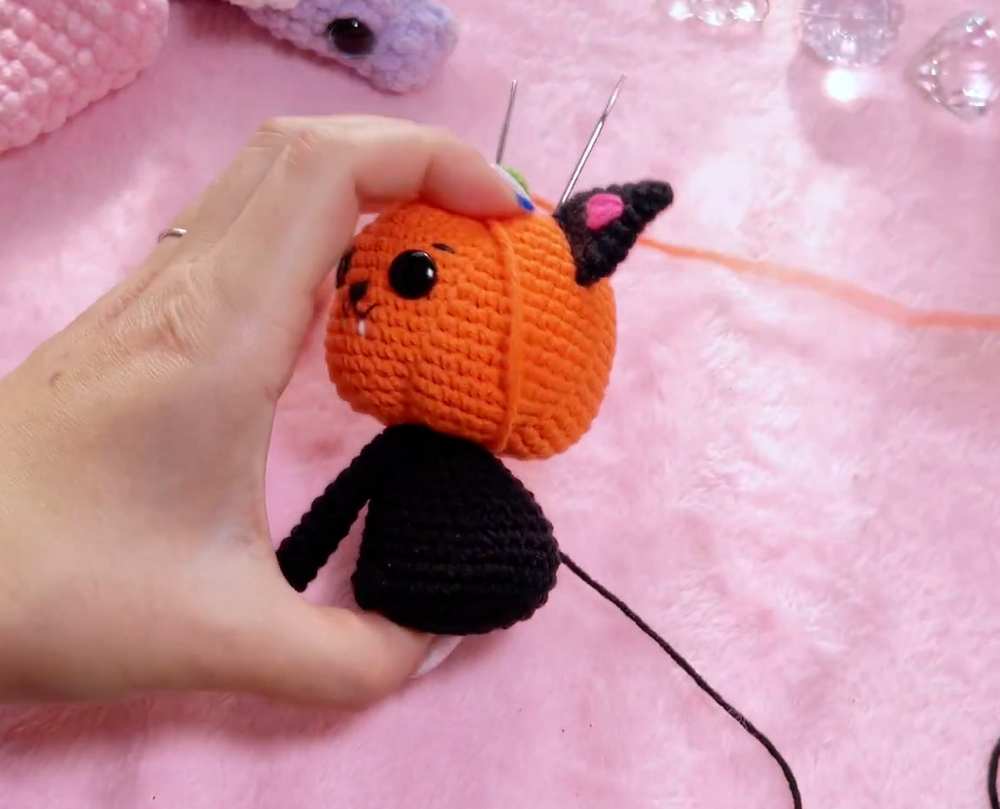
- Tail: Sew the tail to the lower back of the body, just above the base rounds. Point it slightly upward or off to the side for a cute look!
Learn with the Video Tutorial
Save for Later!