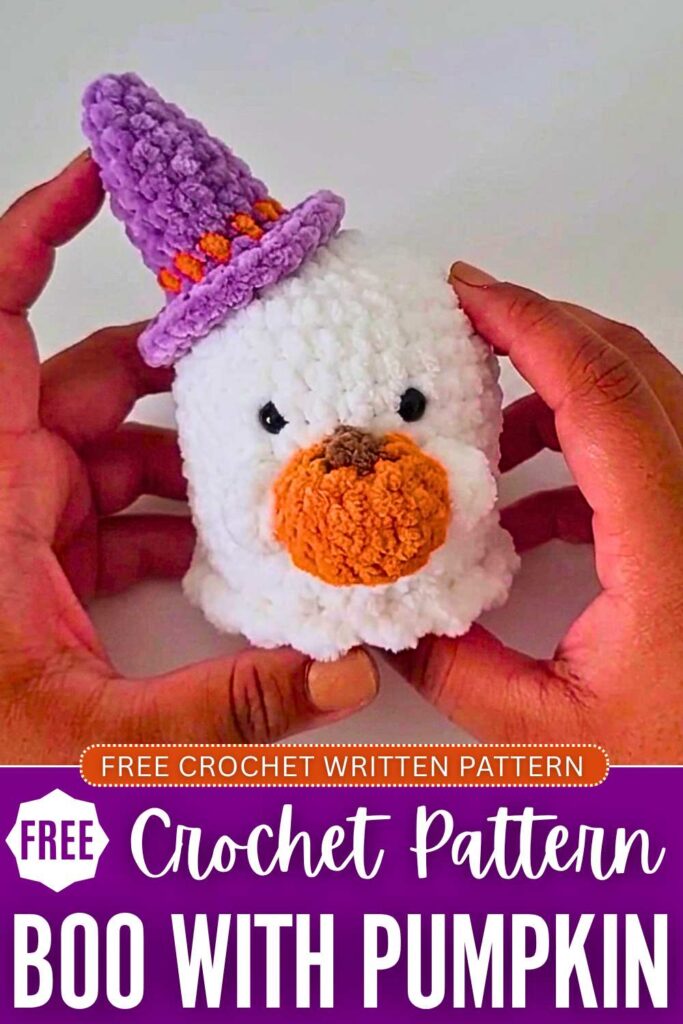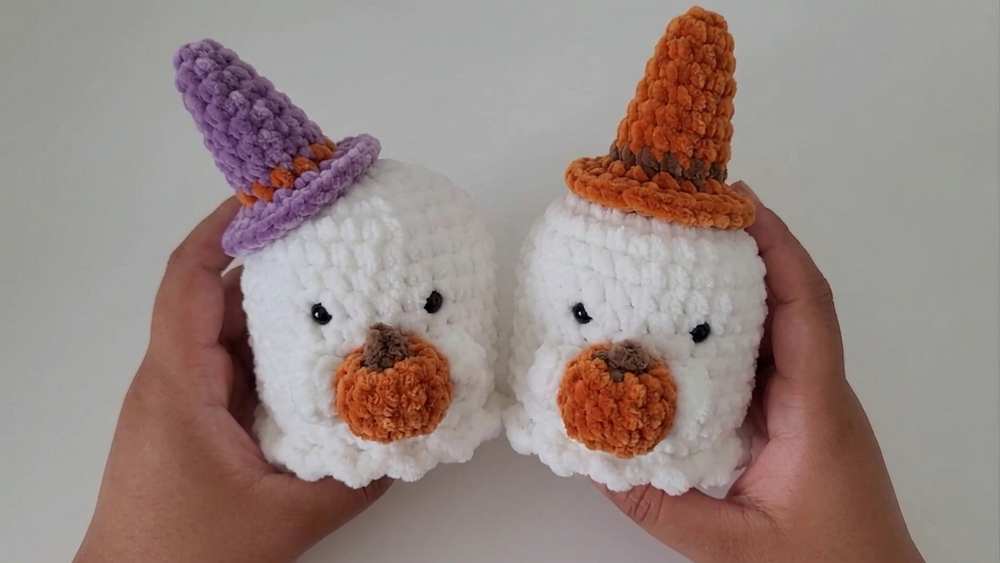
Looking for the CUTEST crochet Boo amigurumi decoration to welcome guests at Halloween? Learn how to crochet this pumpkin-holding boo ghost plushie with a FREE pattern for absolute beginners. You will also learn to crochet a cute little witch hat for these ghost plushies.
The ruffled-skirt ghost body pattern is no-sew; we shall even crochet the arms without sewing, with the use of bobble stitch. The small pumpkin plush looks just so cute when held by this boo amigurumi plush.
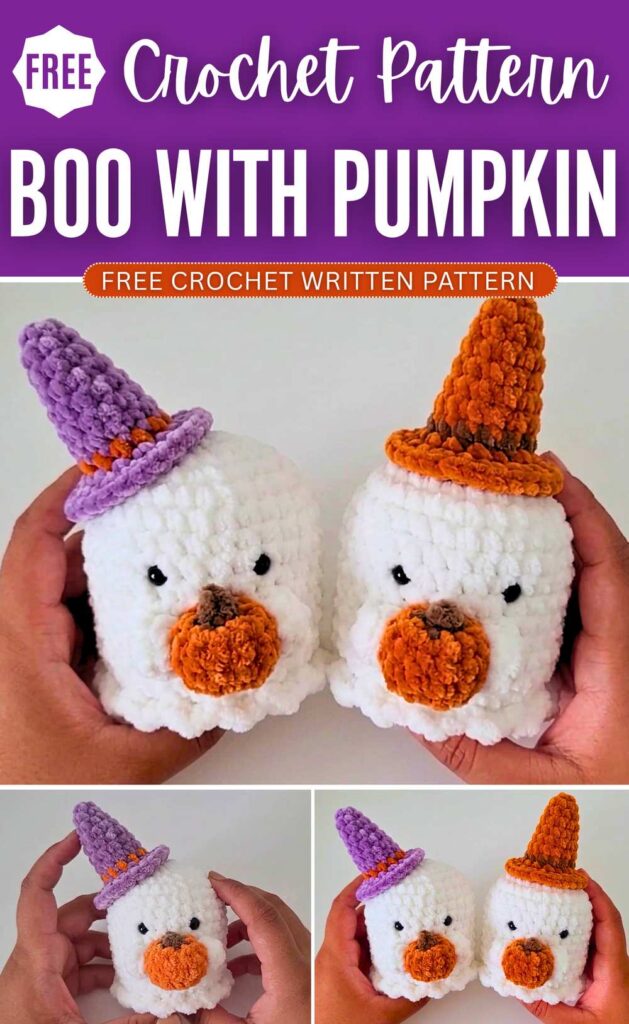
You can pose the witch hat in different ways, such as normally or tilted sideways, and also choose from an orange or purple hat. This crochet boo plush can be completed in 60 minutes, and you can also crochet a pair to welcome guests or as a present for kids. Now, continue reading for the full crochet boo plush pattern.
Ghost with Witches Hat and Pumpkin Crochet Pattern
This fun project is a cute little ghost holding a tiny pumpkin and wearing a witch hat. It is a perfect decoration for Halloween.
The pattern uses simple shapes that are sewn together at the end. You make the ghost body first, then add the bumps on the bottom.
After that, you make the small pumpkin, two tiny arms, and the hat. Finally, you stuff the pieces and sew them all together to make your spooky little friend.
Materials Needed
- White yarn (for the ghost body and arms)
- Orange yarn (for the pumpkin and hat)
- Brown yarn (for the pumpkin stem and hat belt)
- Black yarn (optional, for embroidering a mouth)
- Safety eyes or button eyes (or black yarn to embroider eyes)
- Crochet hook
- Polyfill stuffing
- Tapestry needle / Darning needle
- Scissors
Abbreviations (US Terms)
- MR – Magic Ring
- ch – chain
- sc – single crochet
- inc – increase (2 single crochet in the same stitch)
- dec – decrease (single crochet 2 stitches together)
- sl st – slip stitch
- st / sts – stitch / stitches
- BLO – Back Loops Only
- FLO – Front Loops Only
Ghost Body Pattern
Round 1: Start with a Magic Ring. Chain 1. Make 6 sc into the magic ring. Pull the tail to close the ring. Slip stitch into the first st. Chain 1. (6 sts)
Round 2: Make 1 inc in each stitch around. Slip stitch into the first st. Chain 1. (12 sts)
Round 3: Repeat the pattern of (1 sc, 1 inc) all the way around. Do this 6 times. Slip stitch into the first st. Chain 1. (18 sts)
Round 4: Repeat the pattern of (2 sc, 1 inc) all the way around. Do this 6 times. Slip stitch into the first st. Chain 1. (24 sts)
Round 5: Repeat the pattern of (3 sc, 1 inc) all the way around. Do this 6 times. Slip stitch into the first st. Chain 1. (30 sts)
Round 6 to Round 15: For the next 10 rounds, simply make 1 sc in each stitch around. Do not increase. Slip stitch into the first st and chain 1 at the end of every round. (30 sts)
Note: At this point, place your safety eyes between rows 8 and 9, leaving 3 stitches between them. You can also embroider a mouth with black yarn if you do not want to use the pumpkin.
Round 16: Work in the Back Loops Only (BLO) for this round. Repeat the pattern of (3 sc, 1 dec) all the way around. Slip stitch into the first st. Chain 1. (24 sts)
Round 17: Work in both loops again. Repeat the pattern of (2 sc, 1 dec) all the way around. Slip stitch into the first st. Chain 1. (18 sts)
Note: Stuff your ghost body firmly with polyfill now.
Round 18: Repeat the pattern of (1 sc, 1 dec) all the way around. Slip stitch into the first st. Chain 1. (12 sts)
Round 19: Make dec stitches all the way around. (6 sts)
Closing the Ghost Body: Cut the yarn leaving a long tail. Chain 1 and pull the yarn through. Thread the tail onto a darning needle. Weave the needle in and out of the front loops of the remaining 6 stitches. Pull tight to close the hole. Tie a knot and hide the tail inside the body.
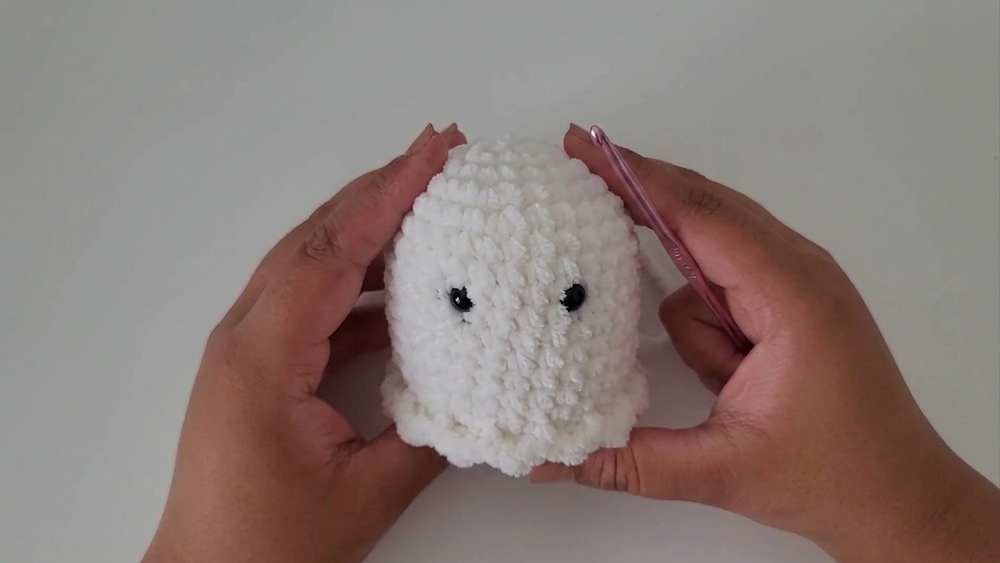
Bottom Bumps Pattern
Step 1: Turn the ghost upside down. Look for the ridge created by Round 16 where you worked in the back loops. You will now work into the unworked front loops.
Step 2: Attach your white yarn with a slip knot to any front loop. Chain 1.
Step 3: In that same loop, make 3 sc.
Step 4: Slip stitch into the next loop.
Step 5: In the loop after that, make 3 sc.
Step 6: Repeat Steps 4 and 5 all the way around the bottom edge. When you finish, slip stitch into the very first stitch. Chain 1, cut the yarn, and hide the tail inside.
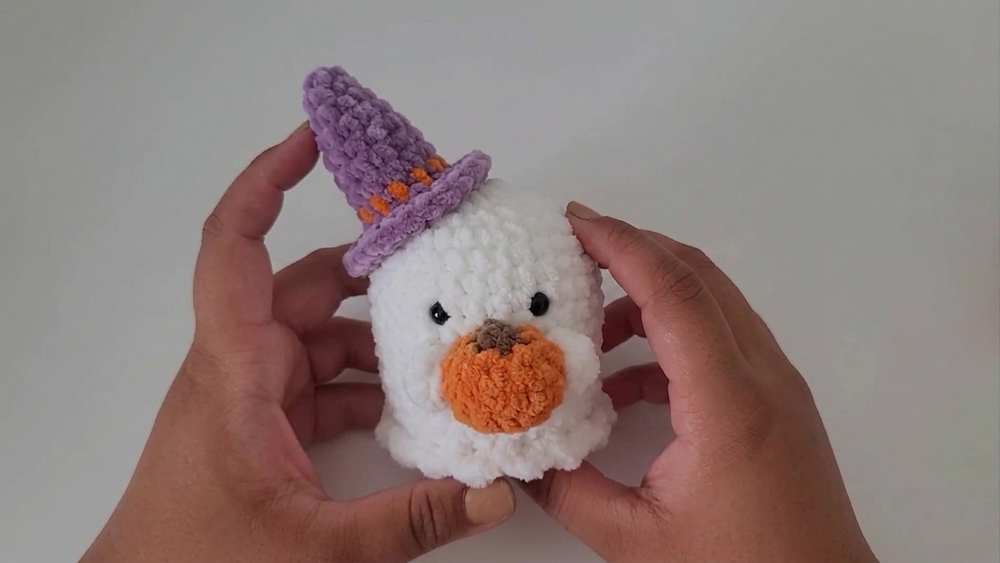
Pumpkin Pattern
Round 1: Using orange yarn, start with a Magic Ring. Chain 1. Make 5 sc into the magic ring. Pull to close. Slip stitch into the first st. Chain 1. (5 sts)
Round 2: Make 1 inc in each stitch around. Slip stitch into the first st. Chain 1. (10 sts)
Round 3 and Round 4: Make 1 sc in each stitch around. Slip stitch into the first st. Chain 1. Cut the orange yarn and pull through. (10 sts)
Round 5 (Stem): Attach brown yarn into the Back Loops Only of Round 4. Chain 1. Make dec stitches all the way around in the BLO. Slip stitch into the first st. Cut the yarn leaving a long tail.
Closing the Pumpkin: Thread the brown tail onto your needle. Weave through the front loops of Round 5 and pull tight to close. Fasten off and leave a long orange tail if you want to sew it to the ghost.
Hands Pattern (Make 2)
Round 1: Using white yarn, make a Magic Ring. Chain 1. Make 6 sc into the ring. Pull to close. Slip stitch into the first st. Chain 1. (6 sts)
Round 2: Make 1 sc in each stitch around. Slip stitch into the first st. Chain 1. Cut the yarn, leaving a long tail for sewing. (6 sts)
Witches Hat Pattern
Round 1: Using orange yarn (or your main hat color), make a Magic Ring. Chain 1. Make 6 sc into the ring. Pull to close. Slip stitch into the first st. Chain 1. (6 sts)
Round 2: Make 1 sc in each stitch around. Slip stitch into the first st. Chain 1. (6 sts)
Round 3: Make 1 inc in each stitch around. Slip stitch into the first st. Chain 1. (12 sts)
Round 4 to Round 7: For the next 4 rounds, make 1 sc in each stitch around. Slip stitch into the first st. Chain 1. Cut the orange yarn at the end of Round 7. (12 sts)
Round 8 (Belt): Attach brown yarn. Make 1 sc in each stitch around. Slip stitch into the first st. Chain 1. Cut the brown yarn. (12 sts)
Round 9 (Brim): Re-attach orange yarn. Repeat the pattern of (1 sc, 1 inc) all the way around. Slip stitch into the first st. Chain 1. (18 sts)
Round 10: Repeat the pattern of (2 sc, 1 inc) all the way around. Slip stitch into the first st. Chain 1. Cut the yarn, leaving a very long tail for sewing. (24 sts)
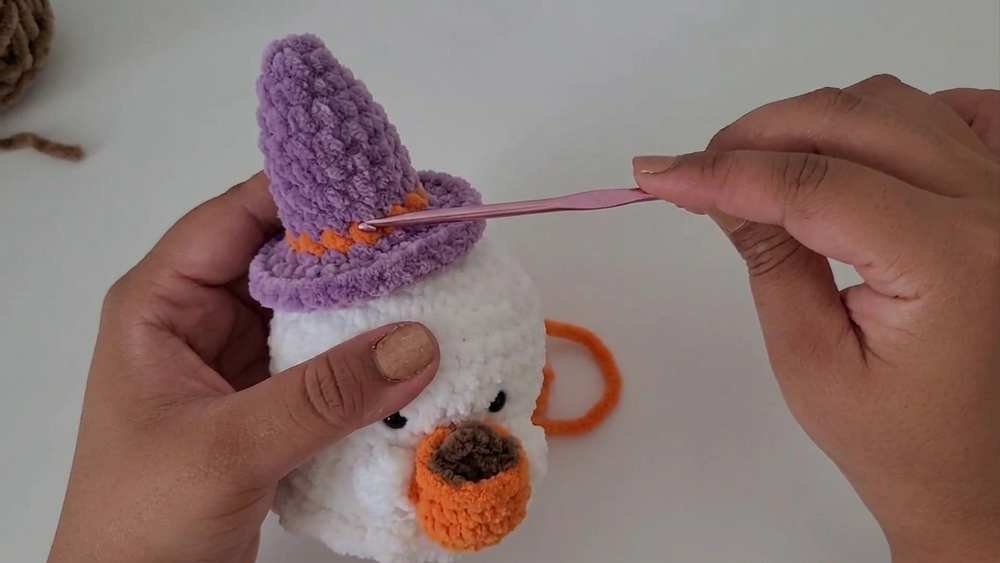
Assembly
Step 1: Place the pumpkin on the front center of the ghost, below the eyes. Use the darning needle to sew the pumpkin securely to the ghost body.
Step 2: Take the small white hands. Sew the open top part of each hand flat to close it.
Step 3: Pin or hold the hands to the sides of the pumpkin. Sew the hands to the ghost body, and then add a few stitches attaching the hands directly to the sides of the pumpkin so the ghost looks like it is holding it.
Step 4: Lightly stuff the witch hat. Place it on top of the ghost’s head, slightly tilted if you prefer. Use the long orange tail to sew up and down through the hat and the ghost’s head to secure it in place. Hide all loose ends inside the body.
Save for Later