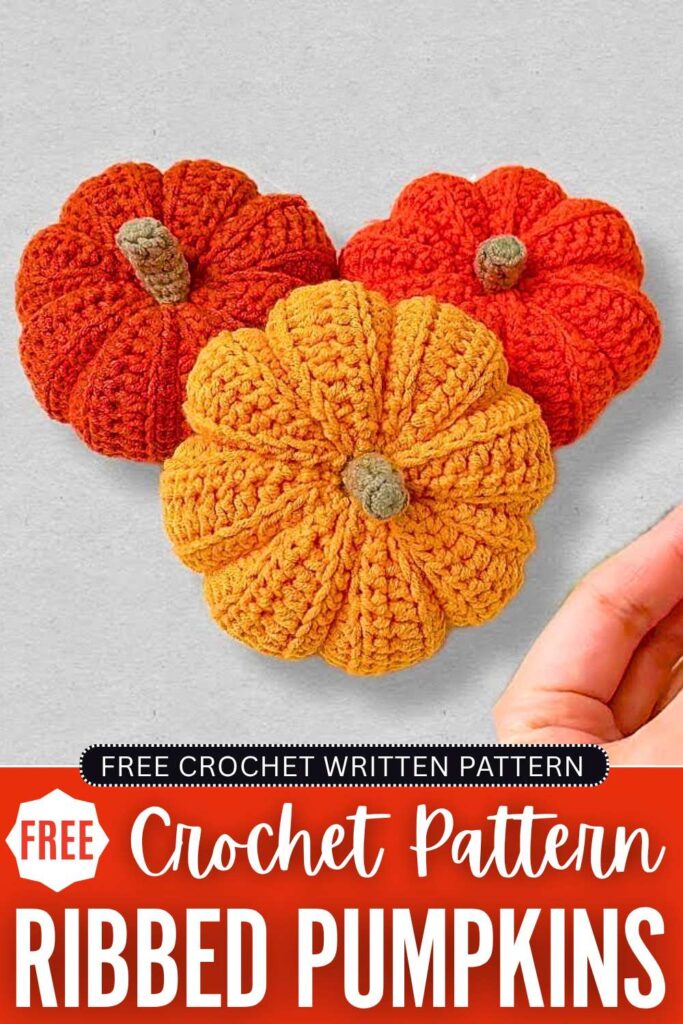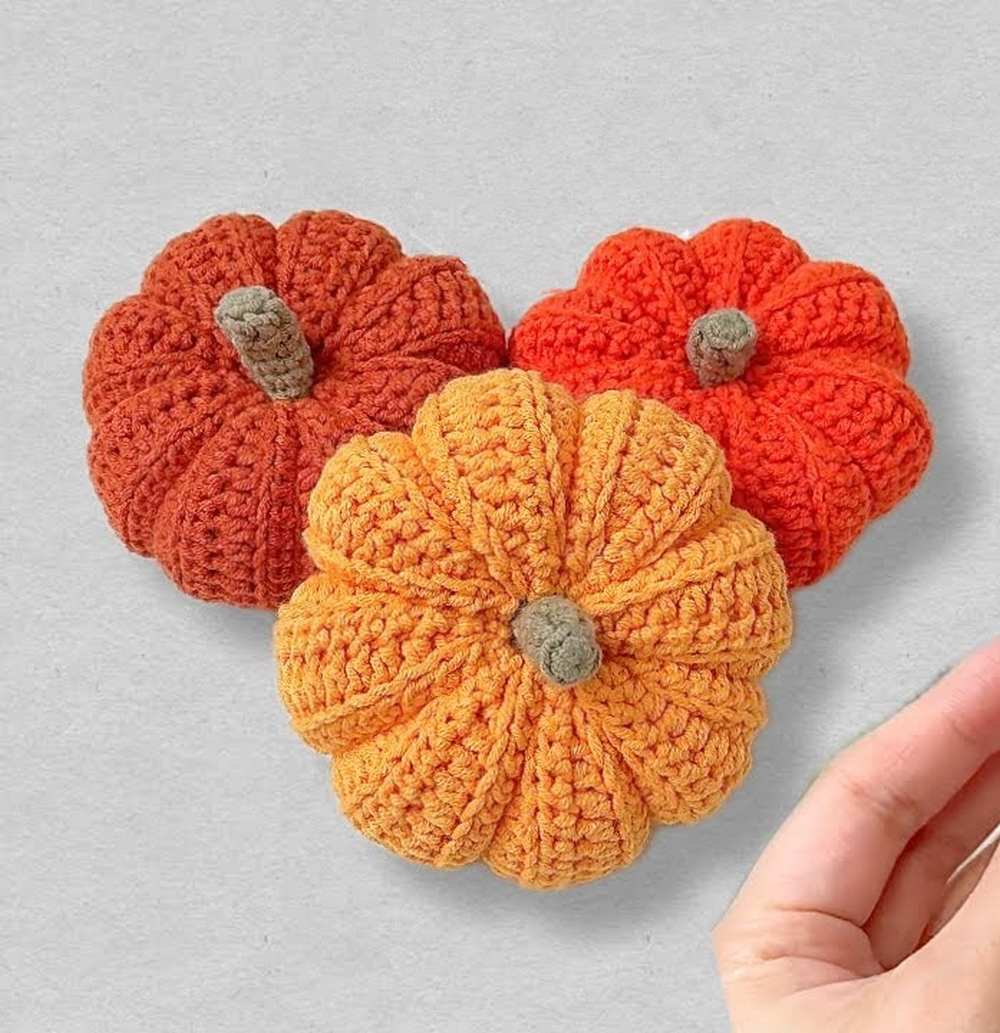
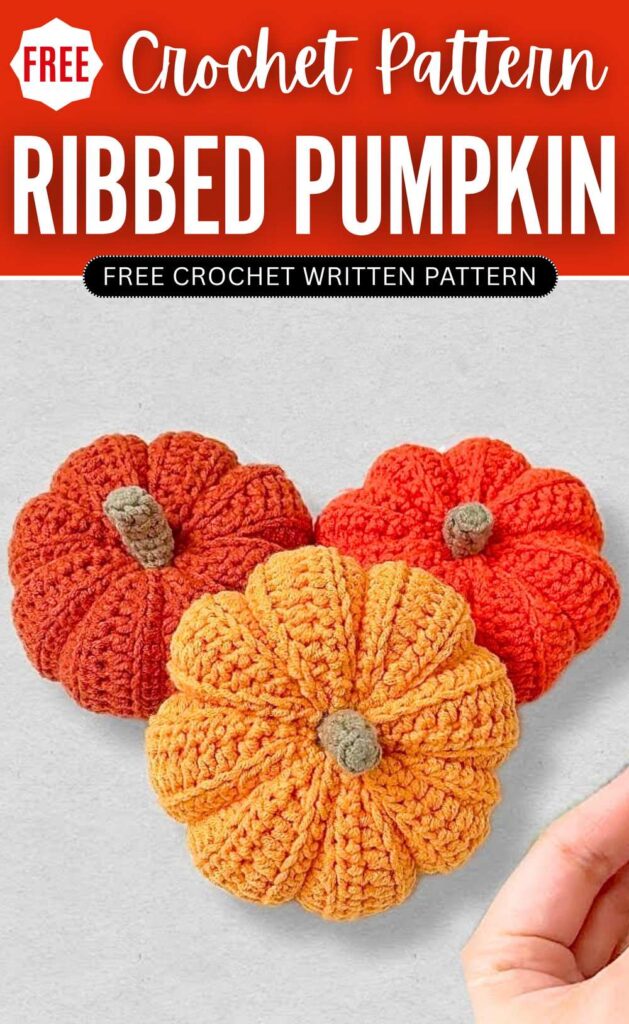
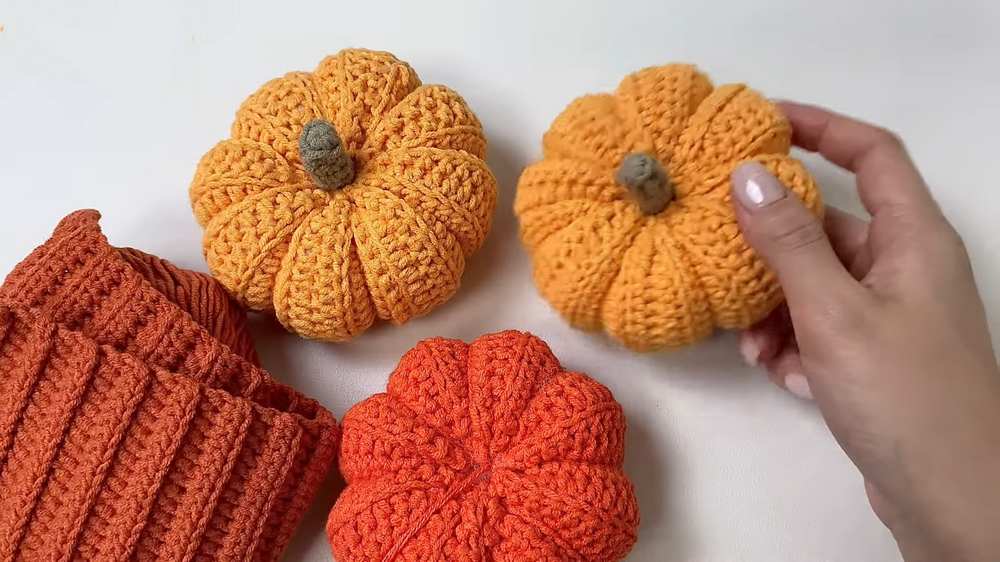
Learn how to crochet a beautiful ribbed pumpkin for fall in any color and size with this FREE pattern for absolute beginners. Crochet a trio in different shades of orange for fall decoration or complete the Thanksgiving centrepiece by crocheting them in different sizes. Unlike the big fall pumpkin amigurumi, it is preferred to be small and can also be used as a keychain and tote bag charm.
It is easy for beginners, as we only have to crochet a long piece of ribbed rectangle to make this ribbed pumpkin. For the stem, we will work in the rounds and stuff it. The idea is to sew the piece into the pumpkin shape, which is a MUCH cleverer option. Now, continue reading for the full pumpkin fall amigurumi pattern.
Crochet Mini Fall Pumpkin Amigurumi Pattern: Written Instructions
This project is a crochet pumpkin amigurumi. You can use it as a Halloween decoration or a dog toy. It is small, soft, and easy to make. You can put a squeaker or a rattle bell inside to make sounds. The project uses basic stitches and is great for beginners.
Materials Needed
- Yarn: Medium weight yarn (such as Idol yarn) in orange and green/brown
- Crochet Hook: Size 5호 (3.0 mm)
- Tools: Tapestry needle, stitch markers, and scissors
- Filling: Fiberfill stuffing
- Optional: A small plastic squeaker or a rattle bell for inside the toy
Abbreviations (US Terms)
- ch: chain
- st / sts: stitch / stitches
- sc: single crochet
- hdc: half double crochet
- blo: back loop only
- sl st: slip stitch
- MR: magic ring
Pumpkin Body Pattern
Row 1: Start by making a slip knot with your orange yarn. Chain 23. Turn your chain over to find the small bumps on the back side.
Skip the first chain bump from your hook. Work 1 half double crochet into the second back bump. Continue to work 1 half double crochet into every back bump across the chain. You will have 22 stitches in total at the end of this row.
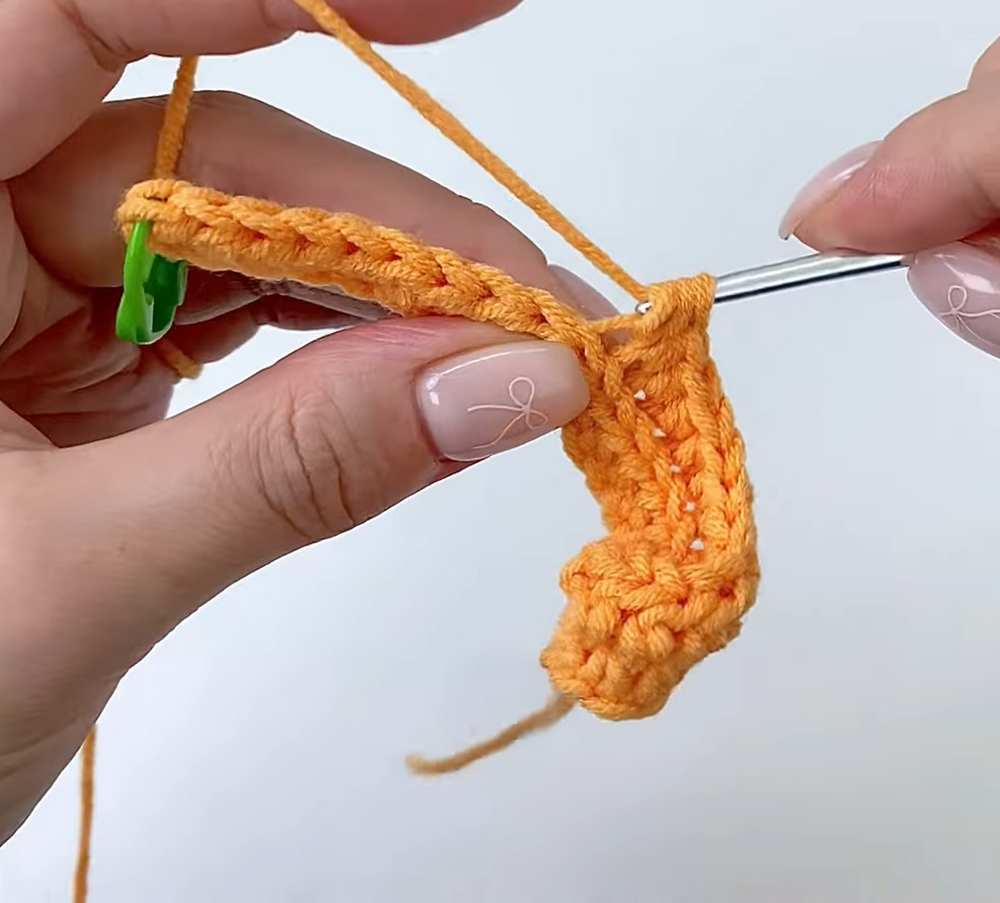
Row 2: Chain 1 and turn your work around. The chain 1 is just a turning chain and does not count as a stitch. Look at the top of your stitches.
Work 1 half double crochet into the back loop only of the first stitch. Continue to work 1 half double crochet into the back loop only of every stitch across the row.
You will still have 22 stitches. Using a stitch marker on the first stitch can help you track your rows.
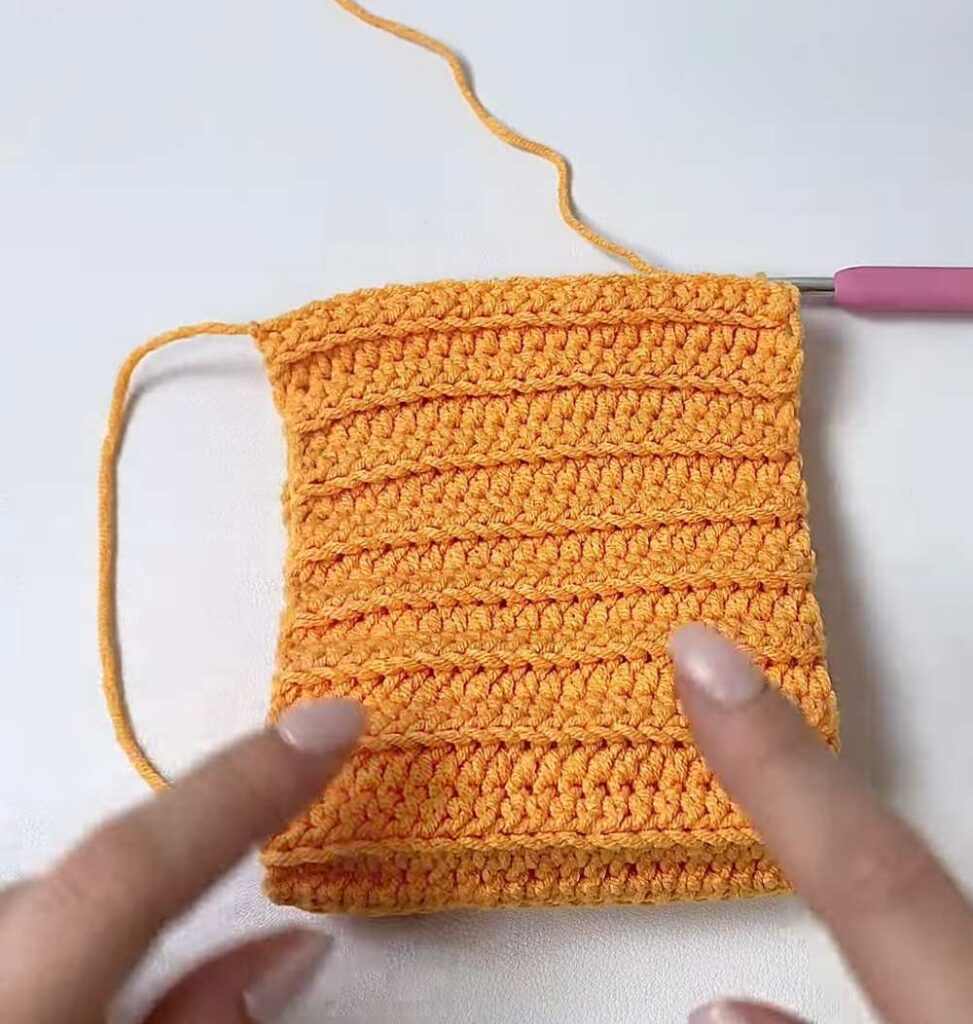
Row 3 to Row 32: Repeat the exact pattern from Row 2. Always chain 1, turn, and work 22 half double crochet stitches into the back loops only.
Keep repeating this step until you have completed 32 rows total. This will create a ribbed rectangular piece of fabric.
Assembling the Pumpkin Cylinder
Step 1: Fold your rectangular piece in half so that the short edges meet together. Chain 1. Insert your hook through the back loop of the stitch on the front panel and the corresponding loop on the back panel.
Yarn over and pull through all loops to make a slip stitch. Repeat this process across all 22 stitches to join the sides together into a cylinder.
Step 2: Chain 1 to secure your work. Turn the cylinder inside out so that the seam you just crocheted is hidden on the inside.
Cut your yarn, leaving a very long tail of about 150 centimeters. Pull the tail all the way through the loop to secure it.
Closing and Shaping the Pumpkin
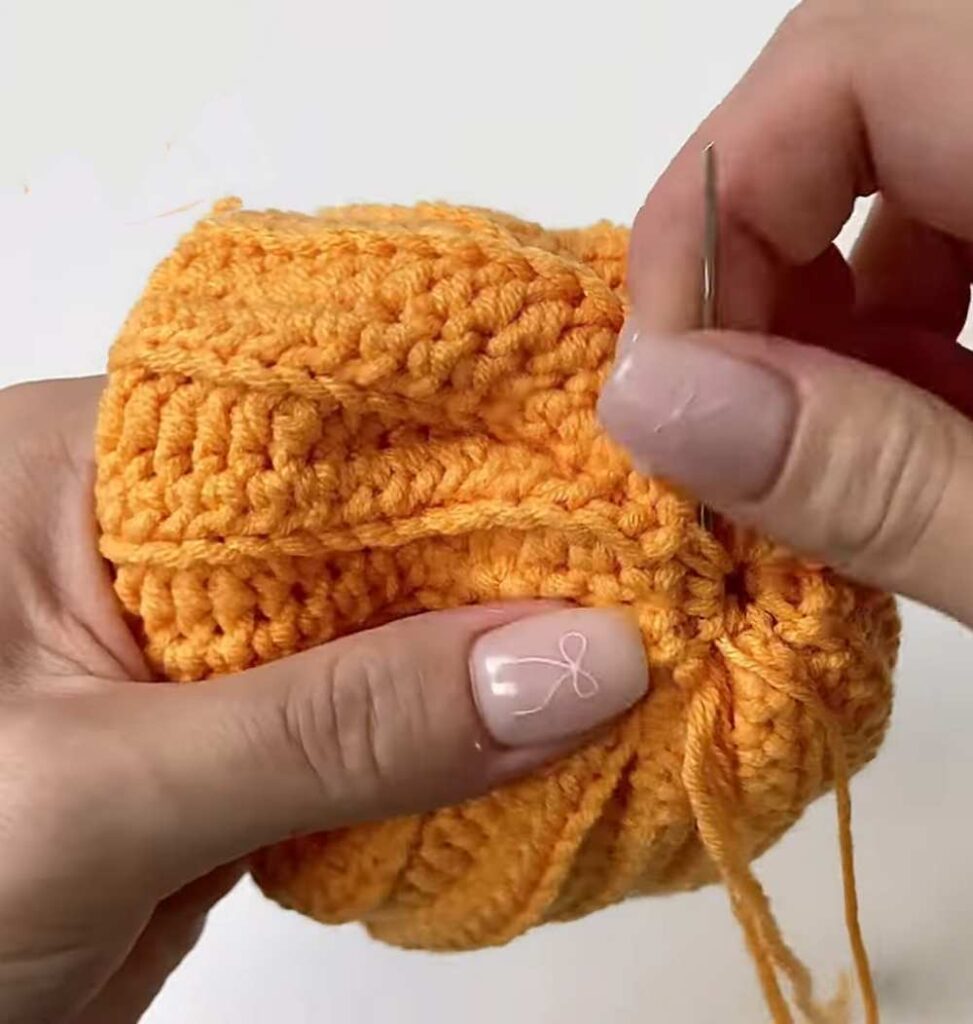
Step 1: Thread your long orange yarn tail into your tapestry needle. Weave the needle in and out through the stitches along the bottom edge of the opening.
Space your stitches out by weaving into the edge roughly every two rows. Pull the yarn tail slowly and firmly to pull the bottom opening completely closed. Sew back and forth across the gathered opening multiple times so it stays locked tightly.
Step 2: Fill the pumpkin firmly with your fiberfill stuffing. If you want to make it a noisy toy, push your squeaker or rattle bell deep into the center of the stuffing. Make sure it is surrounded by stuffing so it stays cushioned.
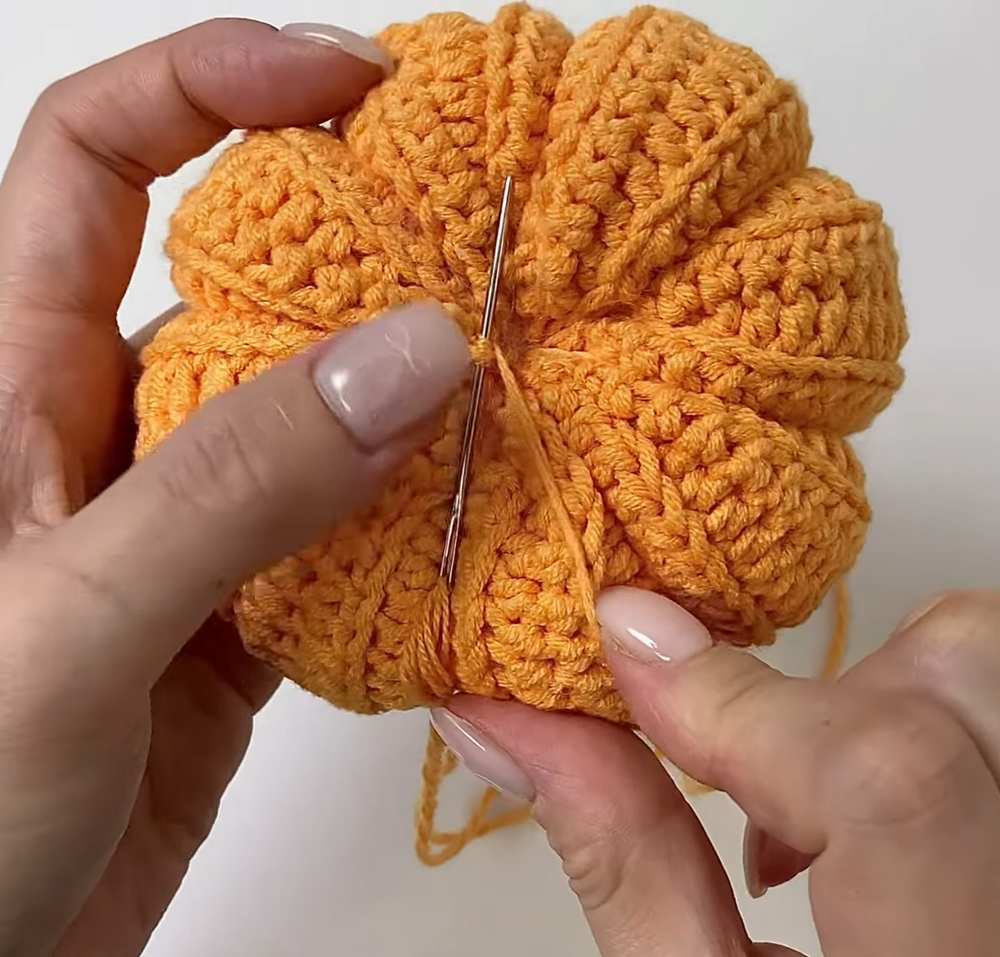
Step 3: Weave your needle in and out through the edge of the top opening just like you did for the bottom. Pull the yarn tightly to draw the top opening closed. Stitch across the center a few times to keep it closed. Do not cut your yarn yet.
Step 4: Now you will create the deep ridges on the outside of the pumpkin. Take your needle and push it directly down through the center top hole all the way out through the bottom hole. Bring the yarn around the outside of the pumpkin, following one of the natural ribbing lines. Pull the yarn tight to squeeze the pumpkin and form a deep groove.
Step 5: Push the needle through the bottom hole and out through the top hole again. Wrap the yarn around the outside to make another indentation.
Since you have 32 rows, you can create 8 evenly spaced segments by wrapping your yarn around every 4 rows. Repeat this process until you have 8 beautiful pumpkin sections.
Tie a secure knot at the base, hide the remaining yarn tail inside the pumpkin body, and trim the excess.
Pumpkin Stem Pattern
Round 1: Using your green or brown yarn, make a magic ring. Chain 1, then work 6 single crochet stitches into the ring.
Do not pull the center loop completely tight yet so you can find your stitches easily. Place a stitch marker in your first stitch. (6 sts)
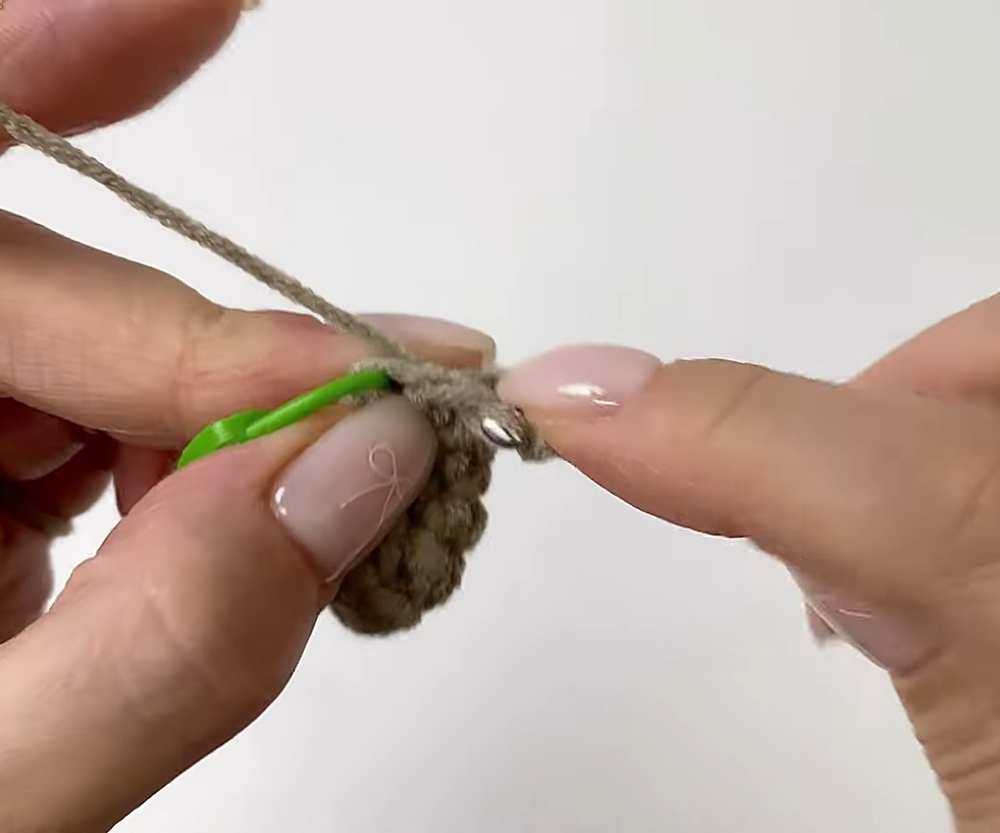
Round 2: You will work in a continuous spiral without joining your rounds. Work 1 half double crochet into the back loop only of each of the 6 stitches around. Move your stitch marker up to track the start of your round. (6 sts)
Round 3 to Round 6: For these rounds, switch back to regular stitches through both loops. Work 1 single crochet into every stitch around. Repeat this for each round until you complete Round 6. This forms a small, sturdy tube for the stem. (6 sts per round)
Finishing the Stem: Slip stitch into the next stitch to even out the edge. Chain 1. Cut your yarn, leaving a tail of about 20 centimeters for sewing, and pull the strand through.
Final Toy Assembly
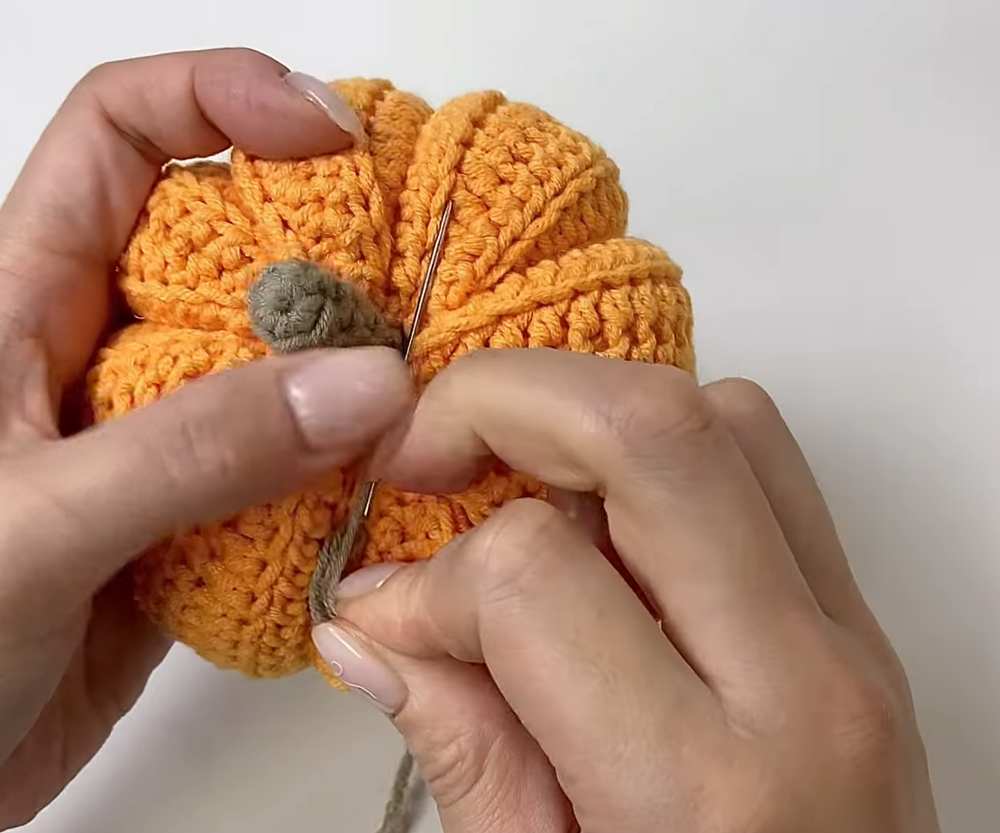
Step 1: Thread the green stem tail into your tapestry needle. Place the stem directly over the gathered top center opening of your pumpkin.
Step 2: Sew the base of the stem to the top surface of the pumpkin. Go stitch by stitch all the way around the bottom of the stem tube. Pull your stitches tight so that the stem is mounted firmly and cannot be pulled off easily by a pet.
Step 3: Once the stem is secure, tie a hidden double knot near the base. Push your needle down through the pumpkin and pull it out anywhere on the side.
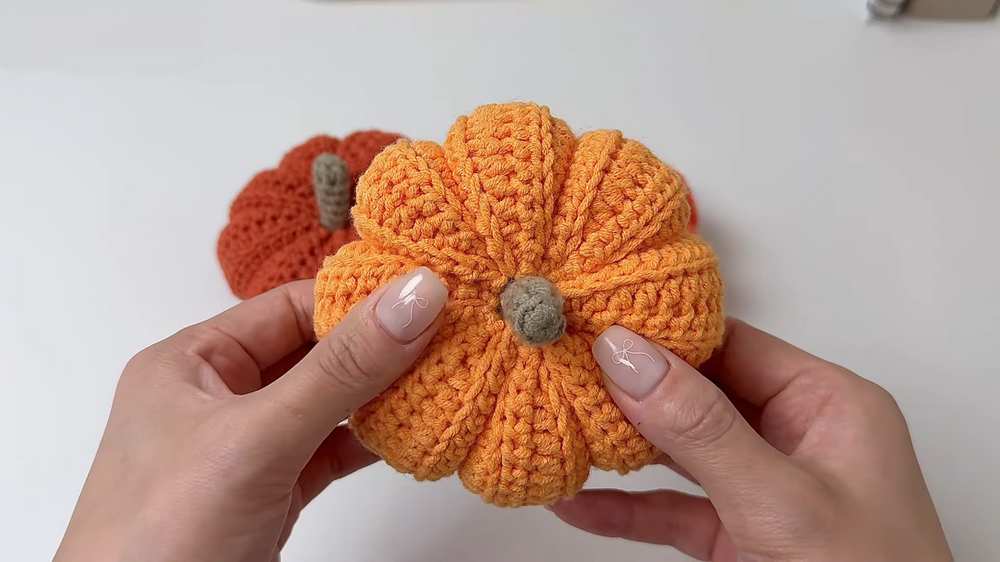
Pull the yarn taut and snip it close to the surface so the remaining end disappears completely inside. Your cute pumpkin toy is now finished and ready to use!
Save for Later