Subscribe to Chelsey DIY!
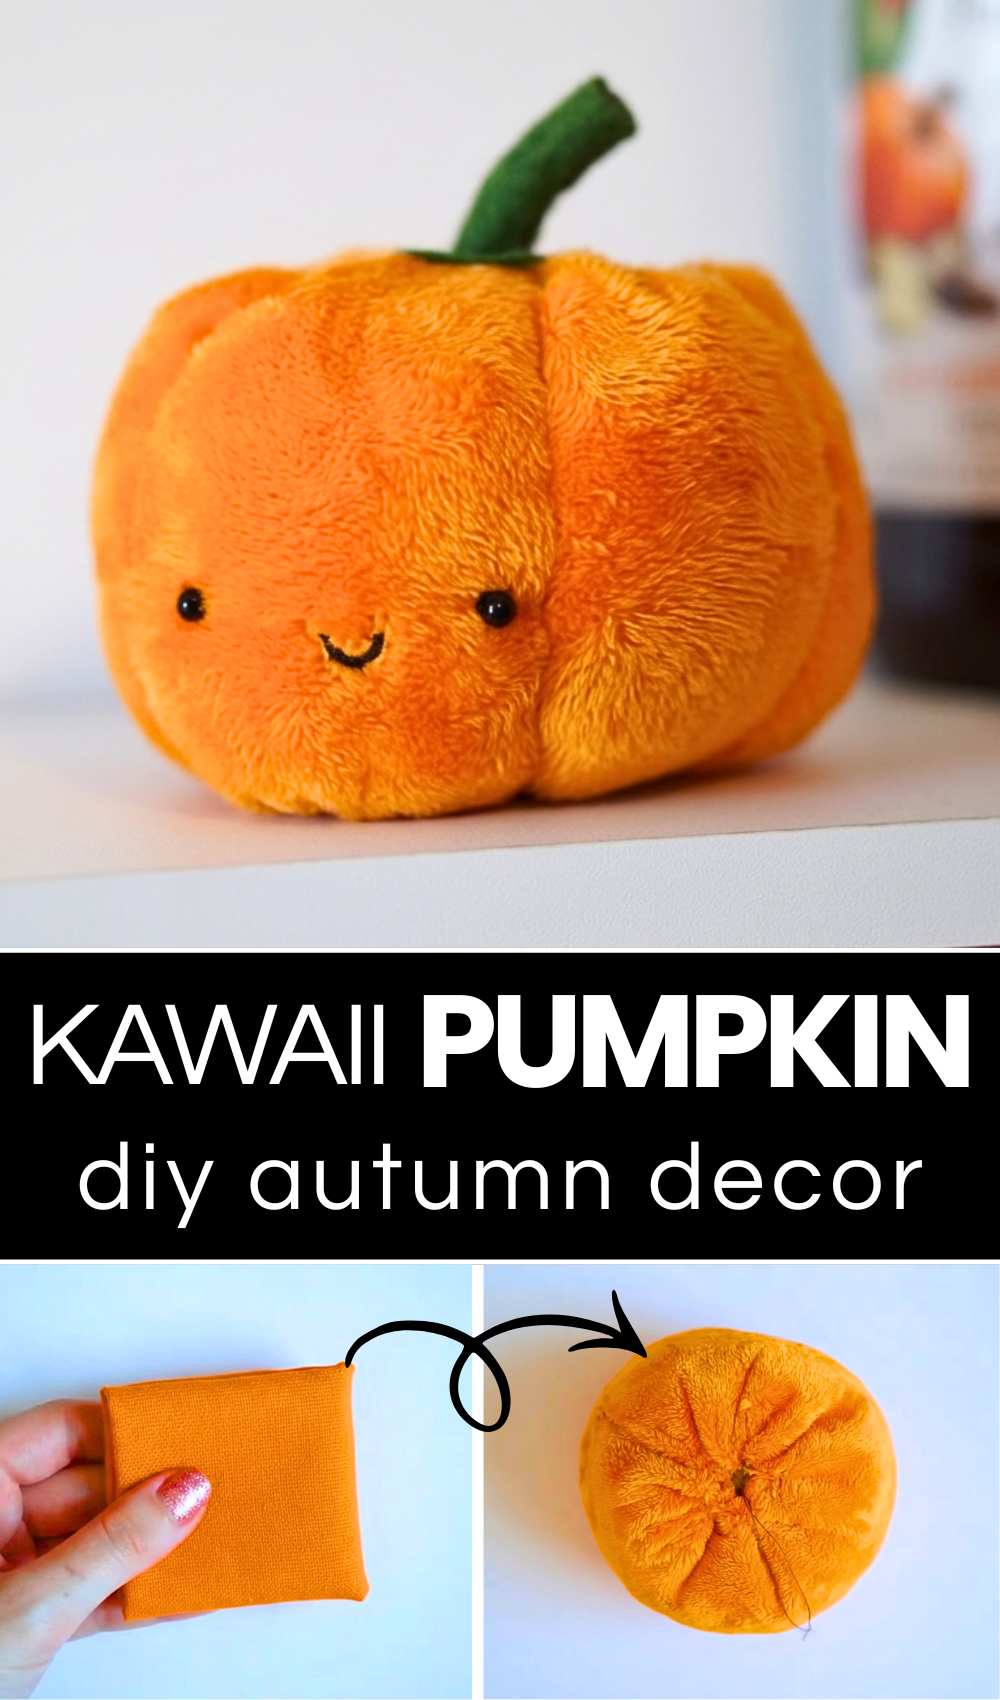
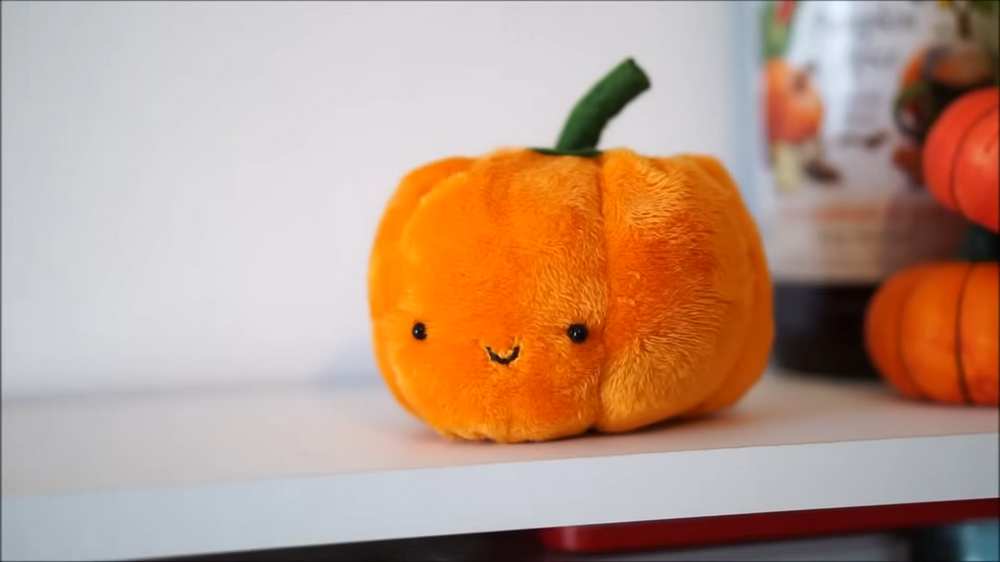
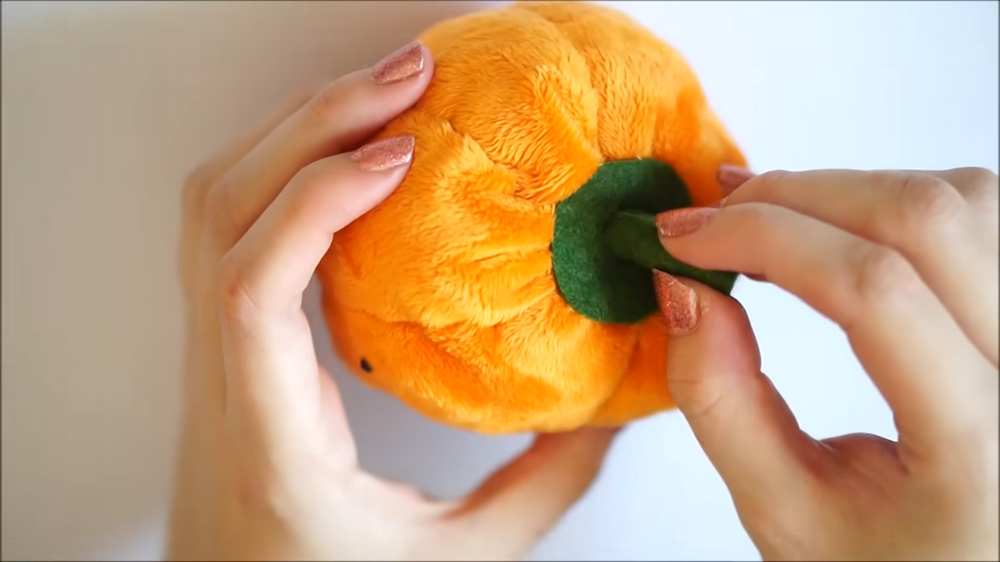
With today’s Halloween DIY tutorial, learn how to make this oh-so-cute kawaii baby pumpkin plushie. This is a pumpkin buddy for your table, a hugging buddy for little ones, and an irresistible welcome decoration for Halloween. Make this DIY kawaii pumpkin out of velvet fleece, big black eyes, and some embroidery thread to make the smile. You can also use this fabric pumpkin as a sofa pillow.
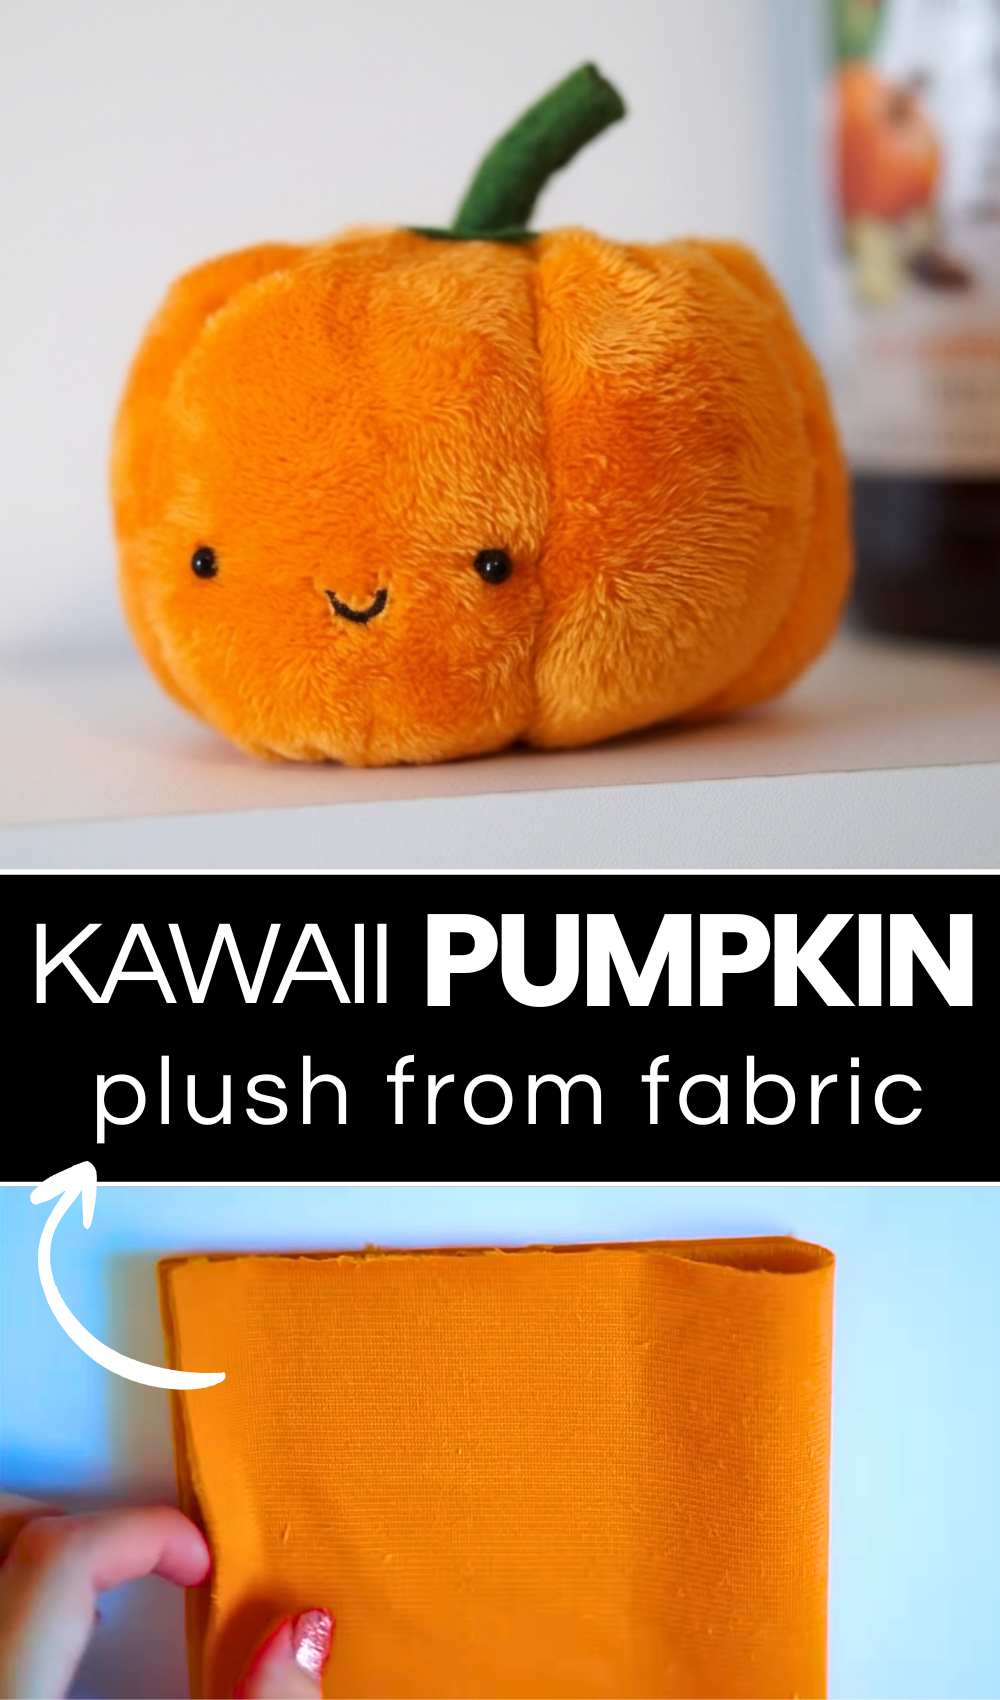
This is a needle-sewn pumpkin plush made using the traditional method, but its inspiration from the Jellycat pumpkins makes it look Cuter than the teddy pumpkins. This also has a unique body shape and less prominent ridges, all to make it look like a baby pumpkin plush.
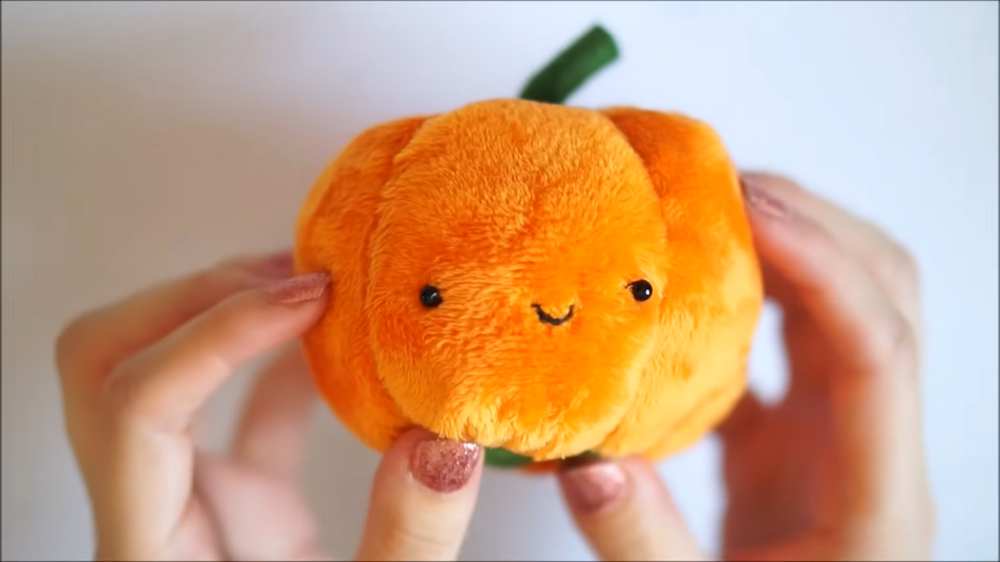
It is cuter than even the crochet pumpkin plushies I have shared both in the discussions and written pattern guides. Looking for an even easier DIY pumpkin plush? I have also shared many tutorials for making the pipe cleaner and the yarn-wrapping pumpkins. Be sure to learn how to make them, too. Now, continue reading to learn more about this Halloween pumpkin project.
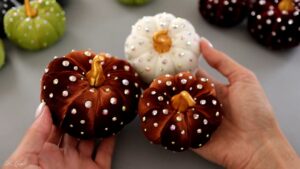
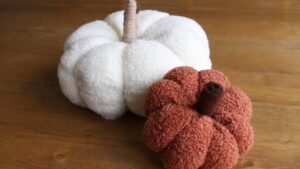
DIY Velvety & Kawaii Baby Pumpkin Plush
Skill Level: Beginner at sewing
Materials Used
-
Orange plush fabric: A bright orange plush fabric
-
Stuffing: Standard pillow or toy stuffing
-
Glass beads: 5mm black glass beads used to give the pumpkin its eyes.
-
Wool felt: A sheet of forest green wool felt for the stem.
-
Needle and thread: A standard sewing needle with red or orange thread for the body and black thread for the facial embroidery
-
Hot glue gun: Used for cleanly securing the felt stem to the top.
Learn How to Make the Velvety Pumpkin Plush!
For crafting fabric decorations like these pumpkin plushies, I always recommend watching the tutorials. So, here is the video guide for making this kawaii Halloween pumpkin:
Check your plush fabric to ensure the pile smooths down the length of the piece. Cut out a rectangle roughly the size of your hand, then fold it in half onto itself to create a double-layered square.
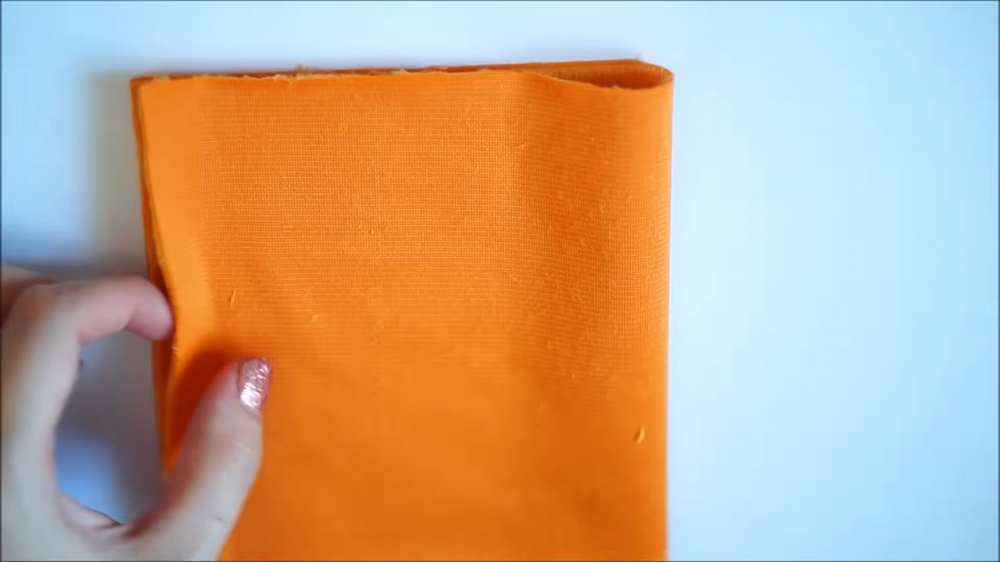
Using your needle and a standard thread, sew along the two open sides of the folded square. For extra durability, go back over the stitches a second time to fill in any gaps and ensure the seams won’t burst when stuffed.
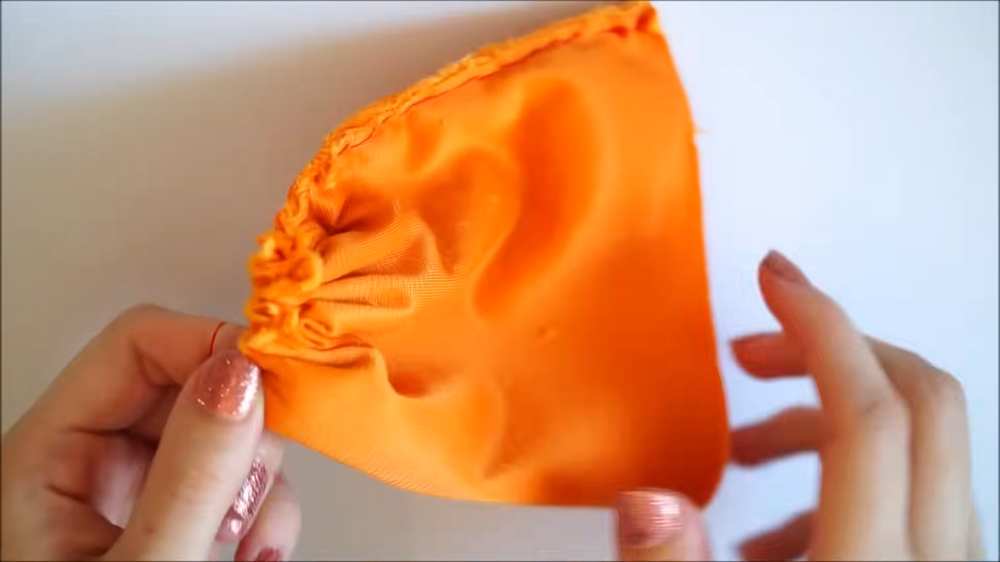
Leave a couple of inches of thread hanging at the corner of your seam. Gently pull on this tail to rouch and gather the fabric tightly together into a tight bunched point, closing what will be the bottom of the pumpkin. Tie it off securely with a few knots.
Turn the fabric right-side out so the raw seams are neatly hidden on the inside. Stuff the little pouch with your toy or pillow stuffing until it is plump, round, and holds its shape well.
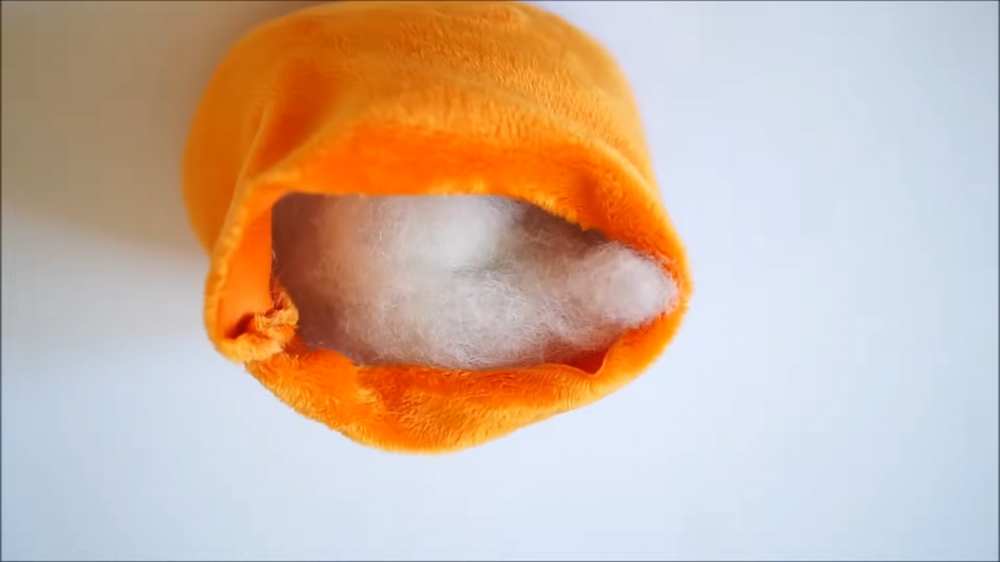
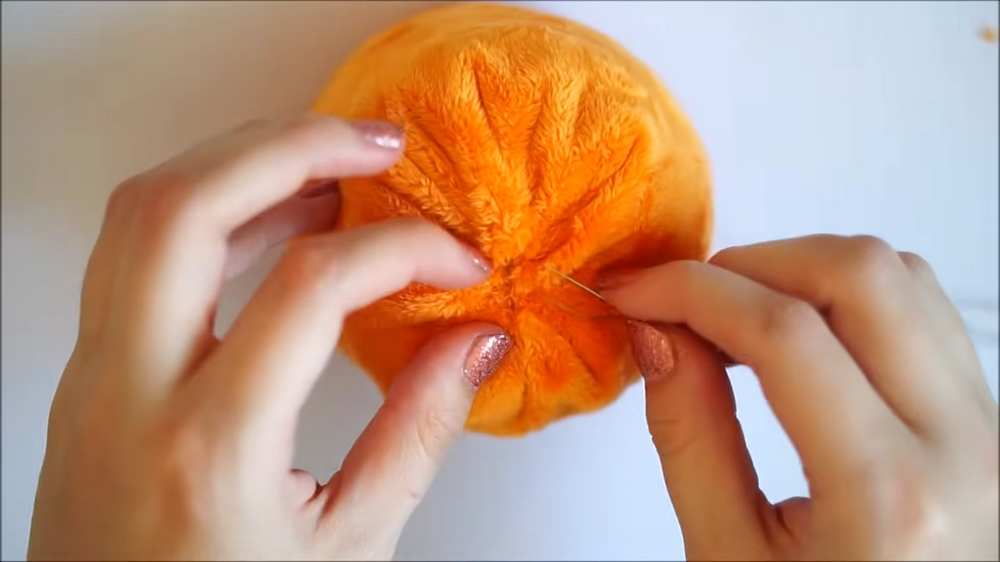
Take your needle and thread and weave it in and out in a simple running stitch all the way around the raw top edge of the opening. Pull the thread firmly to draw the edges together, completely enclosing the stuffing, and knot it off tightly.
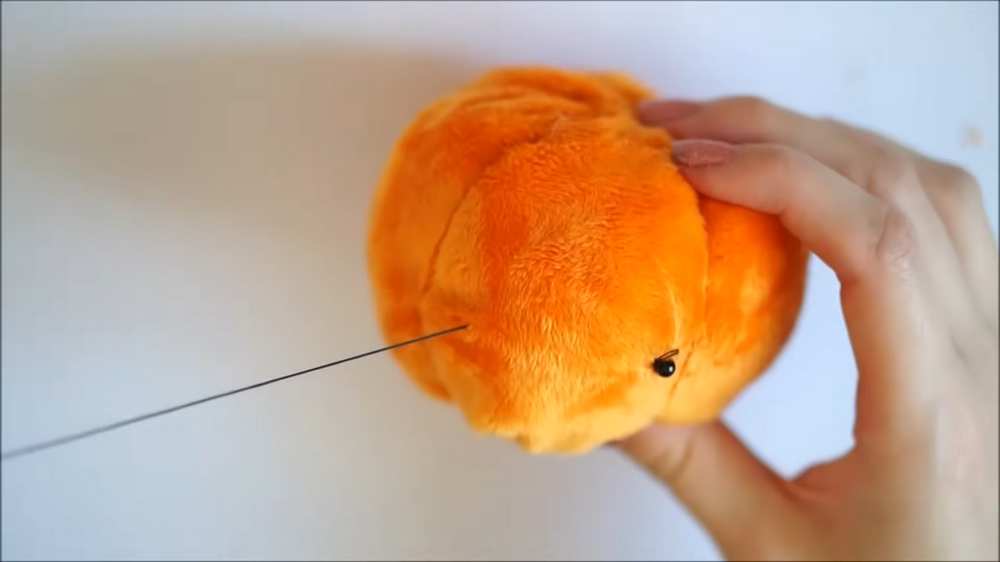
Sew the two 5mm glass beads onto the front of the pumpkin to form the eyes, pulling slightly tight to indent them into the fabric. To finish the kawaii face, use black thread to stitch back and forth right between the eyes to create a tiny smile.
Cut a small stem shape out of your green wool felt. Fire up a hot glue gun and add a small dab to the top center of the pumpkin—right over the gathered closing seam—and press the felt stem firmly into place.
Save For Later: