
Subscribe to Home By Laine
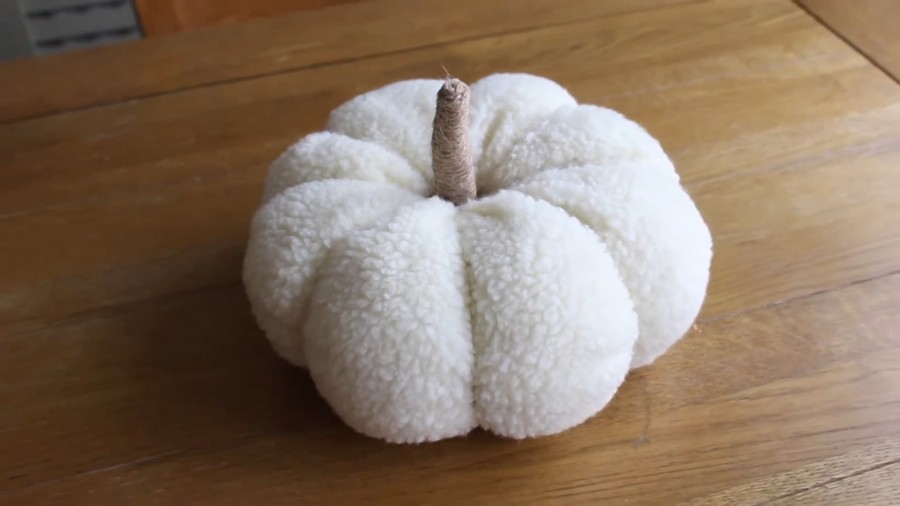
Looking for quick pumpkin home decor for fall? Learn how to DIY this set of 2 fluffy and appealing fabric pumpkin plushies with a step-by-step guide that does not need any sewing machine. These are perfect for fall cottage decorations, and you can also use them as pillows, pouffs, centerpiece decorations & pillow cushions.
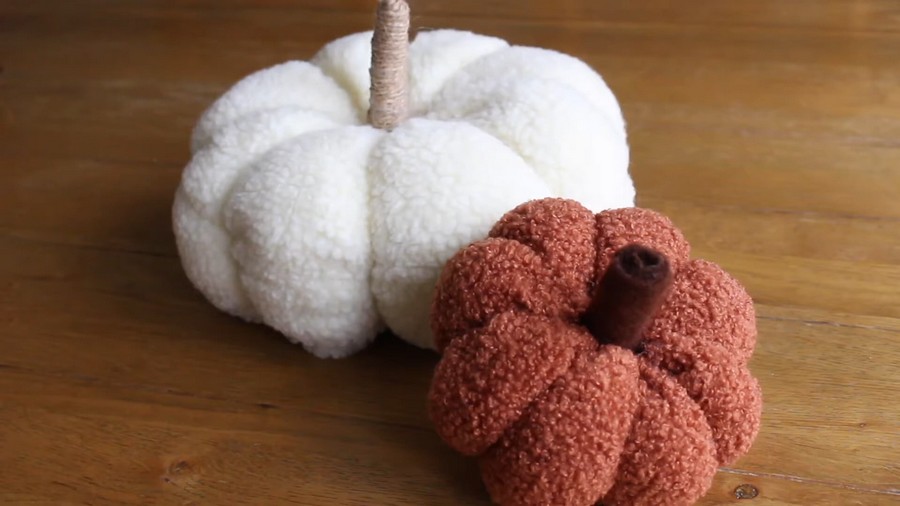
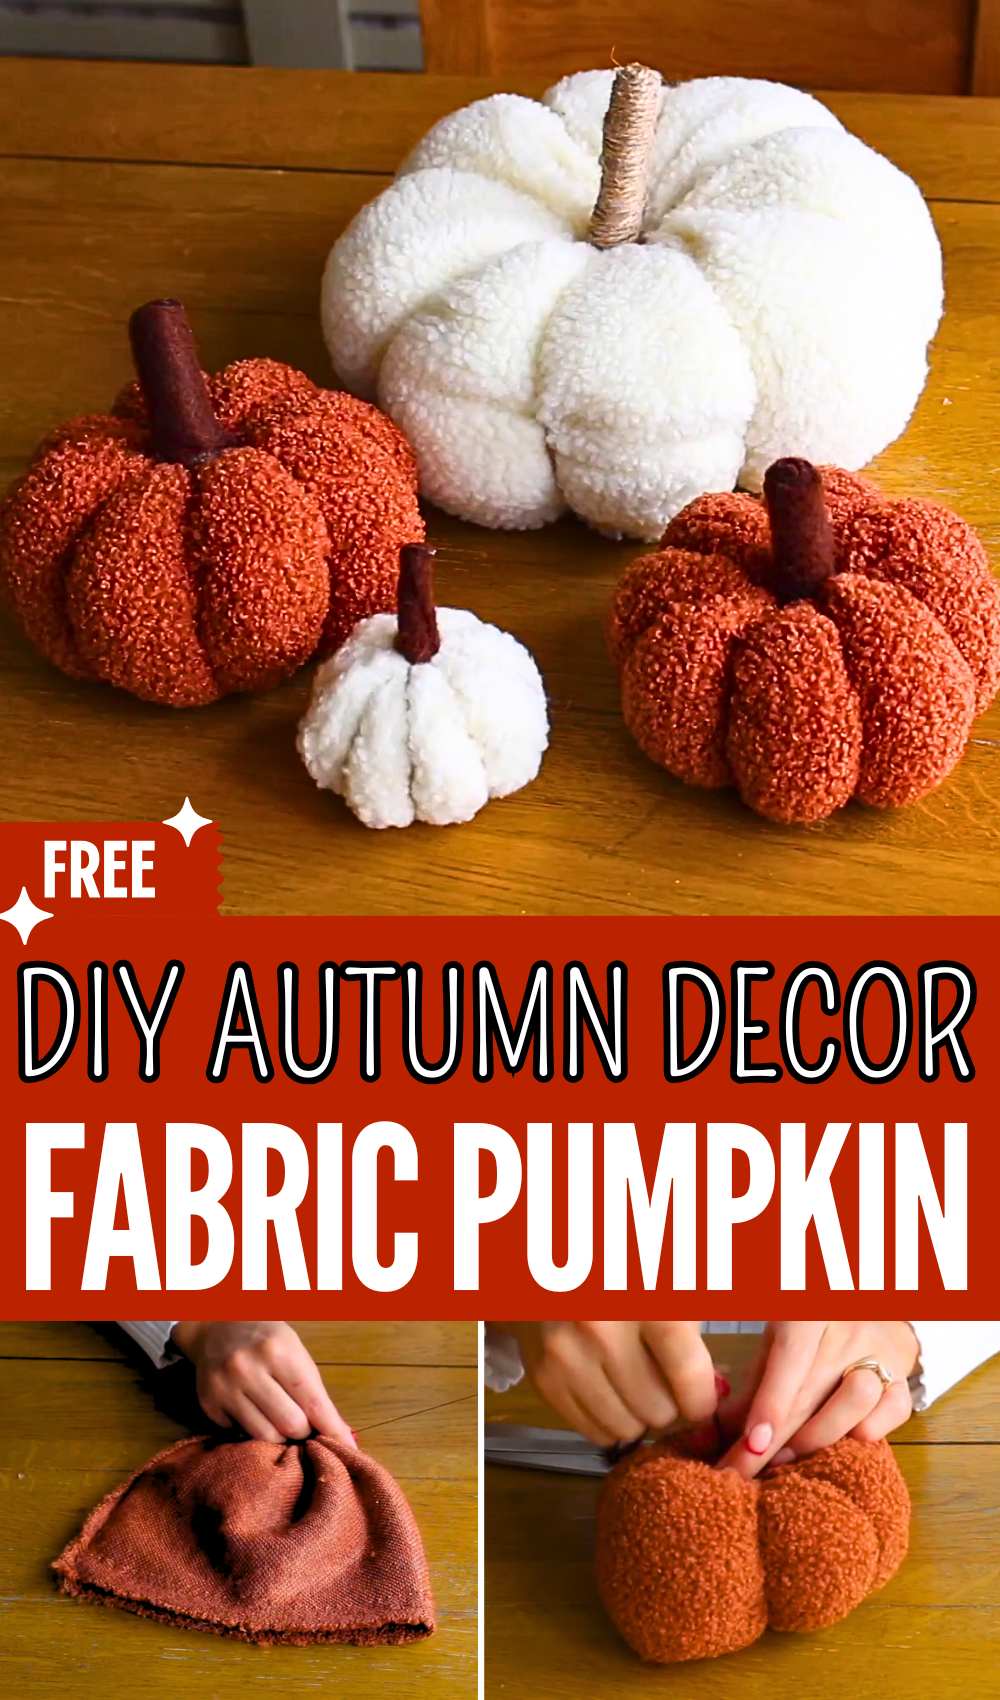
This teddy pumpkin set includes two fuzzy fabric pumpkin plushies of different sizes, including a white and a dull orange pumpkin. You can make both of these fabric pumpkins with the same method.
Cozy & Soft Teddy Pumpkin
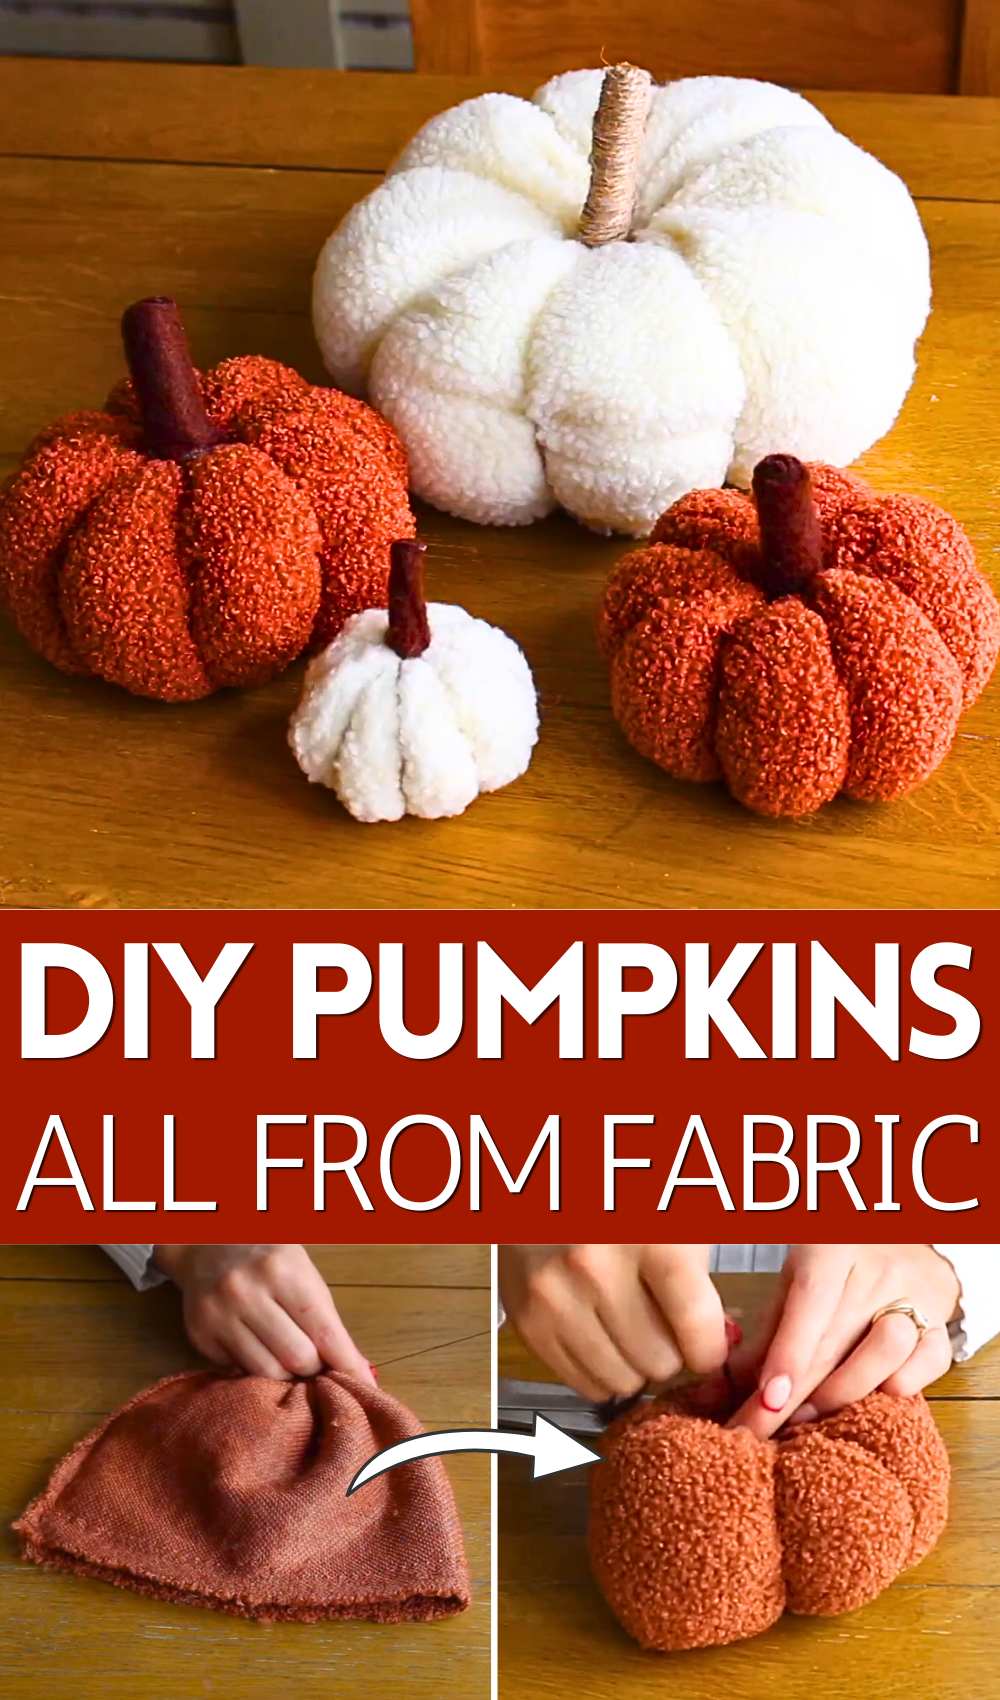
We shall use the thread to make the pumpkin ridges after stuffing and closing it. This is kind of similar to the method we use to crochet the ribbed fall pumpkin. Now, continue reading to learn how to make this pumpkin plush in detail.
[ez-toc]
How to Make Easy Fabric Pumpkins (Step-by-Step Guide)
This soft, sensory-friendly teddy fabric pumpkin is a perfect addition to a seasonal holiday decor lineup. It requires no sewing machine, making it a highly easy DIY project. Here is a step-by-step guide to make this plush pumpkin:
Required Materials
-
-
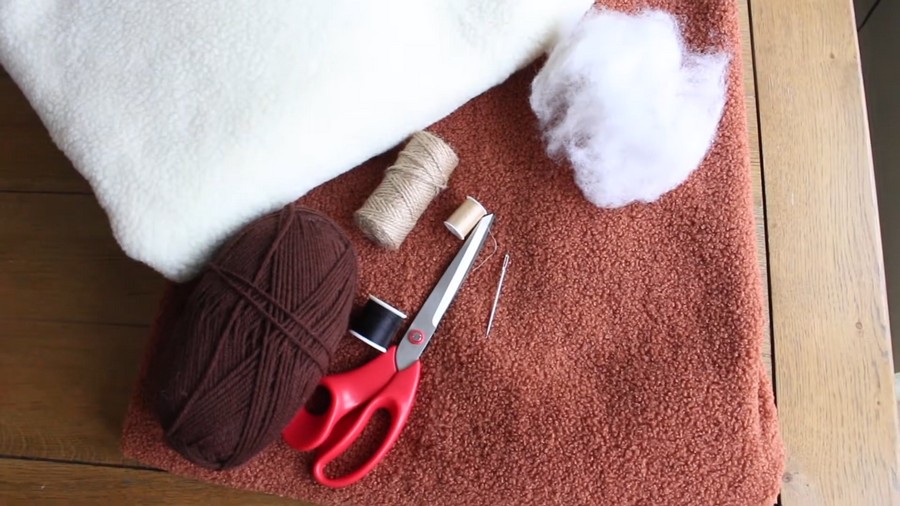
Fabric: Soft, textured fabric such as cozy teddy fabric, fleece, velvet, or an upcycled old sweater.
-
Fabric Dimensions for a Small Pumpkin: One rectangle cut to 8 inches by 18 inches.
-
Fabric Dimensions for a Large Pumpkin: One rectangle cut to 12 inches by 26 inches.
-
Stitching Thread and Sewing Needle: Durable standard thread for assembling the main body.
-
Heavy-Duty Yarn or Wool: A thicker yarn in a coordinating or contrasting color to define the pumpkin’s ridges.
-
Stuffing: Polyester fiberfill, or recycled stuffing taken from an old cushion or pillow.
-
-
-
Stem Materials: A small scrap of felt or fabric to roll up, or an empty cardboard toilet paper roll wrapped tightly with twine or thick yarn.
-
Adhesive: A hot glue gun, high-quality fabric glue, or super glue to attach the stem securely.
-
Tools: A sharp pair of fabric scissors.
-
Step-by-Step Assembly Guide
Step 1: Sew the Side Seam
-
-
-
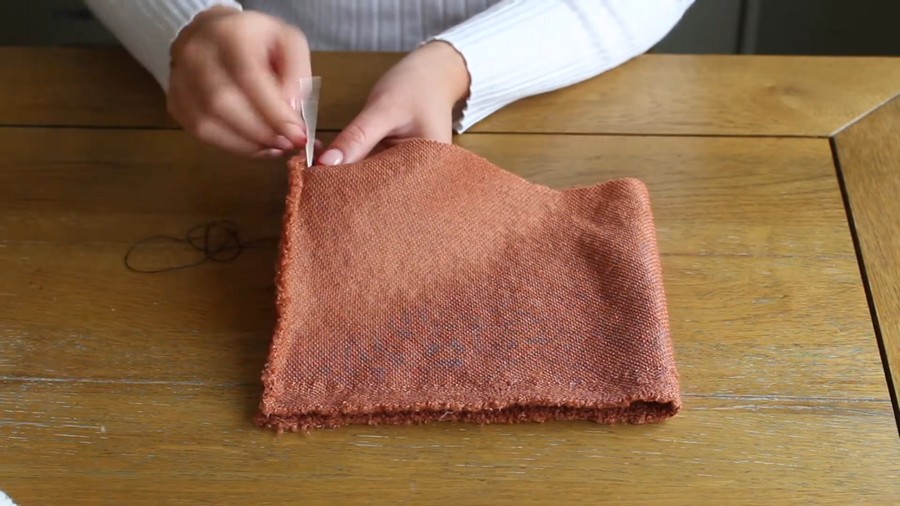
Fold your pre-cut fabric rectangle completely in half widthwise so that the “right side” (the fuzzy, textured side) faces inward and the back of the fabric faces out.
-
Tie a secure knot at the end of your standard sewing thread to prevent it from pulling through the weave.
-
-
-
-
-
Use a simple straight running stitch – weaving your needle in and out smoothly along the open vertical edges – to sew the two short sides together, transforming the rectangle into a fabric tube.
-
Knot the thread firmly at the end of the seam and trim away the excess.
-
-
Step 2: Close the Bottom Base
-
-
-
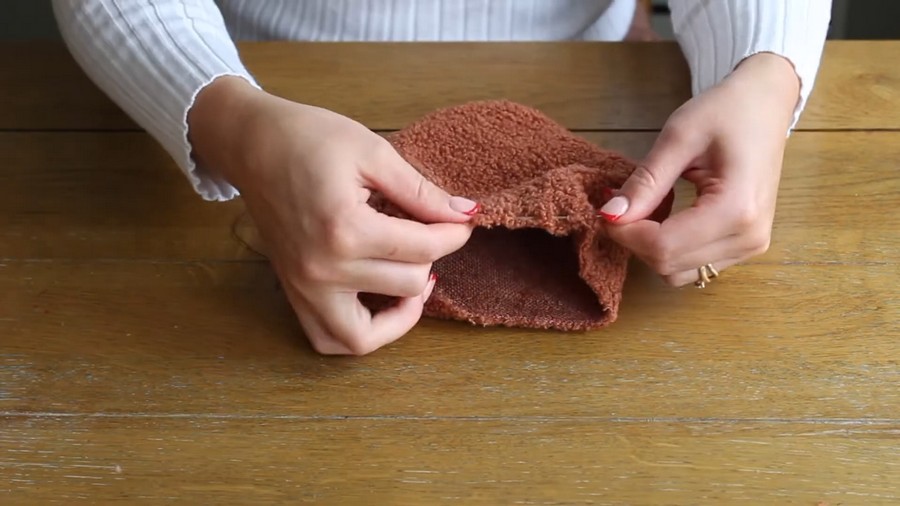
Keep the fabric tube inside out to ensure all your structural seams stay hidden on the interior of the finished plush.
-
Tie a fresh knot in your thread and begin a running stitch all the way around the entire circular bottom opening of the fabric tube.
-
-
-
-
-
Once you return to your starting point, gently but firmly pull the thread tail to gather the fabric together as tightly as possible into a single, closed center point.
-
Secure the gathered fabric by sewing a few extra tight knots across the center to ensure the bottom won’t open up under pressure, then snip the thread.
-
-
Step 3: Prepare the Top Edge
-
-
-
Flip the entire fabric piece right-side out through the remaining top opening, creating a small, soft pouch with a completely sealed bottom.
-
Knot your thread again and weave a loose running stitch entirely around the single top raw edge of the opening.
-
Leave the needle and a long tail of thread hanging loose at the end; do not pull it tight or knot it yet.
-
-
Step 4: Stuff the Pumpkin
-
-
-
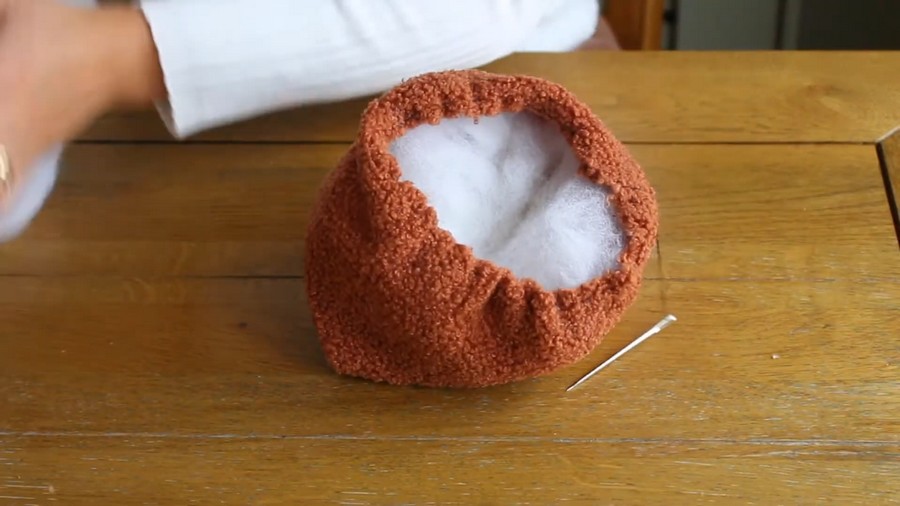
Take your polyester fiberfill or recycled cushion stuffing and pack it gently inside the open pouch.
-
Fill the pumpkin until it is plump and round, ensuring it feels firm but still retains enough give to be squeezed into shape. Avoid overstuffing so the seams do not experience excessive strain.
-
-
Step 5: Cinch and Secure the Top
-
-
-
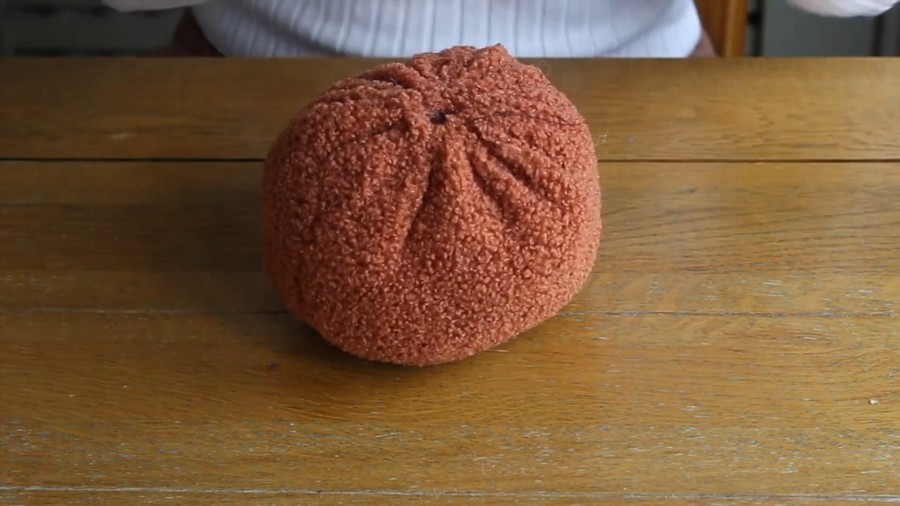
Take hold of the loose thread tail from the top edge and pull it firmly to cinch the entire opening closed around the stuffing.
-
While holding the gathered opening tight, use your needle to sew back and forth across the closed gap several times to anchor it.
-
-
-
-
-
Add a few sturdy knots to lock the structural stitches in place, then snip the thread to leave you with a smooth fabric sphere.
-
-
Step 6: Form the Pumpkin Ridges
-
-
-
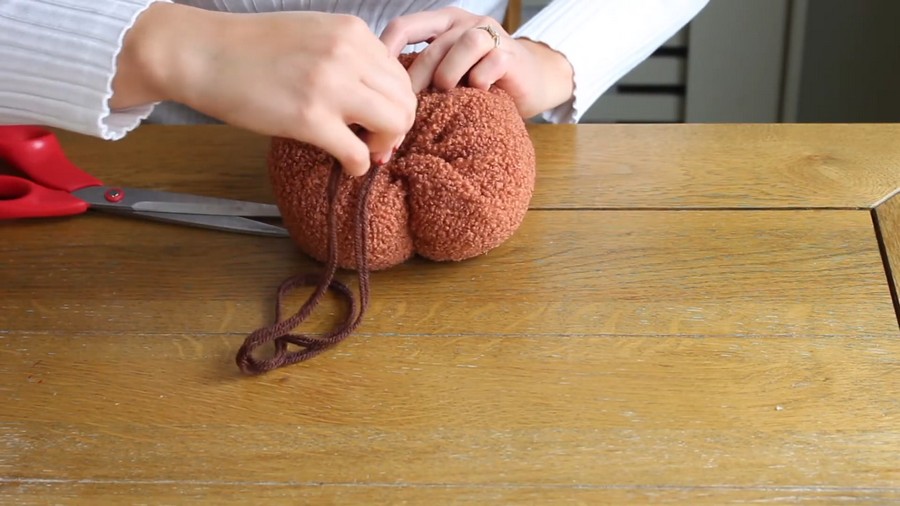
Thread a long piece of your thick wool or heavy-duty yarn onto a large needle and tie a thick knot at the end.
-
Insert the needle directly into the center of the bottom gathered point, pushing it straight up through the middle of the stuffing until it emerges from the top center.
-
-
Pull the yarn over the outside surface of the sphere down to the bottom, and insert the needle back through the center bottom to the top again.
-
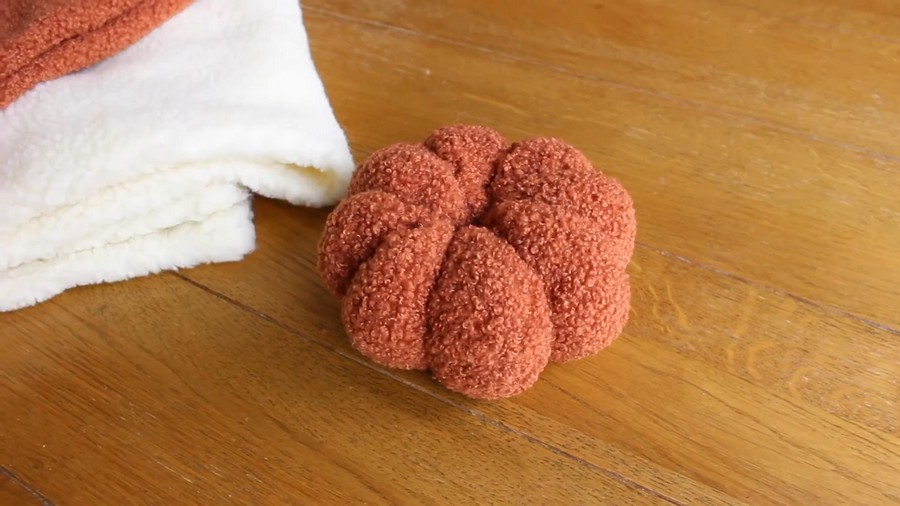
Tug the yarn tightly to indent the plush sphere, creating your first distinct section.
-
Repeat this process eight times in total around the sphere, spacing the wraps evenly to create eight uniform pumpkin ridges.
-
Secure the yarn with a tight knot at the base or top center, then cut away any leftover yarn.
-
-
Step 7: Create and Attach the Stem
-
-
-
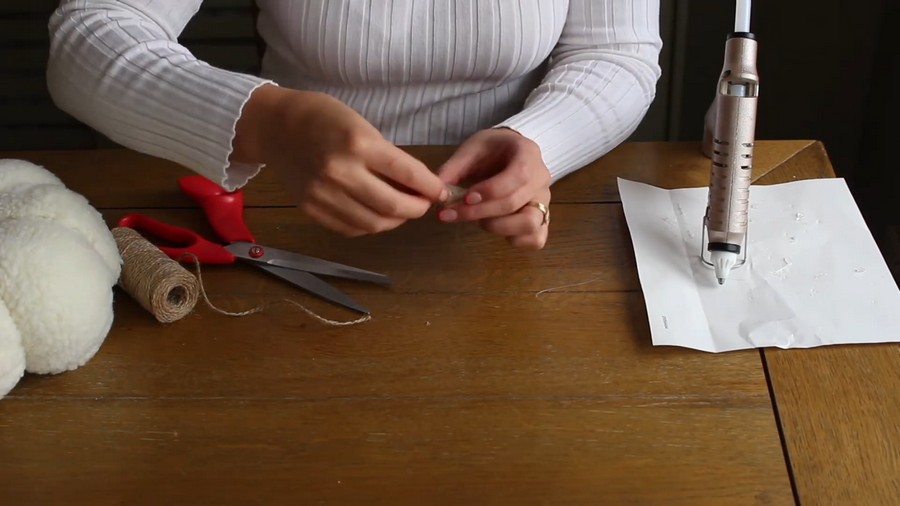
To make a simple fabric stem, roll up a small piece of felt or contrasting fabric tightly into a cylinder shape and secure the outer edge with glue. Alternatively, cut a small section of a cardboard toilet paper roll and wrap it tightly with rustic twine, securing the ends with glue.
-
Apply a generous amount of hot glue or fabric glue to the bottom base of your completed stem.
-
-
-
-
-
Press the stem firmly down into the top center indentation of your pumpkin where the yarn ridges meet.
-
Hold it firmly in place for a few seconds until the adhesive sets completely to finish your custom plush pumpkin.
-
-
Save For Later:
About "MiLena"
About "Maqaroon via Youtube"
She is running a Youtube hacks and craft channel and has more than 4 Million Subscribers.