
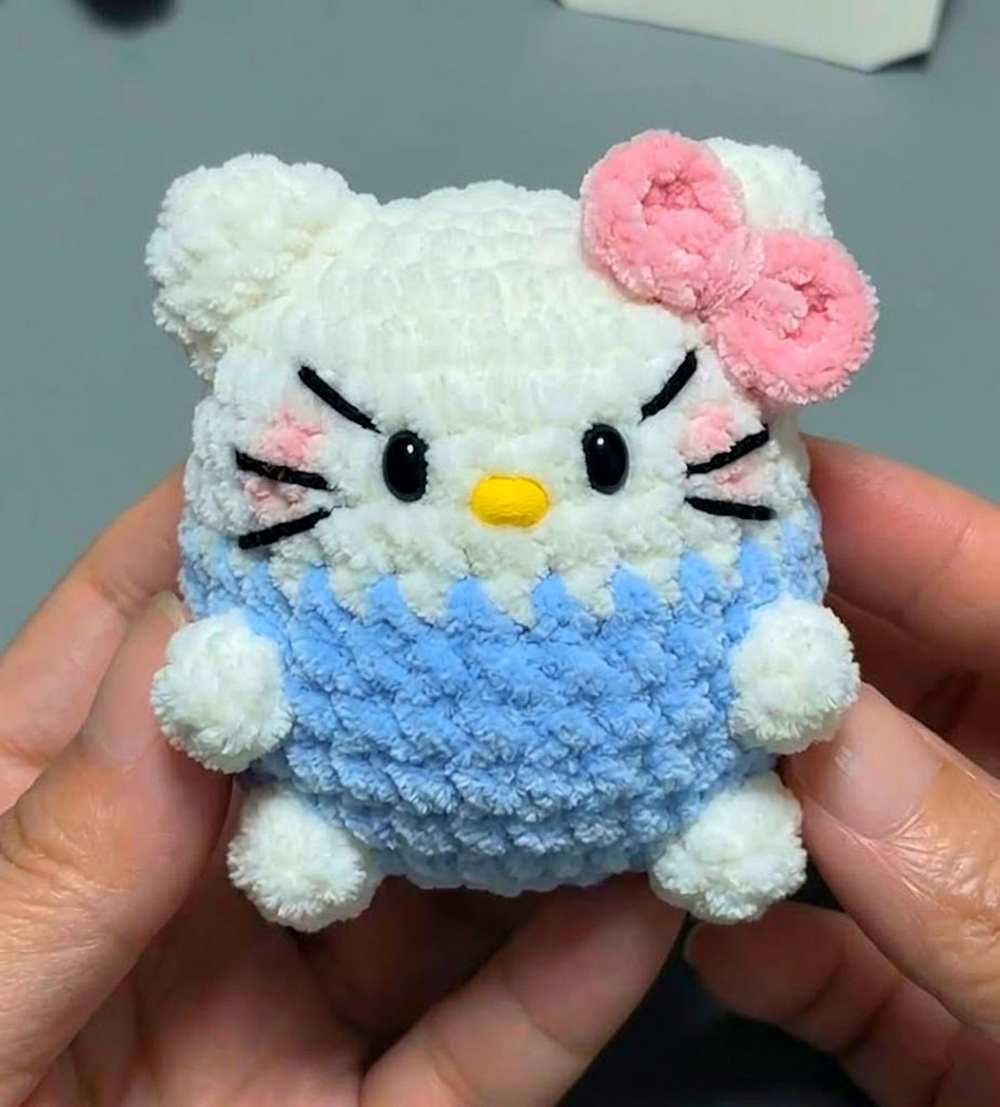
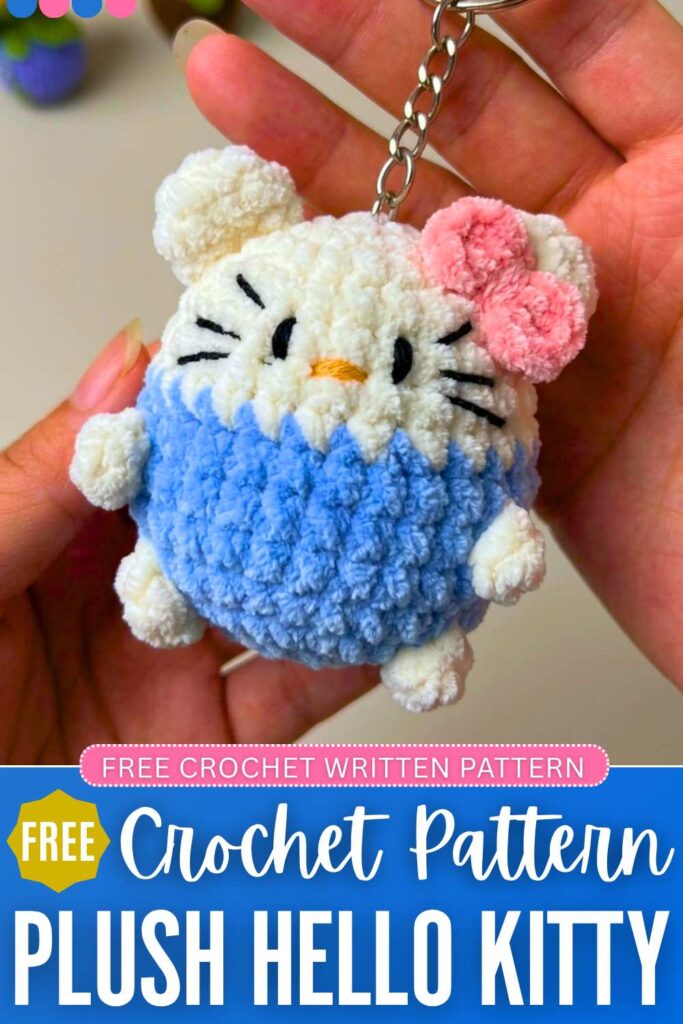
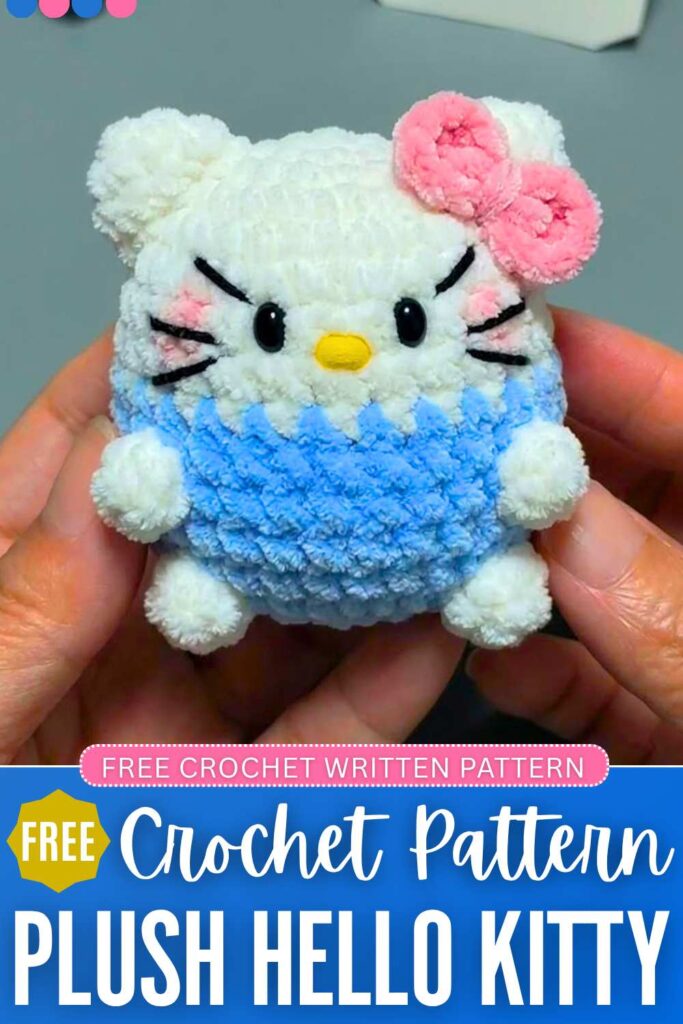
With this pattern, you will learn how to crochet a chubby little Hello Kitty plushie and bag charm for Kawaii Lovers. While I definitely will share a pattern to crochet the mini Hello Kitty doll tutorial, too, this one is a 30-minute project and perfect for beginners. It is easy to learn even when there are many small parts, such as the crochet bow and the legs and arms to sew later on.
There are also small and oh-so-cute embroidery whiskers, embroidery eyes (you can also use safety beads), and a nose. Will make an irresistible present for a girl. For the body, we will change the color once to make her costume in the easiest and no-sew way possible. Now, continue reading for the full pattern.
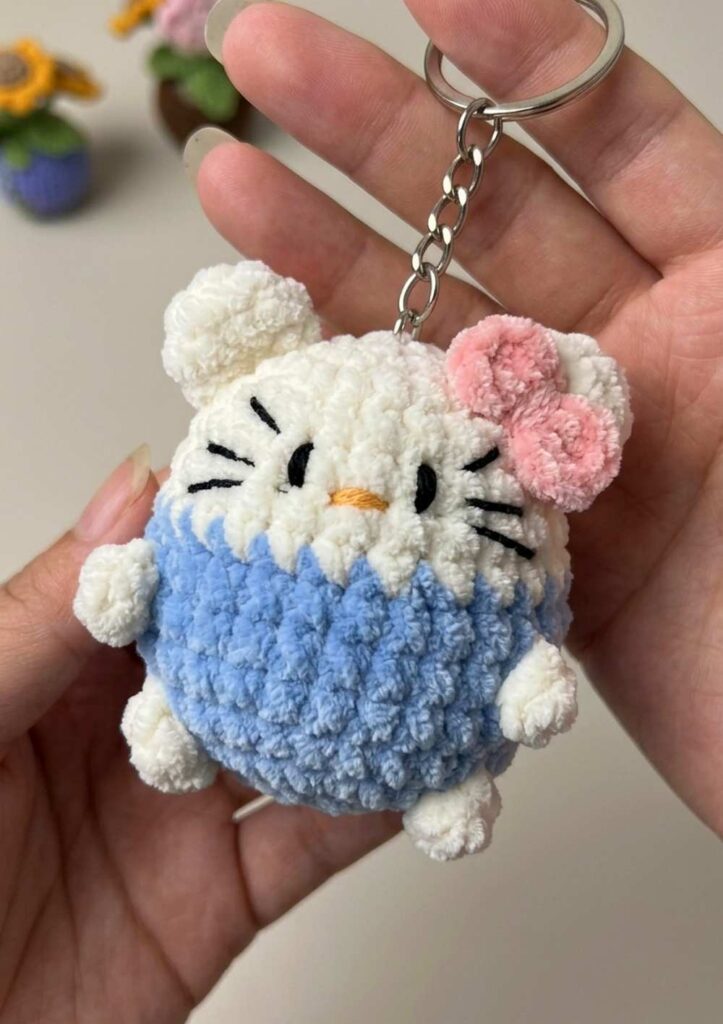
Crochet Miniature Hello Kitty Plush Keychain: Row-by-Row Pattern
Below is the pattern to crochet this miniature Kitty and keychain with the assembly in the end:
Abbreviations (US Terms)
-
MR: Magic Ring
-
CH: Chain
-
SC: Single Crochet
-
DC: Double Crochet
-
INC: Increase (2 sc in one stitch)
-
DEC: Decrease (sc 2 together)
-
SL ST: Slip Stitch
-
[ … ]: Total number of stitches at the end of the round
-
( … ) * x: Repeat instructions inside parentheses the specified number of times
1. Body and Head (Worked in one piece)
-
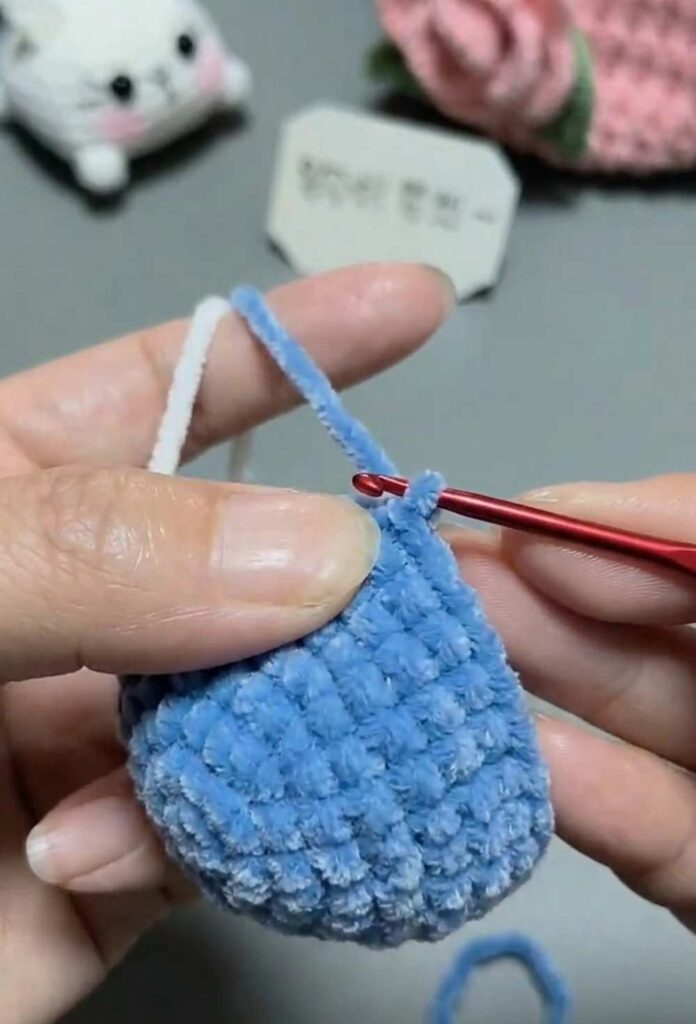
Stuff the body firmly as you crochet, particularly around Round 13.
-
R1: MR, ch 1, 6 sc [6]
-
R2: 6 inc [12]
-
R3: (1 sc, 1 inc) * 6 [18]
-
R4: (1 sc, 1 inc, 1 sc) * 6 [24]
-
R5: (3 sc, 1 inc) * 6 [30]
-
R6 – R8: 30 sc [30 for 3 rounds]
-
R9: (3 sc, 1 dec) * 6 [24]
-
R10 – R11: 24 sc [24 for 2 rounds]
-
R12(1 sc, 1 dec, 1 sc) * 6 [18]
-
R13: (1 sc, 1 dec) * 6 [12]
-
Pause to stuff firmly with fiberfill.
-
R14: 6 dec [6]
-
Fasten off. Weave the tail through the front loops of the remaining 6 stitches, pull tightly to close, and hide the yarn tail inside the body.
2. Ears (Make 2)
-
Note: The creator splits the yarn into 3-ply (a thinner yarn weight) for the ears to make them more delicate.
-
R1: MR, 5 sc [5]
-
R2: 5 inc [10]
-
R3: 10 sc [10]
-
Fasten off, leaving a tail for sewing. Do not stuff.
3. Tail (Popcorn Stitch)
-
R1: MR, ch 2. Work 5 dc into the magic ring.
-
To create the popcorn shape: Remove your hook from the active loop, insert it into the top of the first dc you made, grab the active loop, and pull it through.
-
Pull the magic ring tight to close the base. Fasten off, leaving a tail for sewing.
4. Bow Tie
-
R1: MR. Work the following sequence into the ring: (ch 2, 2 dc, ch 2, sl st). Repeat this sequence one more time to create the second half of the bow.
-
Fasten off. Pull the magic ring closed tightly. Use the long yarn tail to wrap tightly around the center of the bow 2 times, then tie a knot at the back to secure its shape.
5. Arms and Legs (Make 4 total)
-
Note: The creator specifies that the arms and legs are the exact same pattern as the “mini bear” from their previous video. A standard amigurumi mini limb you can use as a substitute is:
-
R1: MR, 5 sc [5]
-
R2-R3: 5 sc [5 for 2 rounds]
-
Fasten off, leaving a tail for sewing.
6. Assembly Instructions
-
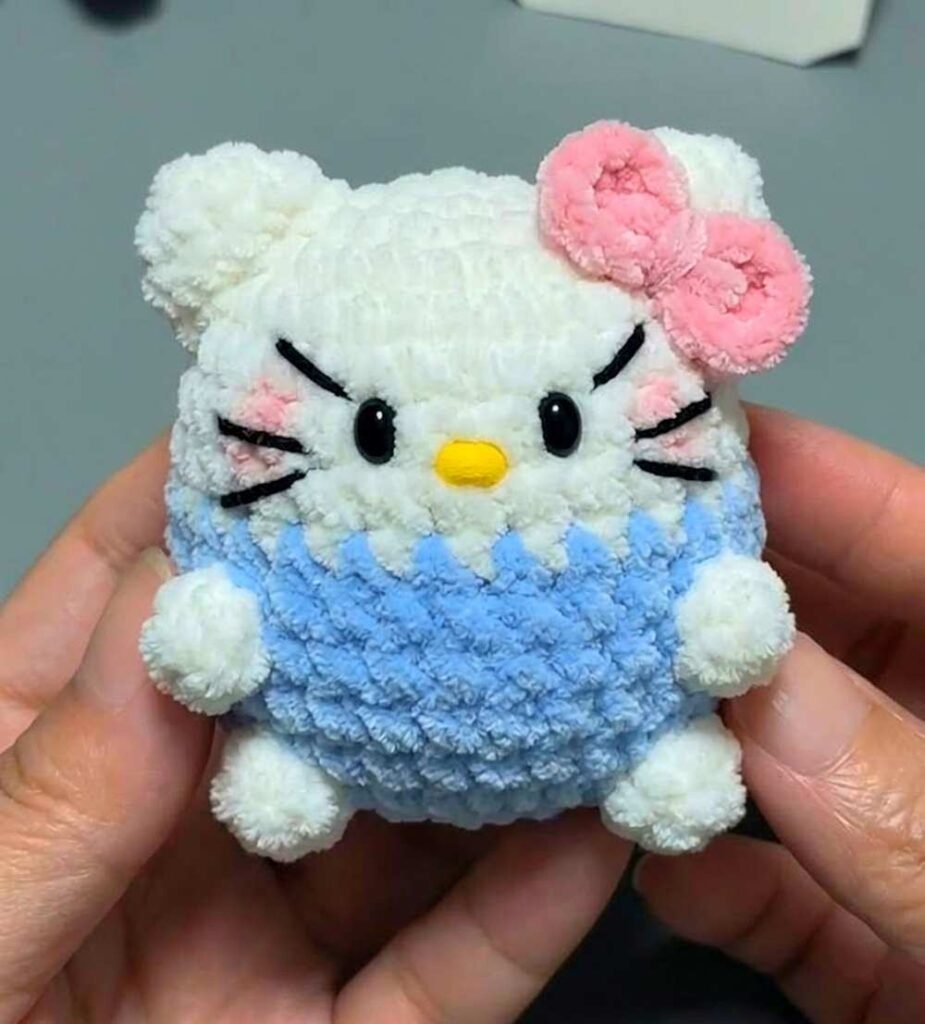
Ears: Pin the ears to the top sides of the head and sew them securely.
-
Face: Embroider the face using black thread. You can glue or sew the completed bow tie directly under the chin or near the ear.
-
Limbs & Tail: Sew the arms directly under the head/neck area. Sew the legs to the bottom base so the cat can sit, and attach the popcorn stitch tail to the back.
-
Finish: Attach a keychain ring to the top of the head if you’d like to use it as a bag charm.