
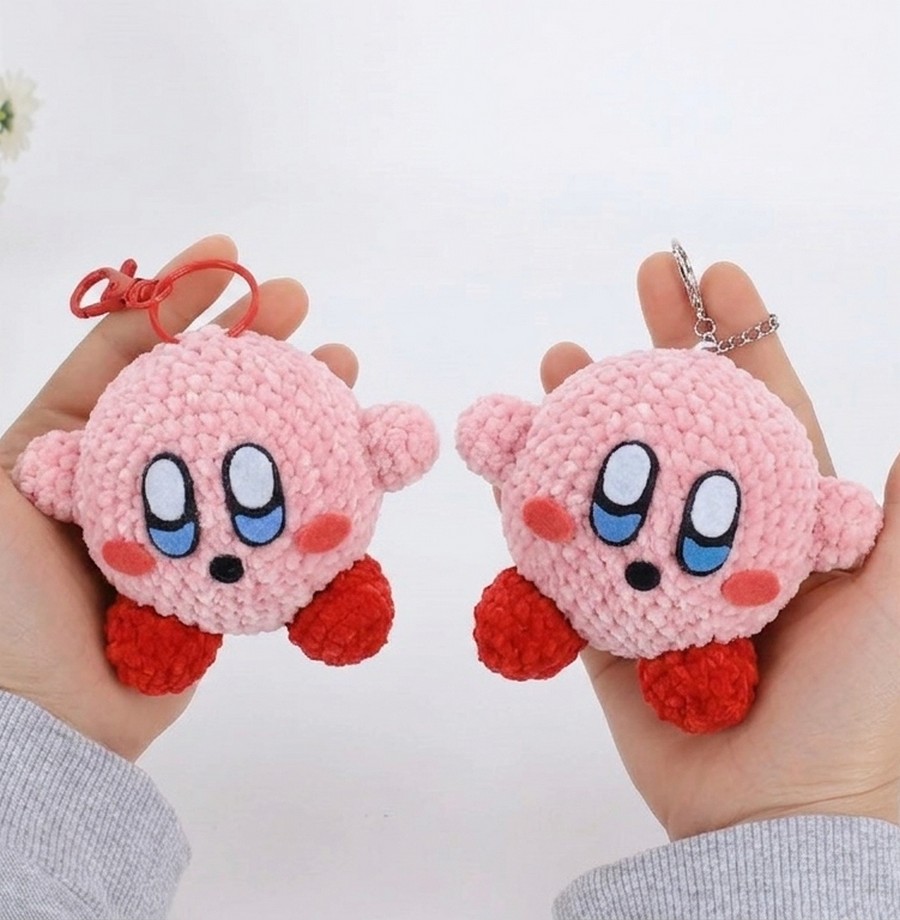
Learn how to crochet an authentic (cute for sure!) Kirby plushie keychain with this pattern. While most of us are familiar with Pikachu, Kirby is undoubtedly one of the cutest Pokémon in the series. It is chubby already, so you will end up with a huggable softie and stress toy.
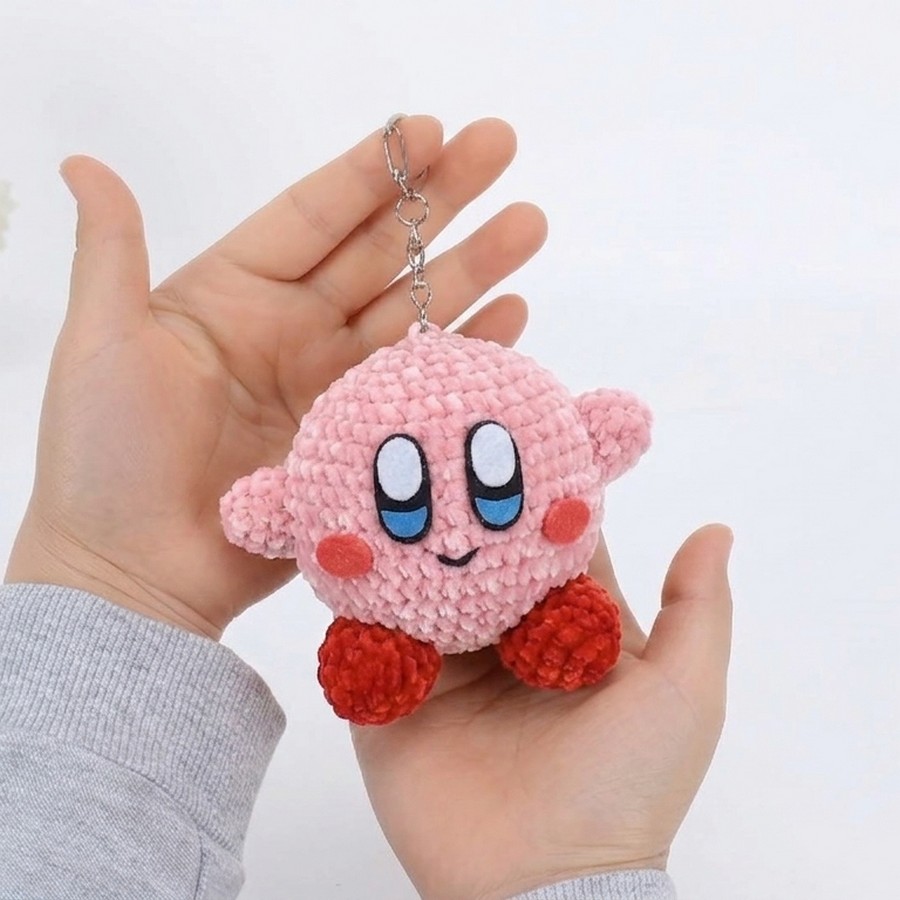
To make it look life-like enough, instead of safety eyes, we shall use felt cutouts to make Kirby’s blue, red, and black eyes. In one version, I have also shown embroidery smile, and it looked cuter to me. However, the main pattern requires assembling a small black circle. With its pink and red colors, it is an irresistible Valentine’s Day and birthday gift.
I have personally not seen Pokémon again since my childhood, and neither have many of you. So, this Kirby plushie will make a perfect surprise present. Now, continue reading for the full pattern to crochet this plushie. This is probably the first character crochet plushie I have shared; however, many no-knit sphere plushies.
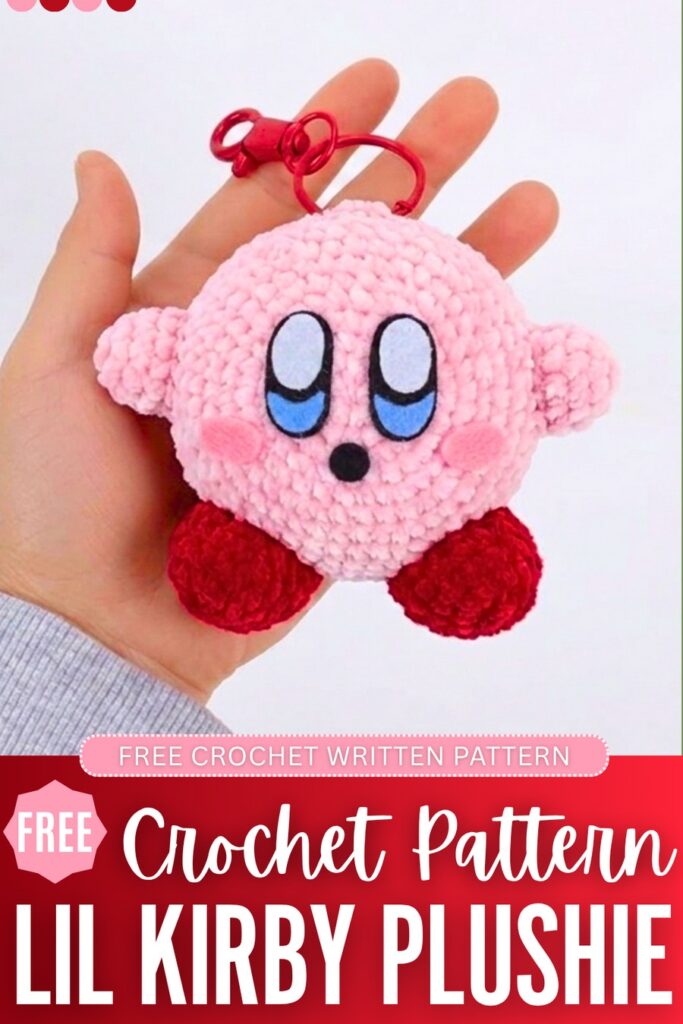
Crochet Kirby Plush: Round-by-Round Pattern
Here is the complete crochet pattern for this pink and red Kirby plush. It is crocheted with separate parts for the body, legs and arms:
Materials Required
- Yarn: Medium/4-ply milk cotton yarn or plush yarn in Pink (Main Color for the body and hands) and Red (for the feet).
- Crochet Hook: With super bulky yarn, use a 5mm hook; with cotton yarn, a 2.5mm hook.
- Felt Sheets: Black, White, Blue, and Red felt fabric pieces to make the facial features.
- Glue
- Stuffing: PP or polyester fiberfill.
- Tools: Stitch markers, yarn needle, and scissors.
- Optional: A keychain ring or decorative lanyard attachment.
Abbreviations Guide
- MR: Magic Ring
- ch: Chain
- sc: Single Crochet (Standard or cross-stitch single crochet)
- inc: Increase (2 sc in the same stitch)
- dec: Decrease (Invisible single crochet decrease)
- st(s): Stitch(es)
- Rnd: Round
Main Body Pattern
Use Pink yarn. Work in a continuous spiral without joining at the end of each round. Move your stitch marker up to track the first stitch of every new round.
- Rnd 1: MR, 6 sc (6 sts)
- Rnd 2: 6 inc (12 sts)
- Rnd 3: (sc, inc) × 6 (18 sts)
- Rnd 4: sc, inc, (2 sc, inc) × 5, sc (24 sts)
- Rnd 5: (3 sc, inc) × 6 (30 sts)
- Rnd 6: 2 sc, inc, (4 sc, inc) × 5, 2 sc (36 sts)
- Rnd 7: (5 sc, inc) × 6 (42 sts)
- Rnd 8: 3 sc, inc, (6 sc, inc) × 5, 3 sc (48 sts)
- Rnd 9: (7 sc, inc) × 6 (54 sts)
- Rnd 10: 4 sc, inc, (8 sc, inc) × 5, 4 sc (60 sts)
- Rnd 11–14: 60 sc around evenly (60 sts per round)
- Rnd 15: 4 sc, dec, (8 sc, dec) × 5, 4 sc (54 sts)
- Rnd 16: (7 sc, dec) × 6 (48 sts)
- Rnd 17: 3 sc, dec, (6 sc, dec) × 5, 3 sc (42 sts)
- Rnd 18: (5 sc, dec) × 6 (36 sts)
- Rnd 19: 2 sc, dec, (4 sc, dec) × 5, 2 sc (30 sts)
- Rnd 20: (3 sc, dec) × 6 (24 sts)
- Rnd 21: sc, dec, (2 sc, dec) × 5, sc (18 sts)
- Rnd 22: (sc, dec) × 6 (12 sts)
- Stuffing: Pack the body roundly and firmly with PP cotton stuffing before the opening gets too narrow.
- Rnd 23: 6 dec (6 sts)
- Finish: Cut the yarn leaving a moderate tail. Thread the tail onto a yarn needle, pass through the front loop of the remaining 6 stitches, pull firmly to seal the hole like a drawstring, and weave the tail securely inside the body to conceal it.
Hands Pattern (Make 2)
Use Pink yarn. Work in continuous spiral rounds.
- Rnd 1: MR, 5 sc (5 sts)
- Rnd 2: 5 inc (10 sts)
- Rnd 3: 10 sc evenly around (10 sts)
- Rnd 4: (4 sc, inc) × 2 (12 sts)
- Rnd 5: 12 sc evenly around (12 sts)
- Finish: Fasten off, leaving a long yarn tail on each hand for assembly onto the main body later.
Feet Pattern (Make 2)
Use Red yarn. Work in continuous spiral rounds.
- Rnd 1: MR, 6 sc (6 sts)
- Rnd 2: (sc, inc) × 3 (9 sts)
- Rnd 3: (2 sc, inc) × 3 (12 sts)
- Rnd 4: 12 sc evenly around (12 sts)
- Rnd 5: (3 sc, inc) × 3 (15 sts)
- Rnd 6: 15 sc evenly around (15 sts)
- Rnd 7: (4 sc, inc) × 3 (18 sts)
- Rnd 8–9: 18 sc evenly around (18 sts per round)
- Rnd 10: (sc, dec) × 6 (12 sts)
- Rnd 11: 6 dec (6 sts)
- Finish: Lightly push a small amount of PP cotton stuffing into the foot to give it dimension. Close the bottom opening using your yarn needle by weaving through the front loops and pulling tightly. Leave a long red yarn tail for sewing.
Detailed Assembly Instructions
Preparing the Felt Face Pieces: Using your felt sheets and a pair of scissors, carefully cut out the facial feature patterns.
Cut two vertical black felt ovals for the background of the eyes, two slightly smaller white felt ovals to act as the upper eye highlights, and two blue crescent/half-moon shapes to place at the lower rim of the eyes.
Cut one small black oval/rounded shape for the mouth (centered between the eyes) and two horizontal red felt ovals for the blush on Kirby’s cheeks.
Assembling the Face: Layer the white highlight ovals onto the upper portion of the black eye backings and glue them down. Glue the blue crescent shapes onto the lower inner edges of the black ovals.
Once the eyes are fully constructed, map out their placement on the main pink body globe and glue them down flatly. Glue the black mouth directly centered between the lower halves of the eyes, and attach the red blush ovals right beneath the outer side of each eye.
Attaching the Hands: Take your completed pink hands and add just a tiny pinch of PP cotton inside to hold their shape. Position the hands on the left and right sides of the body between Rnds 10 and 14.
Align the upper edge of the hands horizontally with the line of the eyes. Use a yarn needle to securely whipstitch around the open edge of the hand into the body stitches, matching both sides symmetrically, then secure and trim your yarn ends.
Attaching the Feet: Take the red stuffed feet and position them directly underneath the lower surface of the body. Align them symmetrically using the central mouthpiece as your midpoint guide so they fan slightly outward on the left and right sides.
Thread the red tail onto your needle and stitch along the upper connection perimeter of the feet, pulling tightly so the plushie sits flatly and securely on its feet. Run your needle back through to secure the knots and hide the tails deep inside the body shell.
Keychain Finish: If you intend to use your Kirby as a bag charm or accessory, insert a standard keychain link or split ring through the very top center magic ring stitches of the pink body.

About "Talha"
Hey, I’m Talha, the Crafter on Craftstive.com. I love to share guides on folding cute origami models and paper crafts, and I am always ready to inspire your next craft project with my weekly craft discussions.