
Show support for Inpom!
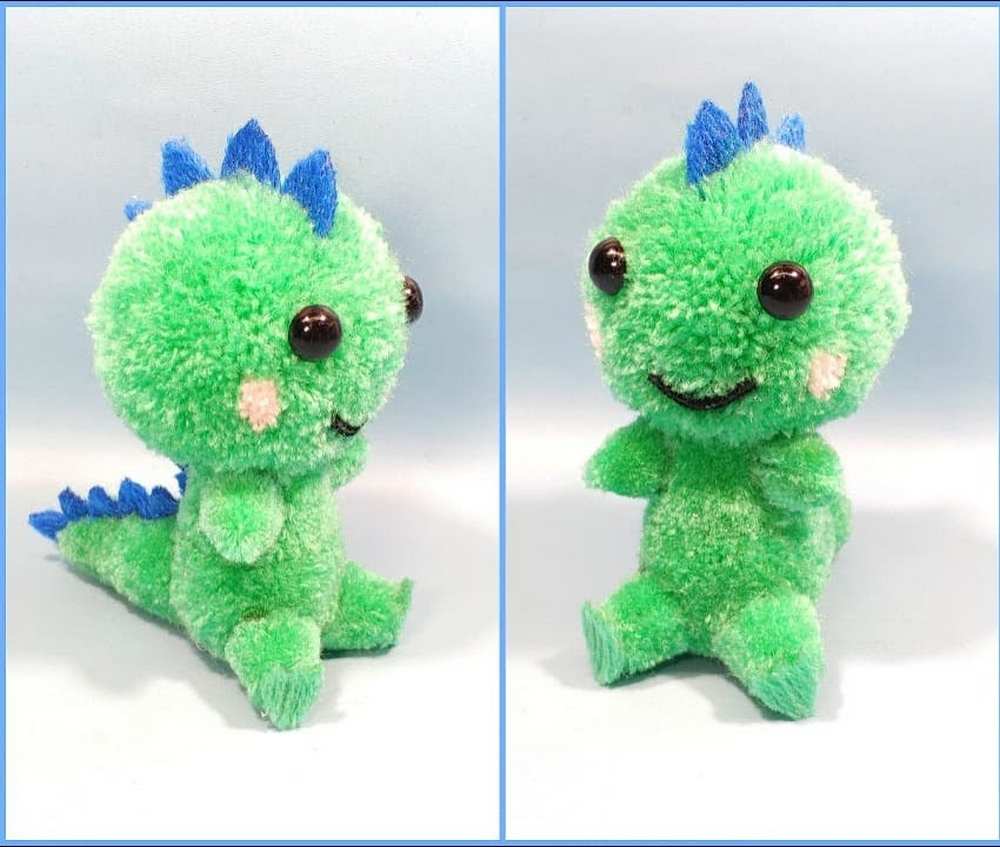
In today’s FEATURED no-knit yarn plushie tutorial, learn how to DIY this cute little sitting pom-pom dinosaur plushie with blush on the cheeks. This is a miniature baby T. rex doll using some yarn, felt, and safety beads. Since we are gonna make this dinosaur plushie using the pom clover maker, the finished dino plushie LOOKS much more professional, and each part is well-shaped.
DIY A Sitting No-Knit Dinosaur
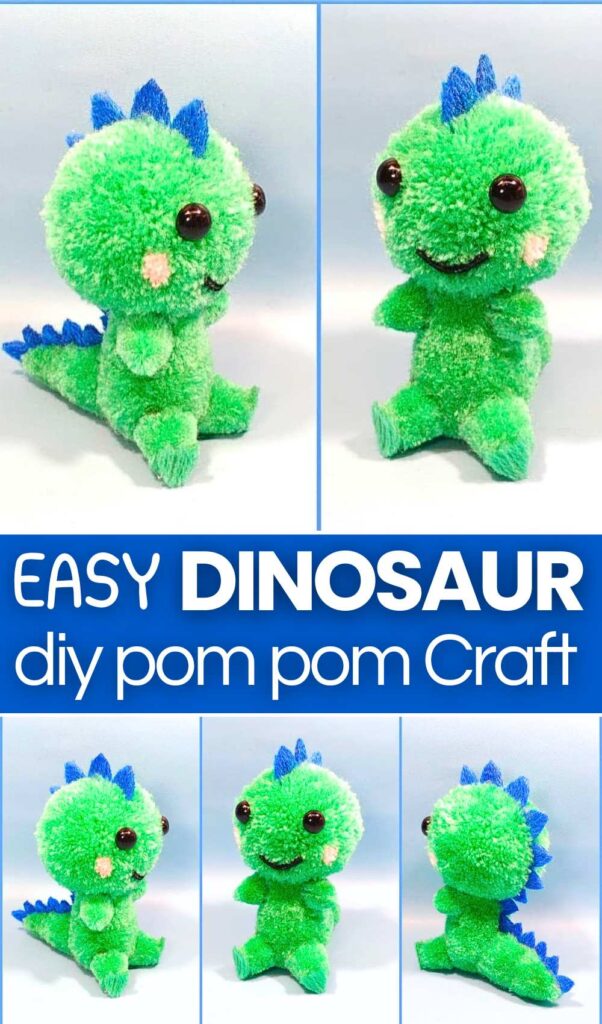
Gift this as a pocket pet to kids; since Halloween is also coming, you can make it a part of cosplay. This dino plushie also features CUTE felt spikes and feet that make it look so life-like.
You can also use the kawaii plastic eyes for your baby dino plushie to make it LOOK EVEN CUTER. We shall make and join the pom poms needed for this dinosaur plushie as we go. Choose from baby pink and dark pink, green and yellow & red and yellow for the body and the spikes, respectively. Now, continue reading to learn about this anytime pom pom plushie project.
https://craftshive.com/how-to-crochet-baby-dinosaur-plushies-for-kids/https://craftshive.com/crochet-mini-dino-plushie/[/posturl
Tutorial to DIY an Oh-So Cute Baby Dinosaur Plushie
This DIY dinosaur plushie is a creative and accessible project that transforms simple acrylic wool into a charming, soft toy. The process primarily utilizes pompom-making techniques to form the various body parts, including the head, body, tail, and limbs.
By using different-sized pompom makers, you can achieve a proportional and sturdy structure. Once the individual pieces are crafted and trimmed, they are securely joined using hot glue.
Adding unique details like blue spines, doll eyes, and a sweet smile brings the character to life. This project is perfect for crafters of all levels seeking a fun, tactile experience.
Materials Needed:
-
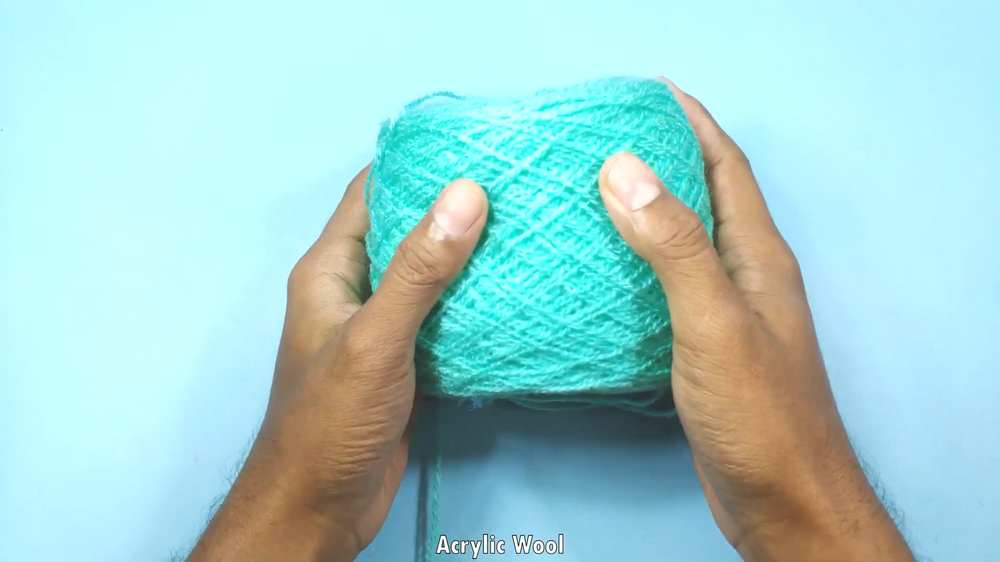
Wool: Light green (main body), Dark blue (spines), Black (mouth), and Pink (cheeks).
-
Tools: Pom-pom makers (6.8 cm, 4.8 cm, and 3.8 cm), sharp scissors, a utility knife, and a hot glue gun.
-
Accessories: Small doll eyes and a piece of cardboard (4.5 cm wide).
Beginner? Learn with the Video Tutorial
Step-by-Step Instructions:
1. Make the Head
-
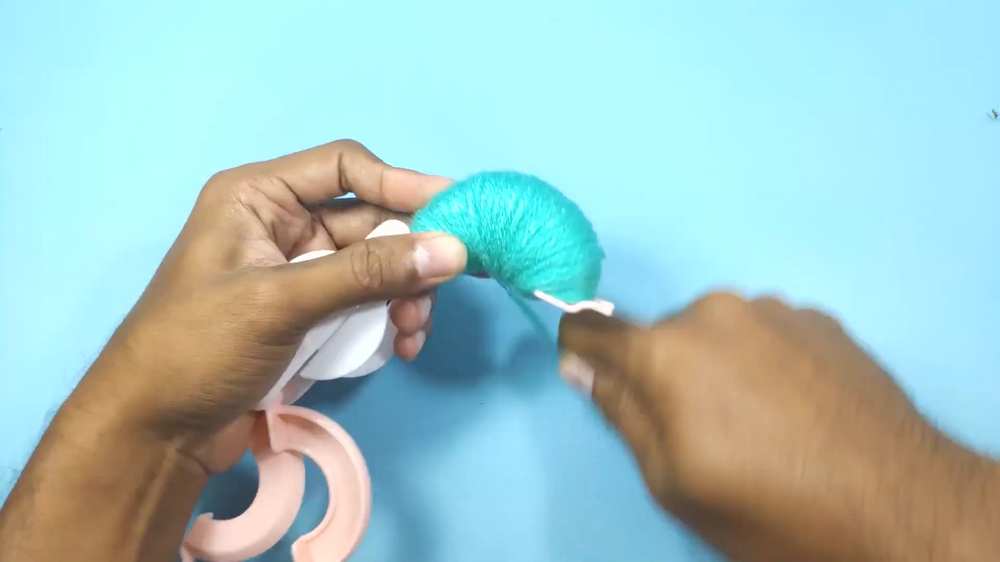
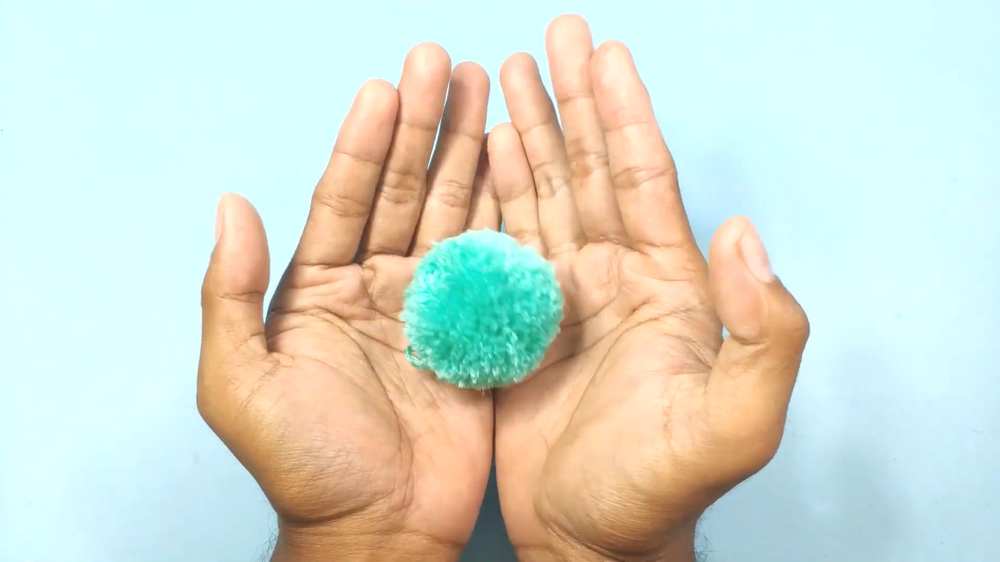
Take the 6.8 cm pom-pom maker and wrap it thickly with the green wool.
-
Cut along the center of the maker with a utility knife or scissors.
-
Tie a piece of wool tightly around the middle to secure the strands and remove the maker.
-
Trim the wool with scissors until it looks like a perfect, smooth green ball.
2. Make the Body and Tail
-
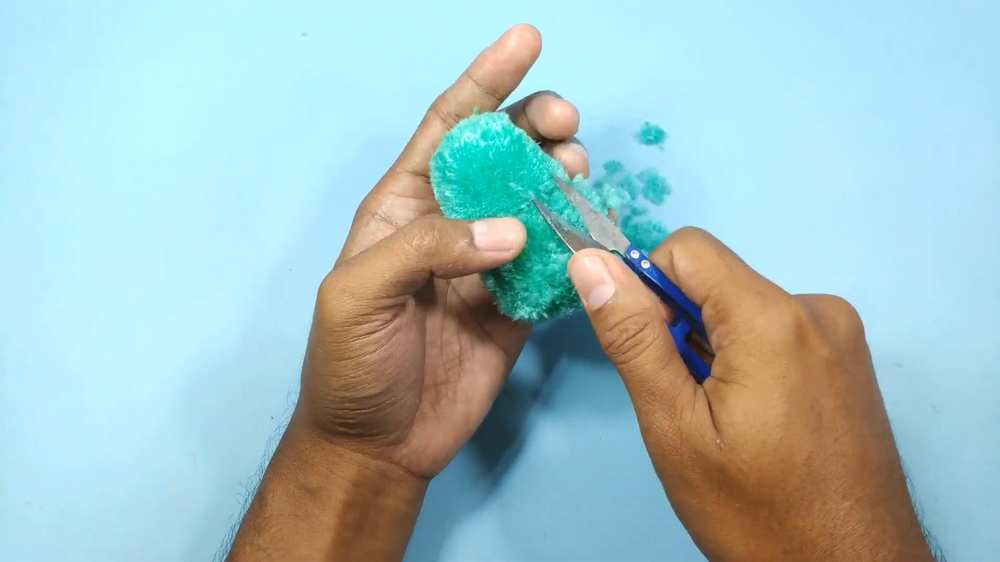
Use the 4.8 cm pom-pom maker to create another green ball. This will be the body.
-
Take the 3.8 cm pom-pom maker to make a third, smaller green ball for the tail.
-
Trim the tail pom-pom into a cone shape so it looks pointed at the end.
3. Build the Arms and Legs
-
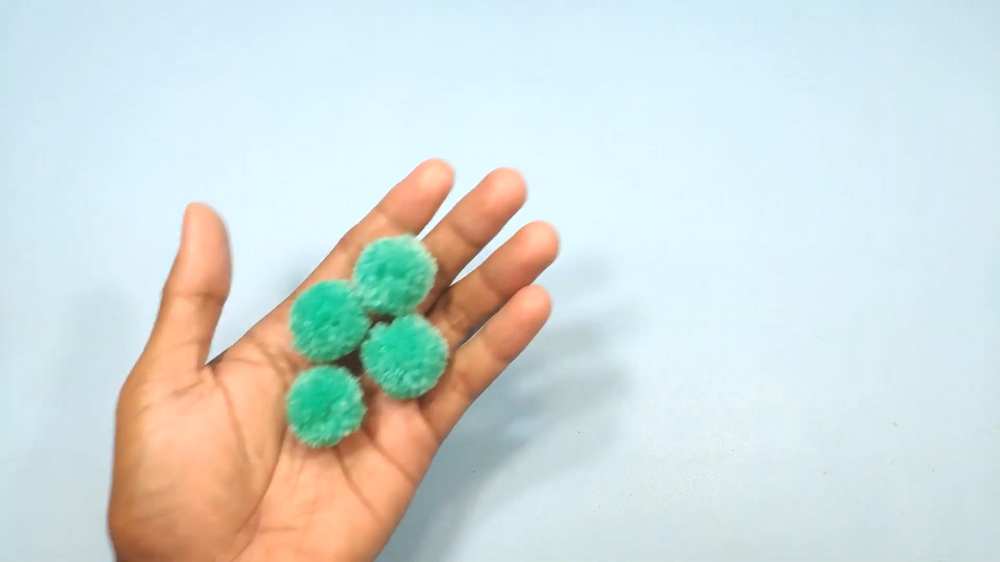
Wrap green wool around your fingers or a small maker to create four tiny pom-poms.
-
Trim two of them into small rounded shapes for the feet.
-
Trim the other two into slightly smaller shapes for the hands.
4. Assemble the Body
-
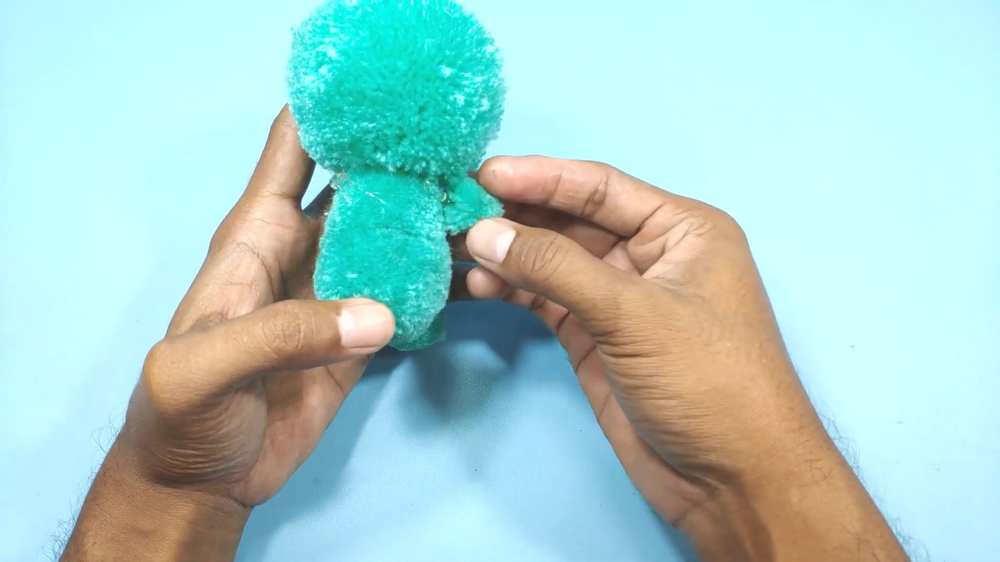
Use the hot glue gun to attach the head to the top of the body.
-
Glue the tail to the back of the body, pointing outward.
-
Glue the feet to the bottom and the hands to the sides of the body.
5. Create the Blue Spines
-
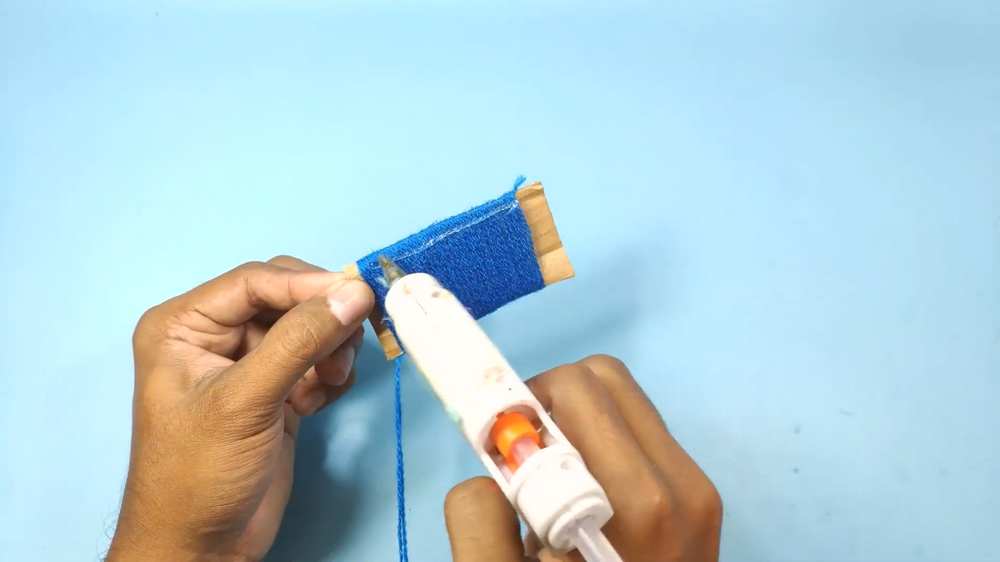
Wrap blue wool around a 4.5 cm cardboard piece until it is thick.
-
Apply a line of hot glue across the wool on the cardboard to hold the strands together.
-
Once dry, slide the wool off and cut it into small triangle shapes.
-
Make enough triangles to go from the top of the head down to the tip of the tail.
6. Add the Details
-
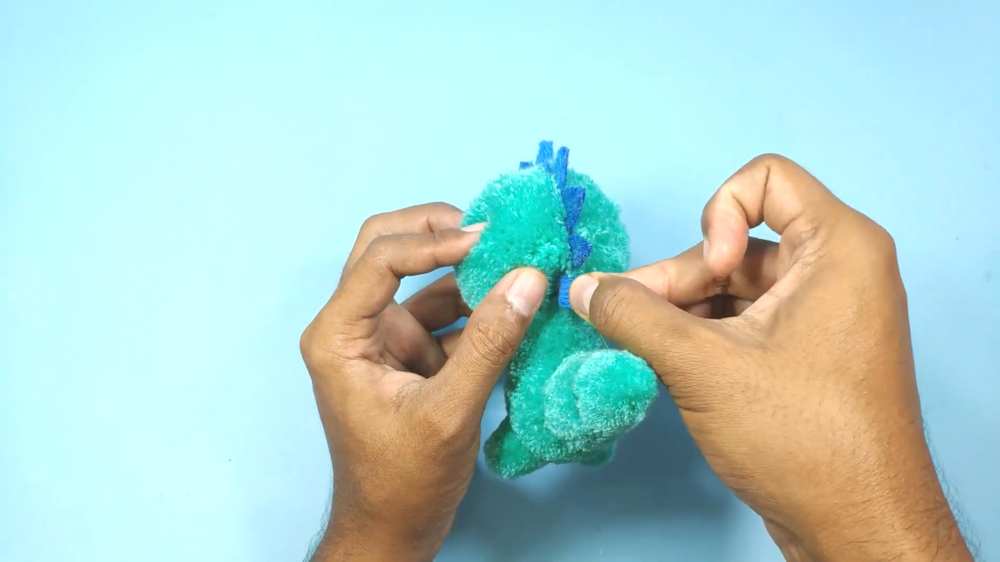
Glue the blue spines in a straight line down the dinosaur’s back and tail.
-
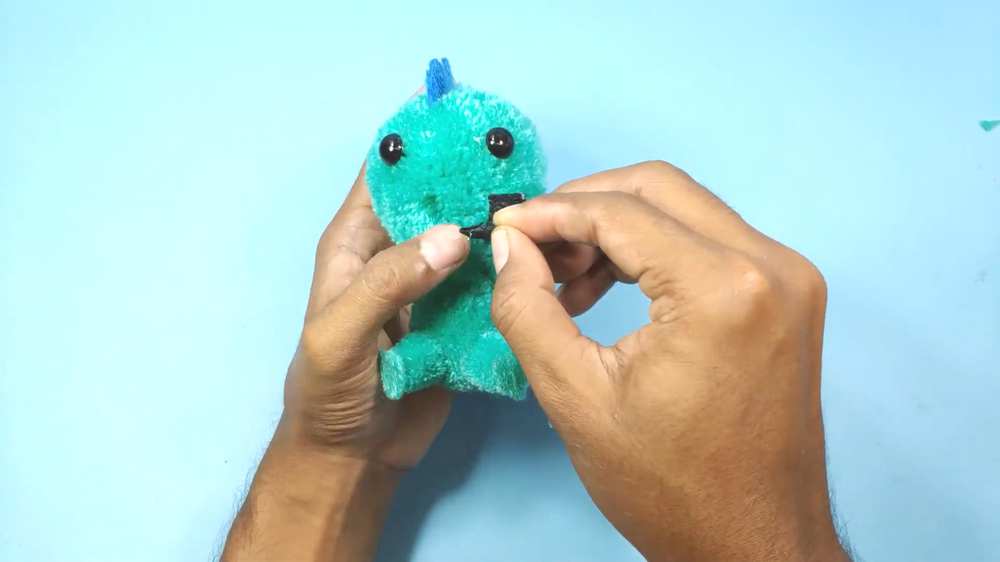
Eyes: Glue the two doll eyes onto the face.
-
Mouth: Take a tiny piece of black wool, shape it into a smile, and glue it below the eyes.
-
Cheeks: Wrap a little pink wool to make two tiny flat circles and glue them next to the mouth for a “blushing” look.
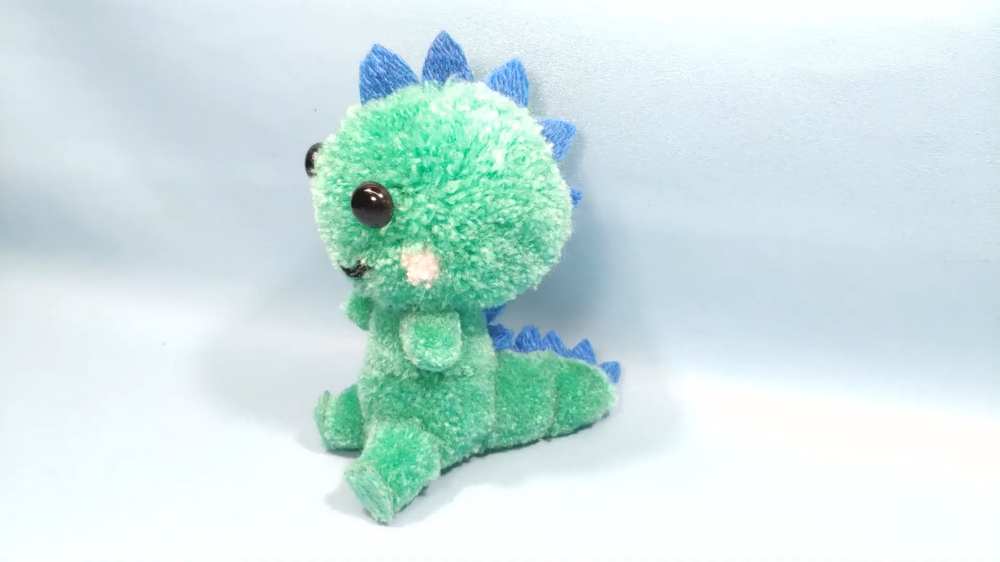
Your soft and fuzzy pom-pom dinosaur is now finished!