Show support for Kanzashi!
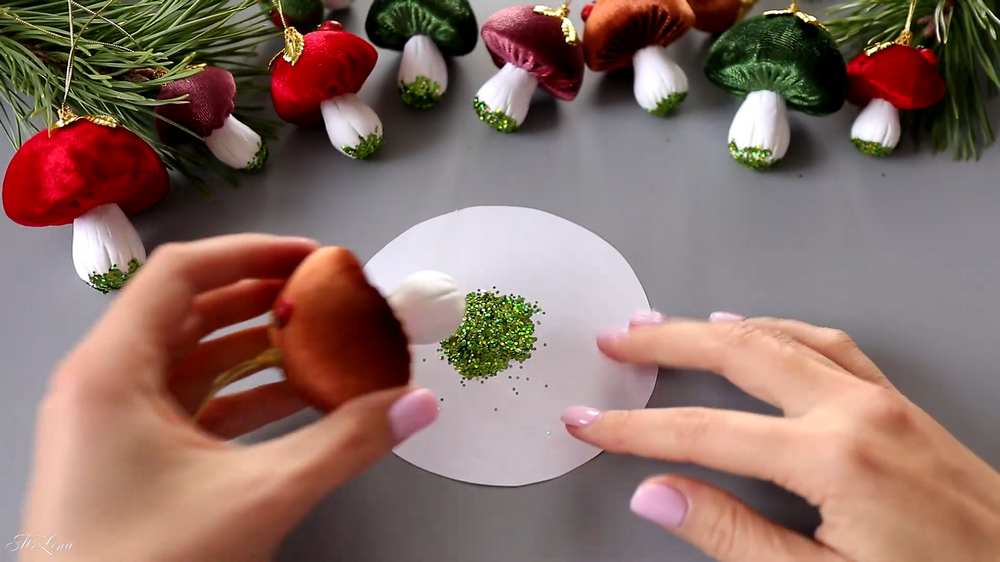
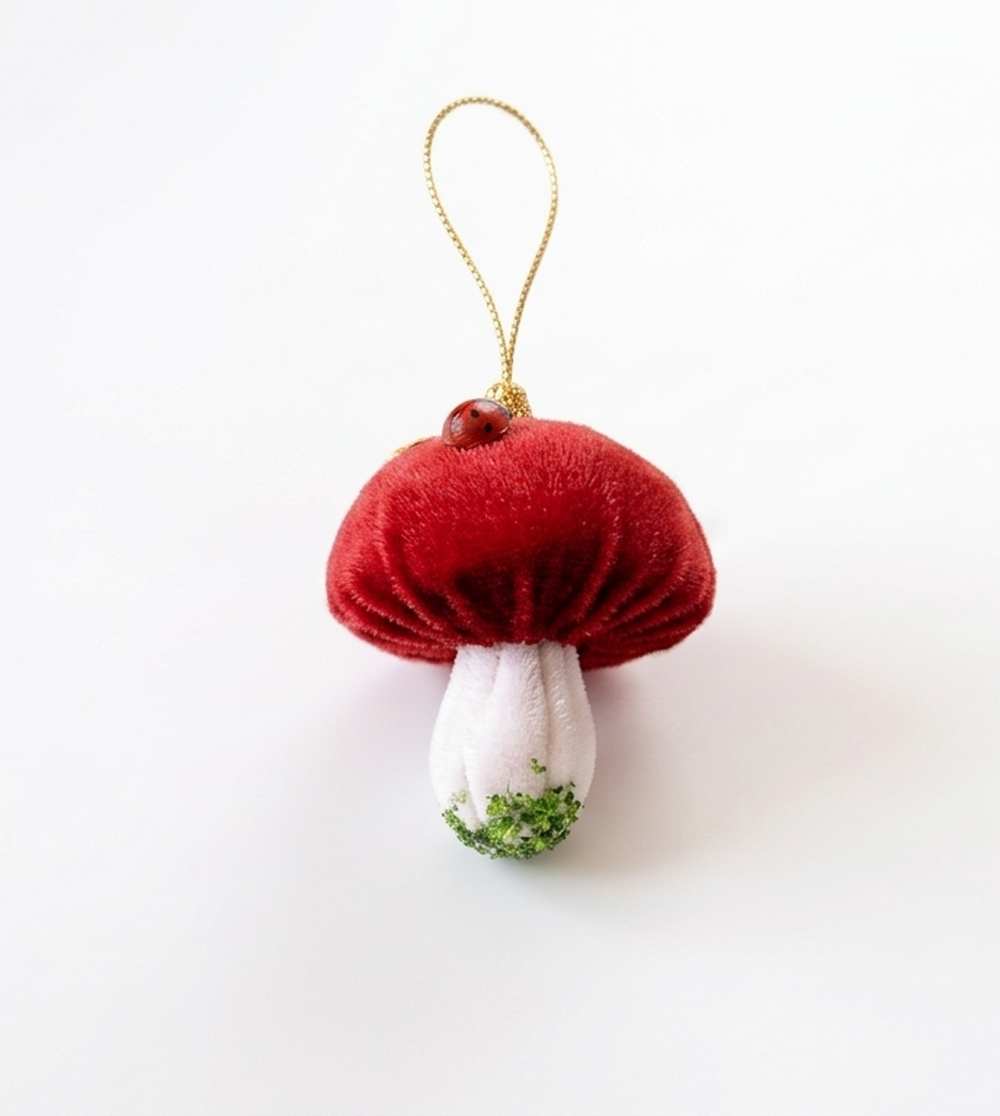
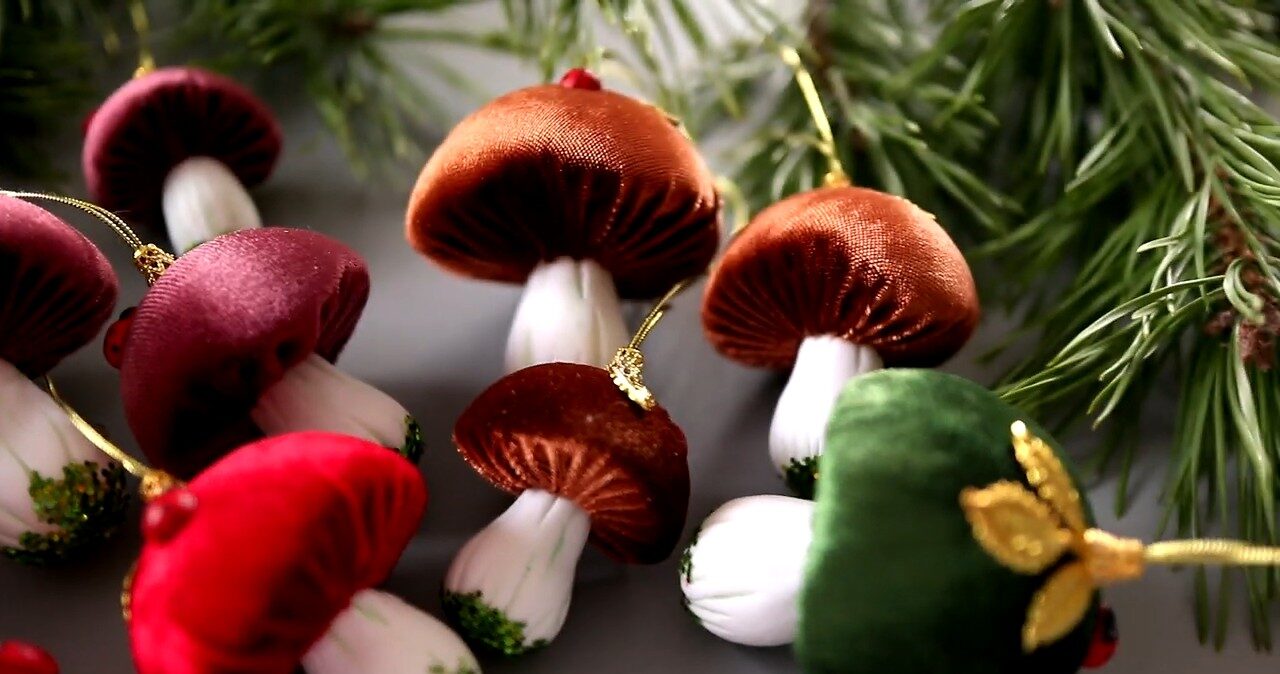
Whether you are preparing for fall or Christmas, be sure to DIY these velvety & soft fabric mushrooms with a step-by-step tutorial. Made with styrofoam balls as bases, these fabric magic Christmas mushrooms look the MOST APPEALING and shinier with their golden cord leaves, glittery moss, and the PERFECT shapes. Decorate the Christmas tree with these ornaments or use them as handy pincushions during the fall.
Velvety Mushroom Ornaments
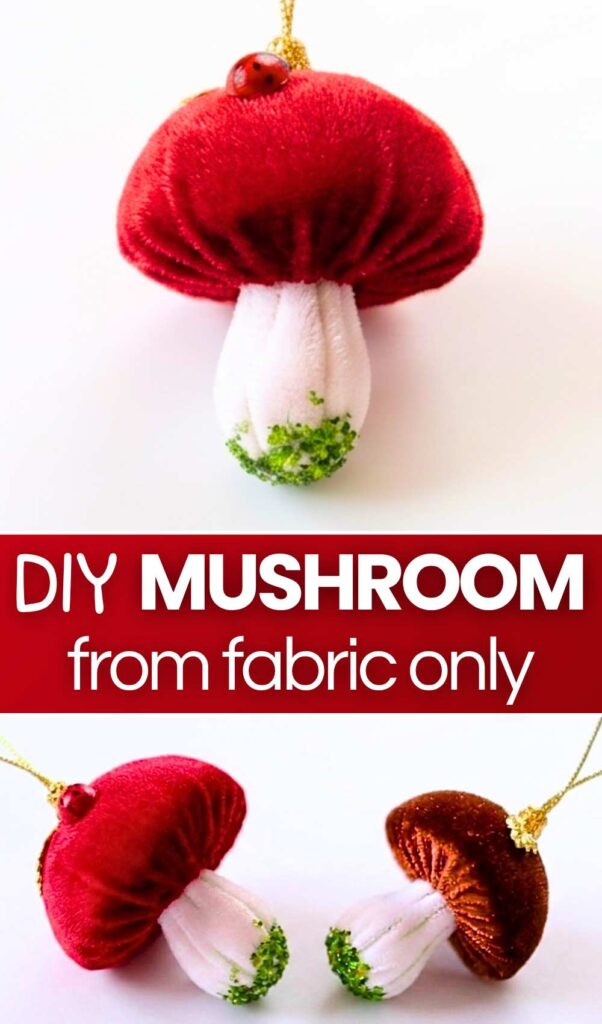
You can make your Christmas mushroom in premium velvet colors such as green, earthy red, royal red, and even navy blue. They are also decorated with jewelry tassel caps and small plastic ladybugs.
The shape of these fabric mushrooms is also SO PERFECT that I can only give them 5 out of 5. If you want to make these DIY mushrooms in bulk just like the fabric pumpkins, be sure you don’t waste the fabric. So, plan the measurements before you start making these velvety mushrooms. Now, continue reading to learn more about this QUICK Christmas + Fall project for beginners.
Tutorial to Make Fabric Mushroom Ornaments
This fun fall project lets you make cute mushroom ornaments right at home. You only need a few simple craft supplies to start.
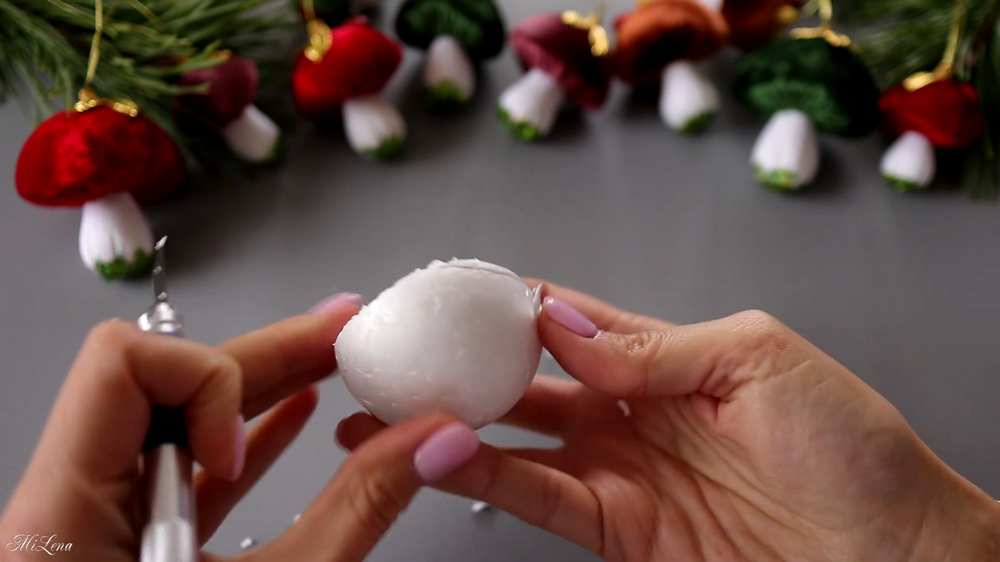
First, cut a styrofoam ball in half with small, smooth waves to form the mushroom hat. Cover this hat with soft elastic velvet fabric.
Next, shape airy polymer clay into a small droplet for the leg. Use a needle to add tiny details, then let it dry. Color the leg with a green pencil or acrylic paint.
Finally, glue the pieces together and decorate with golden leaves, a ladybug, and shiny sparkles for a magical finish.
Materials Needed
-
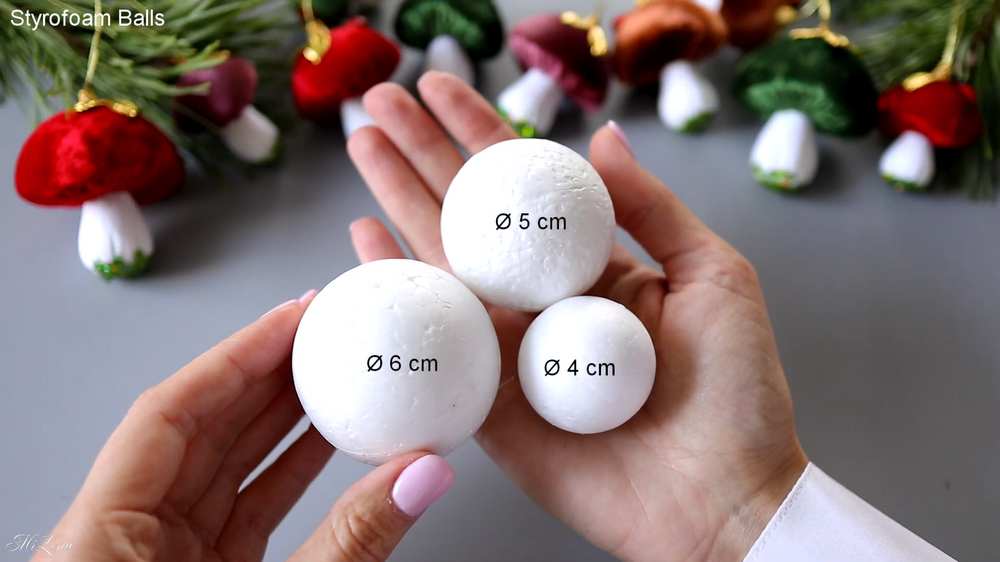
For the Cap: Styrofoam balls (various sizes like 4cm, 5cm, or 6cm), stretch velvet fabric in different colors, a craft knife, needle and thread, and chalk.
-
For the Stem: White air-dry clay (ultra-light), a needle (for texturing), and a green pencil or acrylic paint.
-
For Decorating & Hanging: Gold cord (about 30cm per mushroom), bead caps, golden decorative leaves, small ladybug charms, clear glue, hot glue, and green glitter or sequins.
-
Tools: A compass (for drawing circles), scissors, and a ruler.
Beginner? Learn with the Video Tutorial
Step-by-Step Crafting Process
1. Prepare the Mushroom Cap Base
-
Take a styrofoam ball and mark a line around its center to divide it into two halves.
-
Use a craft knife to cut the ball in half. Instead of a straight cut, make slight wavy motions to give the mushroom cap a more natural, organic edge.
-
Trim any rough spots on the flat side to make it slightly concave if desired.
2. Prepare the Fabric Cover
-
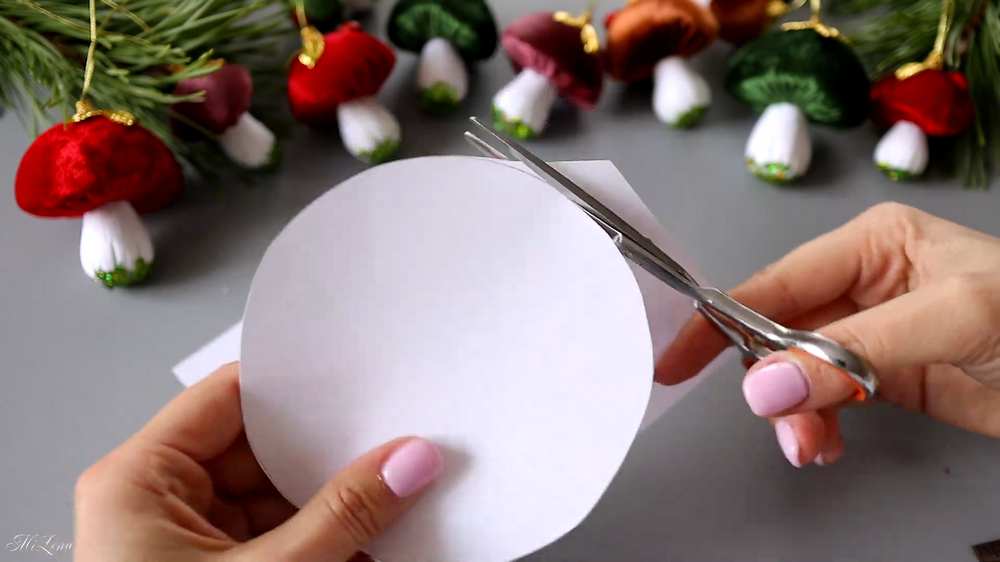
Using a compass, draw a circle on a piece of paper to create a template. For a 6cm ball, the fabric circle should be about 11cm in diameter.
-
Place the template on the back of your velvet fabric and trace it with chalk.
-
Cut out the fabric circle.
3. Cover the Cap
-
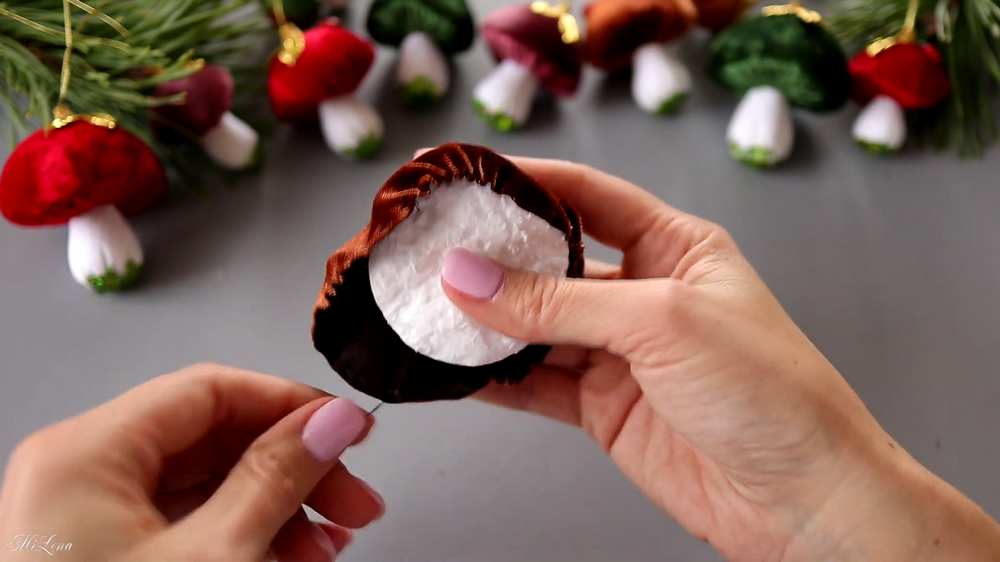
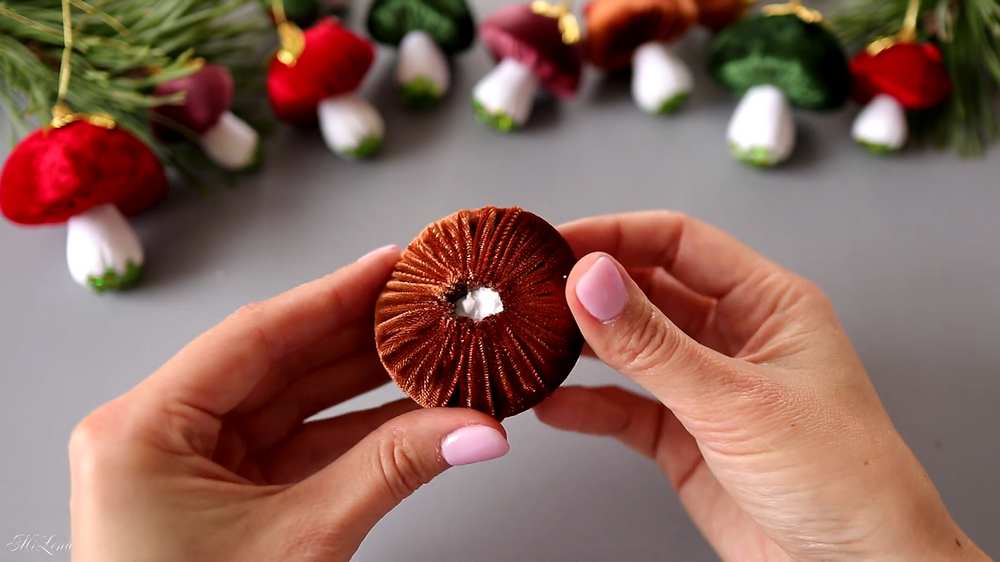
Using a needle and thread, sew a simple running stitch all the way around the edge of the velvet circle.
-
Place your styrofoam half-ball (curved side against the fabric) in the center of the circle.
-
Pull the thread tight to gather the fabric around the flat side of the styrofoam.
-
Leave a small hole (about 1 to 1.5cm wide) in the very center where the stem will go. Knot the thread securely and cut the excess.
4. Sculpt the Stem
-
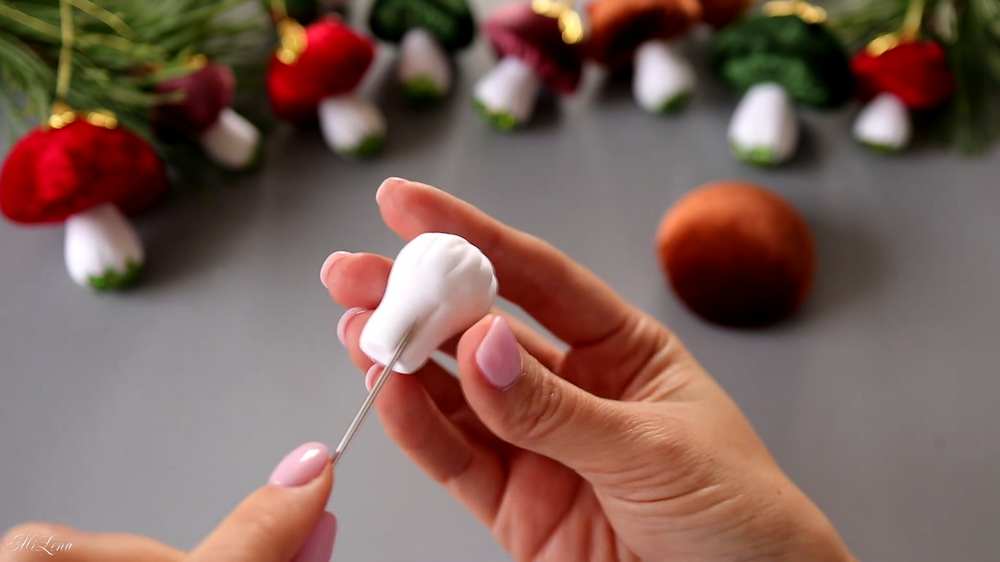
Take a small piece of air-dry clay and roll it into a thick cylinder.
-
Shape it into a teardrop or “stump” shape, roughly 3 to 4cm tall. Flatten the top and bottom slightly.
-
While the clay is still wet, use a needle to scratch vertical lines all around the stem to mimic the texture of a real mushroom.
-
Let the stem dry completely (usually takes about 24 hours).
5. Color the Stem
-
Once the clay is dry, take a green pencil or a brush with a little green paint.
-
Lightly shade the bottom of the stem and the textured lines you made earlier to give it a “forest” look.
6. Add the Hanging Cord
-
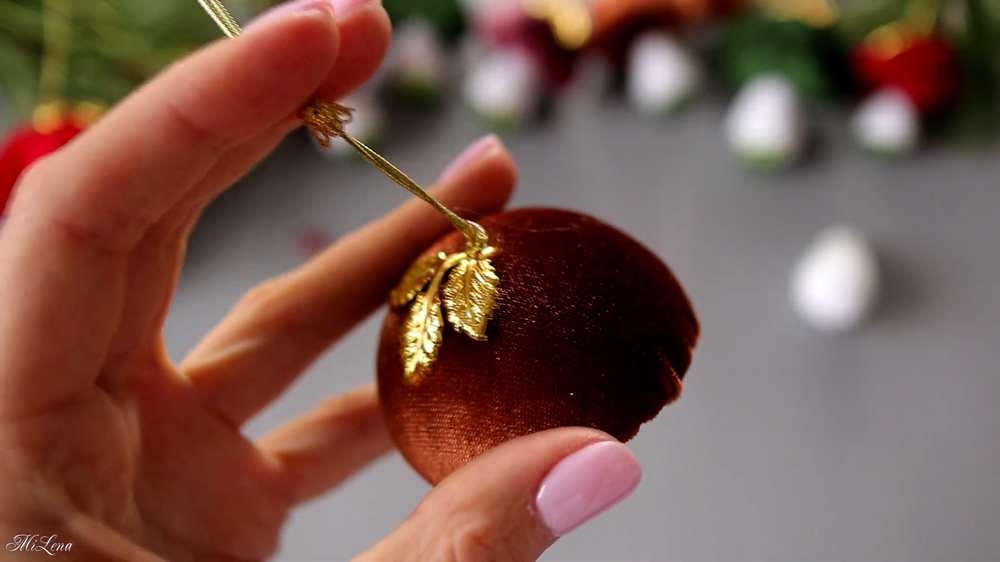
Cut a 30cm piece of gold cord.
-
Use a needle to pull the cord through the top center of the velvet cap.
-
Tie the ends together to make a loop. You can add a bead cap at the base of the loop for a professional finish.
7. Final Assembly and Decoration
-
Add Decorations: Use hot glue to attach golden leaves and a tiny ladybug to the top of the velvet cap.
-
Attach the Stem: Put a generous amount of hot glue into the center hole of the velvet cap and press the top of the clay stem into it. Hold it for a few seconds until set.
-
Add “Moss”: Apply clear glue to the bottom of the stem and dip it into green glitter or sequins. This creates a sparkling moss effect that completes the “magic” look.