Subscribe to @a_studenwhodoeasyhandcrafts
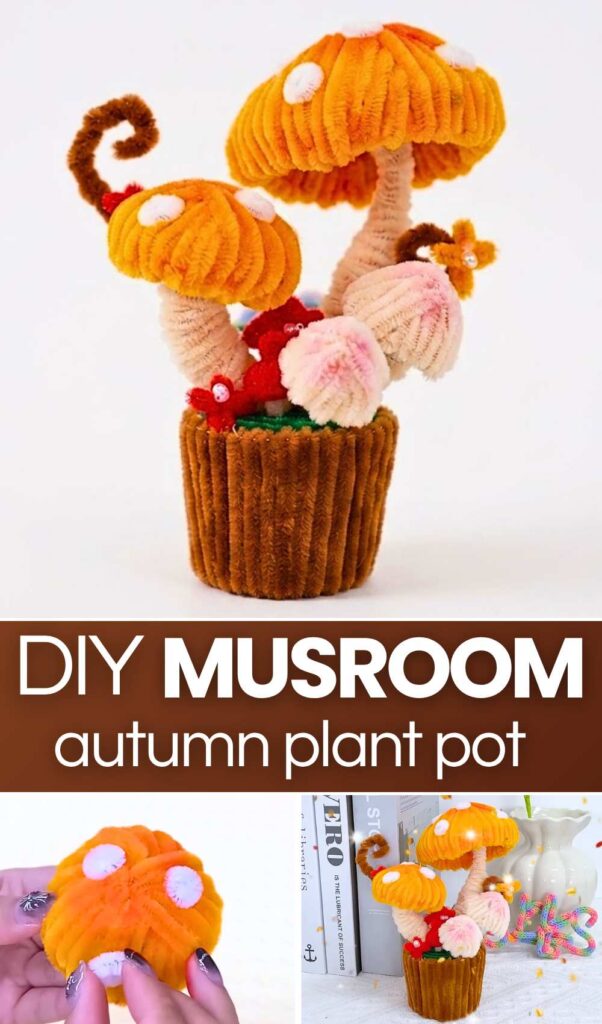
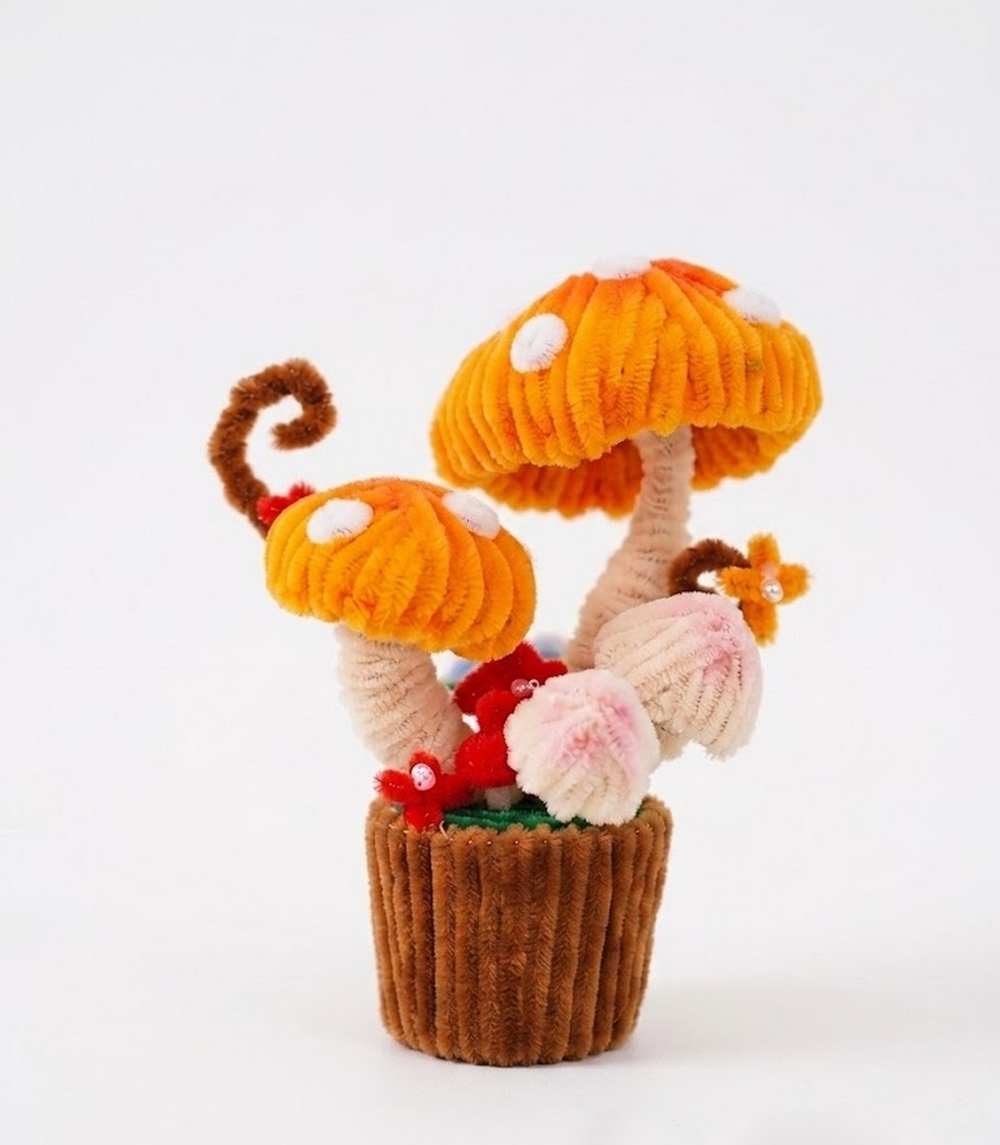
Today, we are making the MOST LIVELIEST pipe cleaner mushroom pot out of all 3 I have shared already this year. This time, our plant pot contains 4 designs of mushrooms and even small pipe cleaner flowers. This time, even the mushroom pot is made of pipe cleaners, just like the potted rose and sunflower plants and the popstick pot. Last time, we had to use a kawaii plastic pot with a painted face. Decorate your table, Christmas dining, or fall porch with this crochet mushroom pot!
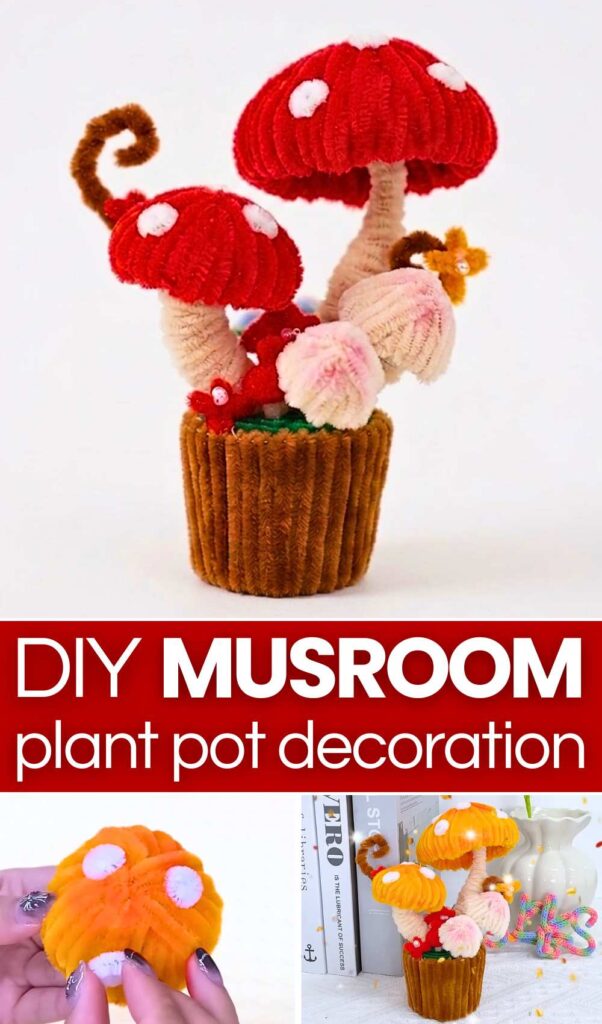
But today, everything is made of the chenille stem, even the faux grassy land. We shall make two yellow grown-up mushrooms of different sizes, small baby mushrooms in red which mimic the toadstool mushroom species (fly agaric), and then there are brown curly grass slices and flowers.
We shall use both the beads and the pipe cleaner rolls to make the white spots of the pipe cleaner mushroom. The method to make these mushrooms out of chenille stems is quite the same as the potted mushroom designs I have already taught. Anyway, continue reading to learn more about this fall & Christmas decoration project.
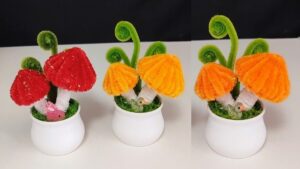
Finding Difficult? Here is the tutorial!
Tutorial to Make a Pipe Cleaner Life-Like Mushroom Pot
First, cut a paper cup in half and cover the outside with brown pipe cleaners to make a flower pot. Fill the cup with crumpled paper and glue a flat green pipe cleaner coil on top as moss. Shape orange pipe cleaners into two mushroom caps, wrap them until full, then add soft shading with colored powder and glue on small white pipe cleaner spots.
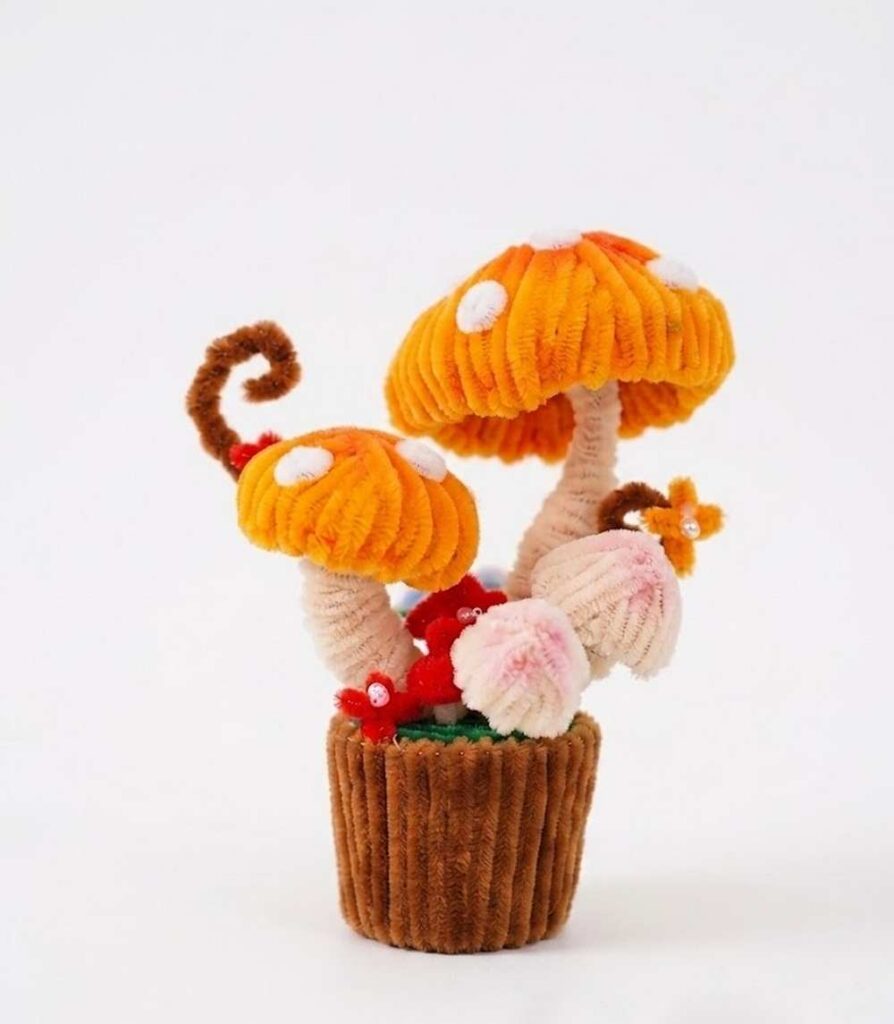
Roll nude pipe cleaners into stems and attach them under the caps. Make one small bare mushroom and one tiny red mushroom the same way.
Twist two brown pipe cleaners into a curly vine. Glue all the mushrooms and vine into the moss, then add tiny craft pearls for decoration. Your cute mushroom ornament is ready to display.
Materials Needed
-
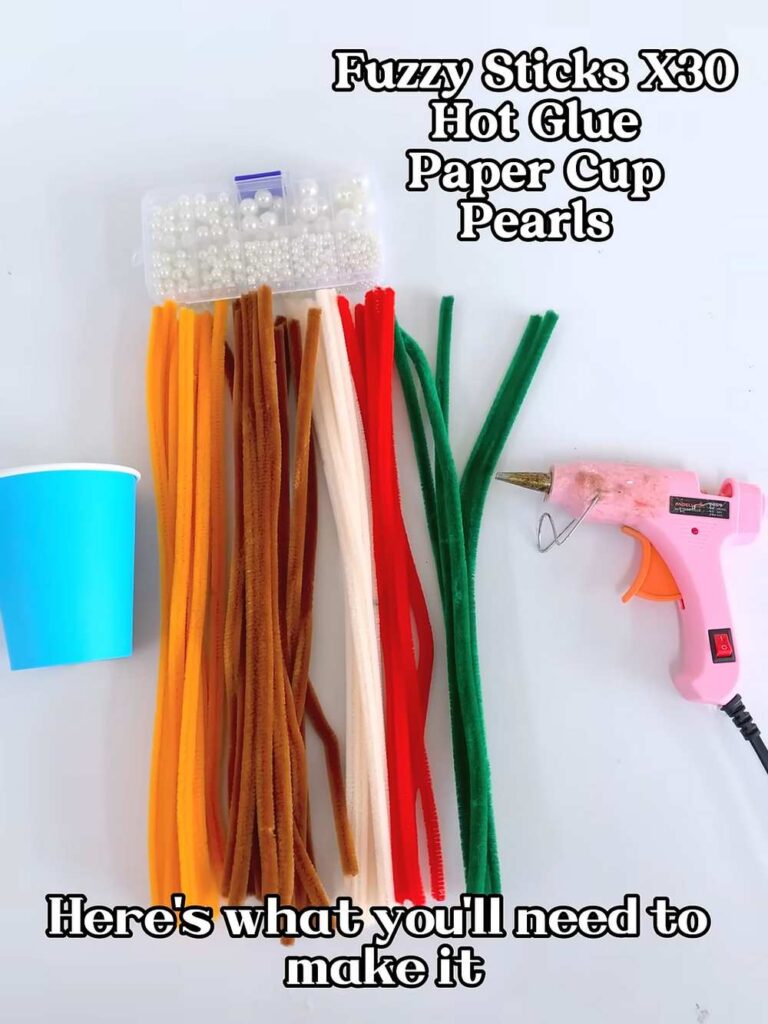
Fuzzy Sticks (Pipe Cleaners): You will need about 30 total in the following color breakdown:
-
Brown: For the outer pot texture and a decorative twisted vine.
-
Green: For the mossy top layer.
-
Orange: For the main medium and large mushroom caps.
-
White: For the classic mushroom cap spots.
-
Nude / Light Pink: For the stems and a solid baby mushroom.
-
Red: For a tiny red accent mushroom.
-
-
Paper Cup: A standard disposable cup (any color, as it will be completely covered).
-
Scrap Paper: Clean white paper or tissue paper to pack inside the cup.
-
Colored Powder Palette: An eyeshadow palette or pastel chalks (oranges and pinks) to create soft gradient shading.
-
Small Makeup Brush or Q-tip: To apply the shading powder.
-
Tiny Craft Pearls: For a magical, dew-drop decorative finish.
-
Hot Glue Gun & Glue Sticks
-
Scissors
Step-by-Step Instructions
Part 1: Crafting the Miniature Pot Base
-
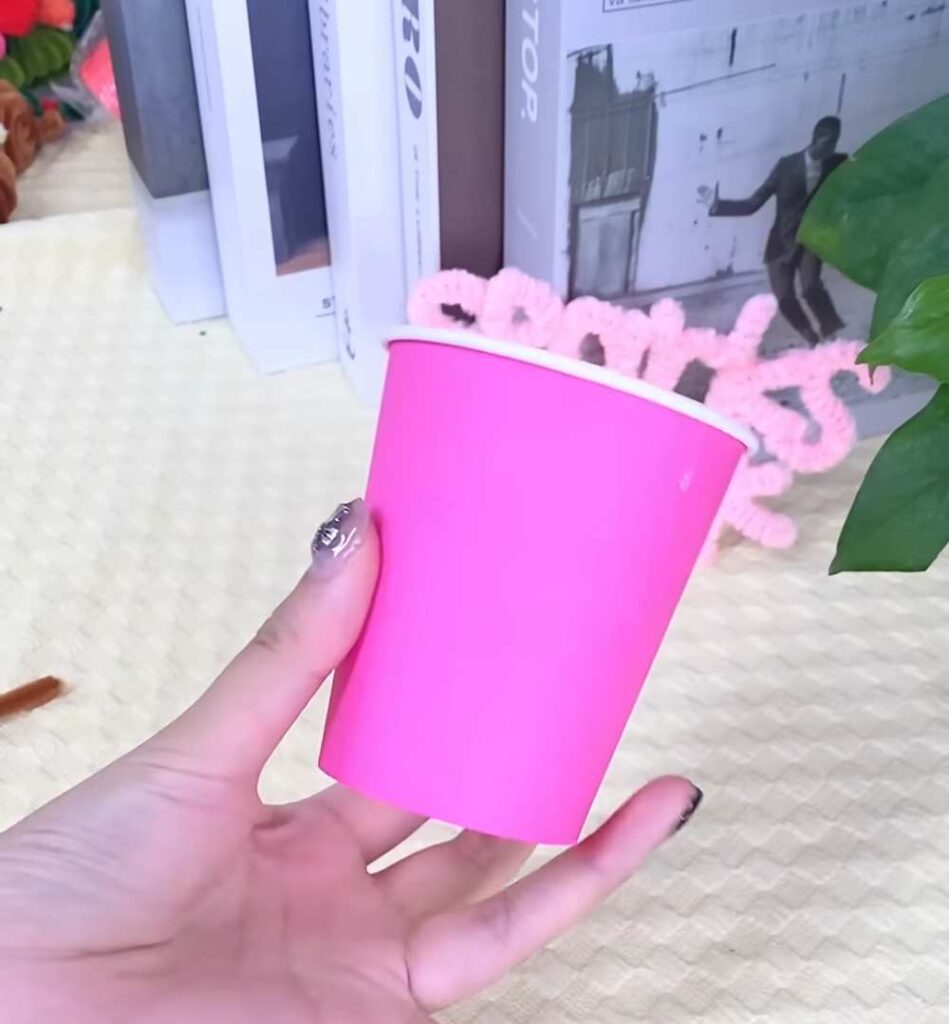
Cut the Cup: Take your disposable paper cup and slice it cleanly in half horizontally with your scissors. You will only be using the bottom half to serve as your flower pot.
-
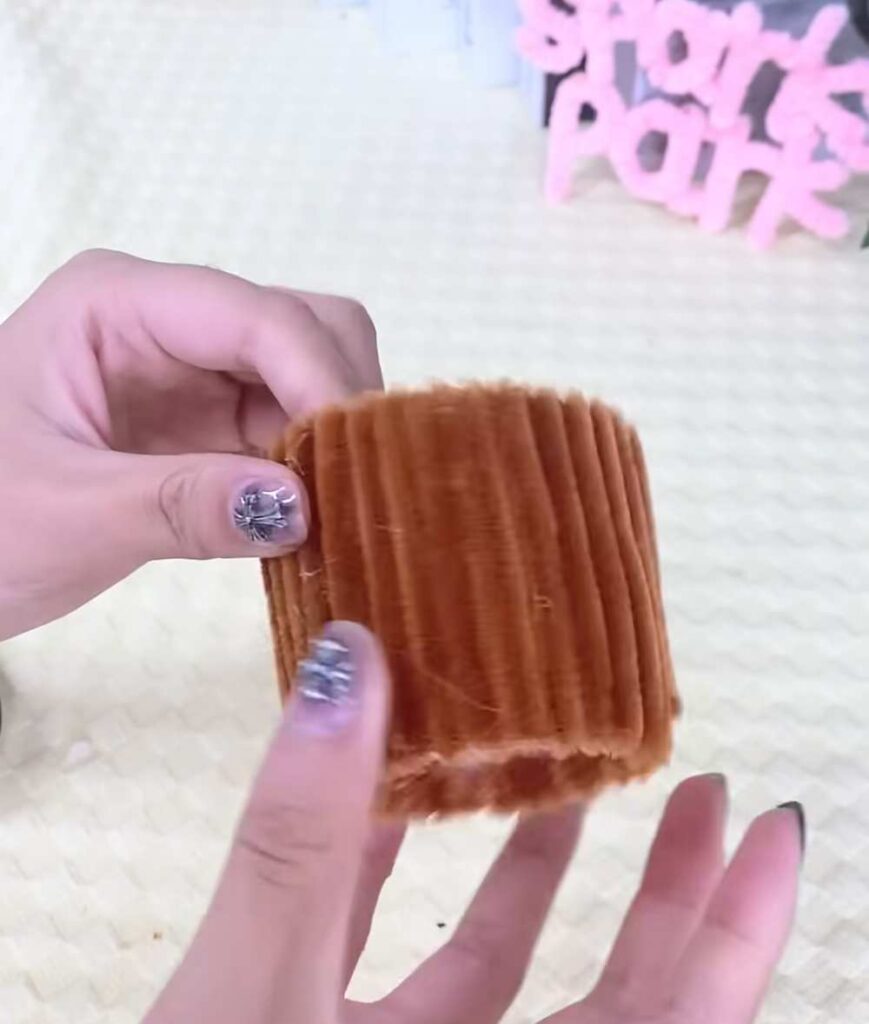
Apply the Wood Texture: Turn the cut cup upright. Apply vertical lines of hot glue along the outside wall, pressing brown fuzzy sticks into the glue side-by-side. Wrap them all the way around until the entire outer surface of the cup is masked by a clean, ribbed brown texture. Trim any overhanging edges.
-
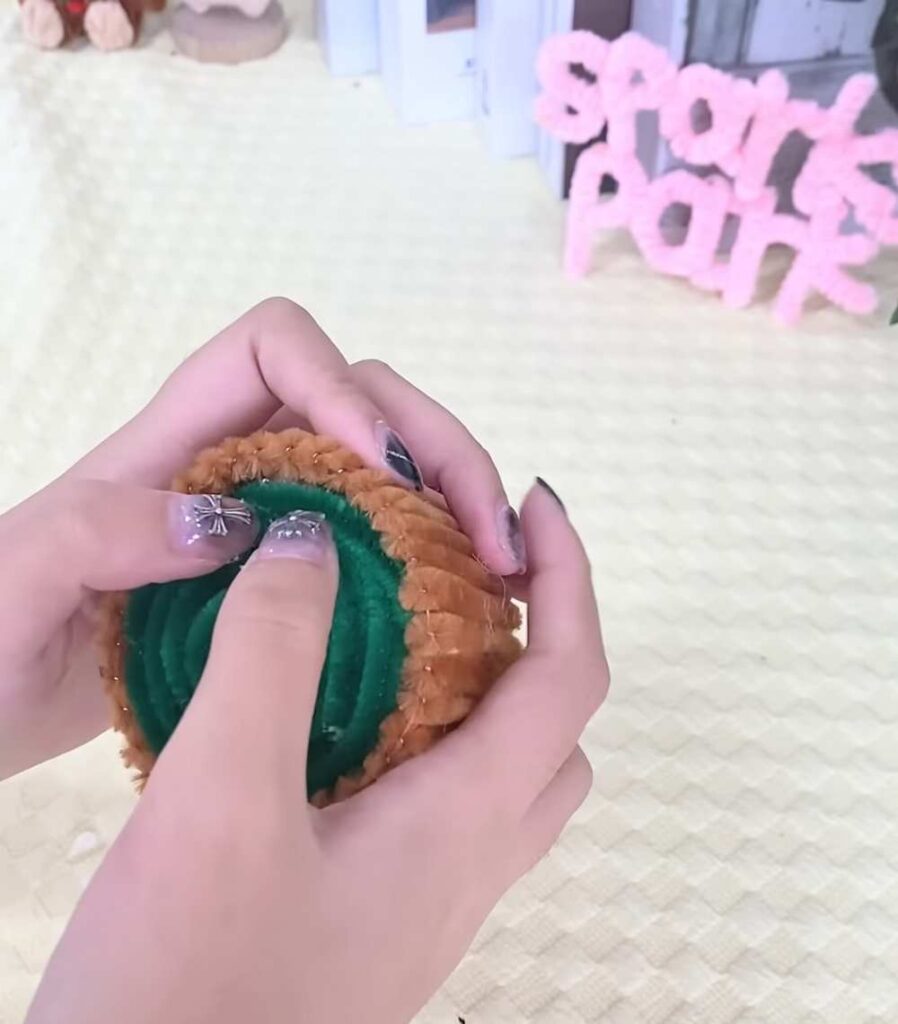
Pack the Inside: Take a sheet of scrap paper, crumple it into a dense, tight ball, and shove it deep into the bottom of the cup. This builds internal volume so you don’t waste pipe cleaners filling empty space.
-
Add the Moss Layer: Take your green fuzzy sticks and coil them tightly into a flat, circular disk that matches the diameter of the cup’s opening. Glue this green disk directly onto the top of the paper ball, sealing the pot off so it looks like a lush bed of grass.
Part 2: Building the Mushrooms
The Medium & Large Orange Mushrooms
-
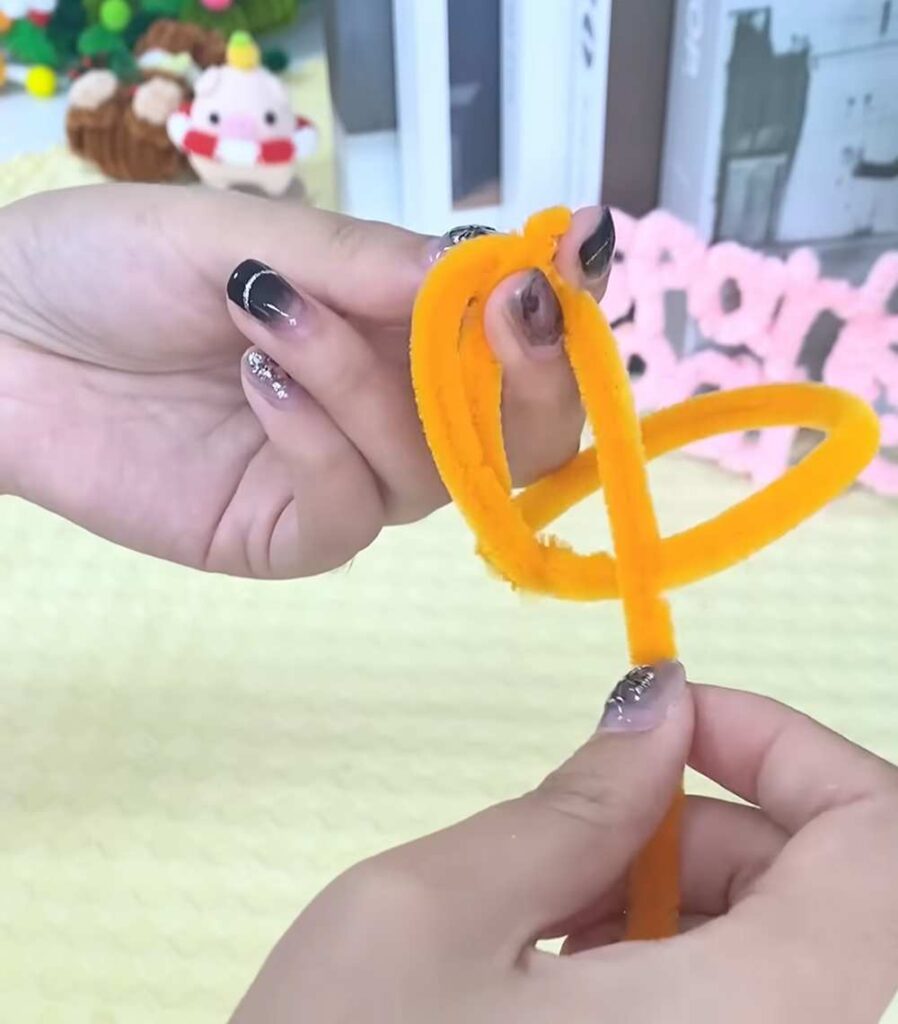
Build the Cap Frame: Take an orange fuzzy stick and bend it into a simple circular loop, twisting the ends to lock it. Take a second piece of orange stick and arch it completely over the top of the loop, gluing or twisting it to create a 3D dome-shaped skeletal frame.
-
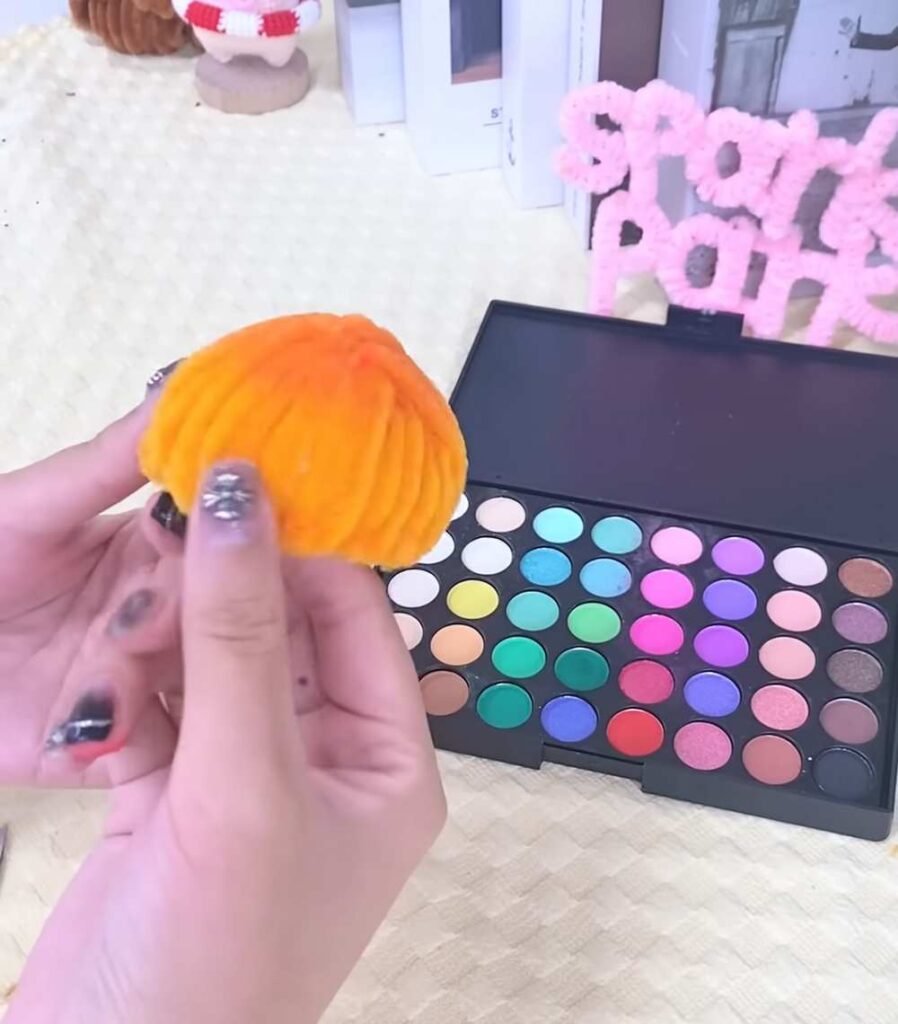
Wrap the Cap: Take more orange fuzzy sticks and wrap them tightly around the skeletal frame. Work your way around systematically, filling in all open gaps until you have a smooth, solid, completely covered orange dome.
-
Apply the Gradient Shading: Dip a small makeup brush into your colored powder palette (a pink or darker red/orange shade). Lightly dust the powder onto the very top center of the orange cap and blend it gently outwards to give the mushroom a beautiful, realistic depth.
-
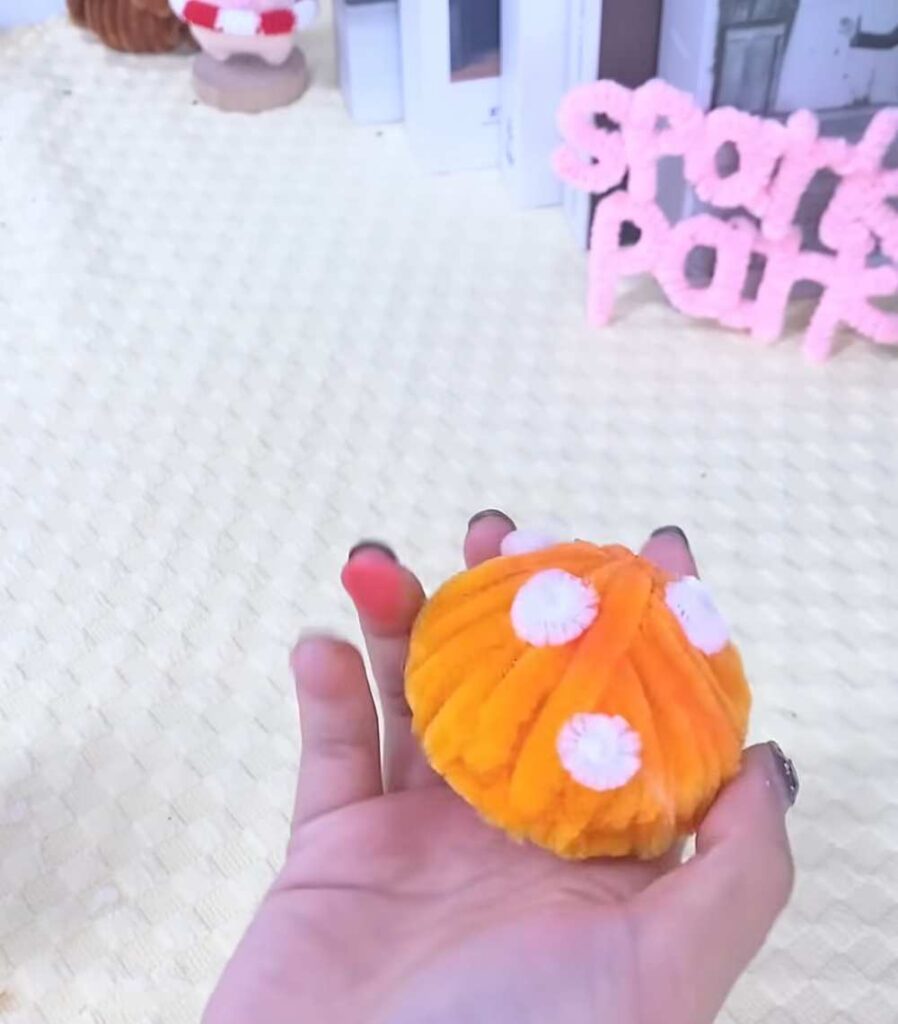
Make the Spots: Take a white fuzzy stick, snip off small pieces, and roll them into tiny, flat circular coils. Use a microscopic dot of hot glue to scatter and paste these white spots all over the orange cap.
-
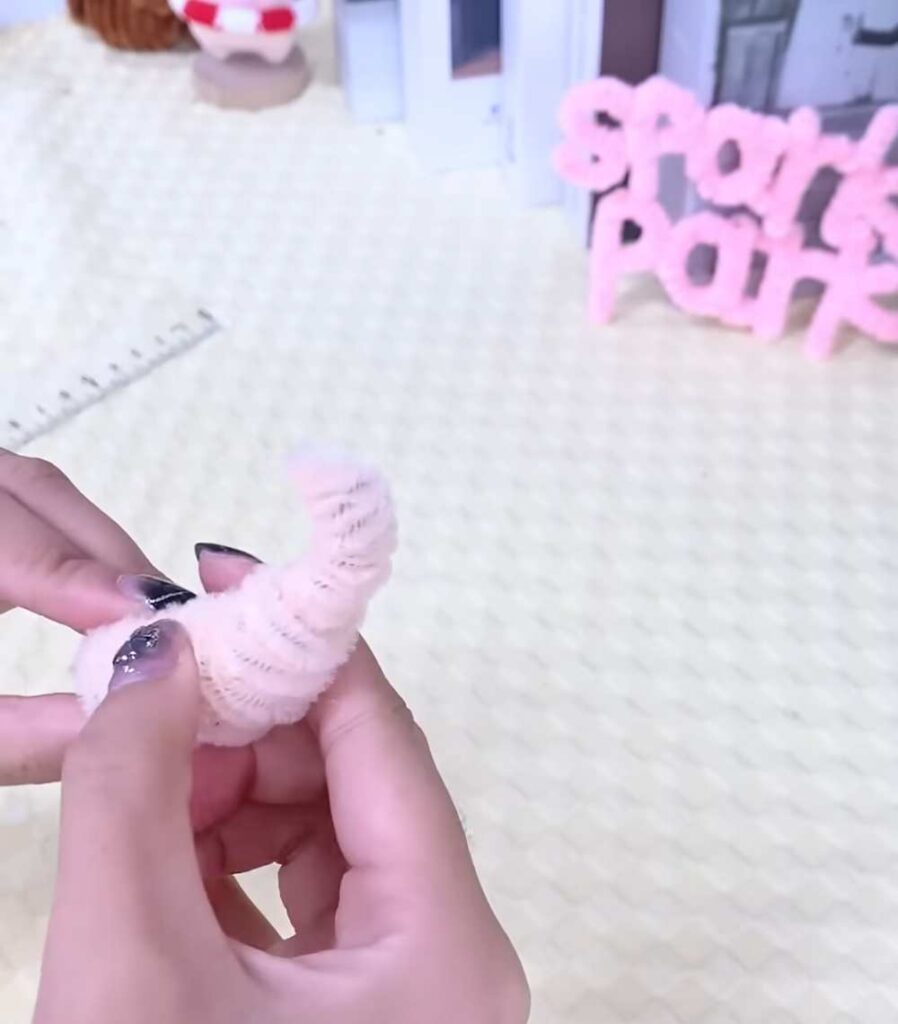
Form the Bare Stems: Take your nude or light pink fuzzy sticks and tightly wrap them around a central core or roll them together into a thick, slightly curved cylinder. Glue the top of the stem securely into the hollow underside of your orange cap. Repeat these exact steps twice to create one large and one medium-sized mushroom.
The Baby Nude Mushroom & Red Mushroom
-
Shape the Baby Mushroom: Take a single nude fuzzy stick and wrap it into a small, continuous bulbous shape that seamlessly flows from a tiny round head down into a short stem. Dust the top head with a bit of pink eyeshadow powder for a soft blush look.
-
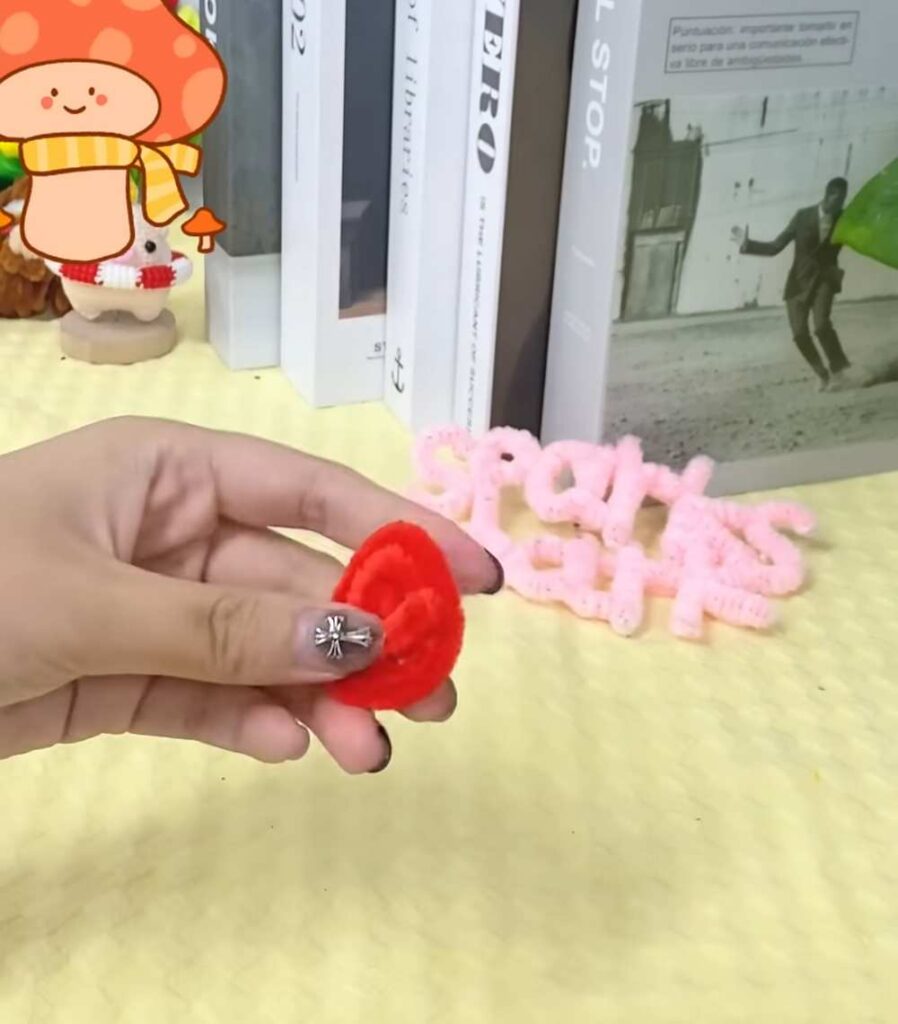
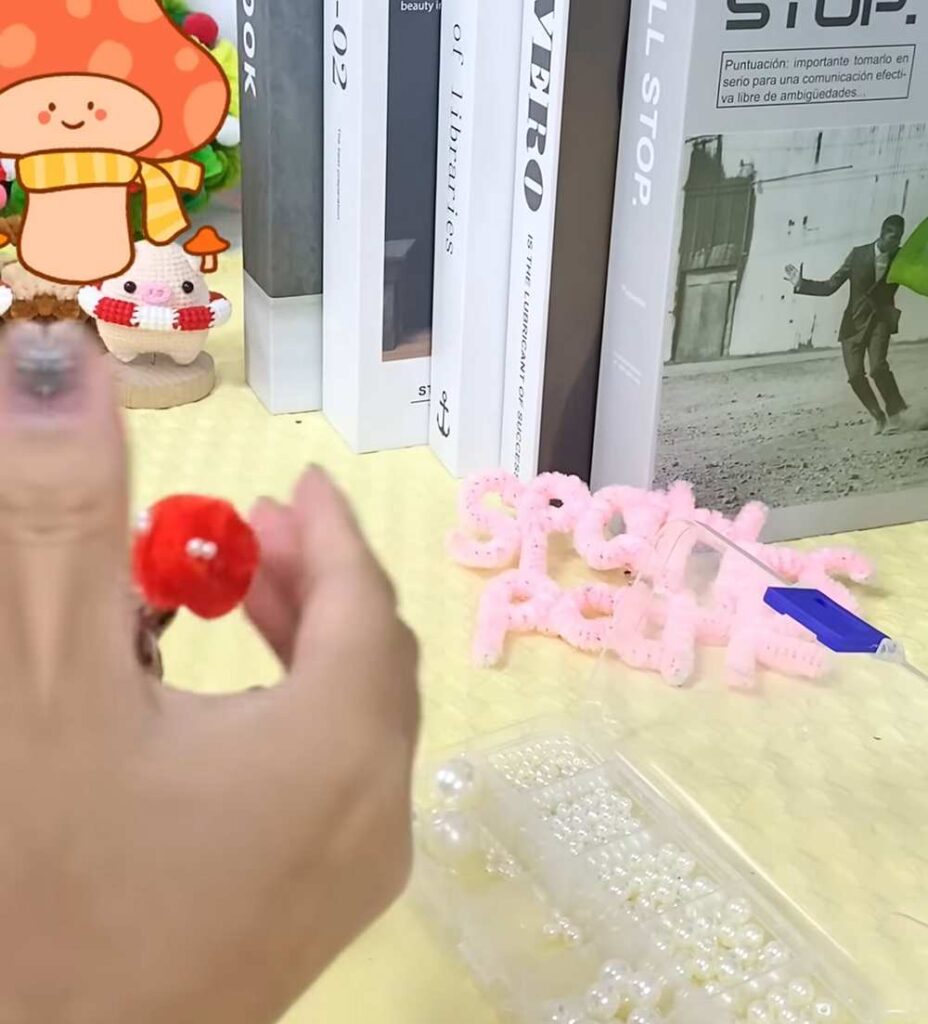
Shape the Red Accent: Coil a red fuzzy stick into a mini cone shape to act as a small cap. Attach a tiny nude stem piece right underneath it.
Part 3: Final Accents & Assembly
-
Add Twinkling Pearls: Carefully pick up your tiny craft pearls with a drop of hot glue and attach them to the green moss layer or tucked alongside the mushrooms for a cute, dewdrop aesthetic.
-
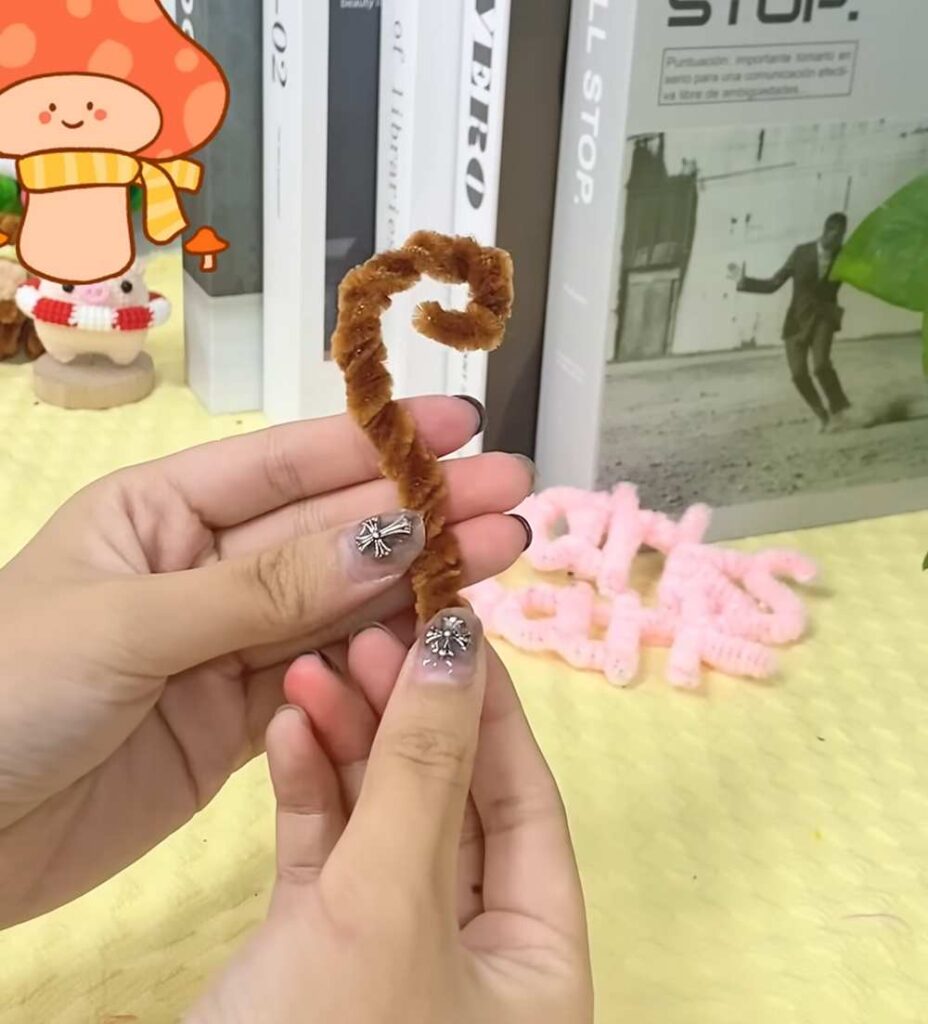
Twist the Organic Vine: Take two brown fuzzy sticks, fold them completely in half, and tightly twist them together into a single, sturdy branch. Curl the top end into a whimsical spiral hook.
-
Assemble the Cluster: Apply a generous amount of hot glue to the bottom ends of all your mushroom stems and the brown twisted vine. Gently press their bases down through the green moss layer into the paper core below. Hold each piece firmly for a few seconds until the glue dries rock-solid.
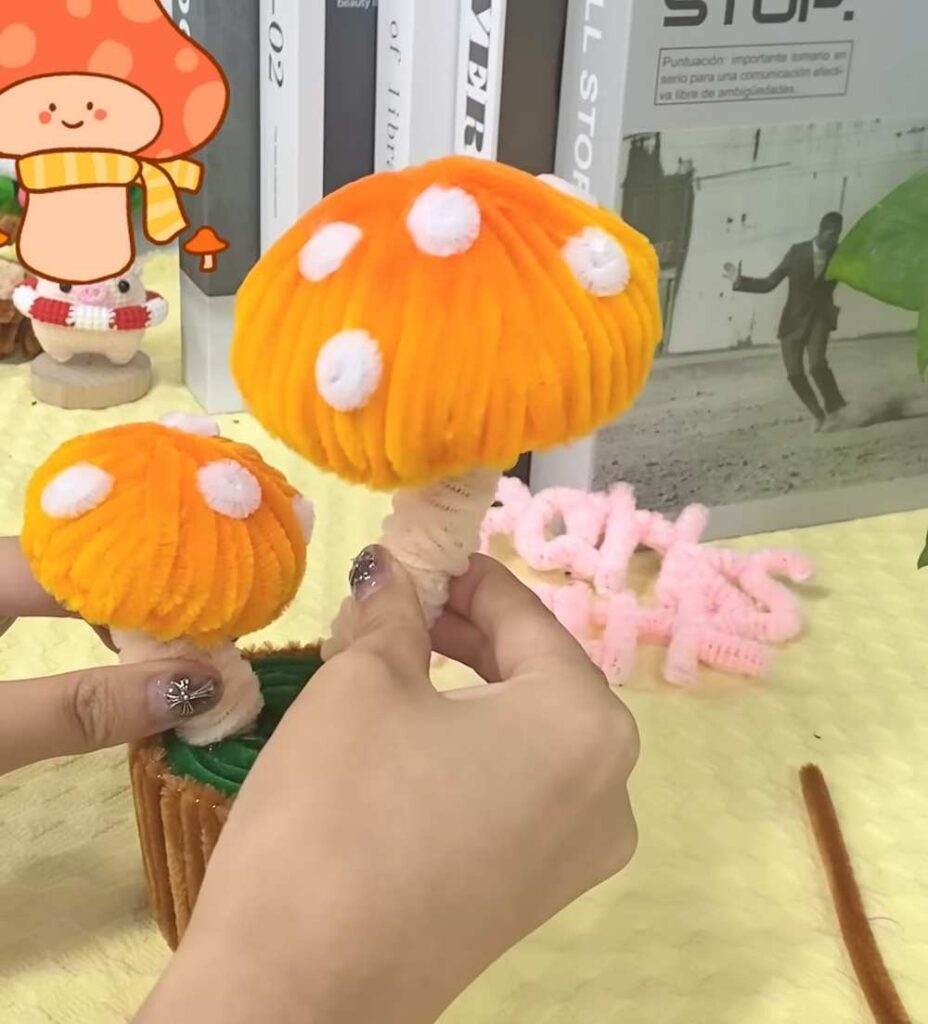
Pro-Tip: Angle the mushrooms slightly away from each other rather than pointing straight up. Giving the stems a gentle, organic curve makes the final ornament look incredibly lifelike and whimsical!
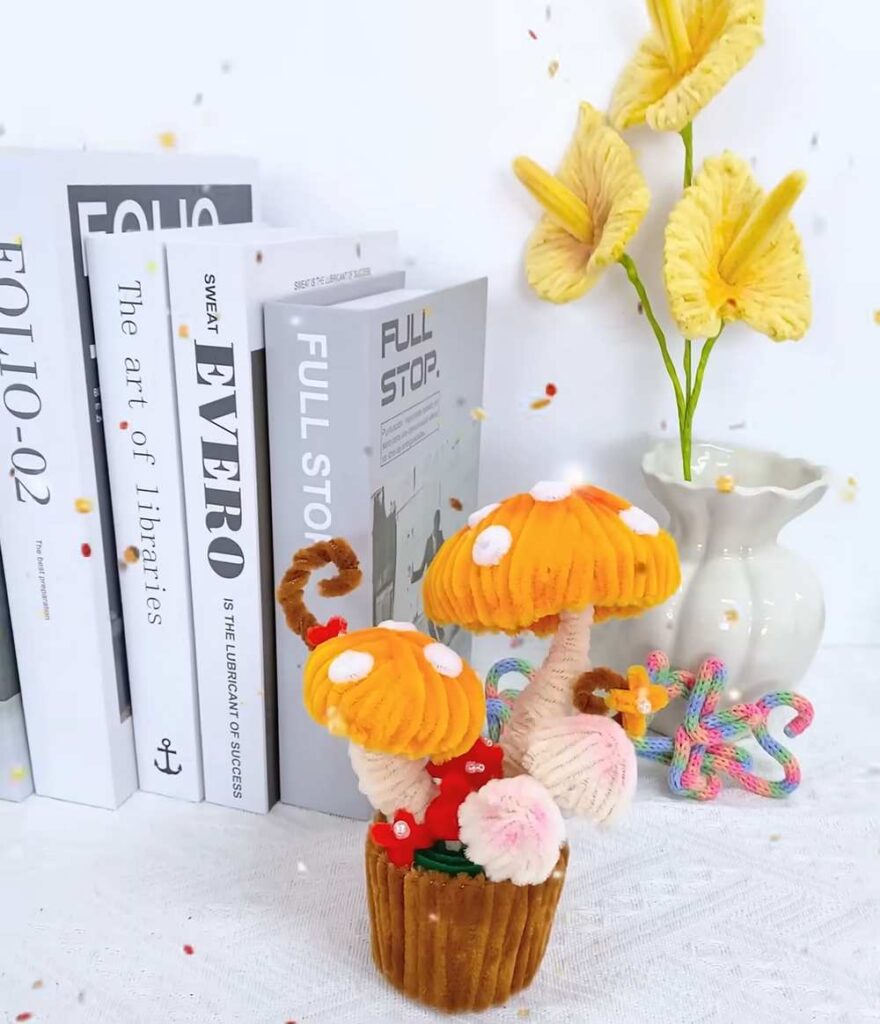
Your super cute handmade mushroom ornament is completely finished and ready to brighten up your desk or shelf! Let me know if you need help with any specific twisting techniques.