Subscribe to StellaDIY!
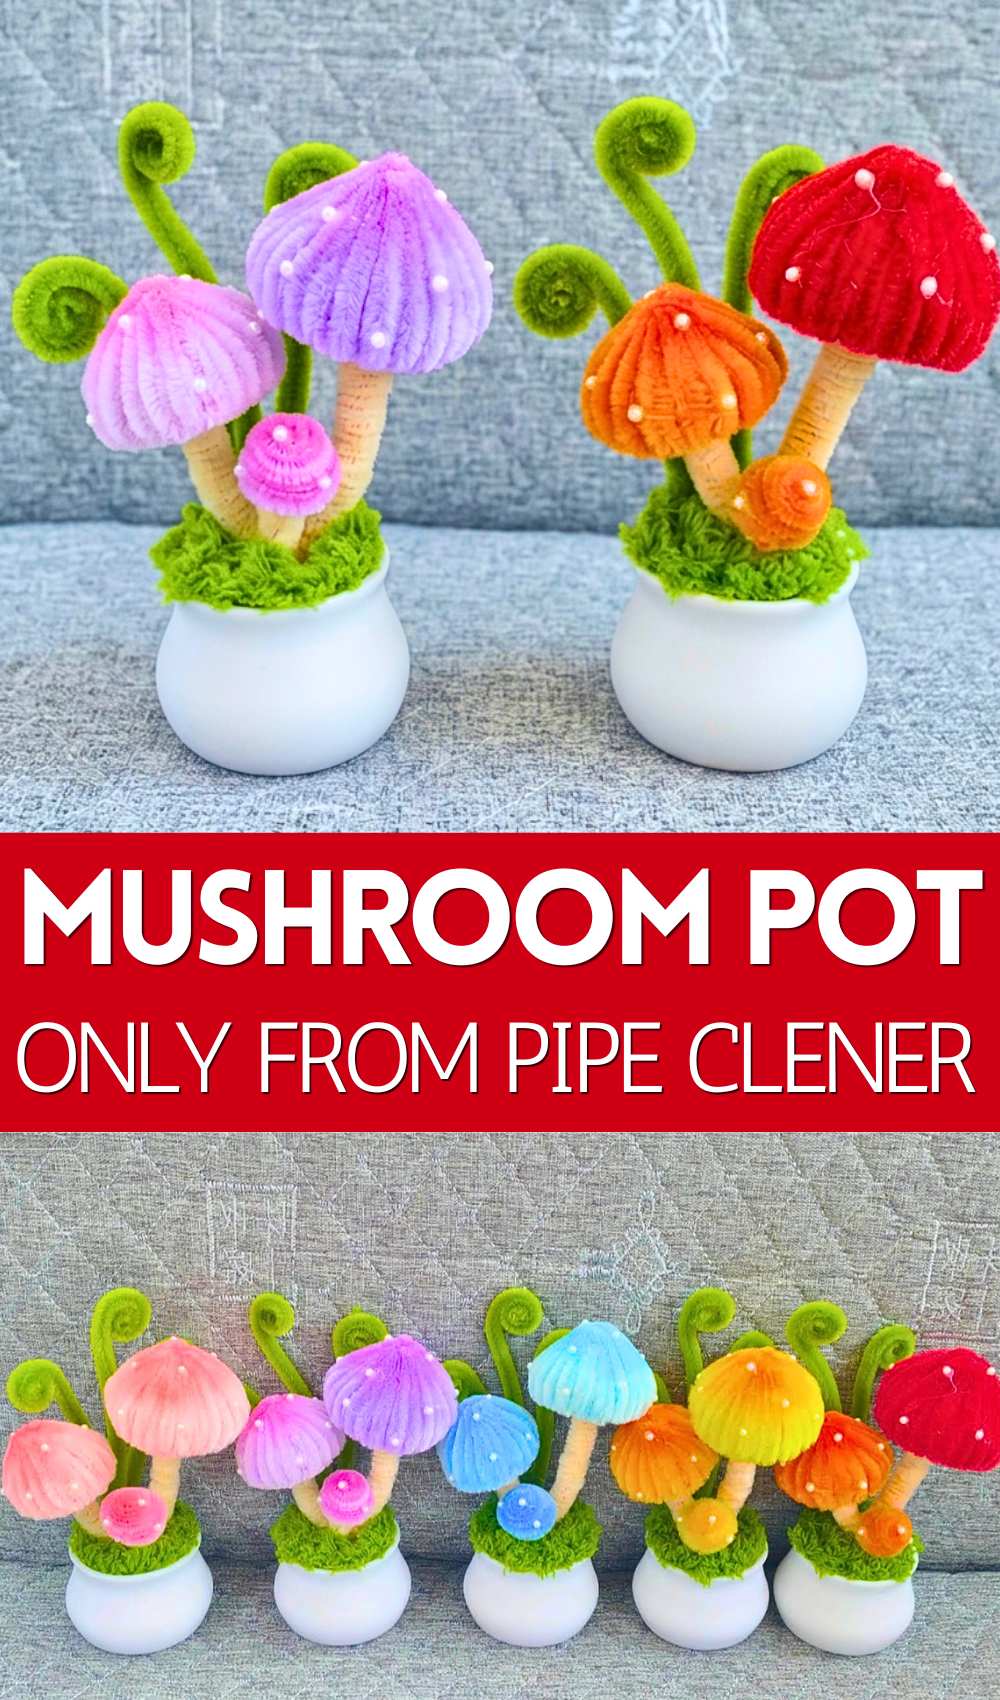
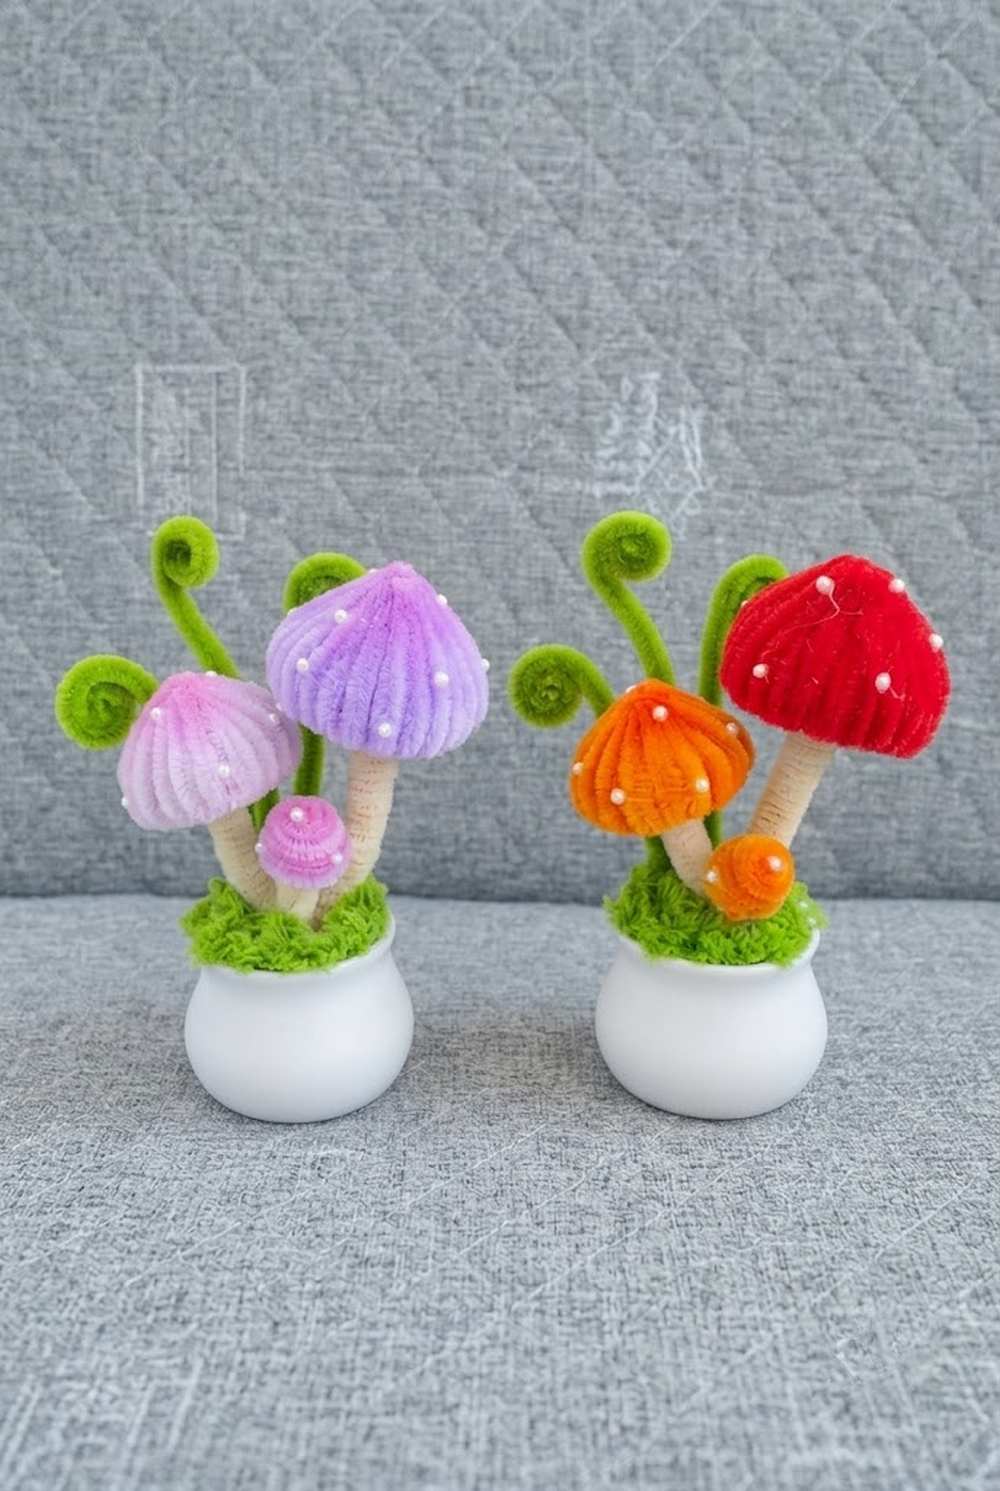
Today, learn how to assemble another one yourself: an even more lifelike & beautiful pipe cleaner mushroom pot with this step-by-step tutorial. This will make an irresistible spring, fall, New Year & Christmas decoration. This time, our pot contains two big mushrooms and a small baby mushroom that is still in the growing stage.
We shall also use makeup to add a beautiful gradient look to the mushroom cap. You can choose from purple, orange, yellow, and the traditional toadstool mushroom pot version.
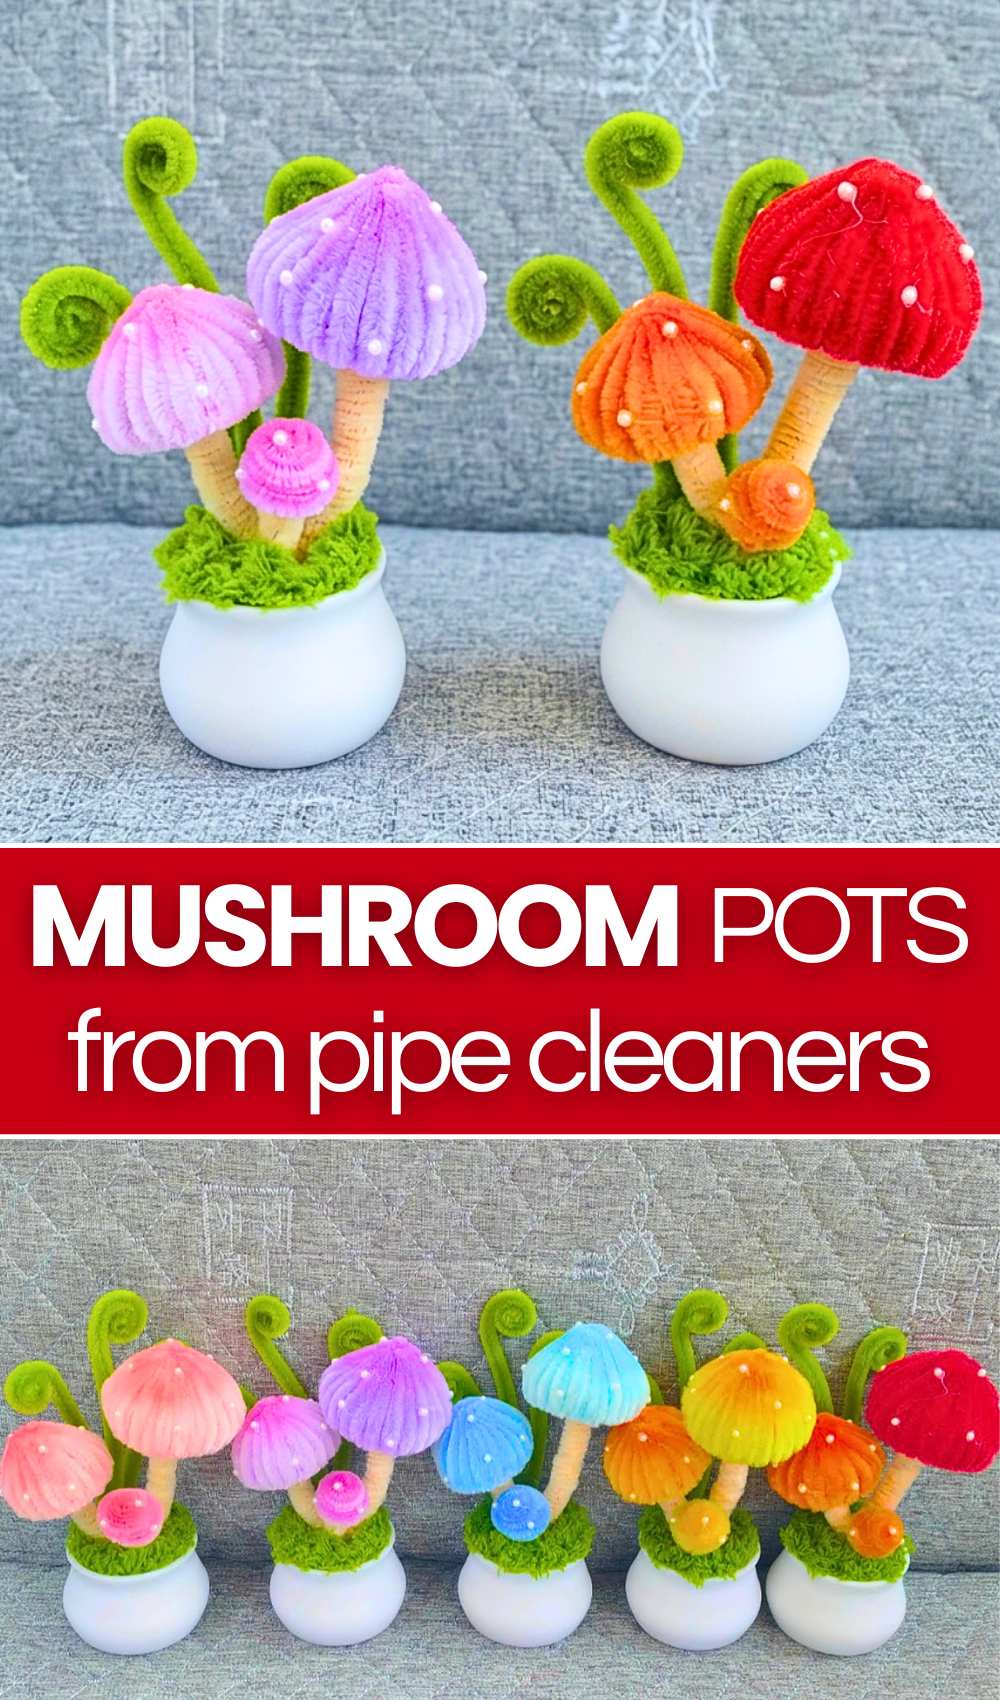
With the faux moss and a small white plastic pot, this potted mushroom plant will make your table look even livelier. I especially like the twisted leaf slices that are also in different sizes. You can also make this DIY mushroom pot as large as you wish. Now, continue reading to learn more about this mushroom project.
[ez-toc]
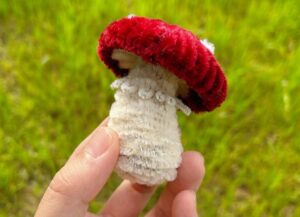
DIY Chenille Stem Toadstool Mushroom Tutorial
Skill Level: Advanced Beginner
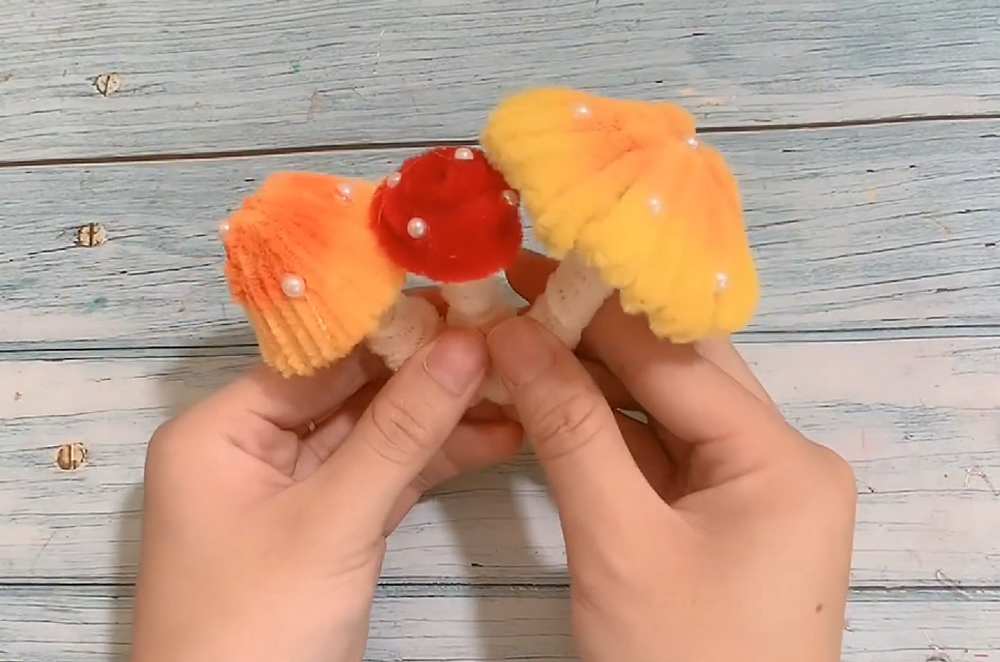
Materials Needed
The following are the supplies needed for making this DIY pipe cleaner potted plant:
- Orange Pipe cleaner (for the mushroom cap)
- Beige pipe cleaners (for the underside of the cap)
- Small pearls
- Green pipe cleaners
- Faux moss
- Plastic pot
Learn How to Make a Mushroom Pipe Cleaner Pot!
Learn how to make a cap of every size, add a gradient look to the mushrooms, and assemble the leaves and the pot with the following video guide:
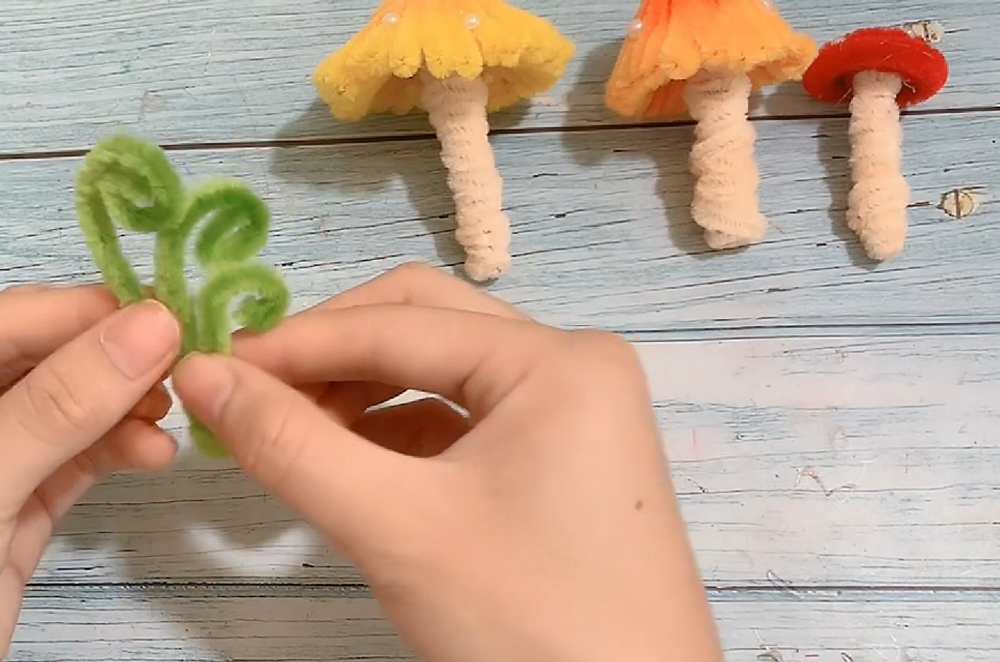
Mushroom Cap: You will start with an orange pipe cleaner to make the mushroom cap! Take one pipe cleaner as a base and the other as a wrapping pipe cleaner to make the base for the mushroom cap! Leave about 4cm on the right and position the 2nd pipe cleaner vertically; you will wrap the 2nd pipe cleaner around the horizontal pipe cleaner 3 to 4 times to secure it!
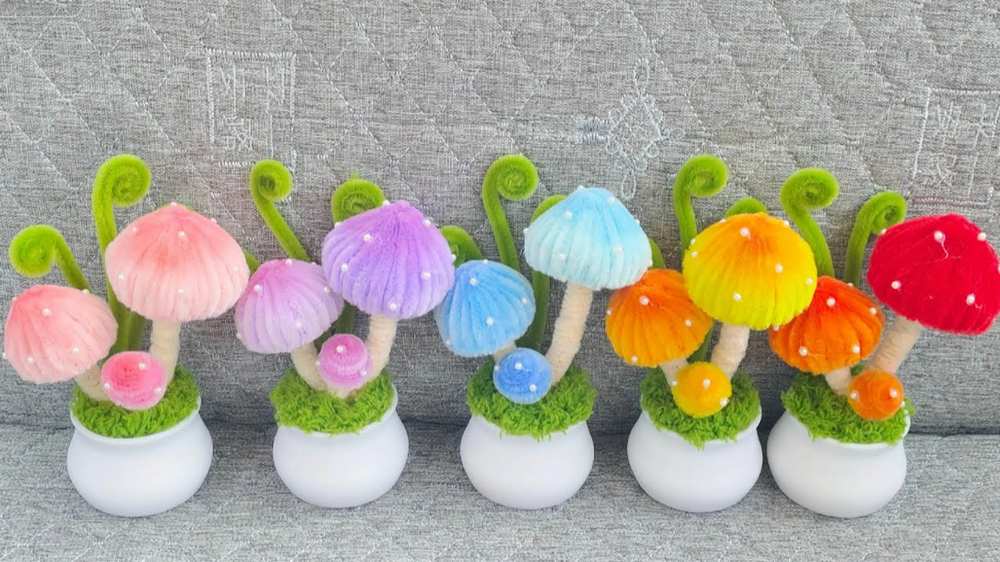
Then, you will measure 3cm from the horizontal pipe cleaner along the vertical and make compressed loops. Each time you make a loop, you will secure it by wrapping the pipe cleaner around twice. You will need multiple pipe cleaners, and you will continue doing so until you have about 13 long structures.
Through the bottom sides of the loops, you will pass a long pipe cleaner and let its ends meet, making a circular disk. You will also want to push below around the middle to make a cone shape. That’s how you make the pipe cleaner cap for the mushroom! You will then apply toner over the cone to make the gradient effect.
Stem: To make the stem, you will take another orange pipe cleaner and make an M-shape such that the middle of the M is smaller than the right and left sides. Squish that M to make the base for the stem. You will then wrap a beige pipe cleaner around the thicker part of the base and glue it below the cap.
Smaller: To make the cap for the smaller mushroom, you will make a roll of red pipe cleaner. Secure it and smush the middle to turn it into a small cap. Similarly, make the stem, but this time, wrap it around a single pipe cleaner. Also, glue the beads! Learn the assembly by following the video tutorial.
That’s all for today!