
Subscribe to @ArtIDEA4U!
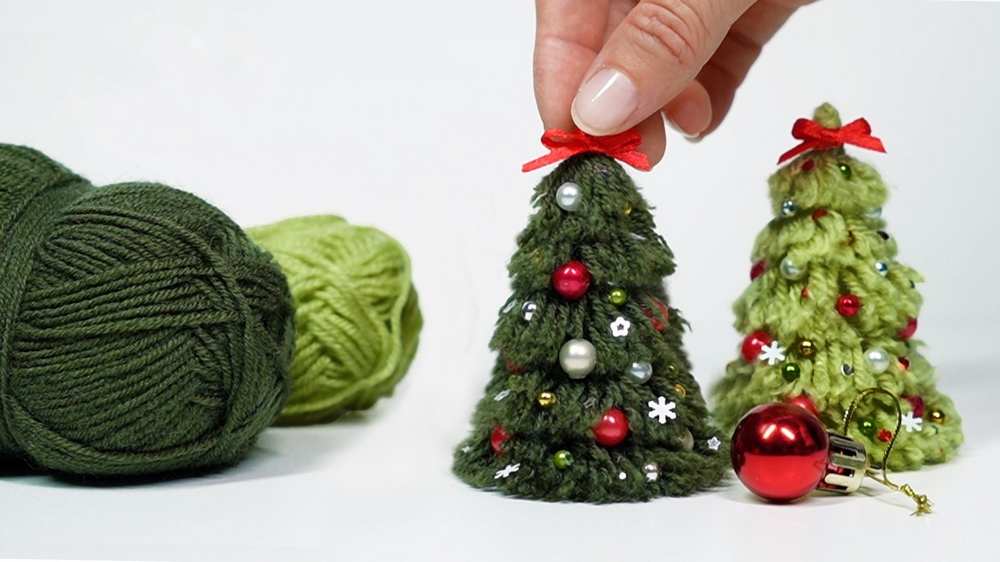
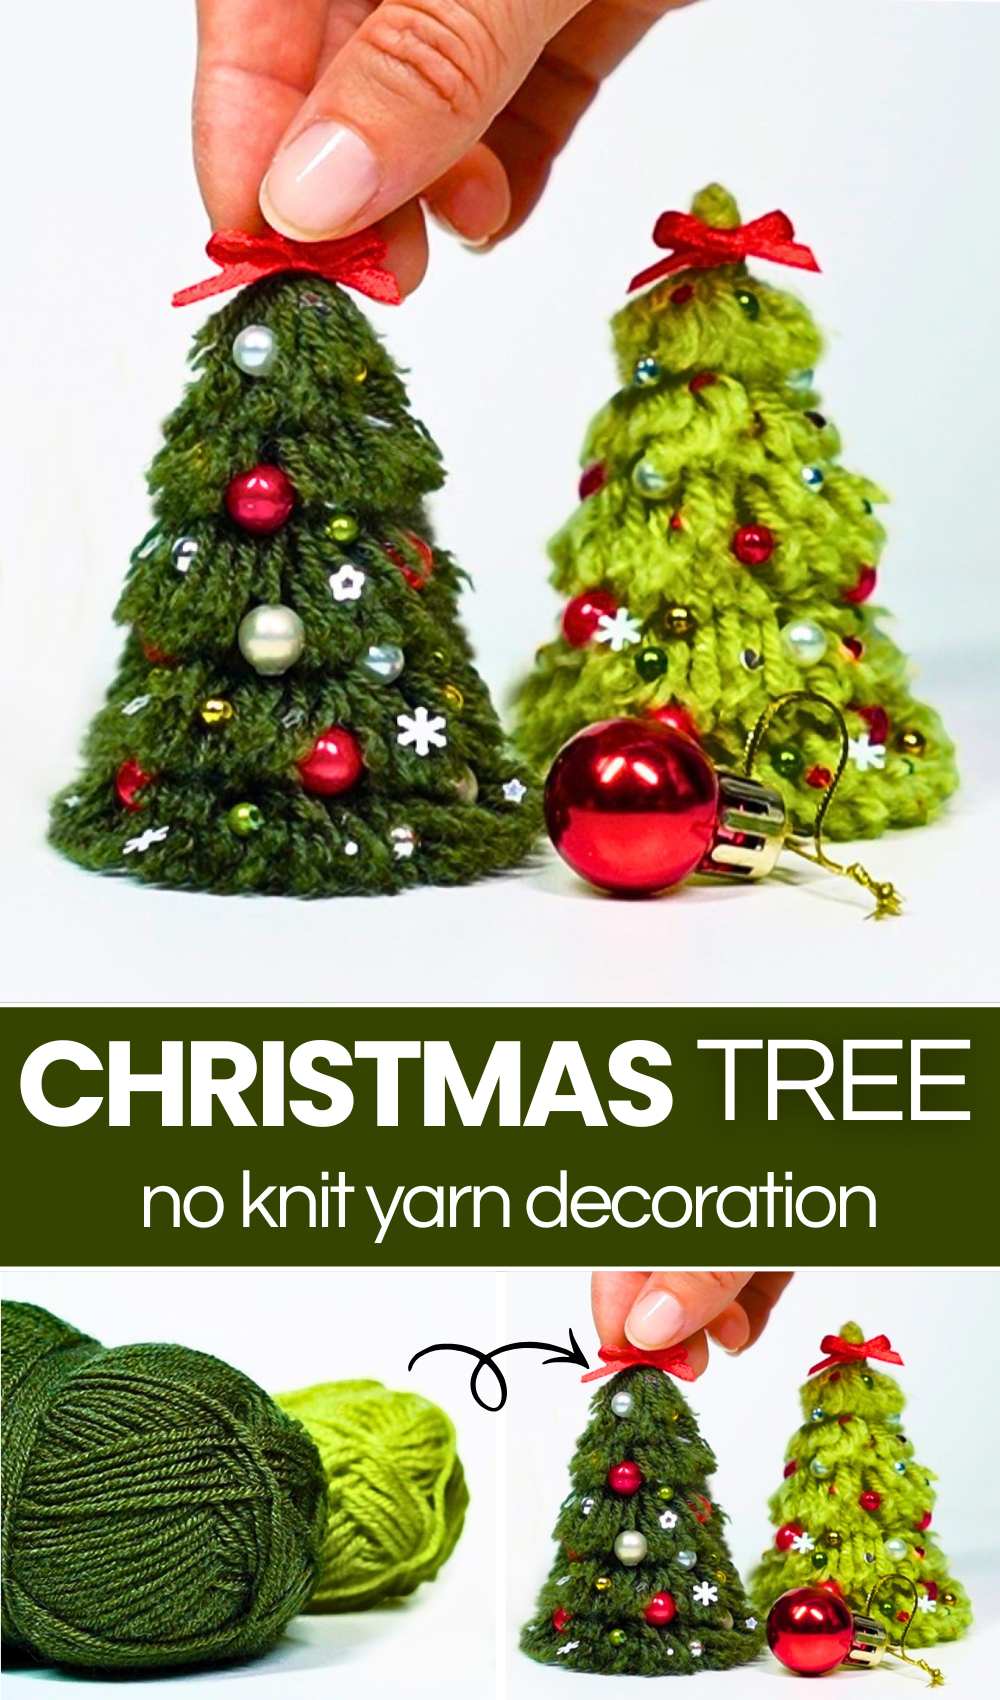
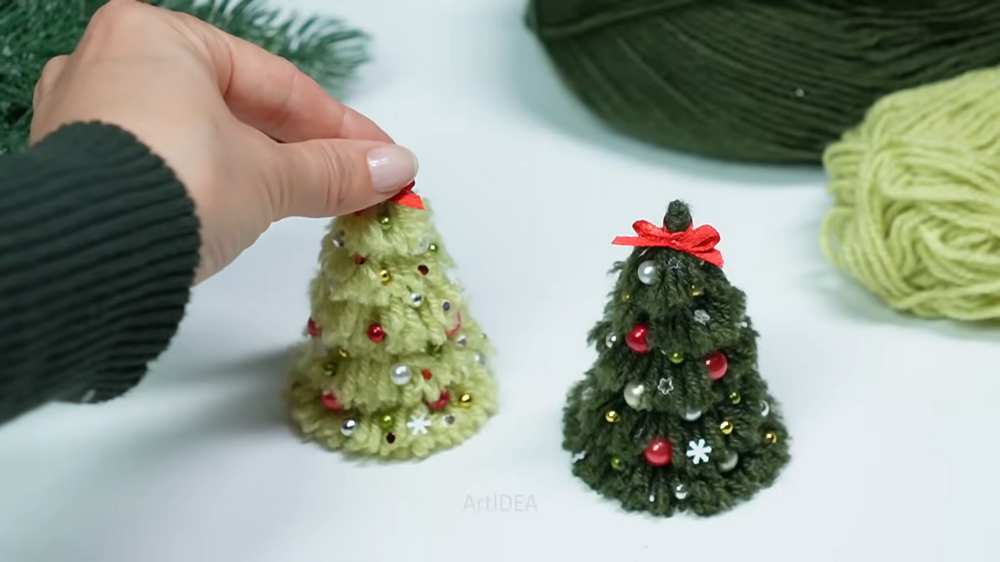
With today’s no-knit Christmas plushie tutorial, learn how to DIY a beautiful tiered & textured yarn Christmas tree for decoration! Just like the pom pom Christmas tree, it is well-decorated, but this time with colored pearls (Christmas tree lighting) and snowflake sequins. You can also make it as a New Year decoration & Christmas bag charm.
Since it is just a tiered Christmas tree plush made from separate stacked yarn wrappings, you can make it as big as you wish. With this DIY Christmas tree tutorial, you will learn how to make a small yarn Christmas tree with 6 tiers.
The previous one had a small red pom pom on the top, but this Christmas tree can be decorated with a small satin ribbon bow! You can easily finish making this Christmas tree within 20 minutes. Be sure to make at least a pair by making the light green and the dark green versions. Now, continue reading to learn more about this Christmas project.
[ez-toc]
Quick Yarn Wrapping Guide for This Christmas Tree Plush
Unlike the pom pom Christmas tree plush, this textured Christmas tree is made from separate tassels of different sizes. So, you will need hot glue for assembly instead of knotting each tier. You will start by wrapping around a 4 cm base 80 times.
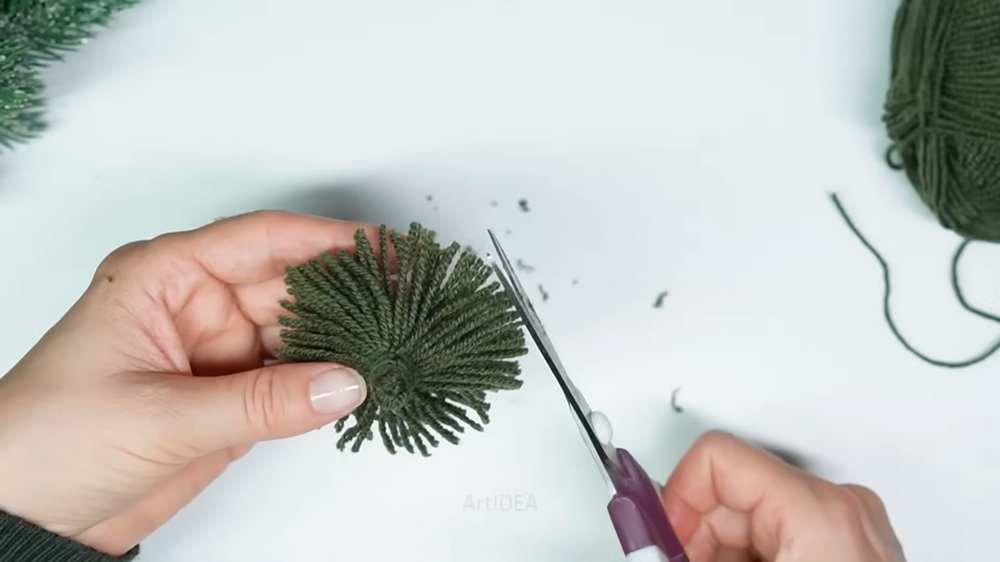
After removing it from the base, you will only knot one side and cut the circle, making a tassel wrapping! Then, just wrap and knot to make the body of the tassel! Unlike a usual tassel, you will also want to wrap around the whole body instead of making just a neck.
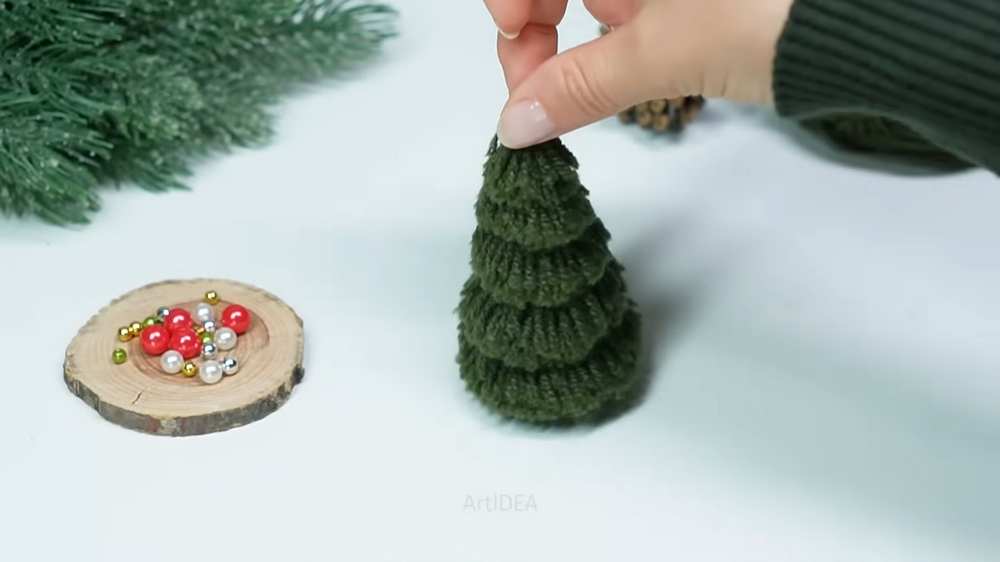
Do the same with the 3.5cm base and this time 55 wraps, then 45 wraps with the 3cm base and so on, making smaller tassels. The idea is to assemble all of these from the bottom up. Now, to learn the assembly better, I recommend following the step-by-step tutorial I will provide below.
Skill Level: Beginner (making just the unfinished yarn wrappings, making a modified tassel, and gluing).
Materials Needed
The following are the materials & tools needed to do it yourself: this DIY Christmas tree plush:
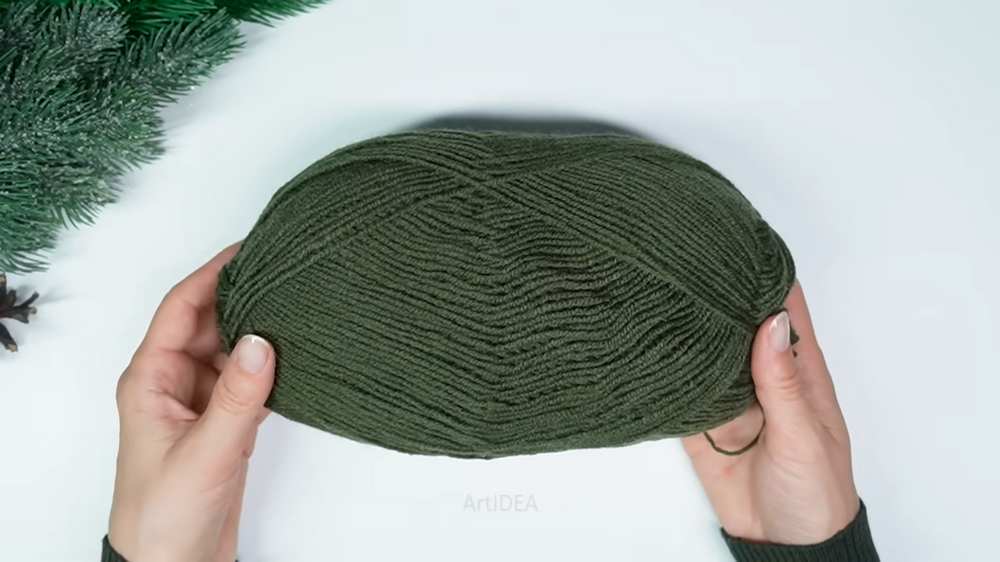
- 1.5 mm cotton + acrylic blend yarn in green.
- Sharp scissors
- Cardboard bases of different sizes from 4cm to smaller
- Hot glue gun with glue sticks
- Winter squins
- Pearls in 4 different sizes in red, silver, and gold
- Red satin ribbon scrap
Learn How to Make the Christmas Tree Plush!
Learn how to assemble the yarn tassels, decorate the Christmas tree, and assemble it in the first place with the following video guide:

About "Art IDEA"
She will help you make different beautiful things, crafts, gifts, décor and more that can be useful for room décor or as gifts for loved ones and friends.