
Subscribe to @ArtIDEA4U!
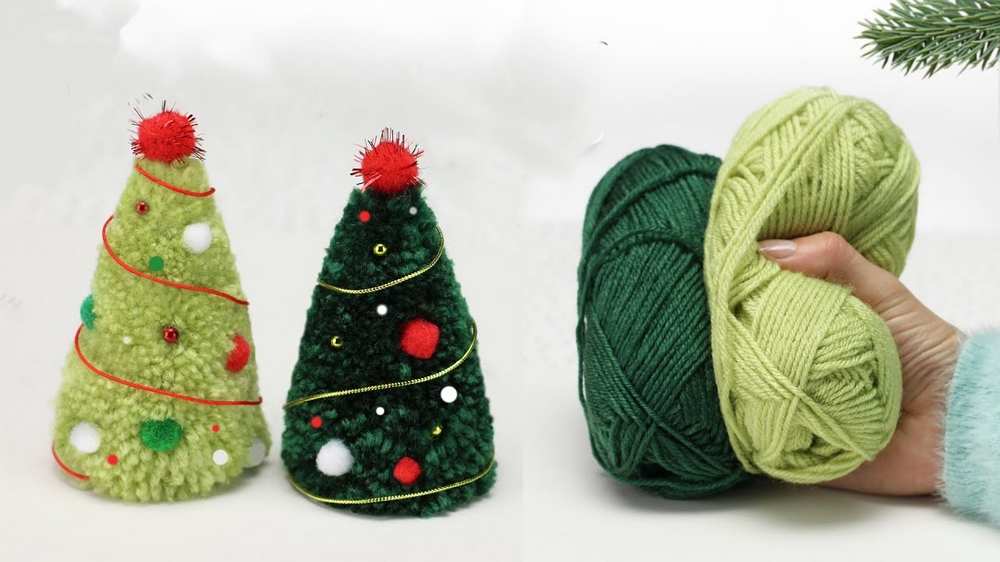
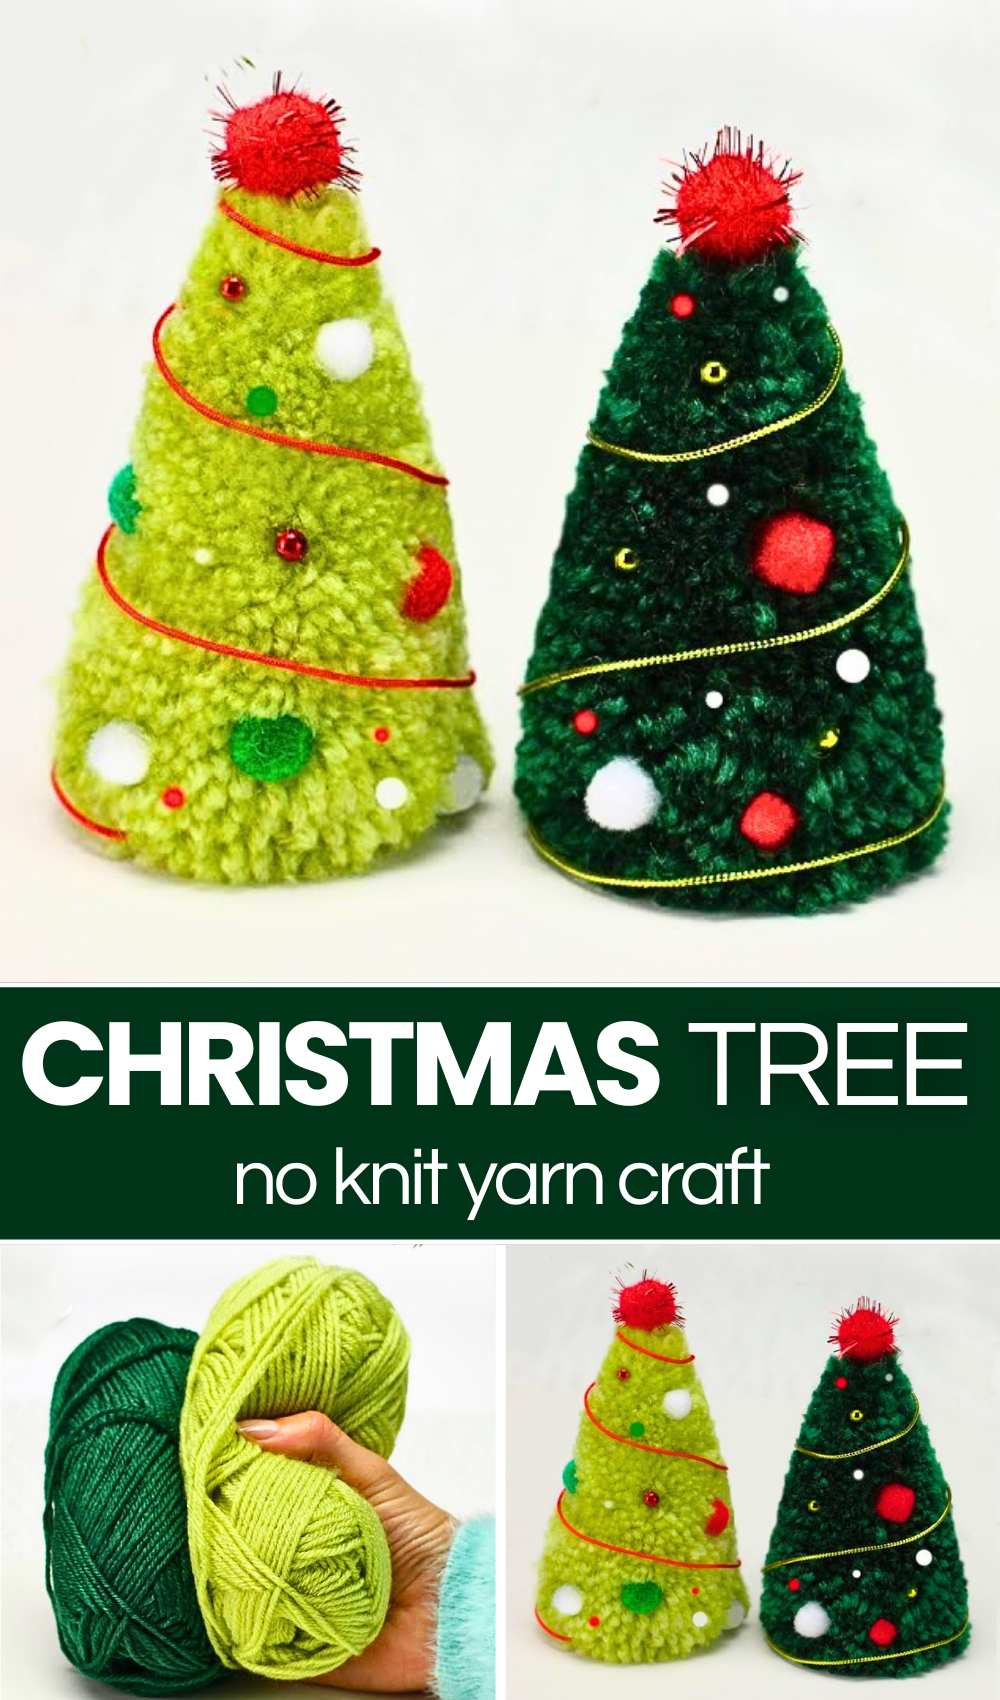
This Christmas, learn how to DIY this 10-minute, beautifully decorated yarn Christmas tree out of just a stack of basic pom poms with this featured Christmas guide. You can decorate your table with this Christmas tree, or your actual Christmas tree, by making it as an ornament or bag, just like a bag charm.
This is made from a stack of green yarn wrappings, so it is a no-sew Christmas tree plush. All you have to do is reduce the width of the pom pom base while making it from the bottom up.
It will end up with a professional-looking Christmas tree plush decorated with a red pom pom at the top, colorful beads, and the golden string wrapping. Making this no-knit Christmas tree is easier than ever, and you can make it even if you are a beginner. Now, continue reading to learn more about this Christmas tree project.
Quick Guide for Making the Pom Pom Christmas Tree (How to Make a Cone)
To make this DIY pom pom Christmas tree, you will start with a 5cm cardboard base and make 120 turns. Knot and cut afterwards. Then, wrap 100 times with the 4cm base. Then, wrap 70 times with the 3cm base. Each time you make and cut the yarn wrapping, be sure to stack the pom poms and use the knot at the bottom to secure.
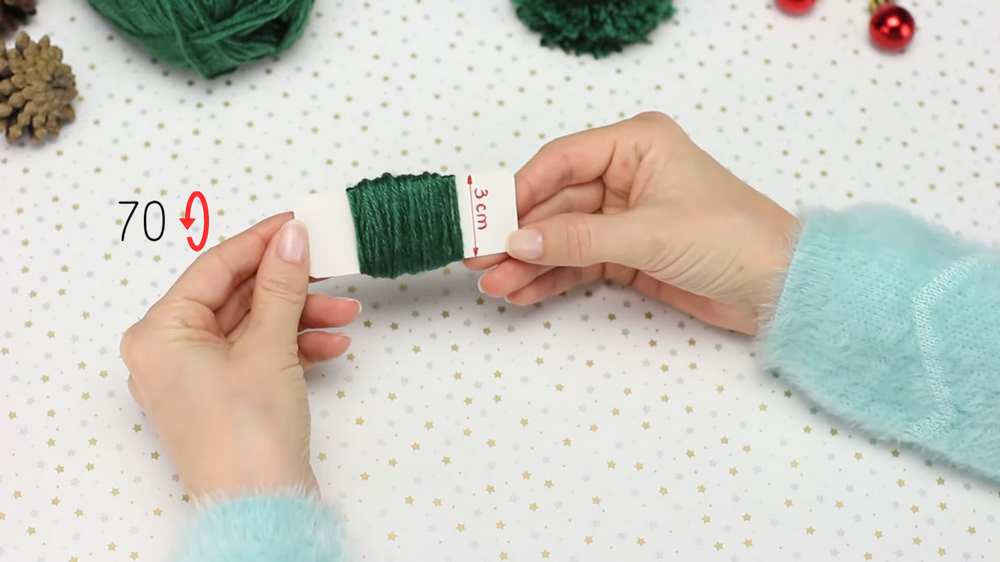
Then, 2cm base with 40 wraps. You will then trim all the edges to make a cone shape. That is the most important step of making this Christmas tree plush.
Now, I recommend supporting the designer; be sure to watch the assembly steps as well as the full guide of making this Christmas tree. Below, I will detail this project further and provide you with the tutorial by the author.
Skill Level: Beginner (making just the unfinished yarn wrappings, making an overhand knot, working with the thread).
Pom pom variation: Stacked pom pom
Materials Needed
The following are the materials & tools needed to do it yourself: this DIY Christmas tree plush that is well-decorated:
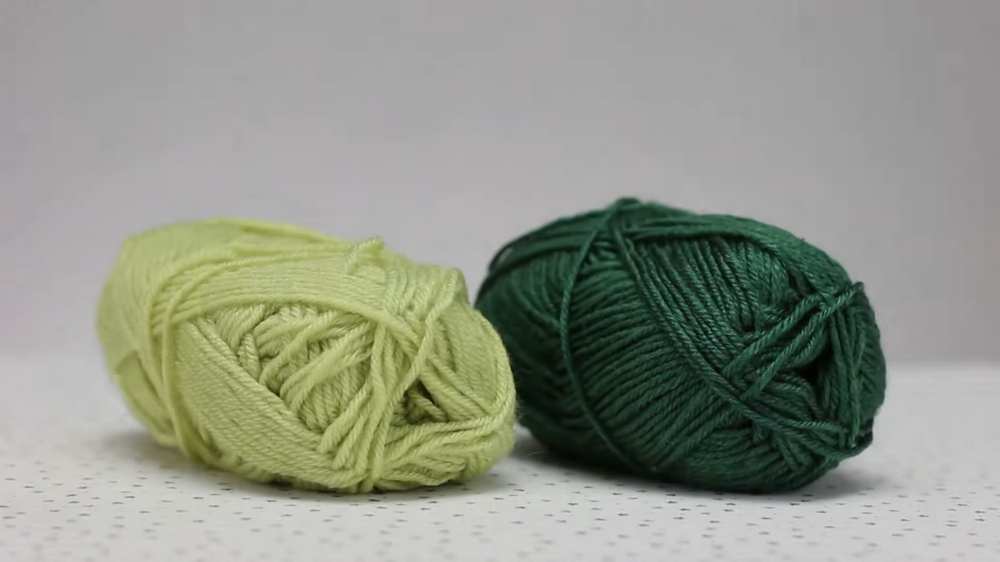
- 1.5mm Cotton + acrylic blend yarn in green
- Sharp scissors
- cardboard base/fingers
- Hot glue gun with glue sticks
- Small beads in different colors
- Glittered thread
- Small store-bought pom poms
Learn How to Make the Foaming Sheet Snowflake?
Learn how to assemble the pom poms, decorate the Christmas tree, & making the pom poms with the following video guide:
Complete Guide
Materials Needed
-
Green Yarn: Choose various shades for variety (e.g., lime green and forest green).
-
Cardboard Templates: Four strips of cardboard in widths of 5cm, 4cm, 3cm, and 2cm.
-
Scissors: Sharp craft scissors for precise trimming.
-
Decorations: Thin gold thread or wire, tiny red pom-poms, and small colorful beads/pearls.
-
Hot Glue Gun: For attaching the decorations.
Instructions
1. Make the Four Pom-Pom Layers
You will create four pom-poms of decreasing size to form the levels of your tree. For each layer:
-
Wrap the Yarn: Wrap the yarn around the cardboard template.
-
Base Layer: 120 turns around the 5cm template.
-
Second Layer: 100 turns around the 4cm template.
-
Third Layer: 70 turns around the 3cm template.
-
Top Layer: 40 turns around the 2cm template.
-
-
Secure the Center: Carefully slide the bundled yarn off the cardboard. Tie a separate piece of yarn tightly around the center of the bundle. Important: Leave the ends of this center tie long—you will use them to connect the layers.
-
Cut the Loops: Use your scissors to cut through the loops on both ends of the bundle, creating a shaggy pom-pom.
2. Assemble the Tree Stack
-
Start with the largest pom-pom at the bottom.
-
Take the next smallest pom-pom and tie it tightly to the top of the base pom-pom using the long yarn tails.
-
Repeat this for the third and fourth layers until you have a vertical stack of four shaggy pom-poms. Tie off the final tails at the top and trim any excess.
3. Shape the Tree
-
Your stack will currently look like a shaggy cylinder. To give it a tree shape, hold it by the top and bottom.
-
Using sharp scissors, carefully trim the yarn from the bottom up to create a smooth, even cone shape.
-
Rotate the tree as you trim to ensure it is symmetrical from all angles.
4. Decorate Your Miniature Tree
-
The Garland: Apply a small dot of hot glue to the top of the tree. Secure one end of your gold thread/wire. Spiral the thread down the tree, adding tiny dots of glue as needed to keep it in place.
-
The Tree Topper: Glue a small red pom-pom to the very top of the cone.
-
The Ornaments: Randomly place tiny dots of glue around the tree and attach your colorful beads or pearls to look like ornaments.
Tips for Success
-
Yarn Choice: Using a slightly thicker, fluffier yarn will result in a denser-looking tree that is easier to trim into a smooth shape.
-
Precision Trimming: Take your time with the shaping step! Small, incremental snips are better than large cuts to avoid losing the cone shape.
-
Safety First: Be careful when using the hot glue gun, as the yarn can be thin and heat can pass through quickly.

About "Art IDEA"
She will help you make different beautiful things, crafts, gifts, décor and more that can be useful for room décor or as gifts for loved ones and friends.