
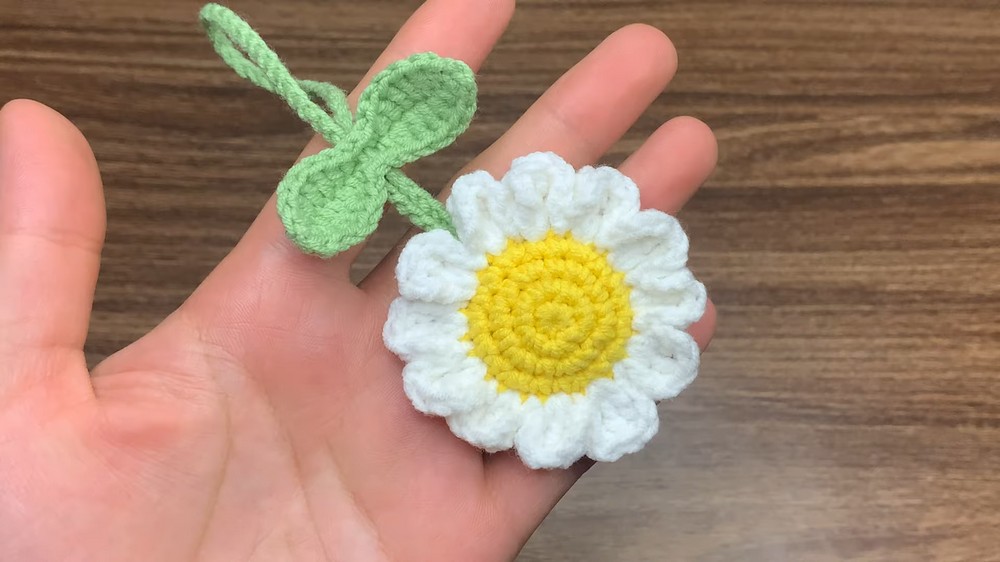
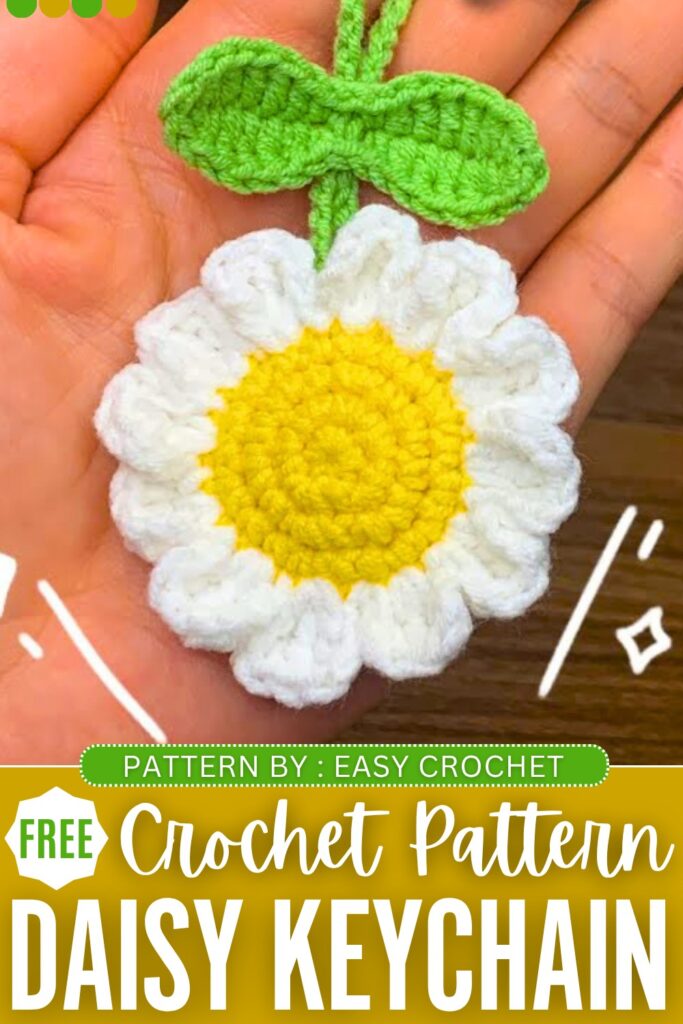
Here is another part of the “crochet few-minute flower charms” series! Today, let’s crochet this 10-minute daisy bag charm with a FREE pattern for absolute beginners. This charm includes a 12-petal daisy flower with a stuffed centre, a double-leaf embellishment, and a hanging loop.
Crochet it as a “Spring Memory” charm for your beach tote bag or make a curtain tie out of it. This daisy charm is simply a multi-use daisy bag charm, especially if you can crochet an I-cord. You can also turn it into a hair scrunchie.
We shall only need basic stitches to make this crochet daisy charm and work in the rounds. Overall, this is a project a beginner can do once they learn crocheting in the rounds. Now, continue reading for the full daisy pattern to crochet this charm.
Crochet Easy Daisy Bag Charm: Written Instructions
This project is a crochet daisy flower keychain. It is very easy to make. You can make it even if you are a beginner. You will make a yellow circle for the front of the flower. You will make a green circle for the back of the flower. Join the two circles together with white petals.
You will also make a long green leaf piece and a long chain string. Use the string to hang the flower. Put this flower on your keys. You can put this flower in your bag. It looks very cute.
Materials You Will Need
- Yarn: You need Baby Yarn that is about 1.5 mm thick. You need yellow yarn, green yarn, and white yarn.
- Crochet Hook: A 2.0 mm size crochet hook.
- Stuffing: A very small amount of toy stuffing or cotton.
- Tools: A yarn needle, a stitch marker, and scissors.
Abbreviations Used
- MR: Magic Ring
- ch: chain
- sc: single crochet
- inc: increase (make 2 single crochet in one stitch)
- hdc: half double crochet
- dc: double crochet
- tr: treble crochet (wrap the yarn two times around your hook)
- sl st: slip stitch
- st: stitch
- sts: stitches
Crochet Pattern Instructions
Making The Yellow Center
Step 1: Use the yellow yarn. Make a Magic Ring.
Step 2: Chain 1. Make 6 single crochet (sc) stitches into the Magic Ring.
Step 3: Pull the ring very tight.
Step 4: Slip stitch into the first stitch to close the circle. You now have 6 stitches.
Step 5: Round 2: Chain 1. Make 1 increase (inc) in every stitch around. An increase means you make 2 single crochet in the same stitch. Slip stitch to join. You now have 12 stitches.
Step 6: Round 3: Chain 1. Make 1 single crochet in the first stitch. Make 1 increase in the next stitch. Repeat this pattern (1 sc, 1 inc) all the way around the circle. Slip stitch to join. You now have 18 stitches.
Step 7: Round 4: Chain 1. Make 1 single crochet in the next 2 stitches. Make 1 increase in the next stitch. Repeat this pattern (2 sc, 1 inc) all the way around the circle. Slip stitch to join. You now have 24 stitches.
Step 8: Fasten off and cut the yellow yarn.
Making The Green Back Piece
Step 9: Use the green yarn. Make another circle exactly the same as the yellow center.
Step 10: Follow steps 1 through 7 again. Do not cut the green yarn.
Joining And Making The White Petals
Step 11: Put the yellow piece and the green piece together, back to back. The nice sides should face out.
Step 12: Put your hook through the first stitch of the yellow piece and the last stitch of the green piece.
Step 13: Take your white yarn and pull it through both pieces to join them.
Step 14: First Petal: Chain 3.
Step 15: Yarn over two times. Make 3 treble crochet (tr) stitches into the next stitch. Push your hook through both the yellow piece and the green piece.
Step 16: Chain 3.
Step 17: Slip stitch into the next stitch. Your first petal is complete.
Step 18: Second Petal: Chain 3 starting from the exact same stitch where you just made the slip stitch.
Step 19: Make 3 treble crochet stitches in the next stitch.
Step 20: Chain 3. Slip stitch into the next stitch.
Step 21: Repeat this petal pattern all the way around the circle. Stop when you have two petals left to make.
Step 22: Push a little bit of stuffing inside the flower between the yellow piece and the green piece. Do not use too much stuffing.
Step 23: Finish making the last two petals. Slip stitch into the very first stitch where you started to close the flower completely.
Step 24: Cut the white yarn. Use your yarn needle to hide the yarn tails inside the flower.
Making The Green Leaves
Step 25: Use the green yarn. Make a slip knot and chain 16.
Step 26: Skip the very first chain. Make 1 single crochet in the next chain.
Step 27: Make 1 half double crochet (hdc) in the next chain.
Step 28: Make 1 double crochet (dc) in each of the next 3 chains.
Step 29: Make 1 half double crochet in the next chain.
Step 30: Make 1 single crochet in the next chain.
Step 31: Chain 1 and skip the next chain. This makes a small hole in the middle of the leaf piece.
Step 32: Make 1 single crochet in the next chain.
Step 33: Make 1 half double crochet in the next chain.
Step 34: Make 1 double crochet in each of the next 3 chains.
Step 35: Make 1 half double crochet in the next chain.
Step 36: Make 1 single crochet in the very last chain.
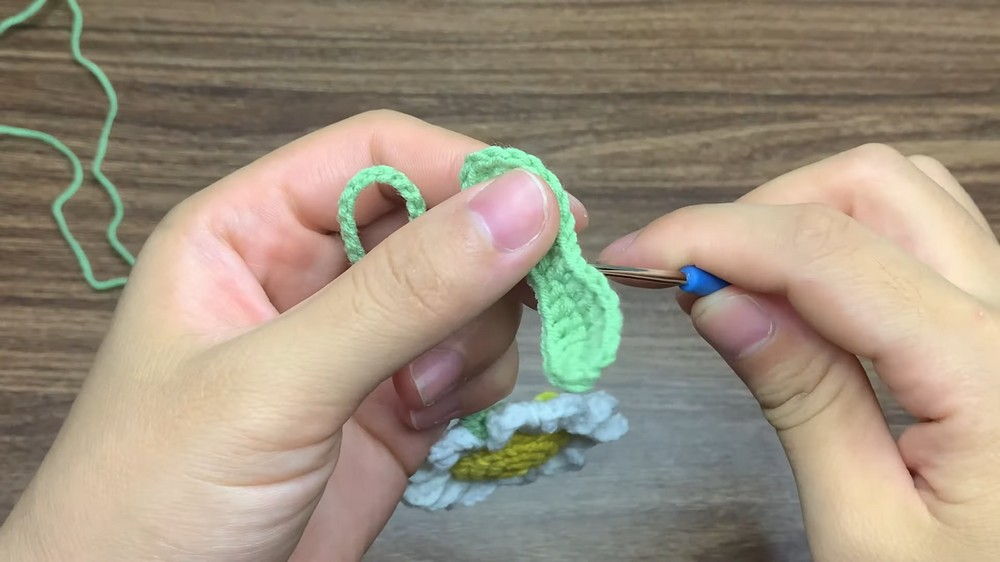
Step 37: Now we will work on the other side of the chain. Chain 1.
Step 38: Make 1 single crochet in the first stitch on the other side.
Step 39: Make 1 half double crochet in the next stitch.
Step 40: Make 1 double crochet in each of the next 3 stitches.
Step 41: Make 1 half double crochet in the next stitch.
Step 42: Make 1 single crochet in the next stitch.
Step 43: Chain 1 and skip the middle space.
Step 44: Make 1 single crochet in the next stitch.
Step 45: Make 1 half double crochet in the next stitch.
Step 46: Make 1 double crochet in each of the next 3 stitches.
Step 47: Make 1 half double crochet in the next stitch.
Step 48: Make 1 single crochet in the last stitch.
Step 49: Chain 1 and slip stitch to the first stitch to join. Cut the yarn and hide the ends.
Making The Keychain String And Finishing
Step 50: Use the green yarn. Make a chain of about 50 stitches. Fasten off.
Step 51: Take this long chain and pass it through the small hole in the middle of your leaf piece.
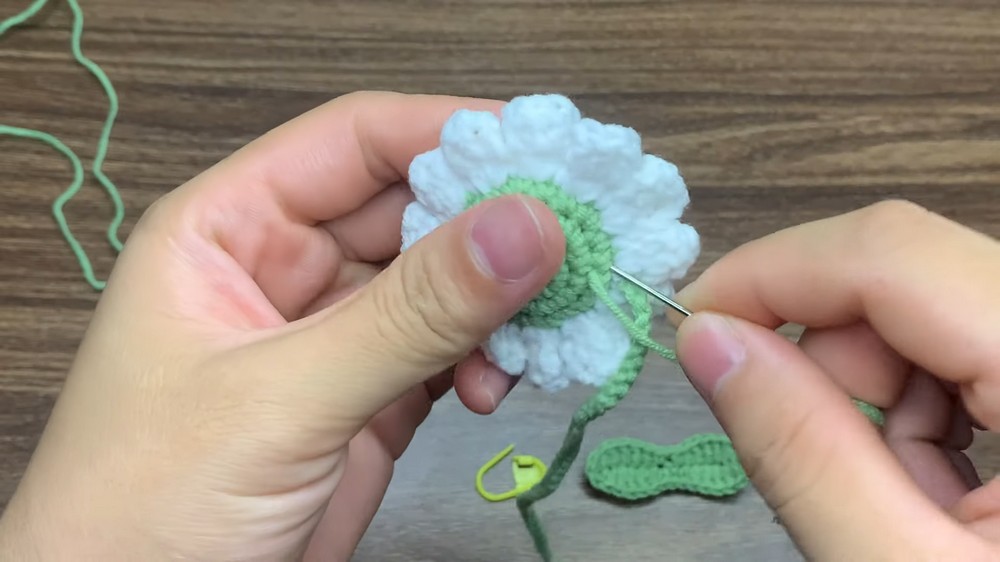
Step 52: Sew both ends of the chain to the middle of the green back piece of the daisy flower. Make sure they are sewed tightly.
Step 53: Your daisy keychain is now complete and ready to use!
Learn with the Video Tutorial