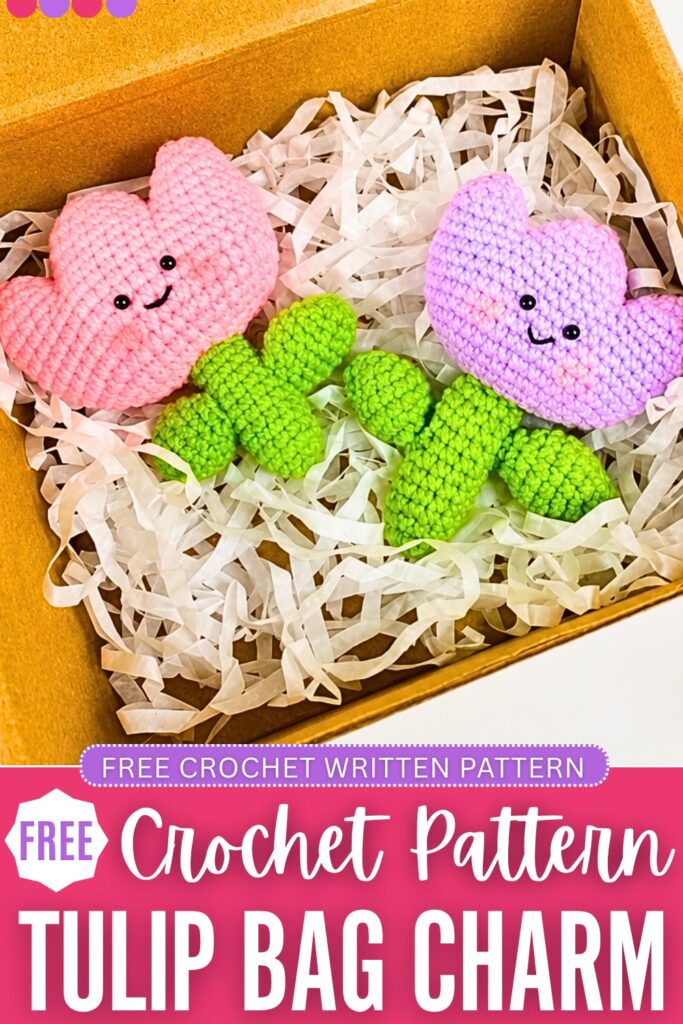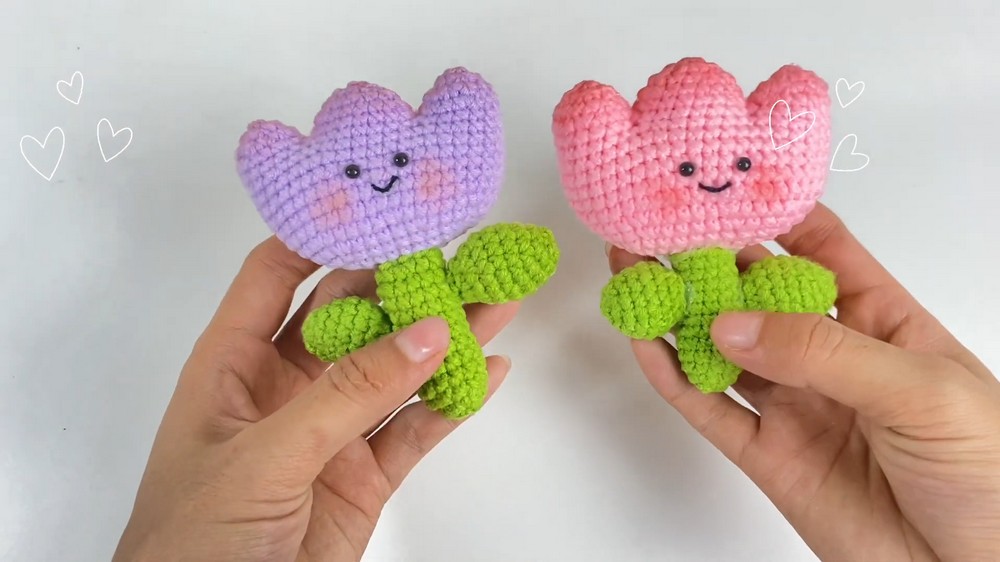
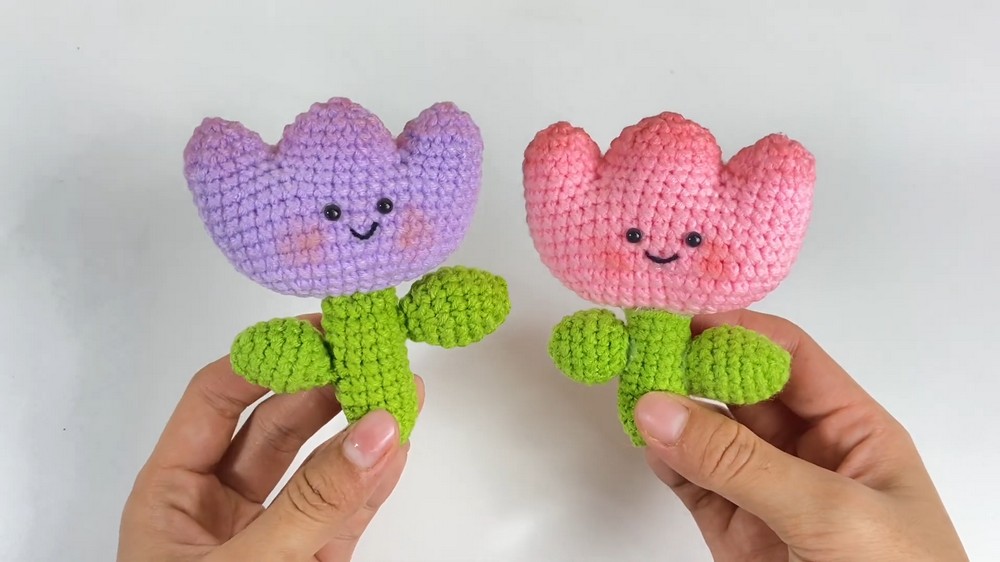
Are you ready to crochet the CUTEST tulip bag charm? And here is a free crochet pattern to make this stuffed tulip to charm up your beach tote bag and spring bags. Unlike the crochet Jellycat Tulip Pot, we will crochet a no-sew amigurumi, tulip flower with a stuffed stem and leaves, and a CUTE smiling face. It looks like a baby tulip character with the blush on the cheeks.
This amigurumi tulip is small, and you can crochet a pair within 60 minutes. Choose from pink, purple, or any other color over which the blush and the black eyes may stand out. You can also call it a smiling tulip, and similar to the Sanrio bouquet, gift it on Valentine’s Day or just because. Now, continue reading for the full tulip charm pattern.
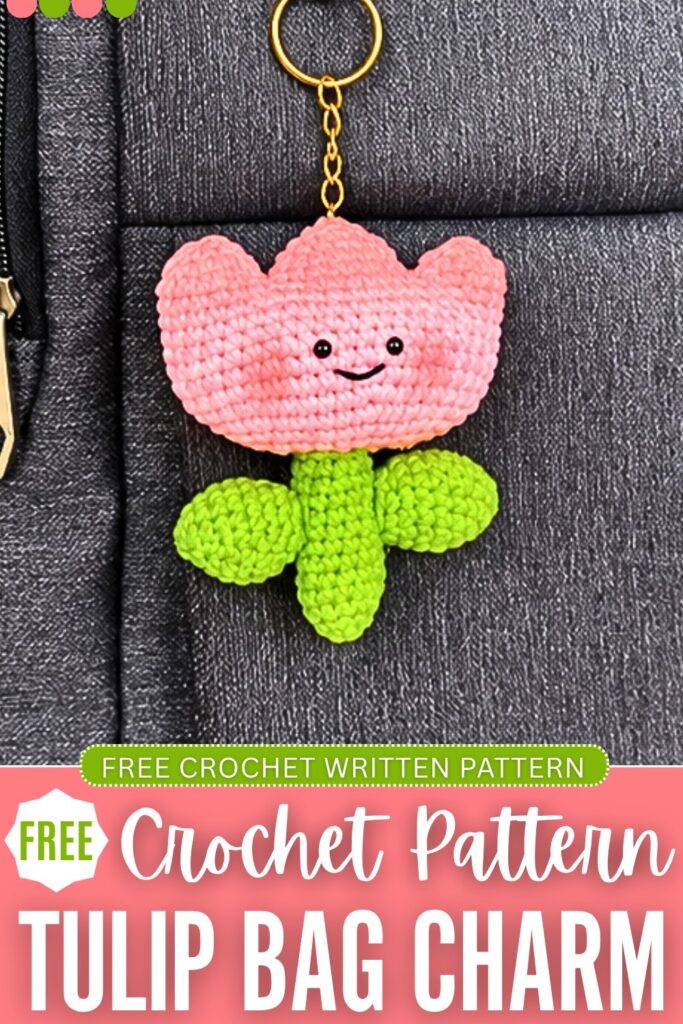
Crochet Tulip Keychain Pattern
Below is the free crochet pattern you need to crochet this CUTE tulip, with the assembly in the end:
Materials Needed:
- Cotton Yarn: Pink (or purple) for the tulip petals, and green for the stem and leaves.
- Black Yarn: A very small amount for embroidering the mouth.
- Crochet Hook: 2.5 mm hook.
- Safety Eyes: 4 mm size (or flatback beads).
- Other Tools: Stitch markers, yarn needle, scissors, and a hot glue gun (optional, for assembly).
- Stuffing: Fiberfill to stuff the flower, stem, and leaves.
- Hardware: Keychain ring (optional).
Abbreviations (US Terms):
- MR: Magic Ring
- ch: chain
- sc: single crochet
- inc: single crochet increase (2 sc in the same stitch)
- dec: single crochet decrease (invisible decrease)
- w: 3 single crochets in the same stitch
- sl st: slip stitch
- st(s): stitch(es)
- ( ) x N: Repeat the instructions inside the parentheses N times
- [ ]: Total number of stitches at the end of the round
Important Note on Construction: All pieces in this pattern (flower base, petals, stem, and leaves) are crocheted in joined rounds. At the end of every single round, join to the first stitch with a slip stitch (sl st), and chain 1 (ch 1) before starting the next round. The ch 1 does not count as a stitch. Always mark your first stitch to keep track.
1. Flower Base (Pink Yarn)
Rnd 1: Ch 9. Starting in the 2nd ch from the hook, make 7 sc. In the very last chain, make 3 sc in the same st (w). Rotate to work on the opposite side of the foundation chain: make 6 sc, then 1 inc in the last st. Join with a sl st, ch 1. [18]
Rnd 2: 1 inc, 6 sc, 3 inc, 6 sc, 2 inc. Join with a sl st, ch 1. [24]
Rnd 3: 1 sc, 1 inc, 6 sc, (1 sc, 1 inc) x 3, 6 sc, (1 sc, 1 inc) x 2. Join with a sl st, ch 1. [30]
Rnd 4: (4 sc, 1 inc) x 6. Join with a sl st, ch 1. [36]
Rnd 5: (5 sc, 1 inc) x 6. Join with a sl st, ch 1. [42]
Rnd 6 – 11: 42 sc around. Join with a sl st, ch 1. [42] (6 rounds total)
Do not fasten off. Next, you will divide the 42 stitches to create three petals.
Dividing the Petals: Flatten the flower base so your yarn hook is at the side crease.
- First Small Petal: Count 7 stitches along the front layer and 7 stitches along the back layer (14 stitches total) on your right side. Mark these off.
- Second Small Petal: On the opposite left side, mark off another 14 stitches (7 front, 7 back).
- Large Middle Petal: The 14 stitches left in the center—plus sharing one stitch from each small petal on both sides—will make an 18-stitch round for the middle petal.
2. First Small Petal (Continue with Pink Yarn)
You will now work in the round across the 14 stitches you sectioned off for the first petal.
Rnd 1: 14 sc around the petal opening. Join with a sl st, ch 1. [14]
Rnd 2: 2 sc, 1 inc, 3 sc, 1 inc, 2 sc, 1 inc, 3 sc, 1 inc. Join with a sl st, ch 1. [18]
Rnd 3: (1 sc, 1 dec) x 6. Join with a sl st, ch 1. [12]
Rnd 4: 6 dec. Join with a sl st. [6]
Fasten off, leaving a long tail. Use a yarn needle to weave the tail through the front loops of the 6 remaining stitches. Pull tight to close the hole securely, knot, and hide the yarn tail inside.
3. Large Middle Petal
Attach the pink yarn with a slip knot to the inner shared stitch where the first small petal meets the middle gap.
Rnd 1: Sc 18 evenly around the center opening. Join with a sl st, ch 1. [18]
Rnd 2 – 3: 18 sc around. Join with a sl st, ch 1. [18] (2 rounds total)
Rnd 4: (1 sc, 1 dec) x 6. Join with a sl st, ch 1. [12]
Rnd 5: 6 dec. Join with a sl st. [6]
Fasten off, leaving a long tail, and close the top hole exactly as you did for the small petal. Hide the yarn tail inside.
Important: Before making the final small petal, stuff the base of the flower and the first two petals firmly with fiberfill!
4. Second Small Petal
Attach the pink yarn to the remaining 14-stitch opening on the other side.
Rnd 1: 14 sc around. Join with a sl st, ch 1. [14]
Rnd 2: 2 sc, 1 inc, 3 sc, 1 inc, 2 sc, 1 inc, 3 sc, 1 inc. Join with a sl st, ch 1. [18]
Rnd 3: (1 sc, 1 dec) x 6. Join with a sl st, ch 1. [12]
Add any final bits of stuffing into the flower before the opening gets too small.
Rnd 4: 6 dec. Join with a sl st. [6]
Fasten off, leave a long tail, weave through the front loops, and pull tight to close the hole completely.
5. Stem (Green Yarn)
Rnd 1: 6 sc in MR. Join with a sl st, ch 1. [6]
Rnd 2: (1 sc, 1 inc) x 3. Join with a sl st, ch 1. [9]
Rnd 3: (1 sc, 1 inc, 1 sc) x 3. Join with a sl st, ch 1. [12]
Rnd 4 – 12: 12 sc around. Join with a sl st, ch 1. [12] (9 rounds total)
Fasten off, leaving a tail. Stuff the stem evenly and firmly with fiberfill so it stays rigid. Tuck any excess yarn tail inside.
6. Leaves (Green Yarn – Make 2)
Rnd 1: 6 sc in MR. Join with a sl st, ch 1. [6]
Rnd 2: (1 sc, 1 inc) x 3. Join with a sl st, ch 1. [9]
Rnd 3: (1 sc, 1 inc, 1 sc) x 3. Join with a sl st, ch 1. [12]
Rnd 4: (3 sc, 1 inc) x 3. Join with a sl st, ch 1. [15]
Rnd 5 – 6: 15 sc around. Join with a sl st, ch 1. [15] (2 rounds total)
Rnd 7: (3 sc, 1 dec) x 3. Join with a sl st, ch 1. [12]
Rnd 8: (2 sc, 1 dec) x 3. Join with a sl st. [9]
Fasten off. Lightly stuff the leaf with fiberfill and hide the yarn tail inside. Repeat to make a second leaf.
7. Assembly and Details
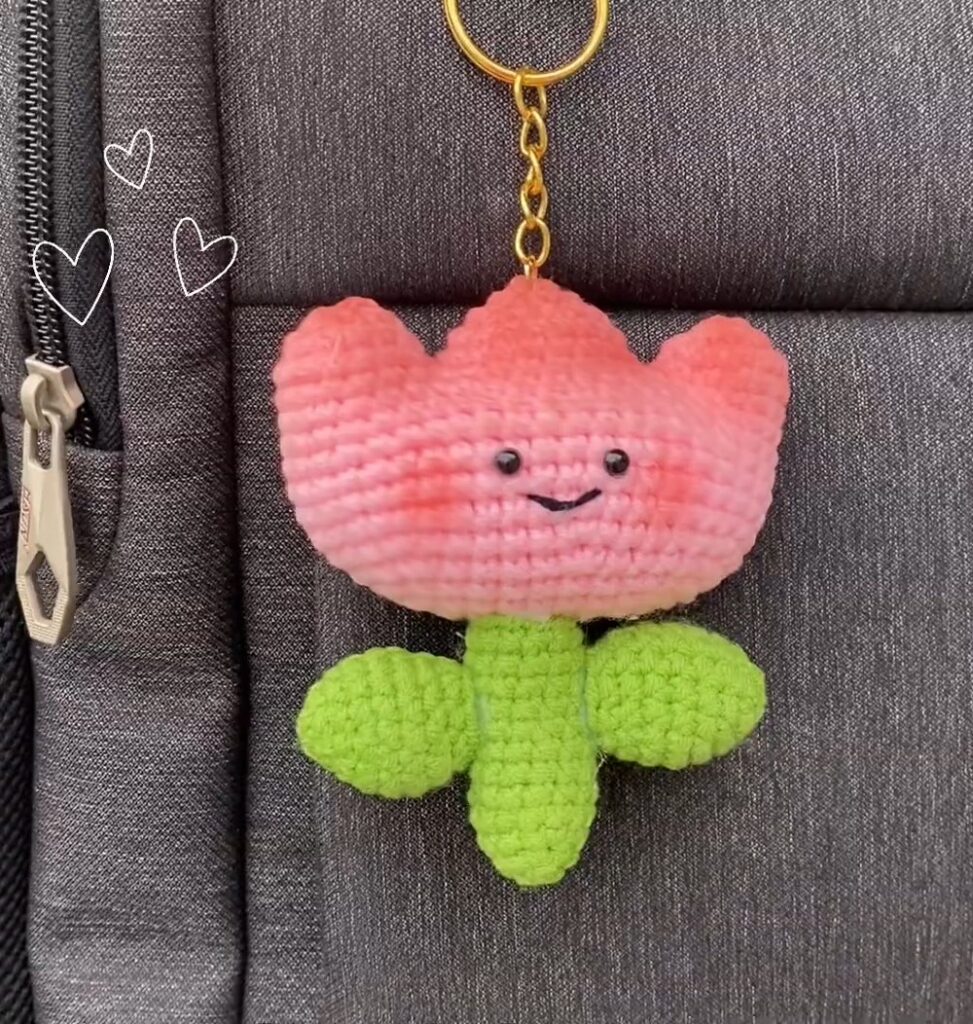
- Attaching the Stem: Position the stem at the very bottom center of the flower base. Ensure the slip stitch join seam of both the flower and the stem are facing the back. Attach using hot glue, or sew it securely in place.
- Attaching the Leaves: Glue or sew the two leaves to the sides of the stem. You can align them evenly, or place one slightly higher up the stem than the other.
- Placing the Eyes: Count down the flower base. Place and glue the 4 mm eyes horizontally between Round 7 and Round 8, keeping them about 3 stitches apart from each other.
- Embroidering the Mouth: Take your black yarn and split the ply so you are working with just 2 very thin strands. Embroider a tiny, curved “V” smile centered between the eyes, just slightly lower down. Tie off and hide the yarn ends.
- Adding Blush: Use real makeup blush and a brush to gently dab pink color onto the cheeks directly below the eyes. Brush a little blush into the crevices of the tulip petals for a realistic, shaded look.
- Hardware: If you wish to hang the flower, securely attach a keychain ring to the top back of the large middle petal.
Learn with the Video Tutorial
Save for Later!