
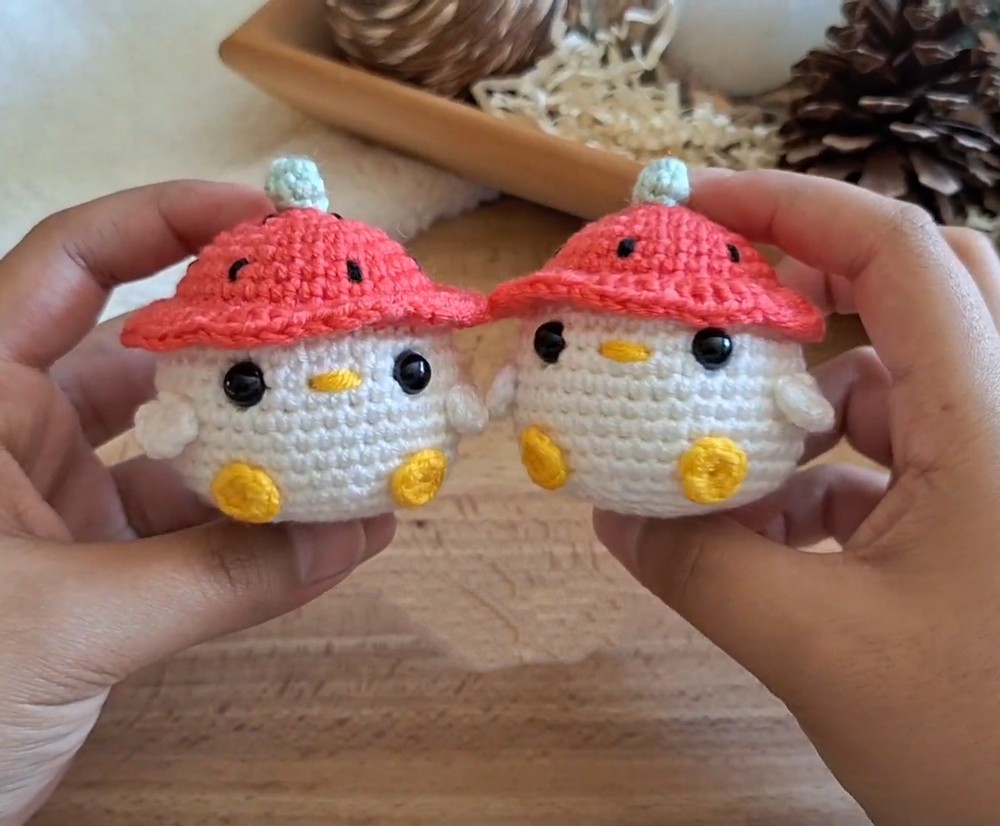
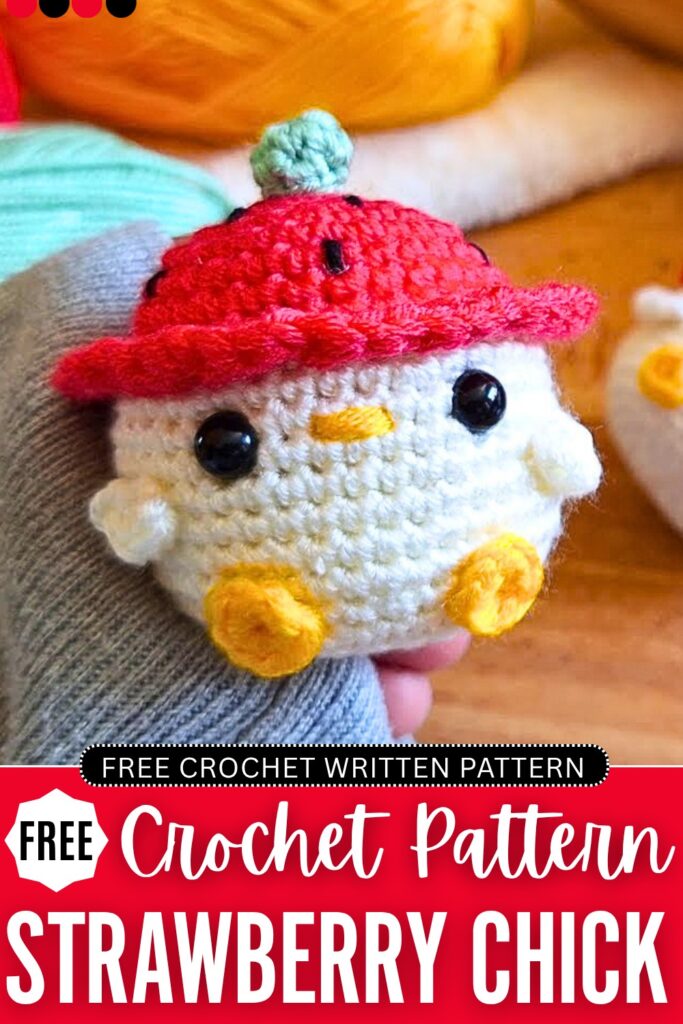
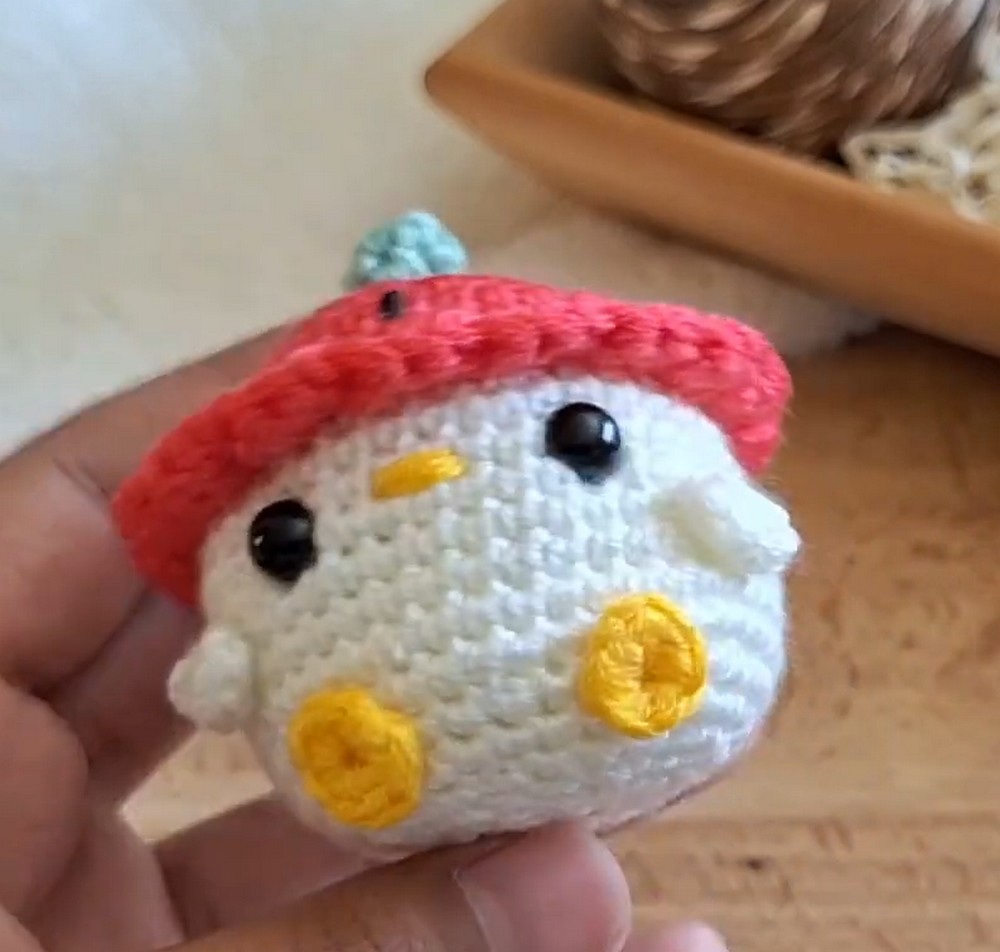
Kickstart the summer crocheting with this oh-so cute fat baby duck amigurumi wearing a watermelon slice bucket hat, or you can also call it the strawberry chick. Today, I will provide a free pattern to crochet this white chubby chick amigurumi. Similar to the baby mushroom amigurumi, this is a no-sew amigurumi that you can use as a bag charm for your beach tote bag or desk buddy, just as the Jellycat Tulip Pot.
You can easily crochet this amigurumi chick in less than 30 minutes. You will also need to crochet small parts, such as the watermelon stem, so I recommend using the thin amigurumi yarn to crochet it. Now, if you are looking for the written pattern to crochet it, continue reading to the watermelon baby duck amigurumi pattern.
Crochet Strawberry Duck Amigurumi: Round-by-Round Pattern
Below is the free crochet pattern you need to crochet this CUTE fruity duck, with the assembly in the end:
Materials Needed
- Yarn: Acrylic yarn in 4 colors: Strawberry/Red, White, Green, and Yellow. (You will also need a small amount of Black yarn for embroidery).
- Hook: 2.5 mm crochet hook
- Eyes: Safety eyes (and their backings)
- Stuffing: Fiberfill / toy stuffing
- Tools: Stitch markers, tapestry needle, scissors
- Optional: Silicone glue / Hot glue (for attaching small parts like the stem, wings, and feet, though sewing is also an option).
Abbreviations (US Terms)
- MR: Magic Ring
- ch: Chain
- sc: Single Crochet
- hdc: Half Double Crochet
- dc: Double Crochet
- inc: Increase (2 sc in the same stitch)
- dc-inc: Double Crochet Increase (2 dc in the same stitch)
- dec: Decrease (sc 2 together)
- sl st: Slip Stitch
- BLO: Back Loops Only
- st/sts: Stitch / Stitches
- […] x: Repeat instructions within the brackets the indicated number of times
Note: The main body is worked in continuous spirals. Do not join rounds with a slip stitch unless specified. Use a stitch marker to keep track of the first stitch of each round.
Pattern Instructions
The Head & Body (Starting with the Strawberry Hat)
Start with the Strawberry/Red color.
Round 1: Make a MR, work 6 sc into the ring. (6 sts)
Round 2: 6 inc. (12 sts)
Round 3: [1 sc, inc] x 6. (18 sts)
Round 4: [1 sc, inc, 1 sc] x 6. (24 sts)
Round 5: [3 sc, inc] x 6. (30 sts)
Rounds 6 – 7 (2 rounds): 1 sc in each st around. (30 sts)
Round 8: [9 sc, inc] x 3. (33 sts)
Before finishing the very last step of the final increase, change to the White color.
Round 9 (BLO): Working in the Back Loops Only: [5 sc, inc, 5 sc] x 3. (36 sts)
Round 10: Working in both loops normally again: [5 sc, inc] x 6. (42 sts)
Rounds 11 – 16 (6 rounds): 1 sc in each st around. (42 sts)
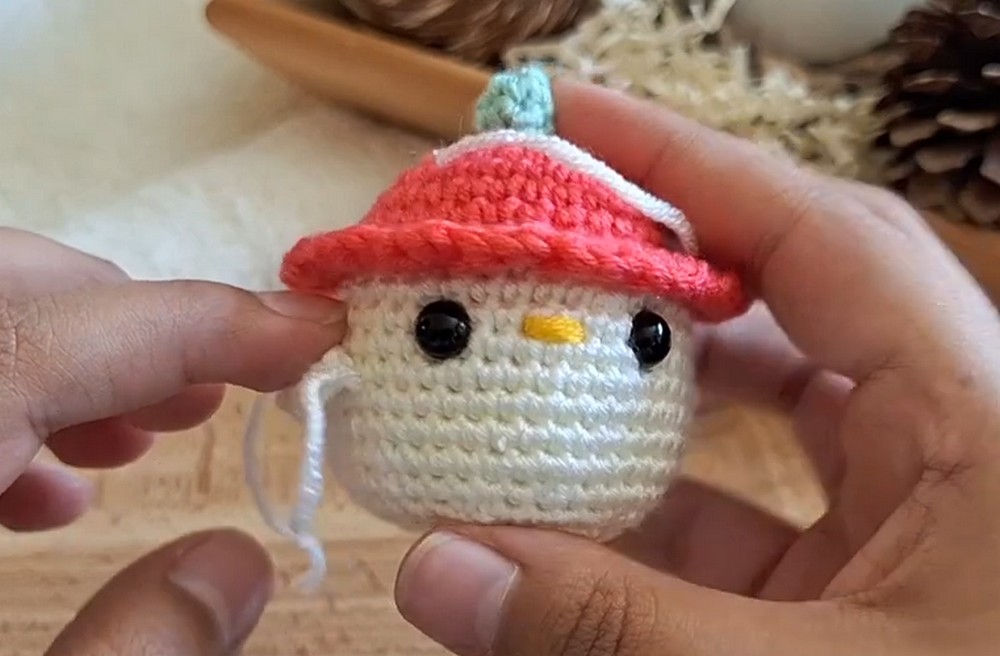
At this point, pause to insert the safety eyes and embroider the beak.
- Eyes: Insert between Rounds 11 and 12, leaving about 8 visible stitches between them. Secure the backings.
- Beak: Using Yellow yarn and a tapestry needle, embroider a small horizontal line centered between the eyes, spanning across the middle. Secure with knots on the inside.
Round 17: [5 sc, dec] x 6. (36 sts)
Round 18: [2 sc, dec, 2 sc] x 6. (30 sts)
Round 19: [3 sc, dec] x 6. (24 sts)
Start stuffing the body firmly, and continue stuffing as you close.
Round 20: [1 sc, dec, 1 sc] x 6. (18 sts)
Round 21: [1 sc, dec] x 6. (12 sts)
Round 22: 6 dec. (6 sts)
Finish: Fasten off. Use a needle to weave the tail through the front loops of the remaining 6 stitches, pull tight to close the hole, and weave in the end.
The Strawberry Hat Brim
Use the Strawberry/Red color.
- Hold the duck upside down so you are working into the front loops left unworked from Round 9.
- Join the Red yarn with a sl st to any unworked front loop.
- Round 1: ch 2 (does not count as a st). In the same first st: work 1 dc.
- Next st: dc-inc (2 dc in one st).
- Next st: 1 hdc.
- Next st: dc-inc.
- Repeat this pattern [1 hdc, dc-inc] around the entire brim.
- Join with a sl st or invisible join to the first st. Fasten off and weave in the ends securely.
The Strawberry Stem
Use Green yarn.
Round 1: Make a MR, work 6 sc into the ring. (6 sts)
Round 2: 1 sc in each st around. (6 sts)
Finish: Join with a sl st, fasten off. You can either leave a tail for sewing or weave in the ends and attach it to the top center of the hat using silicone/hot glue.
The Wings (Make 2)
Use White yarn.
Round 1: Make a MR. Work 4 hdc into the ring. Ch 1, sl st back into the center of the ring.
Finish: Fasten off. Close the ring tightly. Leave a tail for sewing, or weave in the ends if you prefer to glue them.
The Feet (Make 2)
Use Yellow yarn.
Round 1: Make a MR, work 6 sc into the ring. (6 sts)
Finish: Join with a sl st, fasten off. Close the ring. Leave a tail for sewing, or weave in the ends if gluing.
Final Assembly and Details
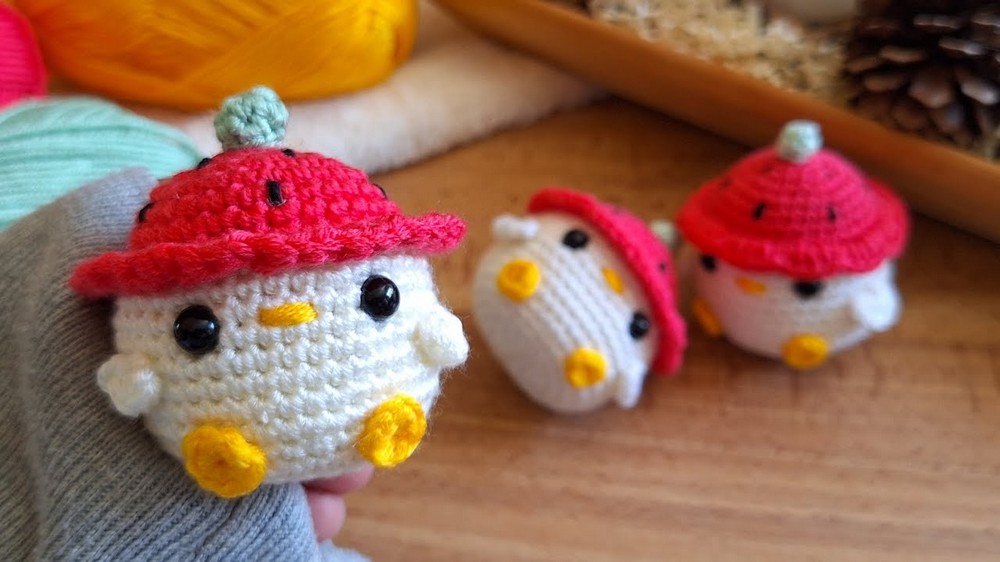
- Attach the Stem: Glue or sew the small Green stem to the very top center of the red hat.
- Attach the Wings: Position the wings on the sides of the body between Rounds 12 and 13, about 1 or 2 stitches away from the outer edge of the eyes. Sew or glue in place.
- Attach the Feet: Position the small yellow circles at the bottom front of the body, directly under the eyes and wings. Sew or glue in place so the duck can sit flat.
- Strawberry Seeds: Thread a tapestry needle with a small amount of Black yarn. Embroider tiny vertical stitches randomly all over the Red part of the hat to represent the strawberry seeds. Weave in the ends securely.
Learn with the Video Tutorial

About "Talha"
Hey, I’m Talha, the Crafter on Craftstive.com. I love to share guides on folding cute origami models and paper crafts, and I am always ready to inspire your next craft project with my weekly craft discussions.