
Subscribe to Shop Len!
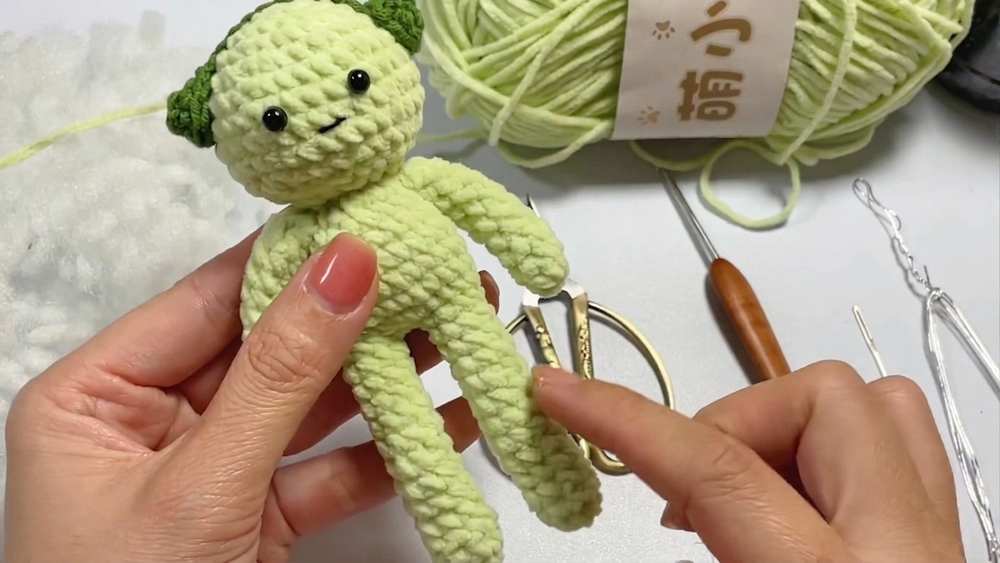
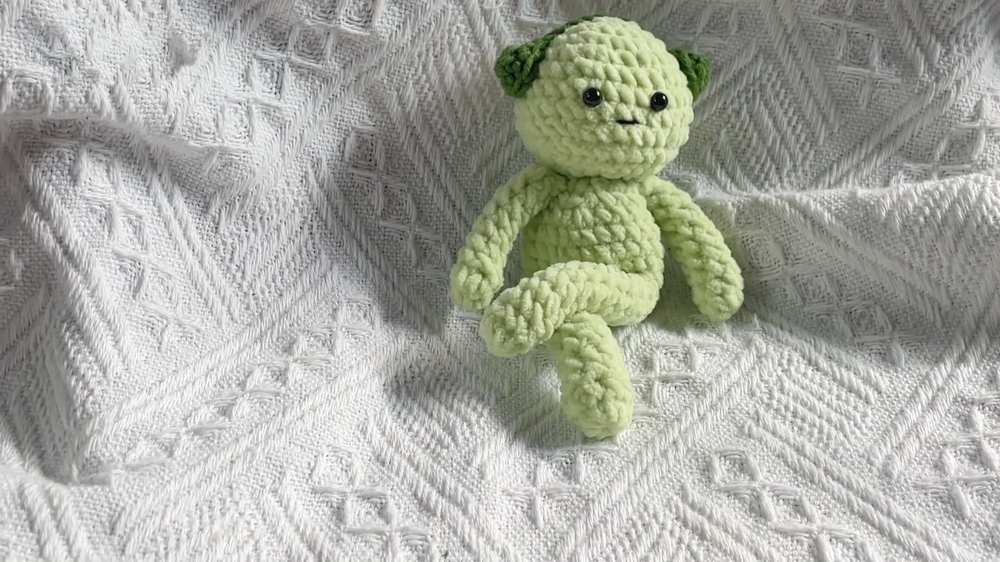
Learn how to crochet a no-sew and miniature Smiski figurine plushie with this free crochet pattern for beginners. While it does not glow in the dark like the Japanese figurine, this little doll is wearing headphones, is so stress-relieving and FUN to play with. Well, the secret is that it has a poseable wire, so you can play with it by presenting it in different iconic poses.
With the thin plush yarn, you will end up with a hand-sized Smiski plushie. For an accessory, we shall use cotton yarn instead. With these clever choices, this would definitely end up the BEST crochet toy to own. Later on, you can also check other character plushies I have shared, such as the Baby Yoda plush, Patrick Star, and many more plushies.
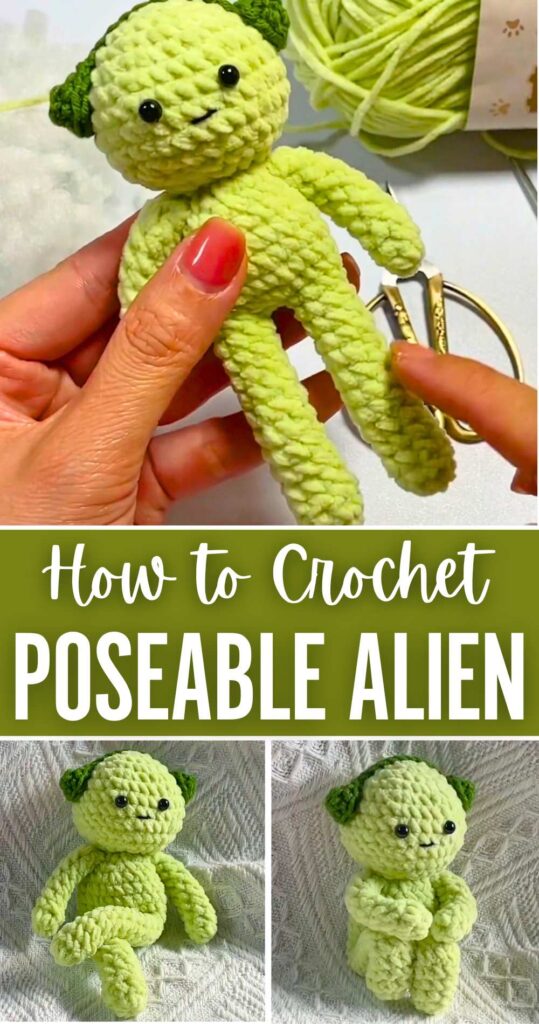
Crochet Smiski Plushie: Round-by-Round Pattern
This pattern will give you step-by-step instructions to crochet an adorable poseable Smiski figurine:
Learn with Video Tutorial
Materials Needed
- Yarn: Velvet/Chenille plush yarn (Len nhung gấu) in Light Green (Color code 20). You will also need a contrasting, darker green yarn for the headphones, and a tiny amount of thin black yarn for the mouth.
- Crochet Hook: 2.5 mm
- Safety Eyes: 5 mm flat eyes or half-beads
- Other Tools: Polyester fiberfill stuffing, craft wire (for the poseable skeleton inside), tapestry needle, scissors, and fabric glue (e.g., B7000) for the eyes/headphones.
Abbreviations Used
- MR: Magic ring
- ch: Chain
- sc: Single crochet (x)
- inc: Increase (2 sc in the same stitch) (V)
- dec: Decrease (sc 2 stitches together) (A)
- sl st: Slip stitch
(Note: The video tutorial joins most rounds with a slip stitch and a chain 1 before beginning the next round).
1. Head
- Round 1: Start with a MR. Ch 1, 6 sc into the ring. Sl st to join. [6]
- Round 2: Ch 1. 6 inc. Sl st to join. [12]
- Round 3: Ch 1. [1 sc, 1 inc] repeat 6 times. Sl st to join. [18]
- Round 4: Ch 1. 1 sc, 1 inc, then [2 sc, 1 inc] repeat 5 times, 1 sc. Sl st to join. [24]
- Round 5: Ch 1. [3 sc, 1 inc] repeat 6 times. Sl st to join. [30]
- Rounds 6–9: Ch 1. 30 sc around for 4 rounds. Sl st to join. [30]
- Round 10: Ch 1. [3 sc, 1 dec] repeat 6 times. Sl st to join. [24]
- Round 11: Ch 1. 1 sc, 1 dec, then [2 sc, 1 dec] repeat 5 times, 1 sc. Sl st to join. [18]
- Round 12: Ch 1. [1 sc, 1 dec] repeat 6 times. Sl st to join. [12]
- Finishing: Fasten off, leaving a long tail for sewing.
2. Arms (Make 2)
(Arms are worked in continuous spirals without slip-stitching).
- Round 1: MR, ch 1, 6 sc. Pull ring tight. [6]
- Rounds 2–9: 6 sc around for 8 continuous rounds. [6]
- Finishing: Sl st to the next stitch, fasten off leaving a tail for sewing. Do not stuff.
3. Legs & Body Connection
Legs (Make 2): (Note: These long legs allow the finished Smiski to be bent into sitting/hugging-knee poses).
- Round 1: MR, ch 1, 8 sc. Pull ring tight. [8]
- Rounds 2–12: 8 sc around for 11 continuous rounds. [8]
- Finishing Leg 1: Sl st to join, cut yarn, and fasten off.
- Finishing Leg 2: Do not cut the yarn. From the end of Leg 2, chain 2, then sl st directly into the last stitch of Leg 1 to connect them.
Body (Continuing from Legs):
- Round 13: Ch 1. Work 8 sc around Leg 1. Work 2 sc across the front of the ch-2 loop. Work 8 sc around Leg 2. Work 2 sc across the back of the ch-2 loop. Sl st to join. [20]
- Round 14: Ch 1. 8 sc, 2 inc, 8 sc, 2 inc. Sl st to join. [24]
- Rounds 15–17: Ch 1. 24 sc around for 3 rounds. Sl st to join. [24]
- Round 18: Ch 1. [2 sc, 1 dec] repeat 6 times. Sl st to join. [18]
- Round 19: Ch 1. 18 sc around. Sl st to join. [18]
- Round 20: Ch 1. [1 sc, 1 dec] repeat 6 times. Sl st to join. [12]
- Finishing: Fasten off. You do not need a long tail here since the head tail will be used for sewing.
4. Wire Skeleton & Assembly
Preparing the Wire Skeleton:
- Take a length of craft wire and bend it into an inverted “U” shape that reaches the bottom of both legs. Twist the top part together to form a spine.
- Wrap a small amount of scrap yarn around the bottom “feet” bends of the wire to pad them out.
- Insert the wire frame down through the body opening so it extends fully into both legs.
- Carefully stuff the body and legs with fiberfill around the wire skeleton.
Attaching the Head:
- Use the long tail from the head to sew the head securely onto the body neck opening stitch-for-stitch (12 stitches to 12 stitches). Make sure the wire spine inserts slightly up into the head to keep the neck poseable.
Attaching the Arms:
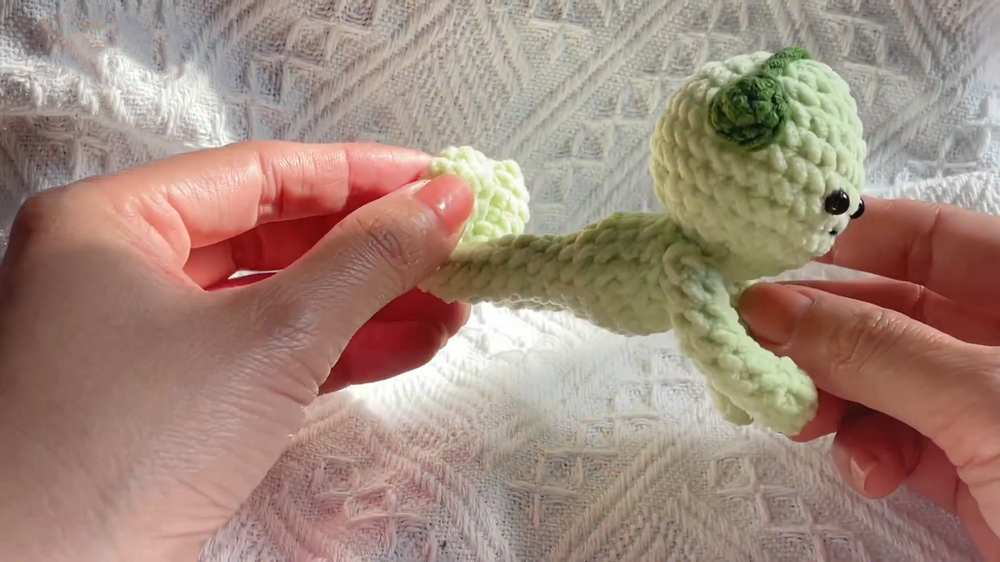
- Cut a shorter piece of craft wire for the arms.
- Pierce the wire horizontally straight through the body, right under the neck line, letting it poke out evenly on both sides.
- Wrap a little yarn around the tips of the wire to pad the “hands.”
- Slide the crocheted arms onto the protruding wire segments on each side.
- Sew the open top edge of the arms securely to the sides of the body to hold them in place.
5. Headphones & Details
Earpieces (Make 2 with Dark Green yarn):
- Round 1: MR, ch 1, 6 sc. Sl st to join. [6]
- Round 2: Ch 1, 6 sc. Work a 7th sc right into the joining slip stitch base to slightly widen the cup. Sl st to join. [7]
- Finishing Earpiece 1: Cut yarn and fasten off.
- Finishing Earpiece 2 (Headband): Do not cut yarn. Chain 14 (test the length across the top of the Smiski’s head—add or remove chains if necessary). Attach the end of the chain to the top of Earpiece 1.
Facial Details:
- Eyes: Glue the 5 mm eyes onto the face, spaced about 3 stitches apart.
- Mouth: Take a single, very thin strand of black yarn and embroider a tiny curved line centered under the eyes to form a small sad or neutral mouth.
- Headphones: Apply glue to the back of the dark green earpieces and the chain headband, then press them onto the sides and top of the head.
Finally, gently bend the wire-filled arms, legs, and neck to pose your Smiski! It can sit with its knees hugged to its chest, look down pensively, or adopt any other cute posture

About "Talha"
Hey, I’m Talha, the Crafter on Craftstive.com. I love to share guides on folding cute origami models and paper crafts, and I am always ready to inspire your next craft project with my weekly craft discussions.