
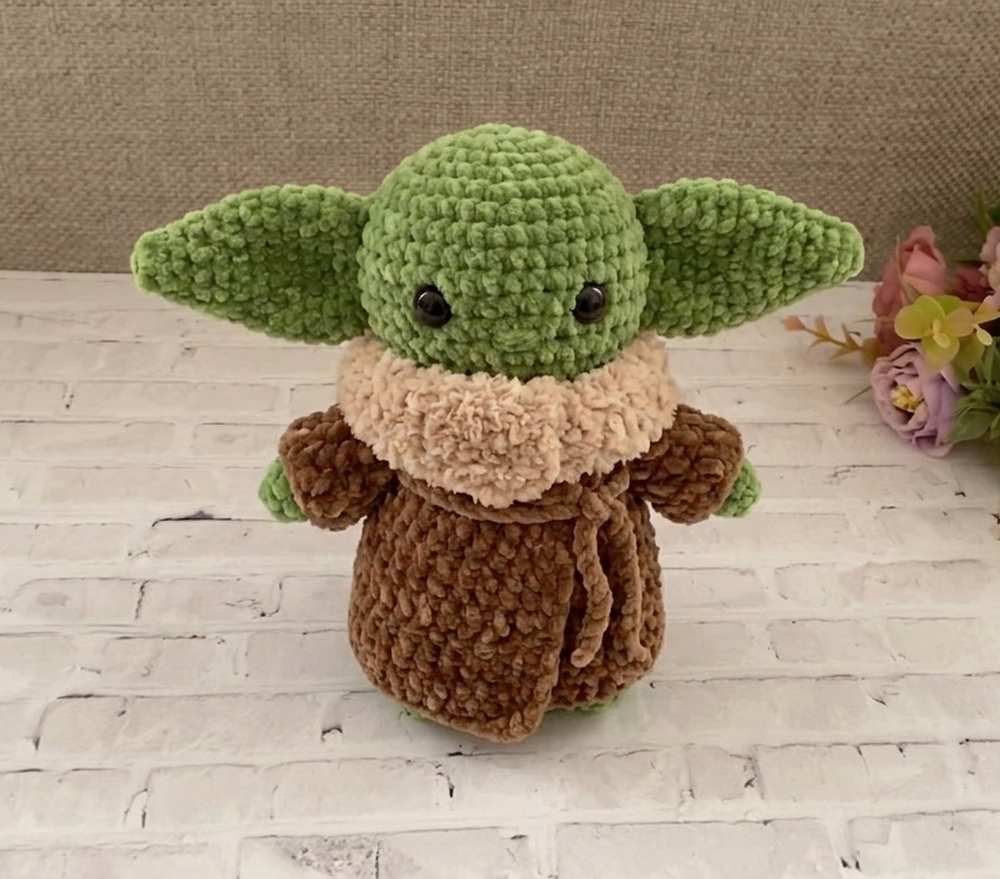
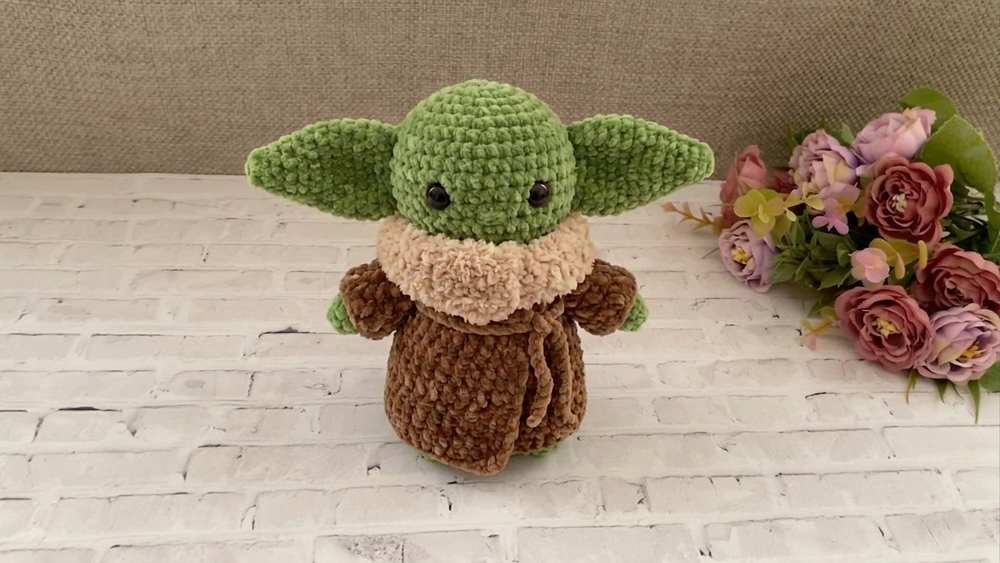
Looking for the CUTEST birthday present for a kid that they dream of? Learn how to crochet this low-sew big Baby Yoda plushie with removable clothing following this pattern. On the robe, we shall also use the fuzzy yarn that makes it the BEST snuggle for the little ones.
There are also the ties to put the robe on and off easily. So, kids will actually be able to play with it, or you can also prepare this Alien plush with some costumes..
As a reminder, I have completed two series on the crochet costume plush for the dolls. You can definitely check them, too. For now, crochet this Baby Yoda plushie in less than an hour. I have written below the whole pattern, so be sure to leave a comment if you crocheted one or not.
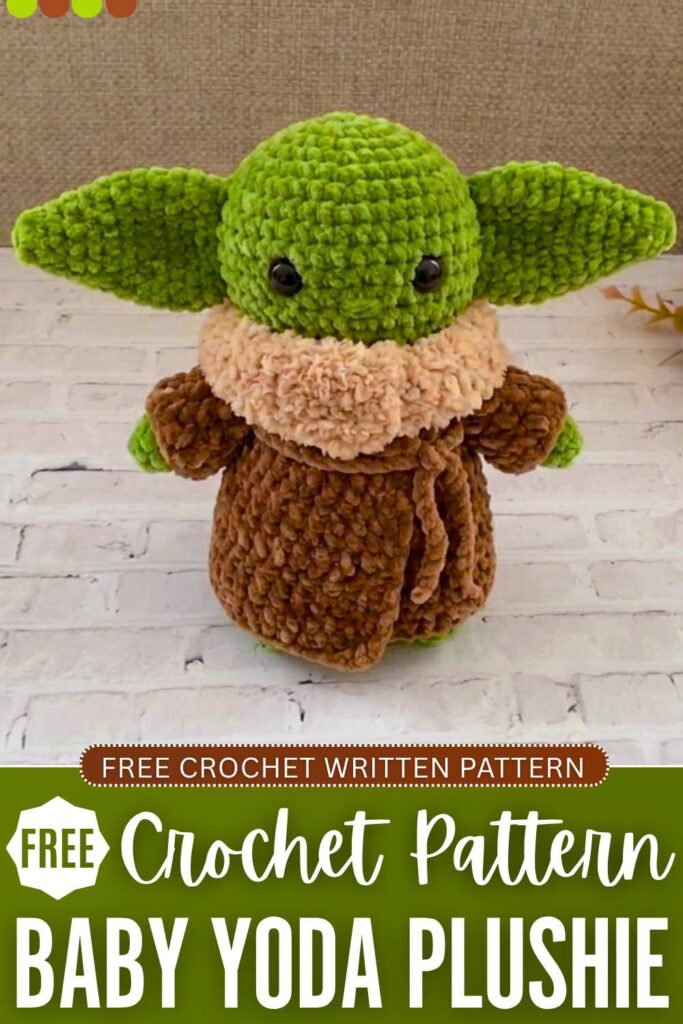
Crochet Kawaii Baby Yoda Doll: Round-by-Round Pattern
Here is the written crochet pattern for the plush amigurumi baby Yoda doll, with the assembly in the end:
Supplies Needed
- YarnArt Jeans 40 (brown) or Bernat Blanket Yarn
- YarnArt Jeans 69 (green) or Bernat Blanket Yarn
- Alize Softy 617 (latte)
- Hook No. 2
- 6 mm safety eyes
- Scissors
- Wide-eye needle
- Hollow fiber filling
Abbreviations Used
- ch: Chain
- st / sts: Stitch / Stitches
- sl st: Slip stitch
- sc: Single crochet
- dc: Double crochet
- inc: Increase (2 sc in the same stitch loop)
- dec: Invisible decrease (crochet 2 front loops together)
1. The Arms (Make 2 – Green Yarn)
The arms are worked continuously without joining rows. Do not stuff them.
- Round 1: Start with a magic ring. Work 7 sc into the ring.
[7 sts] - Rounds 2–8: Work 7 sc around (1 sc in each st).
[7 sts] - Finishing: Make a slip stitch to the next stitch, cut the yarn leaving a short tail, and weave it cleanly into the edge using a needle.
2. The Legs & Body (Green Yarn)
You will crochet two legs, then chain them together to form the base of the torso.
Legs (Make 2):
- Round 1: Start with a magic ring. Work 6 sc into the ring.
[6 sts] - Round 2: Repeat a pattern of [1 sc, 1 inc] 3 times around.
[9 sts] - Rounds 3–6: Work 9 sc around (1 sc in each st).
[9 sts] - Finishing Leg 1: Work a sl st, fasten off, and trim the yarn tail.
- Finishing Leg 2: Do not cut the yarn. Ch 2 to connect to the first leg.
Joining into the Torso:
- Round 7: Join with a sc to Leg 1. Work 9 sc around Leg 1, work 2 sc along one side of the ch-2 extension, work 9 sc around Leg 2, and finish with 2 sc along the opposite side of the ch-2 extension.
[22 sts total] - Rounds 8–16: Work 22 sc around (1 sc in each st) for 9 continuous rounds.
[22 sts] - Stuffing: Lightly pack the legs and torso with fiberfill using a stick helper.
- Round 17 (Attaching Arms): Work 4 sc along the back. Hold the first flattened arm up against the torso and work 3 sc joining both layers of the arm and body together. Work 8 sc across the chest. Hold the second arm up and work 3 sc through both the arm and body layers. Finish with 4 sc along the back.
[22 sts] - Round 18: Repeat a pattern of [2 sc, 1 dec] 5 times around, then work 2 sc in the remaining stitches.
[17 sts] - Round 19: Repeat a pattern of [1 sc, 1 dec] 5 times around, then work 2 sc in the remaining stitches.
[12 sts] - Finishing: Make a sl st, then cut the yarn leaving a long tail for sewing the head on later. Top off the stuffing firmly.
3. The Head (Green Yarn)
The head uses staggered increases to ensure a smooth sphere without ridges.
- Round 1: Start with a magic ring. Work 6 sc into the ring.
[6 sts] - Round 2: Work 6 inc around (2 sc in each st).
[12 sts] - Round 3: Repeat a pattern of [1 sc, 1 inc] 6 times around.
[18 sts] - Round 4: Work 1 sc, 1 inc. Then repeat a pattern of [2 sc, 1 inc] 5 times. Finish with 1 sc in the final st.
[24 sts] - Round 5: Repeat a pattern of [3 sc, 1 inc] 6 times around.
[30 sts] - Round 6: Work 2 sc, 1 inc. Then repeat a pattern of [4 sc, 1 inc] 5 times. Finish with 2 sc in the final sts.
[36 sts] - Rounds 7–13: Work 36 sc around (1 sc in each st) for 7 rounds.
[36 sts] - Eye Placement: Insert 6mm safety eyes between Rounds 10 and 11, leaving a space of 7 stitches between them. Snap the washers in place tightly.
- Round 14: Work 2 sc, 1 dec. Then repeat a pattern of [4 sc, 1 dec] 5 times. Finish with 2 sc in the final sts.
[30 sts] - Round 15: Repeat a pattern of [3 sc, 1 dec] 6 times around.
[24 sts] - Stuffing: Pack the head firmly with fiberfill.
- Round 16: Work 1 sc, 1 dec. Then repeat a pattern of [2 sc, 1 dec] 5 times. Finish with 1 sc in the last st.
[18 sts] - Round 17: Repeat a pattern of [1 sc, 1 dec] 6 times around.
[12 sts] - Round 18: Work 6 consecutive decreases (
dec6 times).[6 sts] - Finishing: Weave the yarn through the front loops of the final 6 stitches, pull tight to close the hole, tie a knot, and hide the tail inside the head.
- Nose Embroidery: Using green yarn, embroider a tiny 2-stitch wide horizontal bar right between and slightly below the eyes (around Rows 11–12) to shape the button nose.
4. Yoda’s Big Ears (Make 2 – Green Yarn)
The ears are worked as hollow cones that slowly expand.
- Round 1: Start with a magic ring. Work 6 sc into the ring.
[6 sts] - Round 2: Work 6 sc around (1 sc in each st).
[6 sts] - Round 3: Work 2 inc, then work 4 sc.
[8 sts] - Round 4: Work 8 sc around.
[8 sts] - Round 5: Work 1 sc, 2 inc, then work 5 sc.
[10 sts] - Round 6: Work 10 sc around.
[10 sts] - Round 7: Work 2 sc, 2 inc, then work 6 sc.
[12 sts] - Rounds 8–9: Work 12 sc around for 2 rounds.
[12 sts] - Round 10: Work 3 sc, followed by 2 consecutive decreases (
dec2 times), and finish with 5 sc.[10 sts] - Round 11: Work 10 sc around.
[10 sts] - Finishing: Sl st to the next stitch, cut the yarn leaving a long tail for assembly, and pull the thread through. Do not stuff.
5. Assembly (Yoda Body)
- Ears: Pin the ears symmetrically onto the sides of the head spanning roughly between Rows 8 and 12. Sew them firmly in place.
- Head: Take the long green tail extending from the body neck and securely stitch the head onto the torso, aligning the eyes perfectly forward.
6. The Jedi Cloak (Brown & Fluffy White Yarn)
The cloak is worked in flat rows, including built-in armhole slots.
- Foundation Chain: Using Brown yarn, chain 56.
(20 chains for the right-side tie-strap, 34 chains for the jacket base row, and 2 chain loops for the initial double crochet height elevation.) - Row 1 (Armhole Row): Starting in the 3rd chain loop from your hook, work 9 dc. Ch 3, skip 3 chain spaces on the foundation row (this leaves an arm loop), work 10 dc across the middle back, ch 3, skip 3 chain spaces, and work 9 dc down the left panel edge.
- Rows 2–6: Ch 2, turn your work. Work 34 dc straight across the entire span of the jacket (including 1 dc over each of the skipped ch-3 spaces from Row 1). Repeat across rows 3–6 to build the length. Fasten off brown yarn and weave in the ends.
Fuzzy Sleeve Cuffs:
- Attach the Fluffy yarn directly into one of the open brown armhole loops.
- Ch 2, then work a round of 9 dc around the entire boundary perimeter of the arm slot.
- Join with a sl st to close the ring, clip the yarn, and tuck away the tail.
- Repeat for the other armhole.
Fuzzy Collar:
- Orient the coat with the neckline facing up (the long 20-chain strap should remain on your right side).
- Attach your Fluffy yarn to the top edge corner.
- Ch 2, then work 34 dc straight across the entire neck boundary.
- Ch 2, turn your work, and crochet a second row of 34 dc in the opposite direction.
- Fasten off and hide the tails.
Left Panel Tie-Strap:
- Attach the Brown yarn to the upper corner of the left coat panel (right under the fluffy collar).
- Sl st to secure, then chain 20 outward to form the matching side-tie.
- Fasten off and trim the loose strap tips evenly to 5mm.

About "Talha"
Hey, I’m Talha, the Crafter on Craftstive.com. I love to share guides on folding cute origami models and paper crafts, and I am always ready to inspire your next craft project with my weekly craft discussions.