
Subscribe to stainedhands!
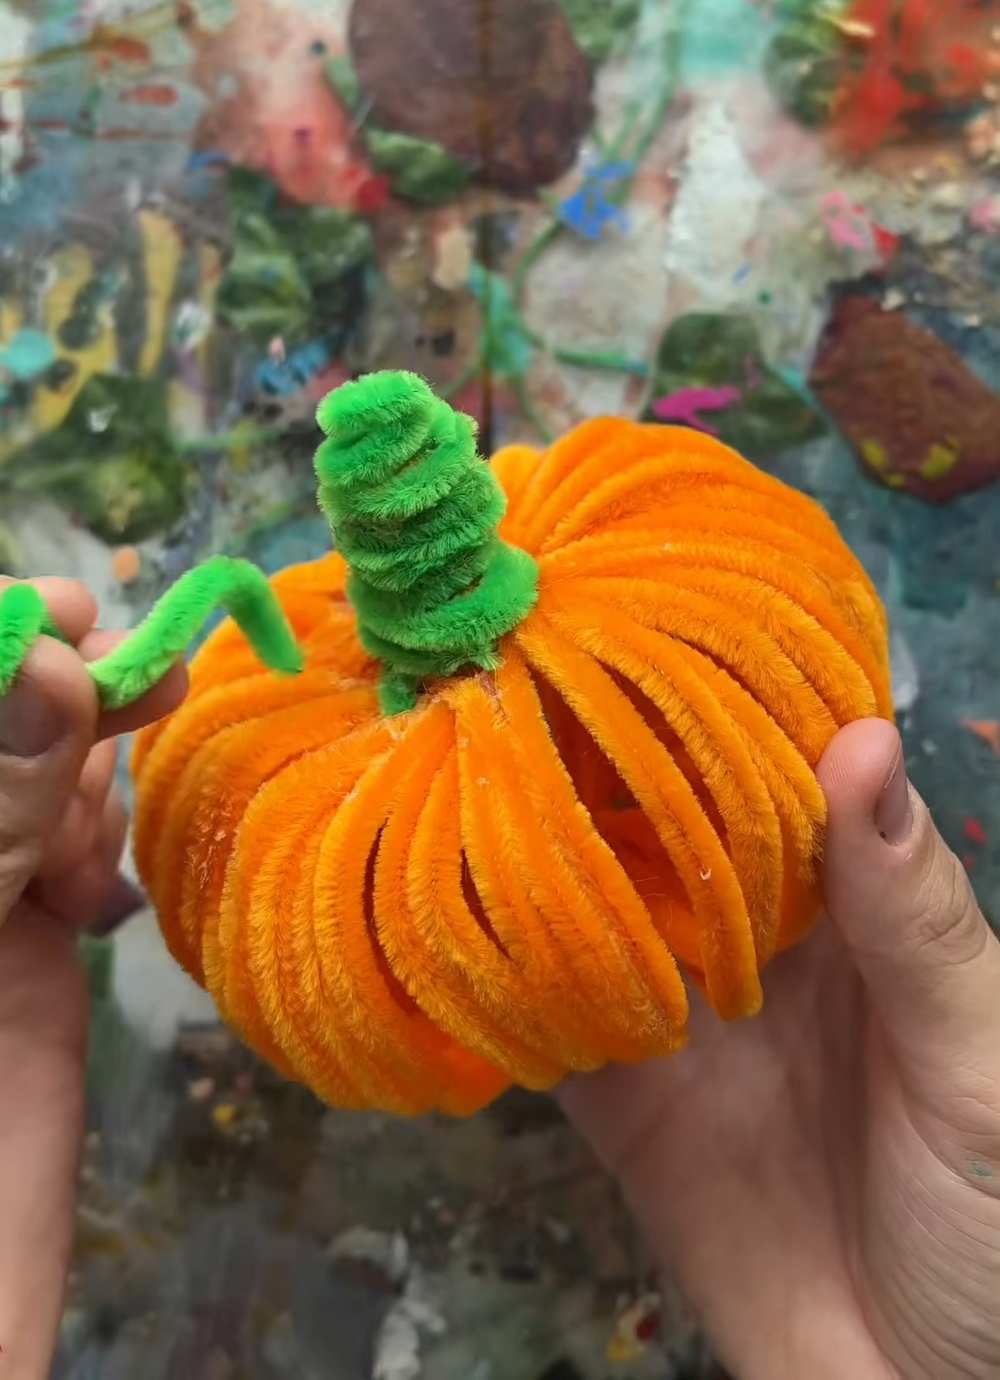
Here is another COOL METHOD to DIY a pipe cleaner pumpkin for Halloween. Introducing the 2-in-1 pipe cleaner pumpkin plushie and a glow-in-the-dark lantern that you can learn to DIY following this step-by-step tutorial. This is a medium-sized pumpkin lamp you can make in minutes with some pipe cleaners, glue, and battery-charged fairy lights. You can also make a pipe cleaner handle with this pipe cleaner pumpkin so kids can use it as a trick-or-treating lamp.
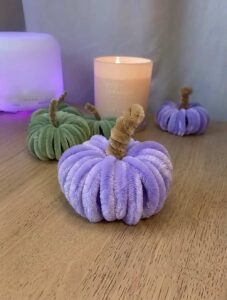
You can also craft many pumpkin lanterns, each in different sizes, and make a glowing centrepiece for Thanksgiving, as well. Just cut the pipe cleaners in half and then follow the construction to make a pumpkin in the same size as the purple pumpkin.
This DIY pumpkin lantern can also be attached to a Halloween pipe cleaner magic wand. Or you can also make it as a pumpkin hanging or keychain. Anyway, customization of the design is up to you. You can continue reading to learn how to DIY this pumpkin plushie with the following guide.
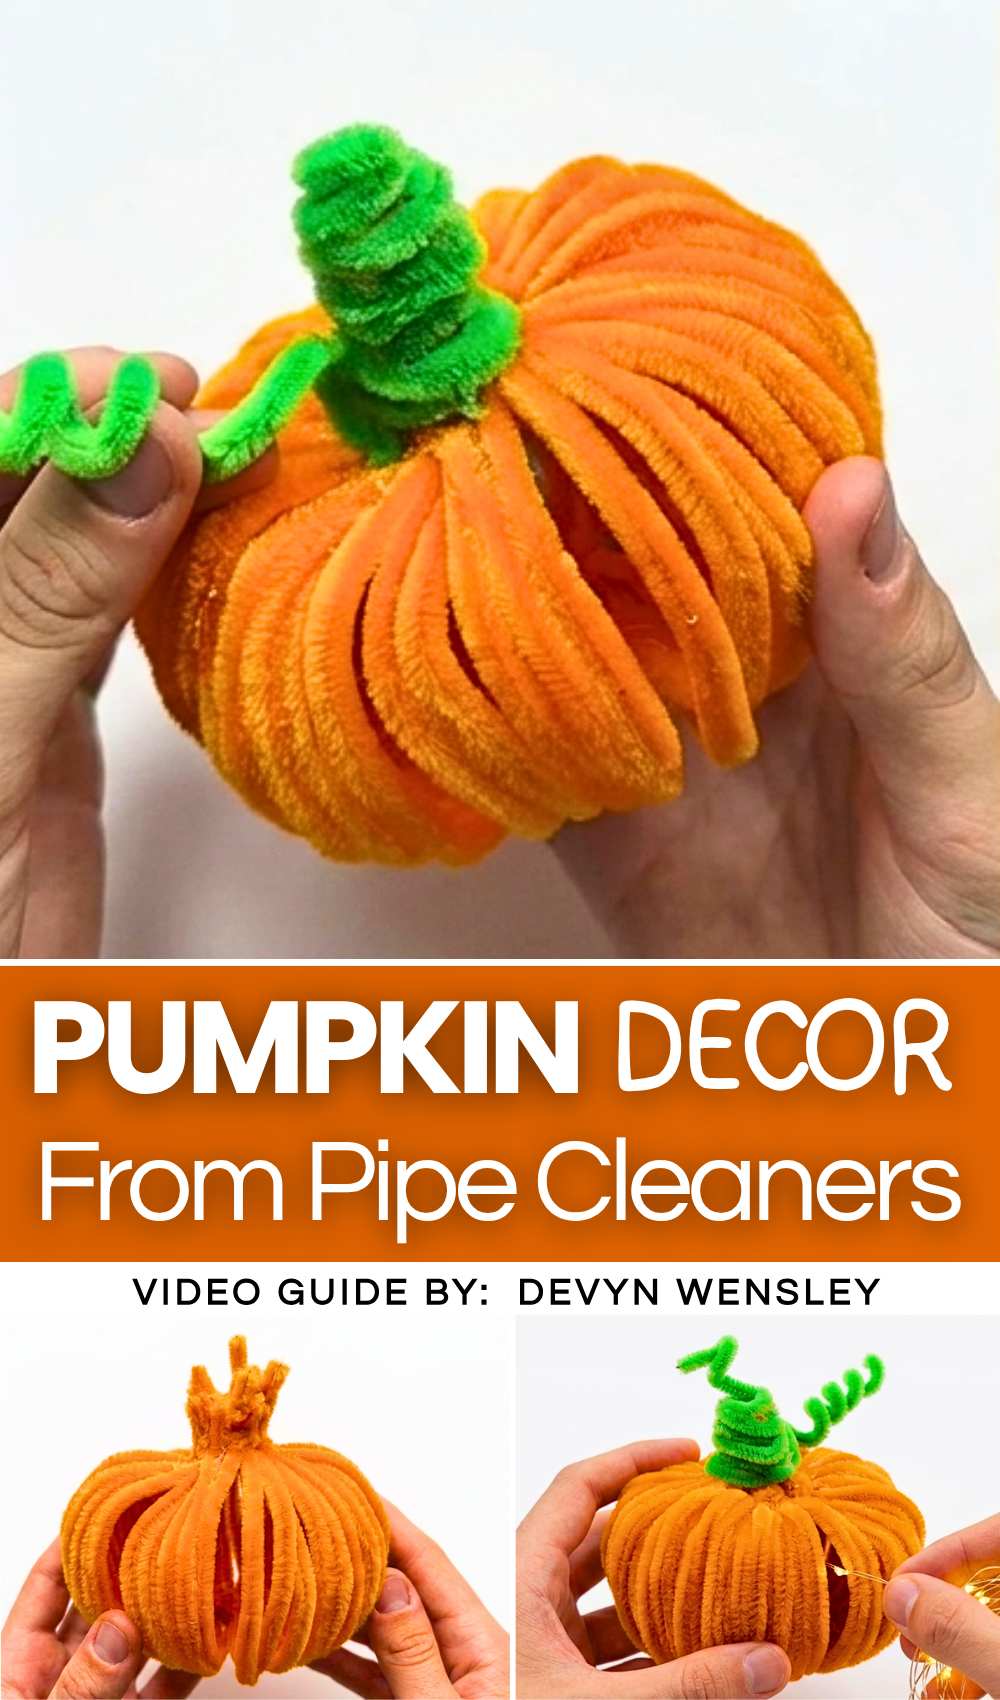
Tutorial to DIY A Glow-in-the-Dark Pumpkin Plushie
Bring the cozy autumn vibes into your home with this adorable and creative DIY project! You are going to crochet your own glowing pumpkin lamp using pipe cleaners following this tutorial:
Materials Needed:
-
Orange pipe cleaners (approx. 25-30)
-
Green pipe cleaners (approx. 10-15)
-
Hot glue gun and glue sticks
-
Small battery-operated LED fairy lights (copper wire style works best)
-
Optional: A thick gauge wire (to reinforce the lamp stand)
Beginner? Learn with the Video Tutorial
Step-by-Step Instructions:
Step 1: Create the Pumpkin Segments
-
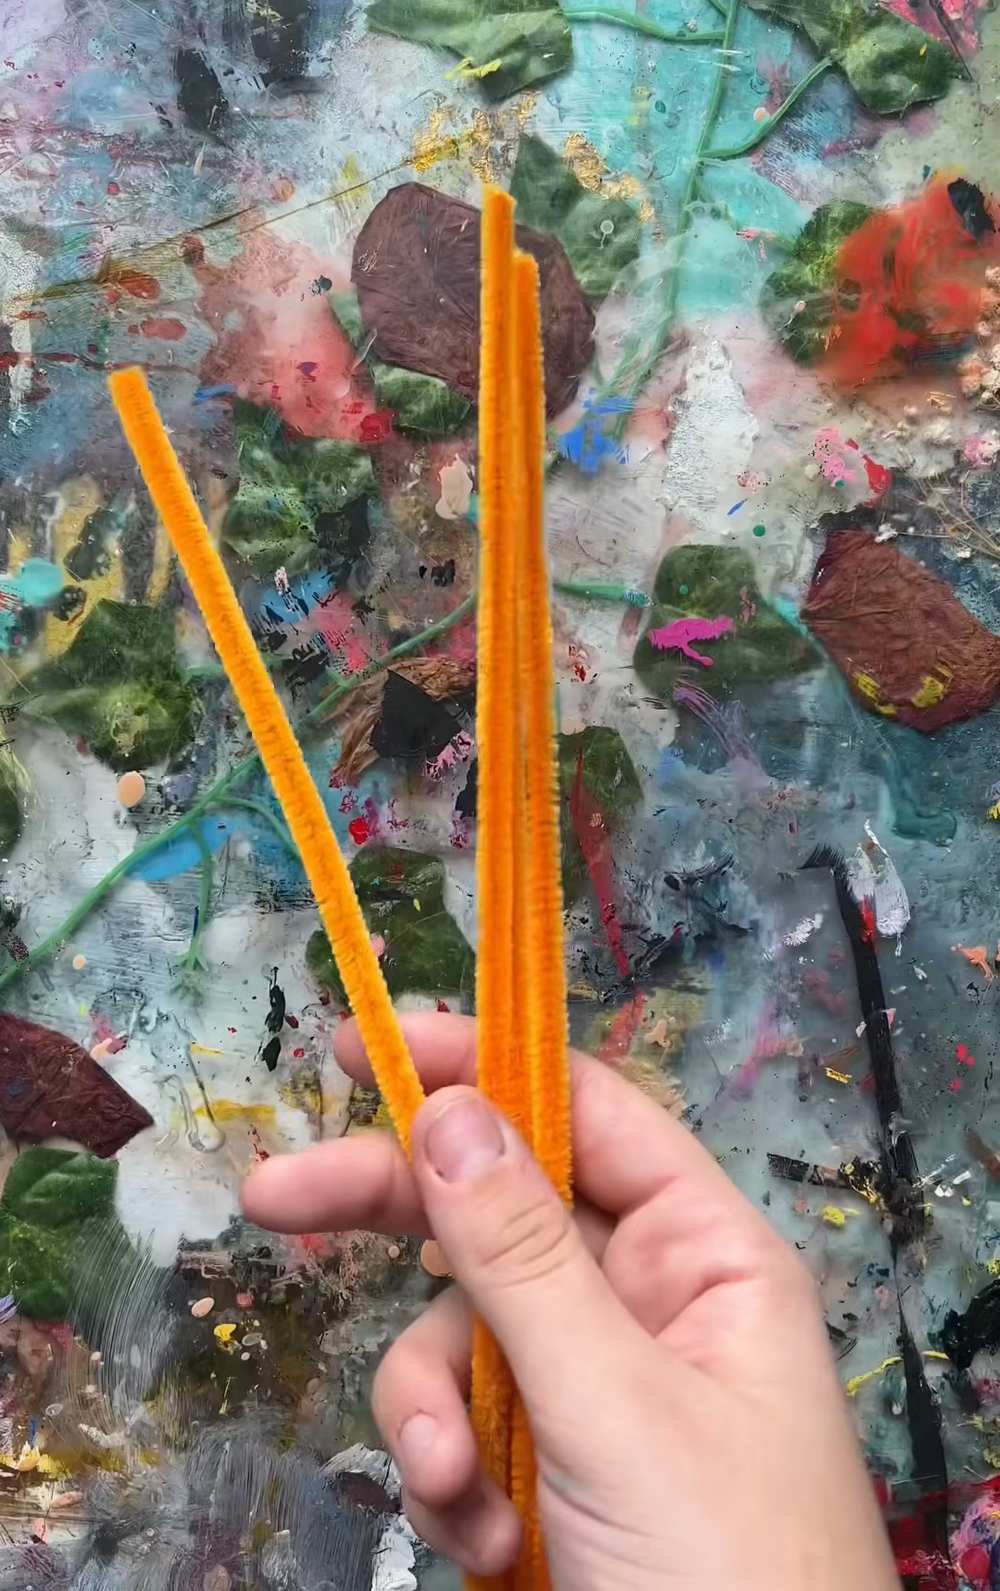
Take about 3 or 4 orange pipe cleaners and hold them together.
-
Fold the bunch in half to create a loop at the top.
-
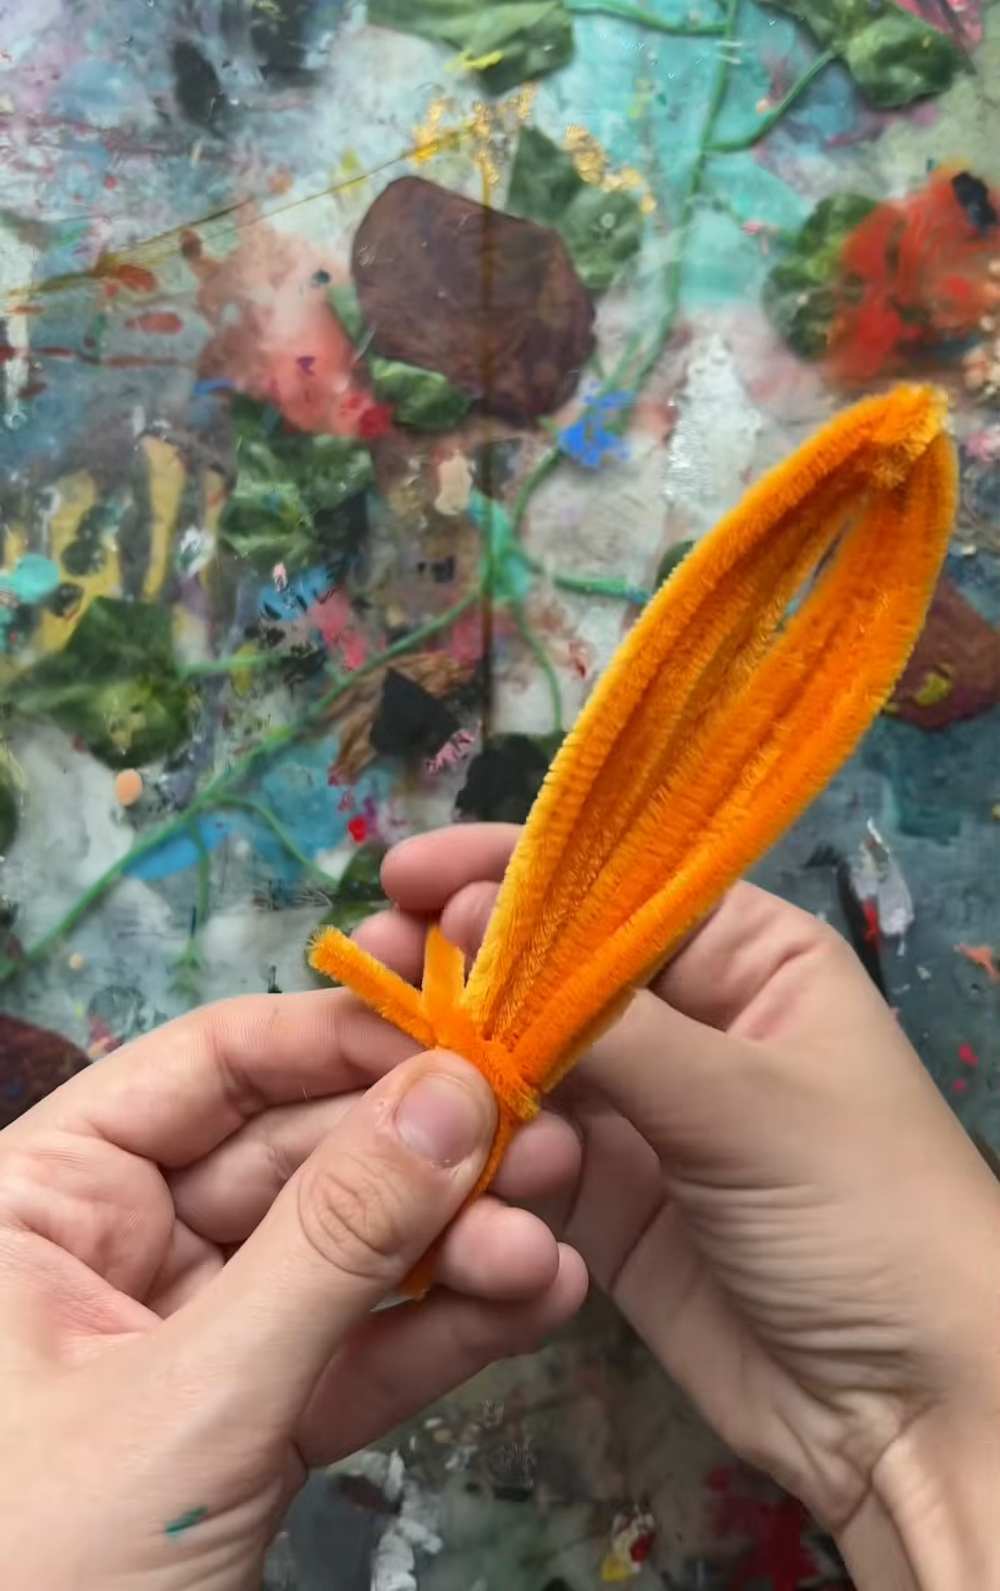
Twist the loose ends at the bottom together to secure them. This creates one “rib” or segment of your pumpkin. You can also take a small orange pipe cleaner and wrap it around and twist to secure better. Then, also bend the petal into a 3D ridge.
-
Repeat this process until you have 5 or 6 identical segments.
Step 2: Assemble the Pumpkin Body
-
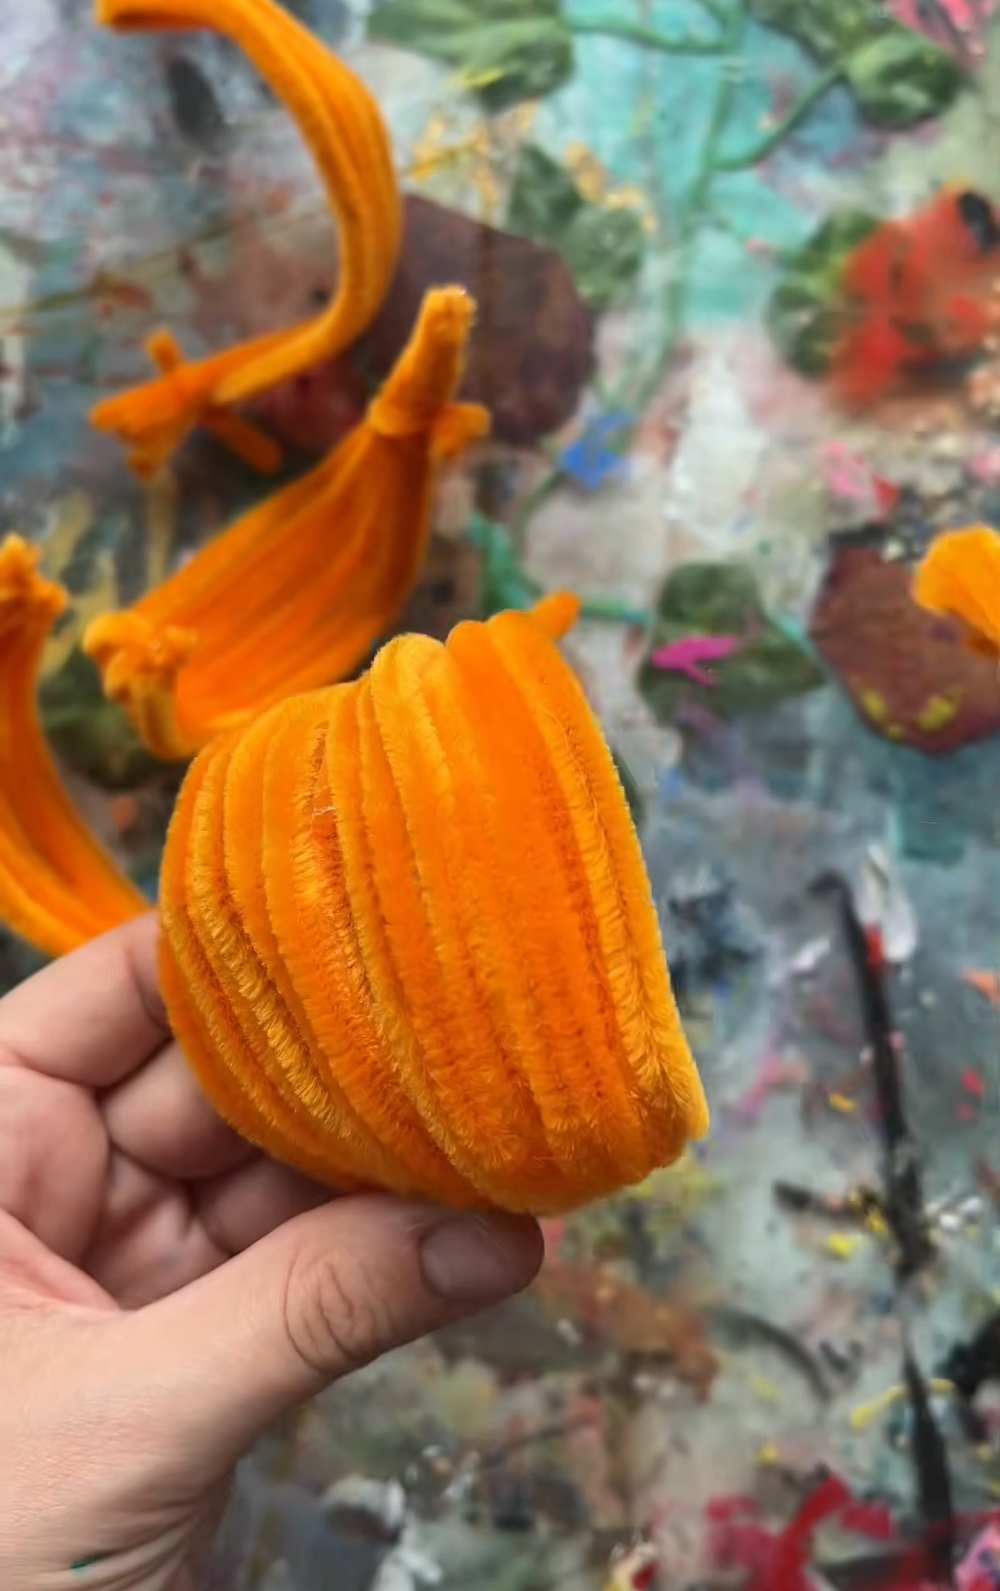
Arrange your orange segments in a circle so the twisted ends meet at the bottom and the looped ends meet at the top.
-
Using a hot glue gun, carefully glue the sides of the segments together near the top and bottom.
-
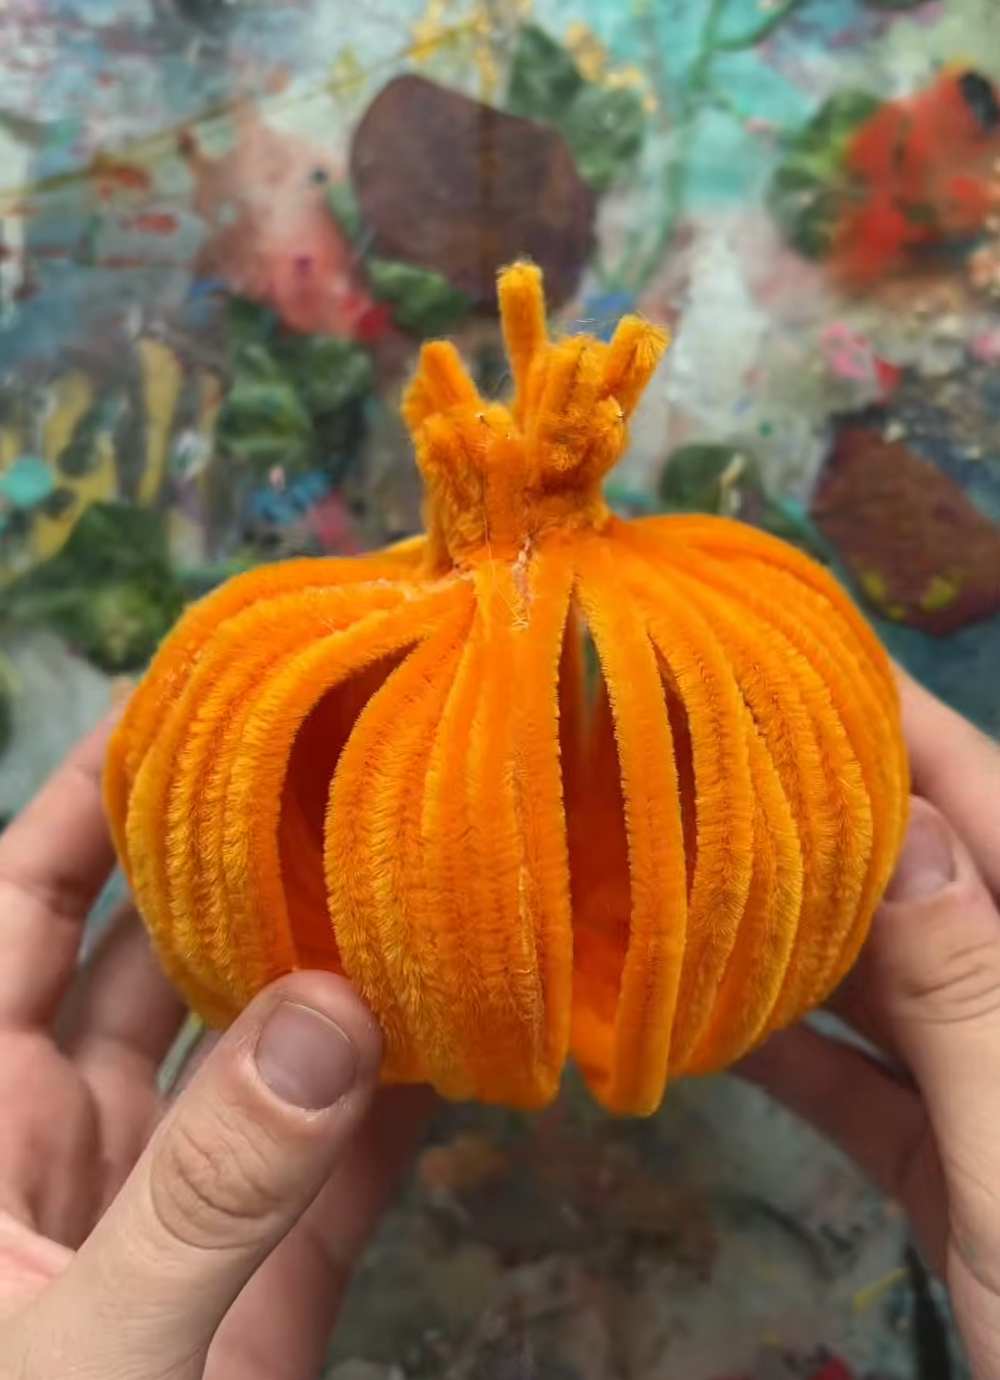
Leave the center of the pumpkin hollow – this is where your light will go!
Step 3: Craft the Stem and Vines
-
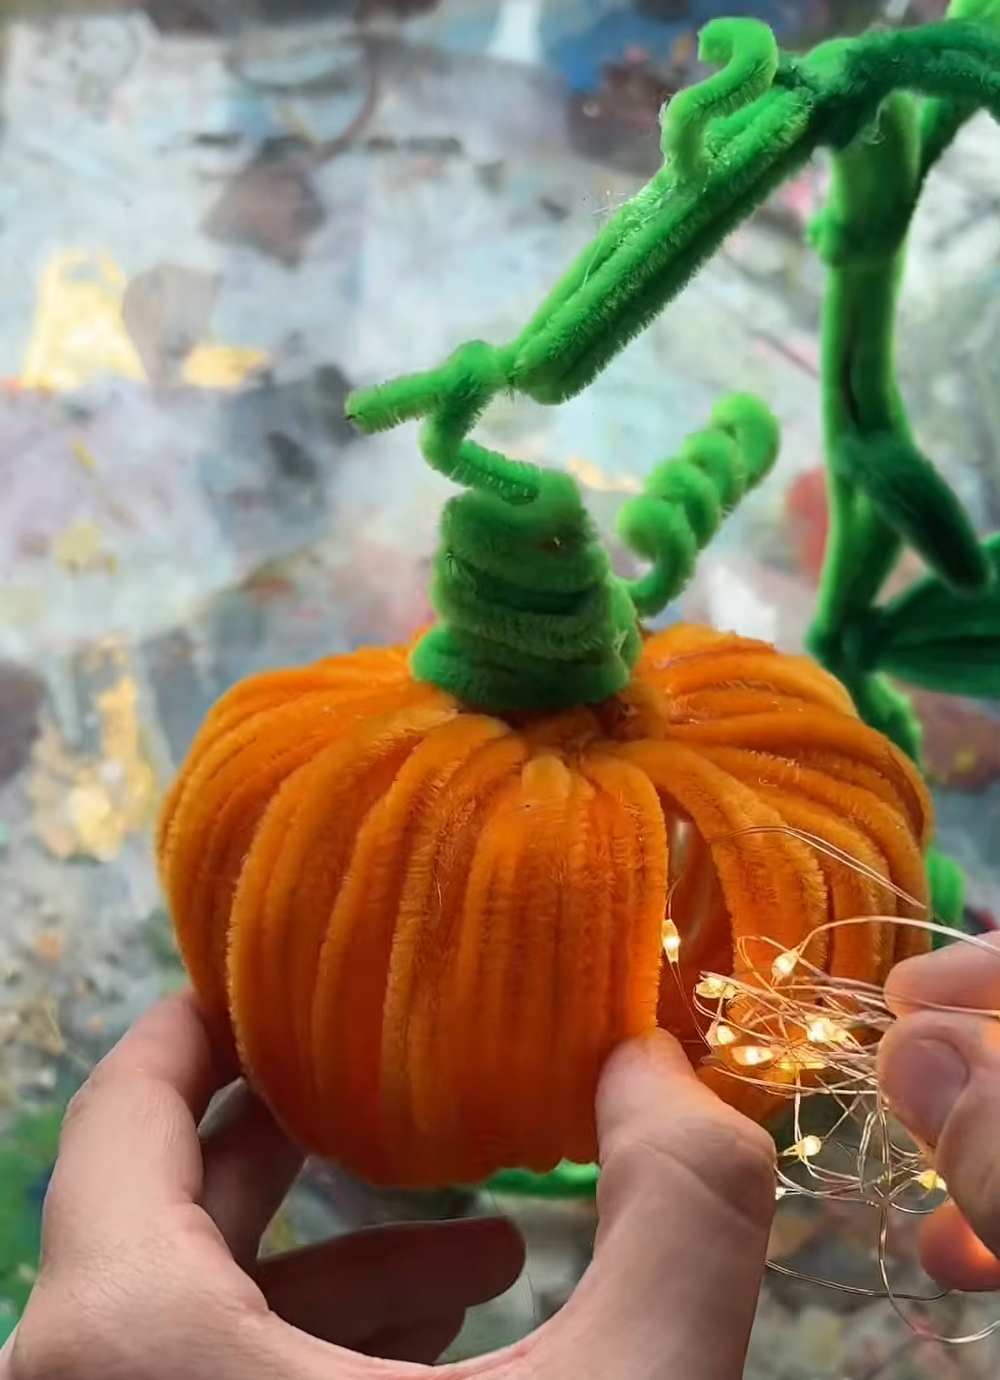
Take a green pipe cleaner and wrap it tightly around the top point where all the orange segments meet. Continue wrapping to build up a thick, sturdy stem.
-
To make the curly vines, take another green pipe cleaner and wrap it tightly around a pencil or your finger to create a spiral.
-
Attach these spirals to the base of the stem with a drop of hot glue.
Step 4: Construct the Lamp Stand
-
To create the “vine” stand that holds the lamp, twist 3 or 4 green pipe cleaners together to make a long, thick rope. Tip: If you want it extra sturdy, twist them around a piece of thick craft wire.
-
Coil one end of this thick green vine into a wide, flat circle. This will be the base of your lamp.
-
Bend the other end of the vine upward and curve it into a “shepherd’s hook” shape.
-
Secure the top of your pumpkin’s stem to the end of the hook using hot glue or by twisting the pipe cleaners together.
Step 5: Add the Magic (The Lights!)
-
Take your bundle of LED fairy lights.
-
Gently feed the string of lights through the gaps in the orange pipe cleaners into the hollow center of the pumpkin.
-
Ensure the battery pack stays hidden at the base of the lamp or behind the stand.
Step 6: Display and Enjoy
Place your new pumpkin lamp on a stack of books or a bedside table. Switch on the fairy lights and enjoy the warm, festive glow!
Pro-Tips for Success:
-
Uniformity: Try to keep your orange segments the same size so your pumpkin looks symmetrical.
-
Stability: If the lamp feels top-heavy, make the coiled base larger or add a small weight (like a decorative stone) to the base.
-
Safety: Always use LED lights, as they do not get hot and are safe to use with pipe cleaners and glue.