Show support for CraftBe9!
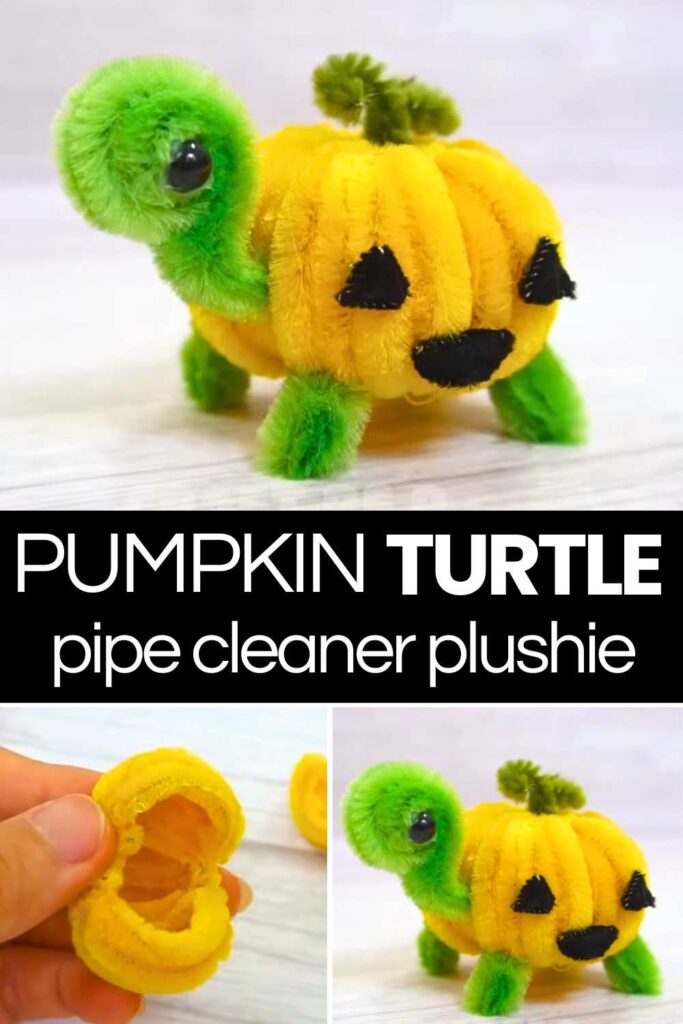
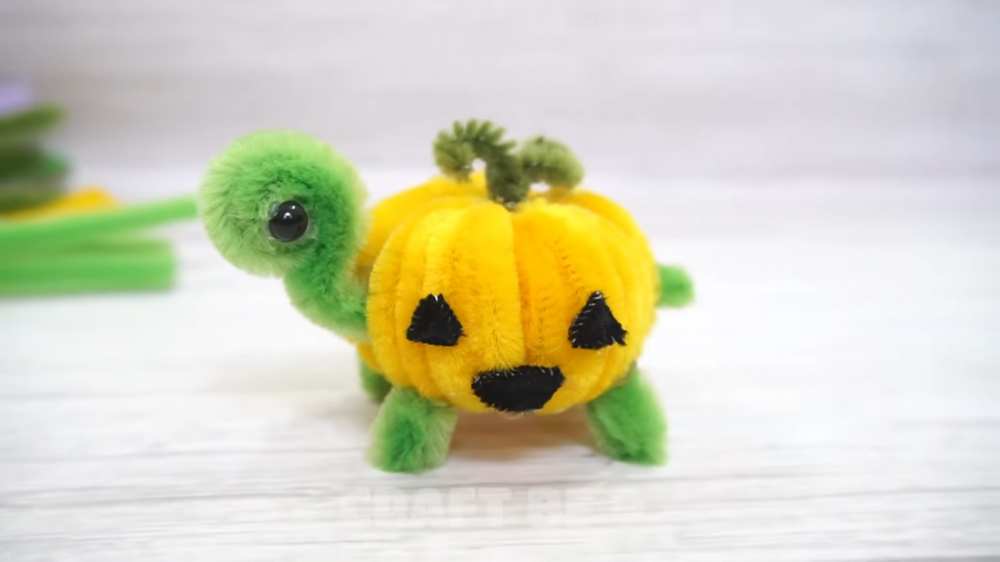
This Halloween, learn how to DIY this UNIQUE pipe cleaner jack pumpkin in a turtle shell plushie in any of two variations with this step-by-step tutorial. This is a quick Halloween and fall table buddy made as a standing tortoise plushie. You can sell your chenille-stem turtle at craft fairs, or craft it in under 10 minutes as a candy holder for Halloween. Also, craft some pipe cleaner jack decorations to make a fall table buddy.
You can also insert a battery-powered LED inside the pumpkin to turn it into a jack-o’-lantern turtle, just like the glow-in-the-dark pipe-cleaner pumpkin. You can also attach it to the Halloween wand instead of the spider plushie.
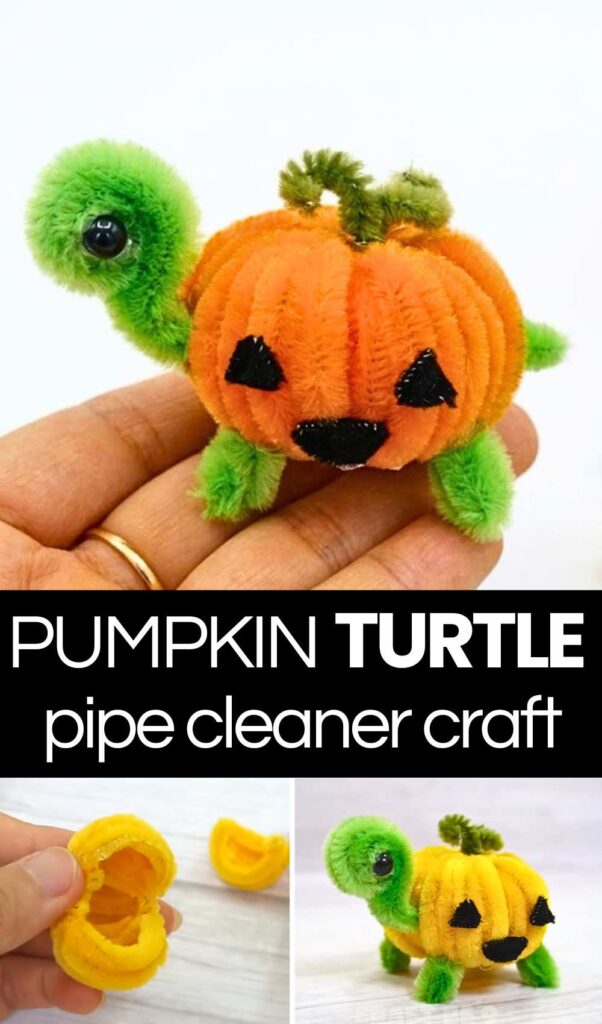
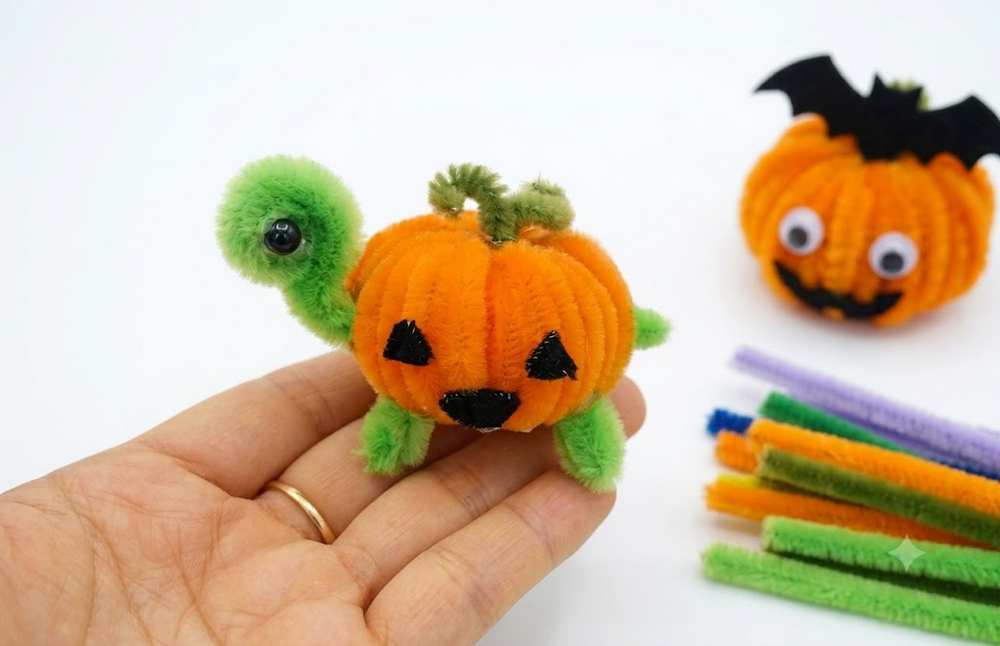
Making this pipe cleaner fall pumpkin turtle requires just 4 bending patterns. Making the pumpkin, in particular, is quick and easy. You can make it in either a yellow or orange pumpkin variation. Soon, you will also learn how to make a kitty pumpkin as well as the pumpkin in a witch hat plushie. So, continue reading to learn more about the pumpkin craft project.
Materials Needed
-
Pipe Cleaners: Yellow, Light Green, Dark Green, and Black.
-
Tools: Scissors, Hot Glue Gun, Ruler, Pliers, and a small straw.
-
Accessories: Two small black beads for eyes.
Instructions
Step 1: Create the Pumpkin Shell
- Prepare the segments: Take a yellow pipe cleaner and fold it in half. Then, measure to create a loop approximately 3.5cm long and twist the pipe cleaner to secure the loop. Also, press the loop to close it.
Beginner?
- Form the shell: Continue folding and gluing yellow pipe cleaner segments around the same base to make a leaf-like shape until you are left with small ends. Secure the tip again and bend the petal in a “C” shape.
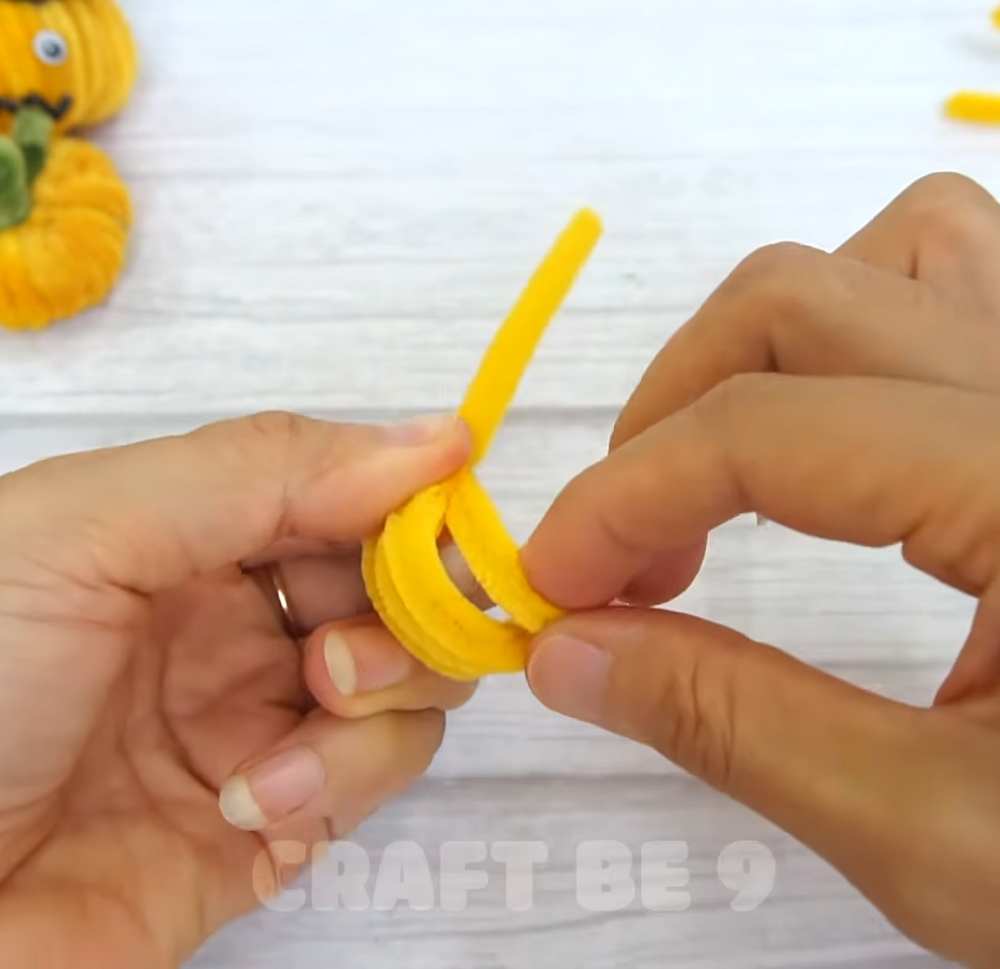
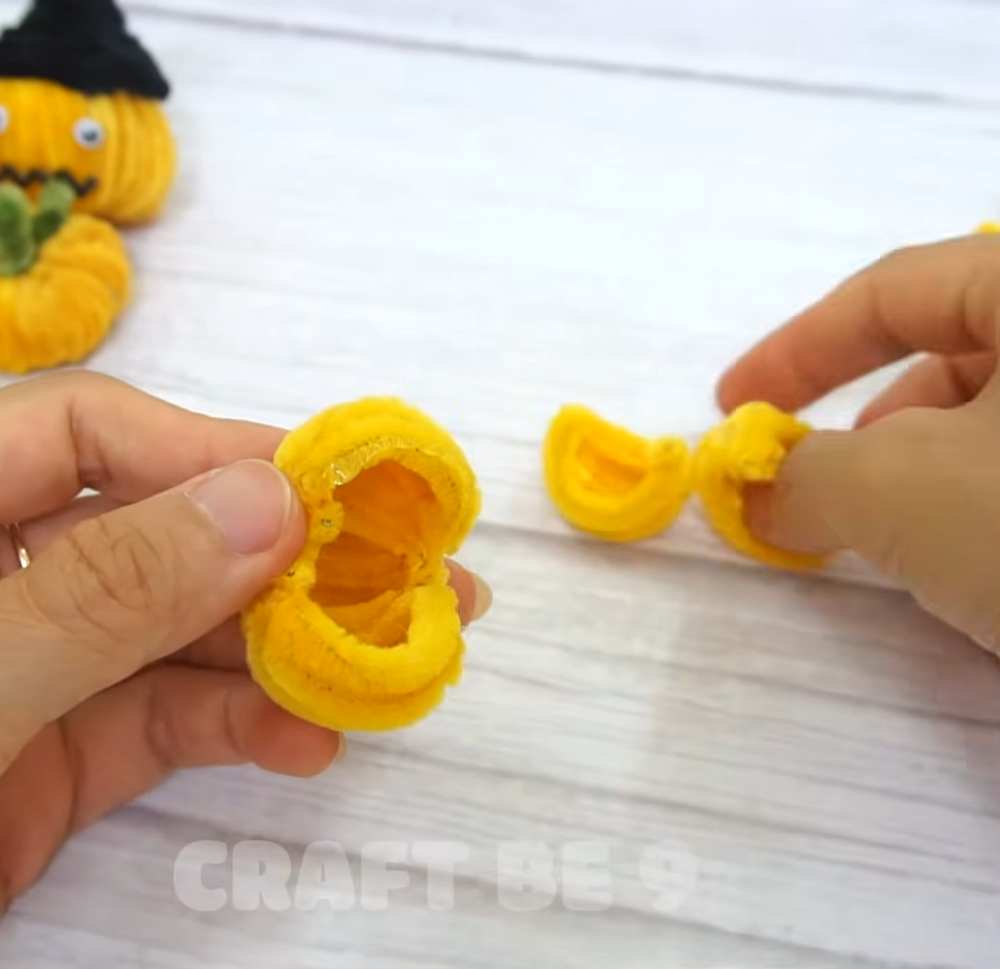
- Fill the sphere: Make 5 total pumpkin parts. Glue several of these curved segments side-by-side to form a hollow, round pumpkin shape.
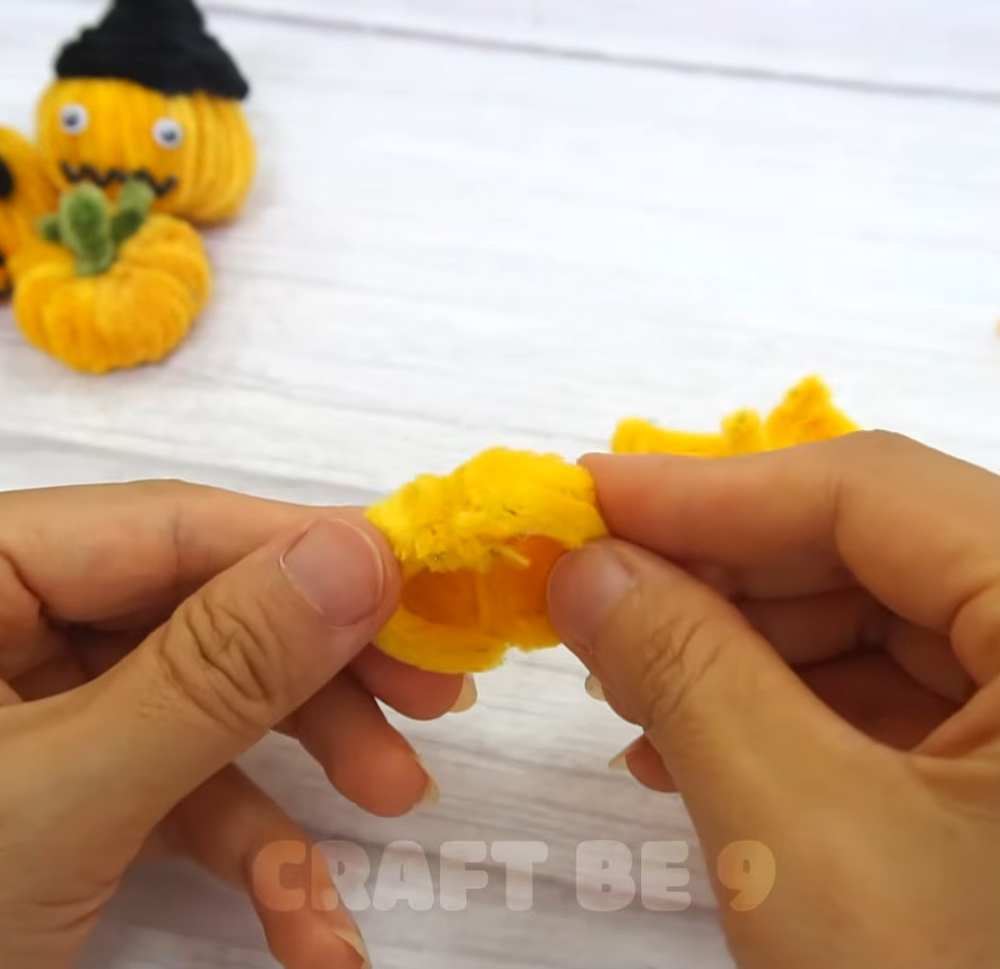
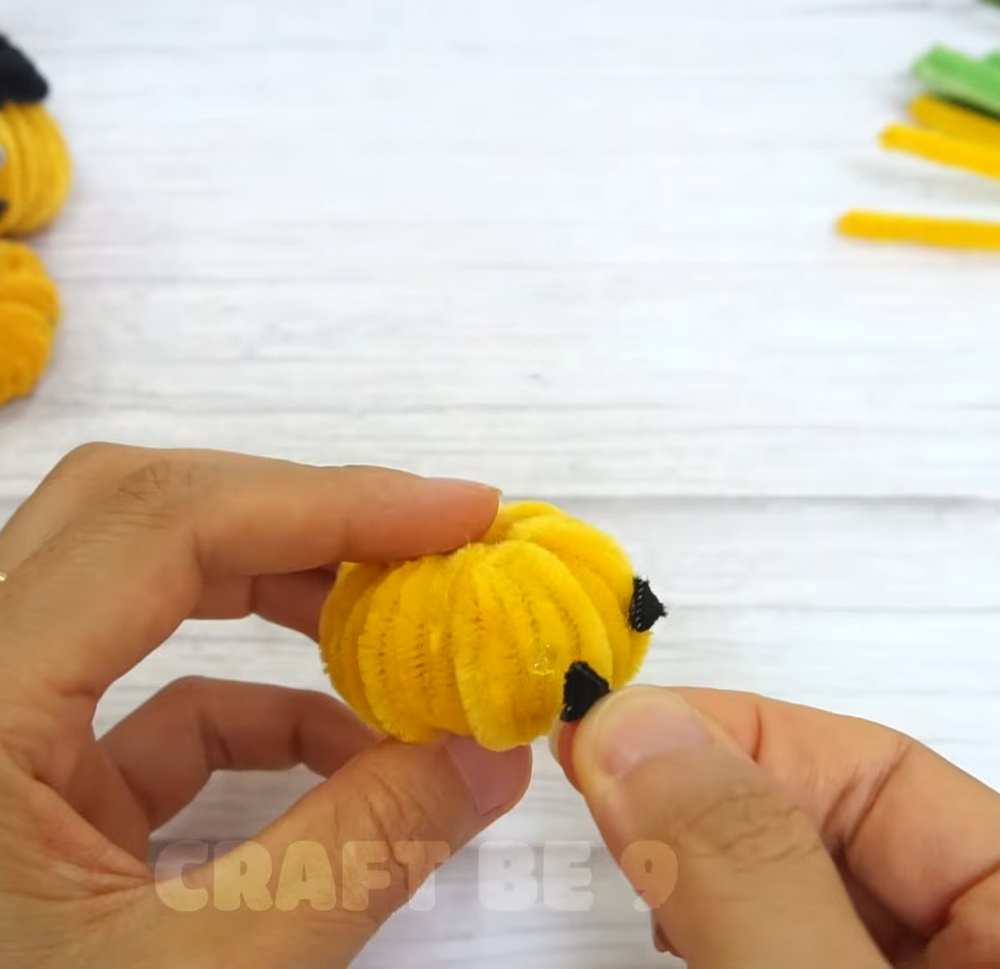
- Add the face: Cut small triangles and a tiny curve from a black pipe cleaner. Glue them onto the front of the yellow pumpkin to create a Jack-o’-lantern face.
Step 2: Make the Stem
-
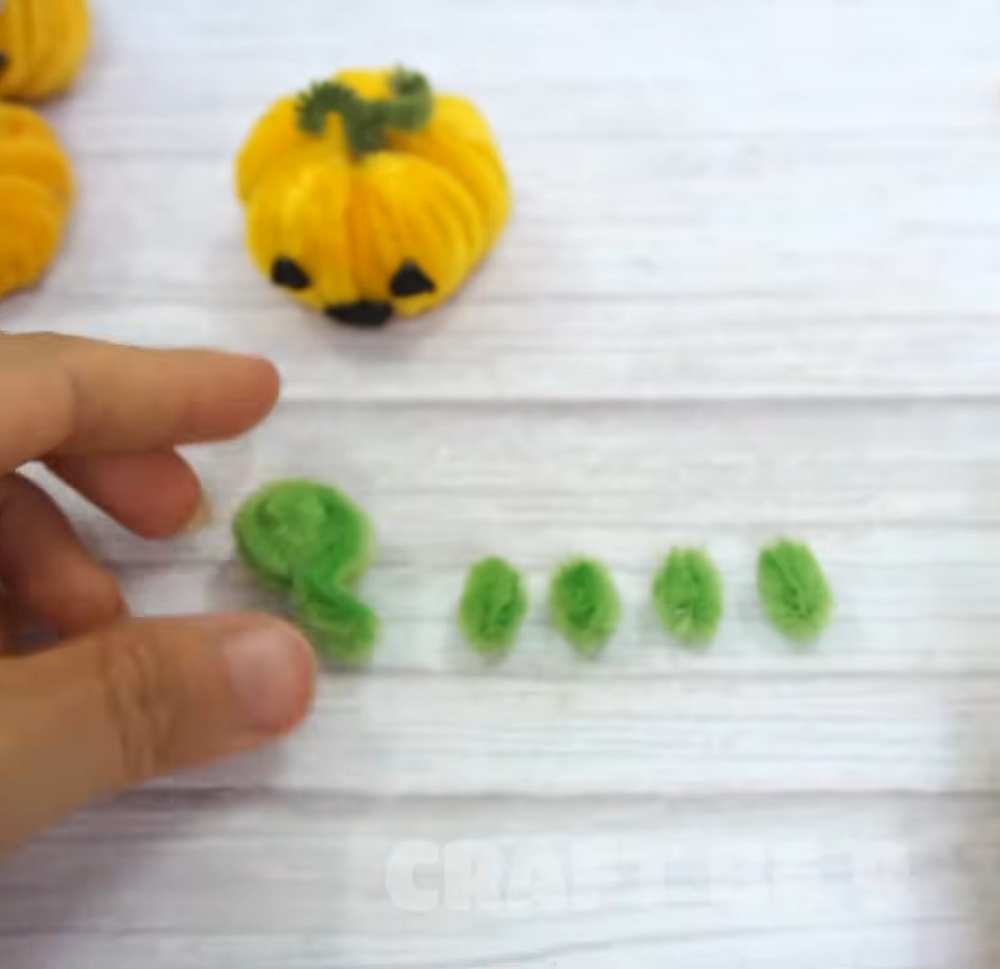
Curl the vine: Take a short piece of dark green pipe cleaner. Wrap it tightly around a thin straw to create a spiral.
-
Shape the stem: Slide it off the straw and fold/twist it slightly to look like a pumpkin vine or stem.
-
Attach: Glue the dark green stem to the top center of the yellow pumpkin.
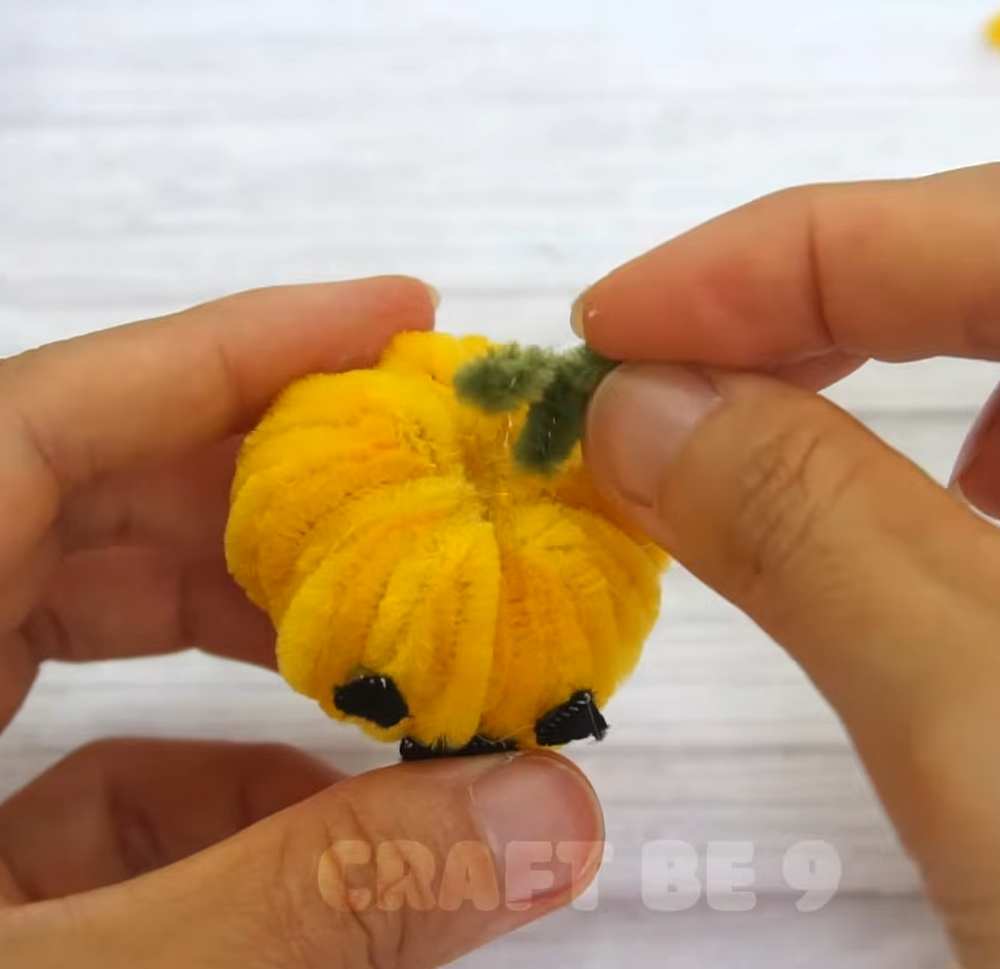
Step 3: Make the Turtle’s Head and Neck
-
Measure and Cut: Cut a 20cm piece of light green pipe cleaner.
-
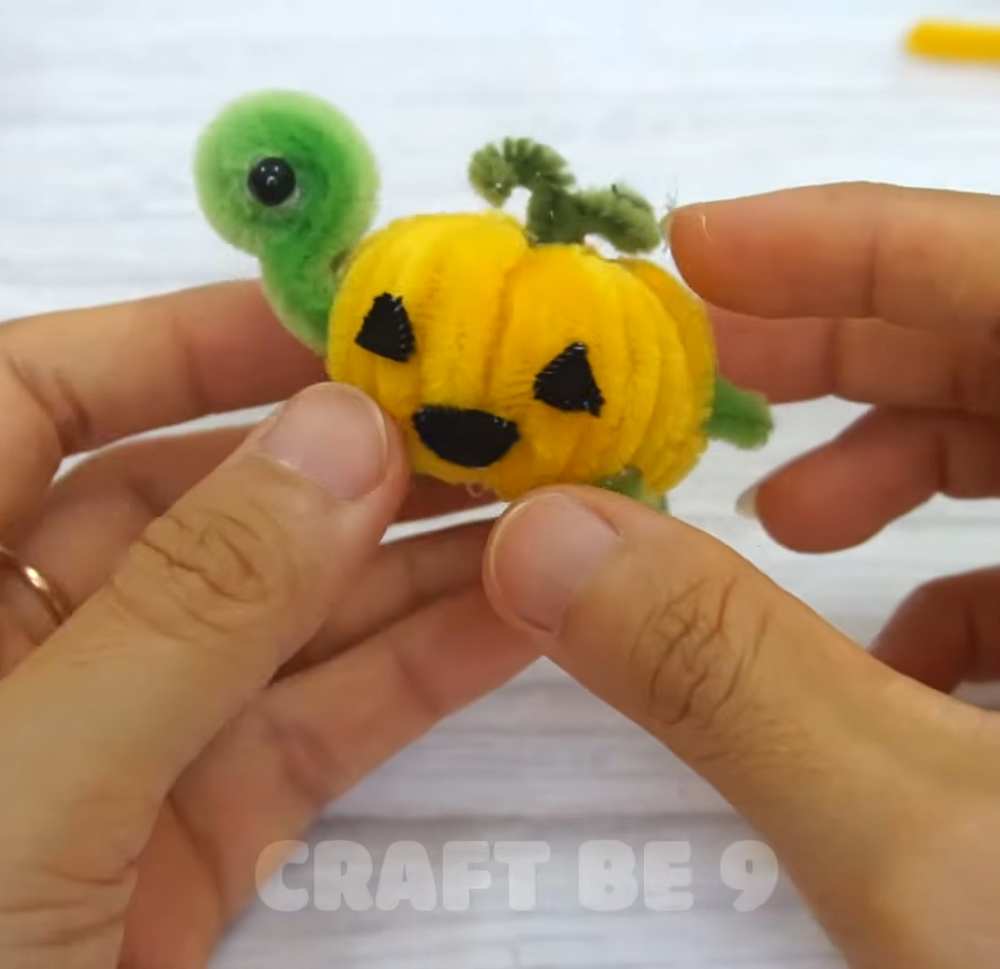
Roll the head: Using pliers to start the center, roll the 20cm piece into a tight, flat spiral to form a circular head.
-
Create the neck: Leave a small tail at the end of the spiral to act as the neck. Bend the neck into an “S” curve so the head sits upright.
-
Add eyes: Glue two small black beads onto the sides of the green spiral head.
Step 4: Make the Turtle’s Legs
-
Cut segments: Cut four pieces of light green pipe cleaner, each 5cm long.
-
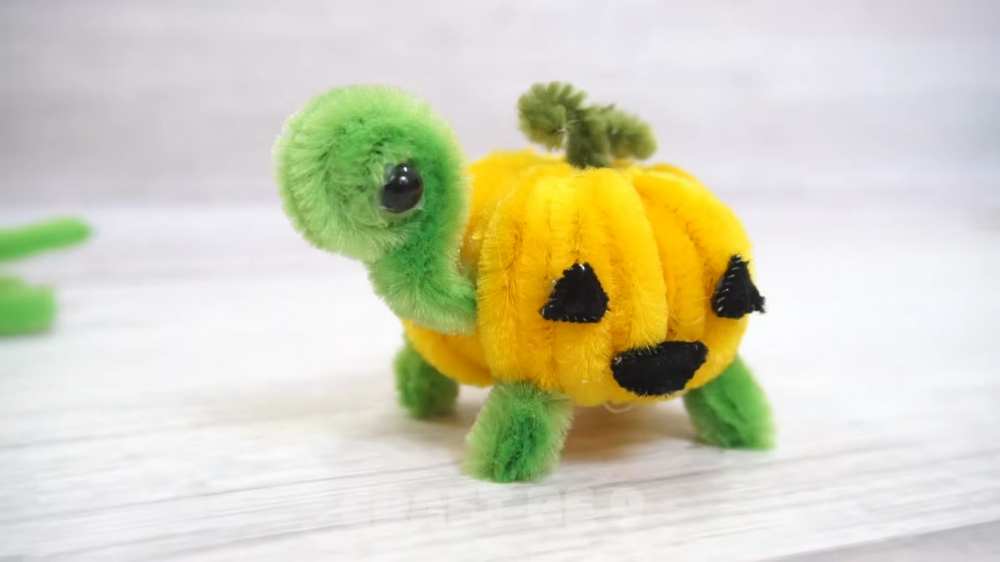
Form the feet: Roll each 5cm segment into a small, tight ball or coil. These will be the turtle’s four feet.
Step 5: Final Assembly
-
Attach the head: Apply hot glue to the “neck” part of the green assembly and tuck it into the front opening of the pumpkin shell.
-
Attach the legs: Turn the pumpkin over and glue the four green coils to the bottom corners of the shell.
-
Secure: Ensure all parts are firmly glued. Your Pumpkin Turtle is now complete!
Share on Social Media!