
Subscribe to 123EasyPaperCraftsDIY!
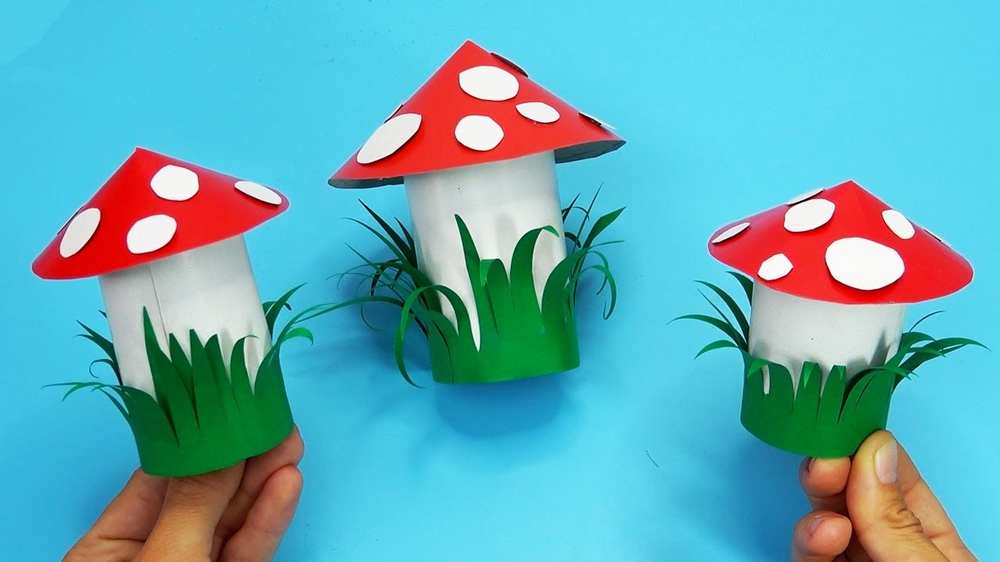
This fall, decorate with this DIY paper mushroom desk craft & present hider with this step-by-step FEATURED tutorial. This is a simple cutout-assembly toadstool mushroom paper decoration with a silver body and a 3D leaf cutout. You can also turn it into a mushroom pencil holder by using the mushroom cap as the lid. You can also make this mushroom in different heights.
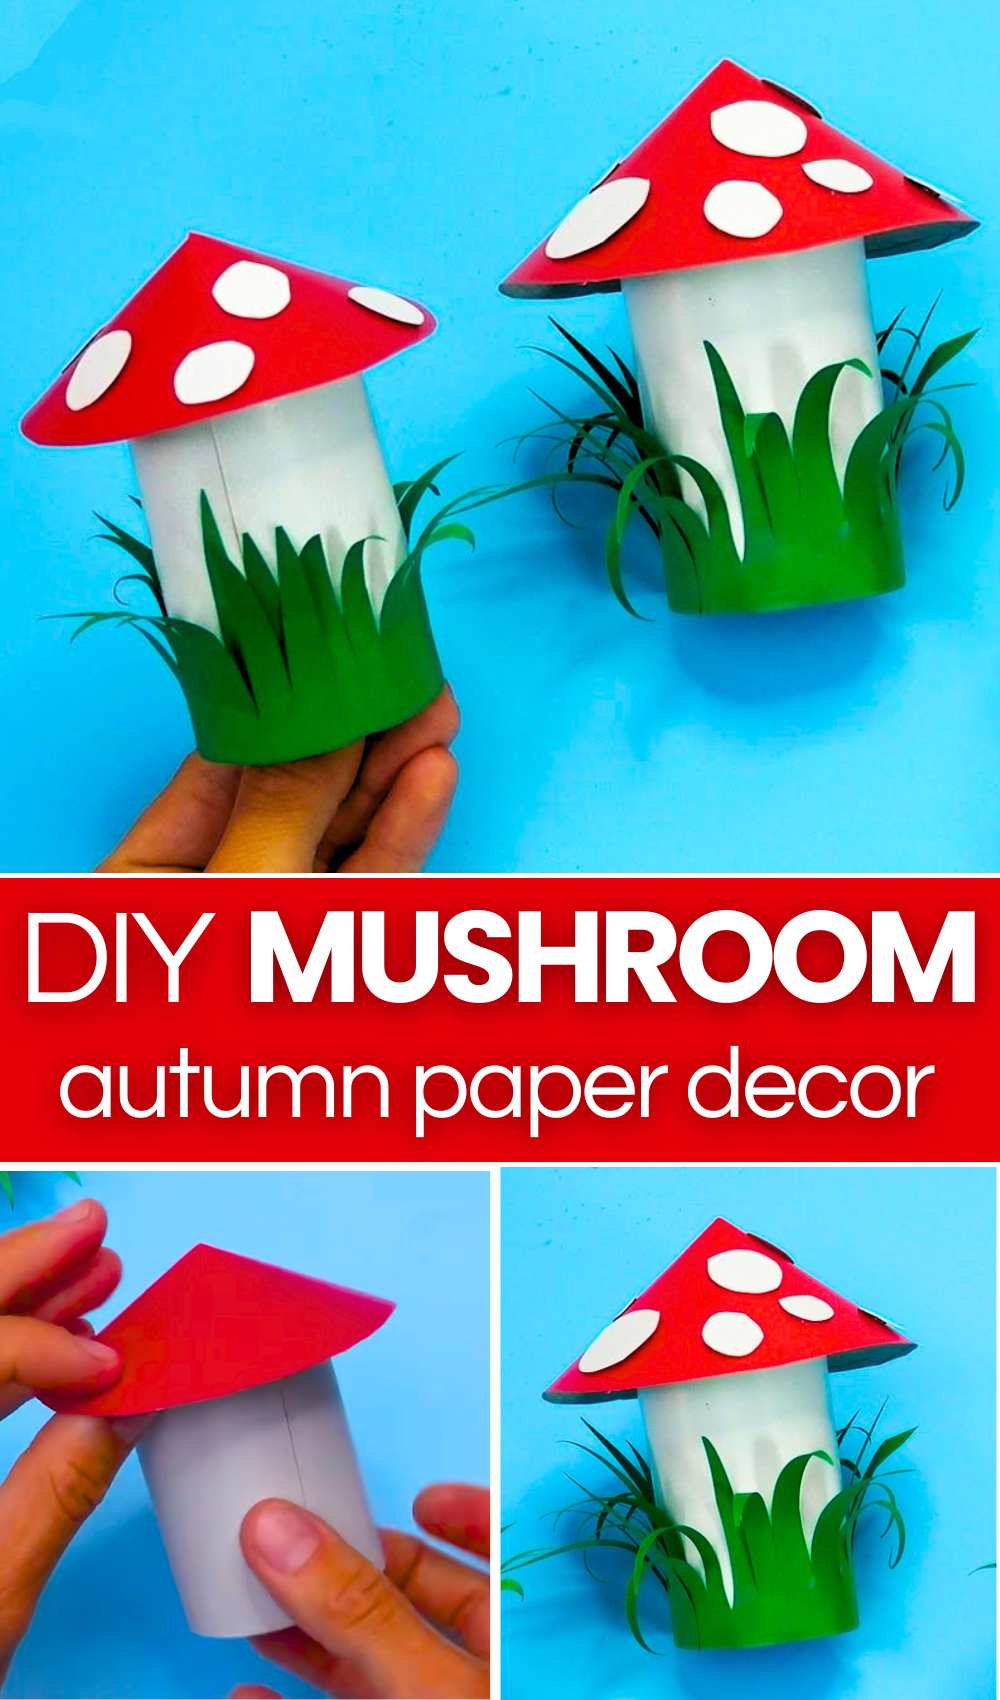
You can also craft this mushroom with the kids as a trio in red, yellow, and even purple. It is also a back-to-school mushroom craft activity, as kids can learn to make a paper cylinder, a paper cone, & the grass.
Making this mushroom as a color case would be a lot more delightful than as a table buddy. I recommend drawing a kawaii face on your mushroom to make it look even more welcoming. A small paper fly agaric will be perfect to use as a Christmas ornament and even a New Year gift case. Now, continue reading to learn more about this mushroom project.
Craft A Paper Mushroom Craft for Fall
Skill Level: Easy (basic paper cutting and gluing skills are enough for making this mushroom paper craft).
Supplies Needed
-
Colored Paper: Sheets of red, green, and white paper, which are used to construct the mushroom caps, stems, and grass details.
-
Clear Tape – 9 diameter
Tools and Adhesives
-
Hot Glue Gun
-
Glue Stick
-
Scissors
-
Pencil
Learn How to Make Mushroom Paper Craft!
Learn how to cut the paper &, glue & assemble it into a mushroom craft with the following video guide:
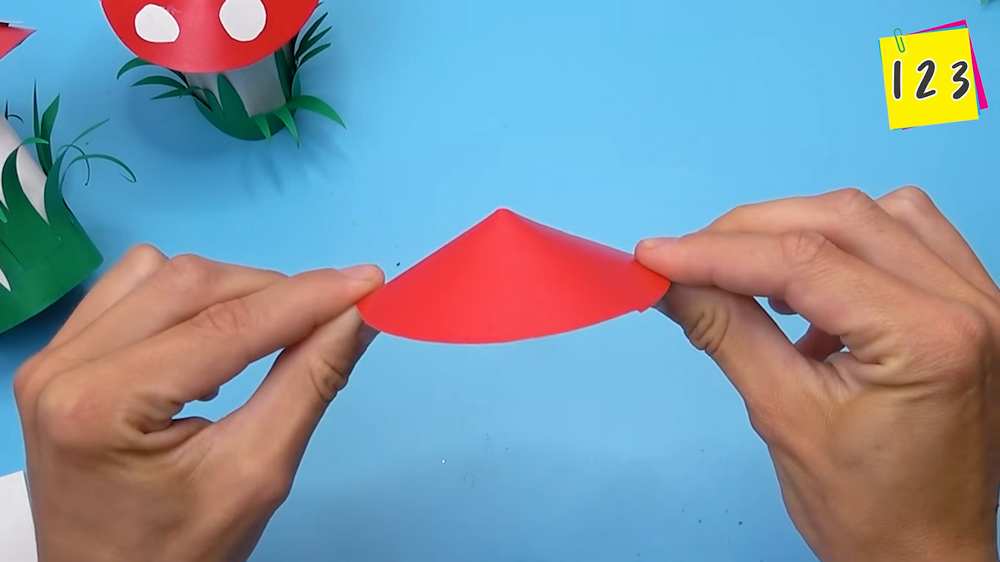
Take the red sheet and cut a disk with a diameter of 9cm! Cut all the way through the radius to the centre. Make the sides overlap around the middle and apply the glue. Then take an 8cm by 19 cm sheet and glue the area to make a cylinder.
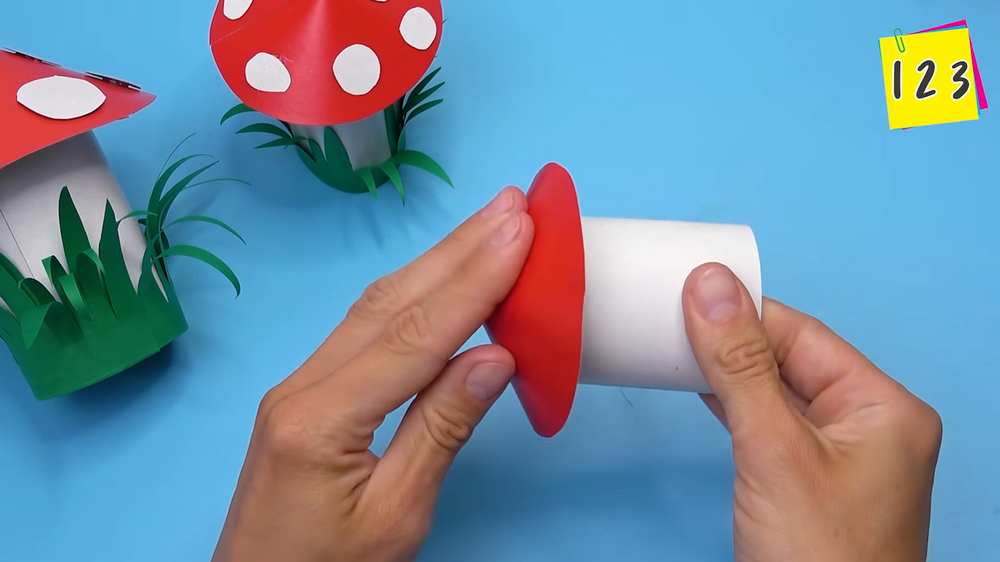
Make square cuts on the underside and, similarly, overlap and glue them to form an angle so you can better attach the cone to it. Also, cut white spots all around.